
How to Become a Leonardo DaVinci
3 Steps On How I Quickly Edit My Images So They Look Wacky. Daring Writers Only
Deliver your readers a lasting impression.
Welcome writers! This is the second part of selecting images for your Medium stories.
The way you choose to present your content to the world matters. It’s your signature, your brand. You dress for the job you have.
Don’t be that Zoom call half-dressed guy wearing his Spiderman undies.
Give some love to your words. With so much writing content online, use every bit of trick to embezzle and stand out.
Only your writing won’t cut it this time bucko.
To recapitulate what we learned about selecting images.
- The structure of the story will determine how many images per story.
- Avoid selecting the same standard images from the Unsplash directory
- Select images from different sources with free stock images.
- Choose an image relatable to the story at hand.
- Pick images with close-up shots of the upper middle body and single color background.
This time we are going to take things up a notch. I’m going to show you how can you personalize your images.
Let me show you an example and the step-by-step process of editing an image:
Step 1: Edit your images from your free stock website.
Canva and Freepik give you the freedom to edit images.
Both allow you to upload an image of your choice from another site and edit it with their tools.
Let’s begin with selecting an image on Freepik.
- Go to the Freepik website.
- Make sure you have the following filters ‘Exclude AI-generated’, ‘Free’, ‘Photos’
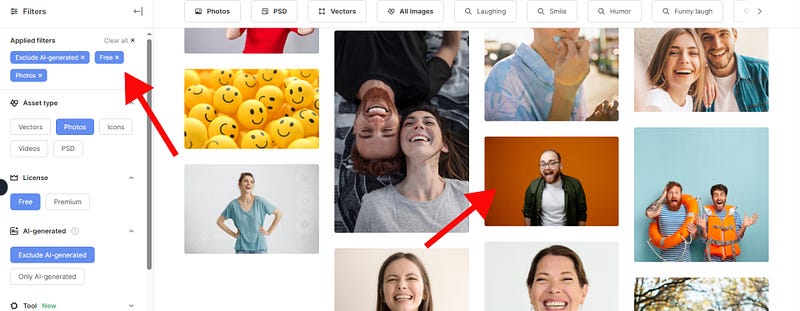
- If you read my previous story and don’t have a memory of a goldfish, search your images by emotions. For this purpose, let’s use ‘Laughter’.
I’m going to use that guy with fake laughter to edit.
- When you click on the photo you will notice below the ‘Download’ button, the ‘Edit online’ button. Click on that one.
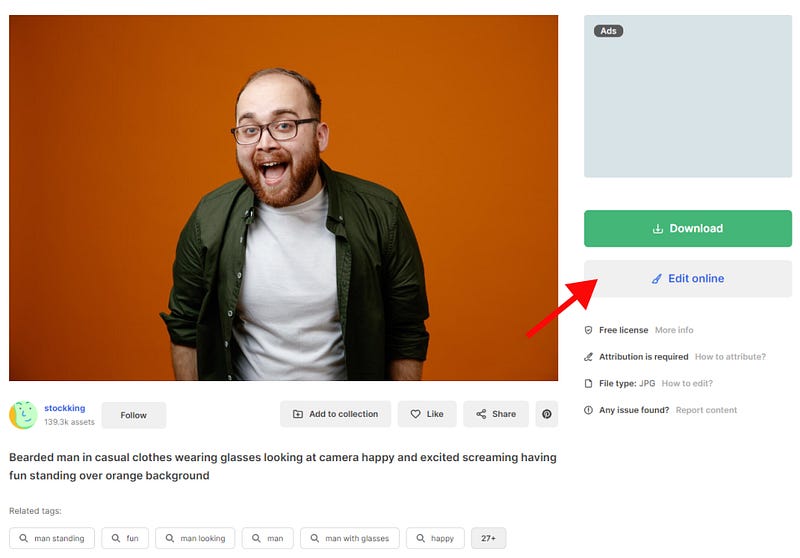
A new window will open for the Freepik Editor. Nice, Huh? Next, I’m going to show one common process I use for my images. The adding ‘Elements’ feature.
Step 2: DaVinci your way with images.
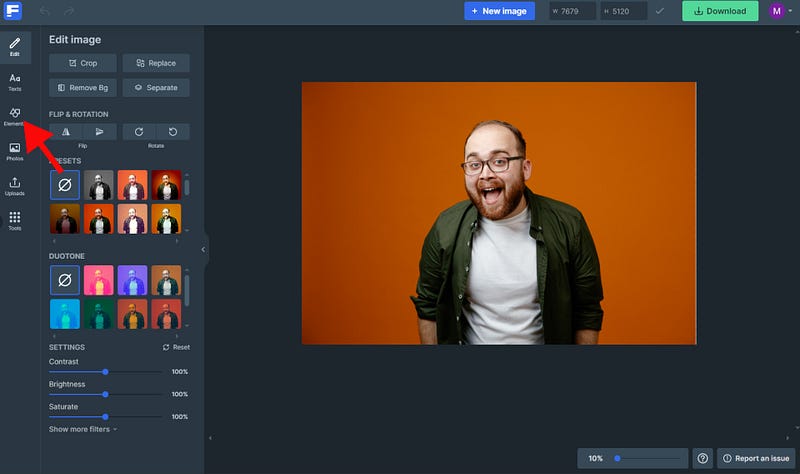
Let me show you what you can do to add the ‘Elements’ section.
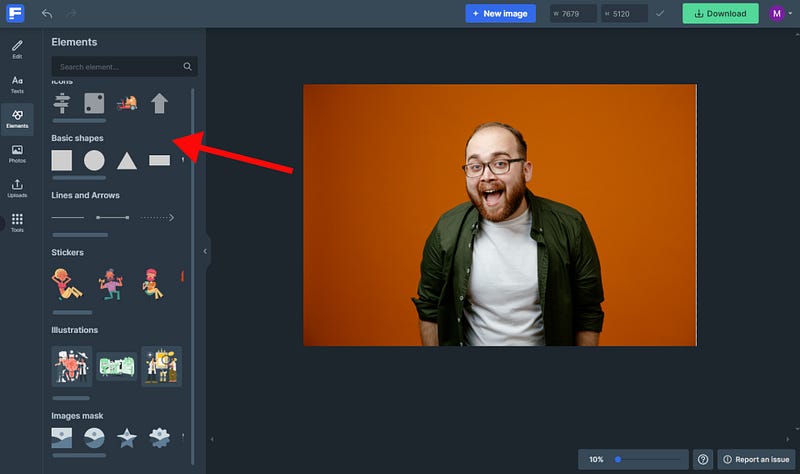
- Click on the ‘Elements’ button.
- The ‘Elements’ window will appear in front of you with a lot of features you can add to your photos. I like my characters to talk, so I’m going to click on ‘Basic shapes’
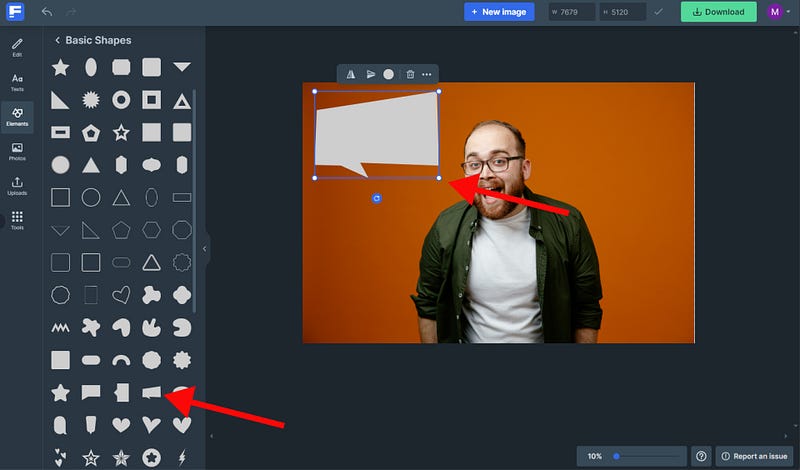
3. I’ll go for the ‘conversation bubble’ shape thingie.
4. Size it as you wish, and rotate it if you are funky.
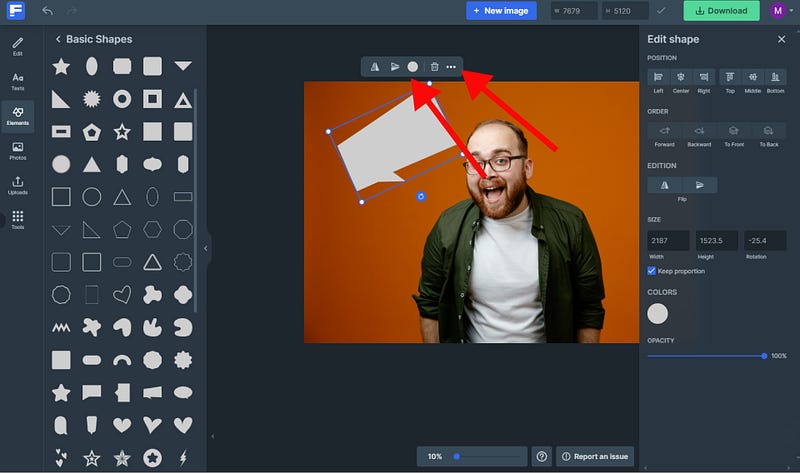
5. You can pick a different color for the shape. And if you press the three-dot button, you can edit the shape. Let’s leave it as it is.
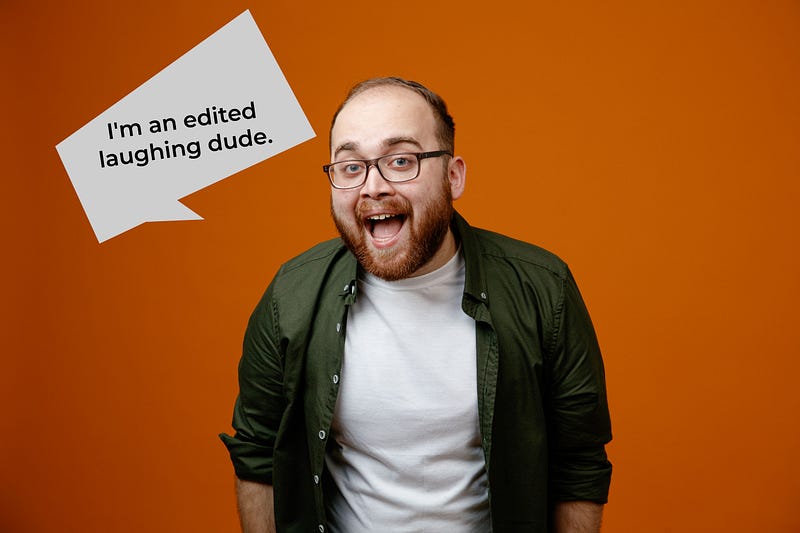
Now, let’s put some words on this fella. His mouth is open so he couldn’t say anything really. He should be laughing, remember? But for training purposes let’s say he does say something.
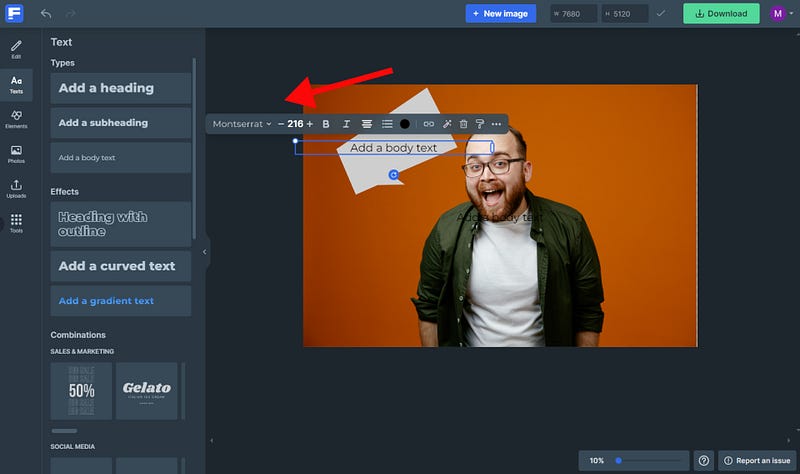
- Click on the ‘Texts’ tab. Select the ‘Add a body text’ option.
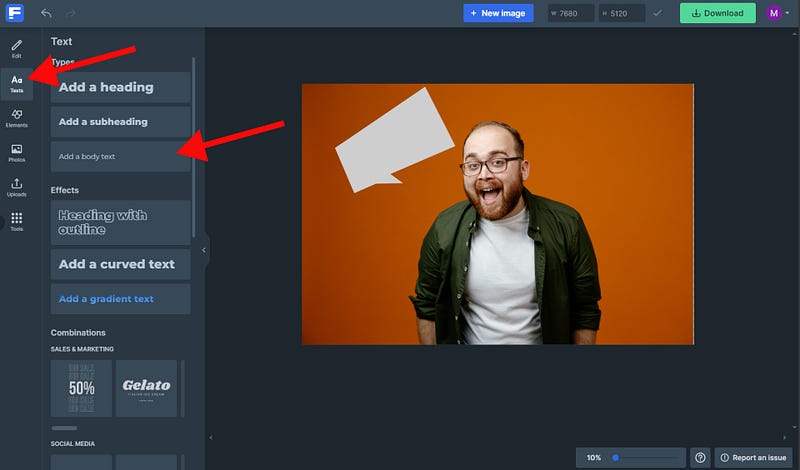
There are a ton of text options there, but I will not explain them here. I’ll let your creativity do the heavy lifting.
2. A Text editor will appear. Place it above the conversation bubble. From there the choice is yours. Choose a font, the size, color, bold, or italic. It’s rich text like in Medium.
Once you finished, click download and save the image on your laptop. You now can use the image in your story.
Remember that all images must identify their source!
Step 3: Bring it to life with your story!
When creating your stories, you can now add your edited images.
You’re a grown up so I will not show you how to add images to your stories. What I will tell you is what text you can add to your image to engage the reader in a fun way.
- There are 3 sizing options for your image to show in your story.
- In-line with text
- In line with story margins. A bit outside the text line.
- Full-screen picture. Kind of 16:9 cinema screen.
For my main image, I’ll go for the second option. Then the first option for the next images in the story. It’s your story and it’s up to you to decide what size you prefer the most.
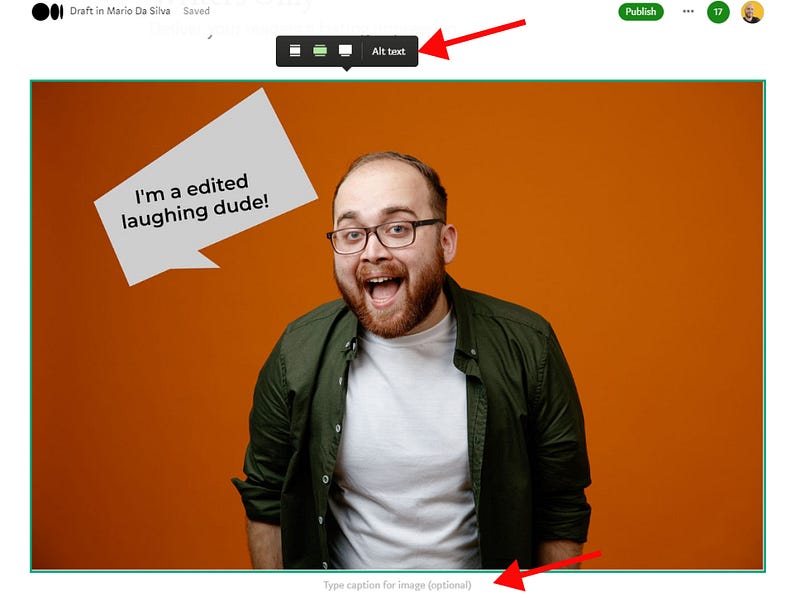
- You add an ‘Alt text’ here too. This will help the visually impaired. It is a great help in understanding what’s the content of your image.
- Add a caption for the image at the bottom. Write whatever comes to your mind when looking at the image or write something related to the story. Freedom is yours to choose the text for the caption for the image. Don’t forget that you can add your source here.
There, the image is ready and you can continue editing your story.
If you are into AI-generated images, Freepik has got you covered in his Freepik editor, under the tools tab. Or you can use other AI tools available out there.
There is a ton of fun stuff you can do with this type of images. And if you’re nerdy like me you could use the following editing software:
- Edit Images on Figma instead of this Freepik editor.
- Edit images using Photoshop.
These tools allow me a faster and more broad process to edit images to make them unique. Besides, I can keep everything tidy in one place. Very useful.
I hope you like this process. Share it with someone who wants to get away from the same old Uns-bleargh-plash images.
If you want to know how I make my stories attractive, check out this piece right here:
Thank you for reading, if you like what you’re reading don’t forget to follow and subscribe to read more of my writing.
I’ll see you in the next one.