
Using Crayons
How I Quickly Select My Images Like A 10-Year-Old Boy.
Step aside grown-ups. My inner child is going to present you with this lesson.
Ahem! Fellow writers, the wait is over.
I’m opening the floodgates on what makes my images fun and catchy.
After receiving such amazing comments, I decided to give back some love.
Here are some of those lovely replies:
“you are good at it Mario. Among the stories I read here every day, yours has the best pics.” — Saeed Sobhani
“Out of all the articles that I have read, yours consistently has the best images!” — Gabriela Chirilă
Are you ready?! Fasten your seatbelts because you’re going for a hell of a ride.
Disclaimer: This is a two-part How-To.
Step 1: Structure of the Story
Do I need Mr. Handsome Beard to be my assistant or a couple of lovely dogs to create my own DMF (Dog Mission Force)?
The structure and the format of the story will play a crucial role in how many funky images I should search for.
Do I need to edit them, or can I put a bit of spit and glue them to my stories?
- Less than 500 words — one goofy main image will do.
- Between 500–700 words — I keep one or add a second one to break up some text. An infomercial with some puppies for sale wouldn’t hurt my read ratio, right? Right?
- Over 700 words — The sky is the limit. Scratch that, that’s a bad advice. Don’t overdo the number of images. Consider limiting their number to what is necessary to break blocks of text.
I like my stories to be visually appealing. It’s reflecting my love for design and art.
Sure, sure, writing is what matters. Your writing quality is what attracts readers. Trust me, when I tell you if you are doing this:

With a signed letter from the CEO of Medium, I can guarantee that your image is on another story. (Pfft as if I could pull that off!) Your headline does the heavy lifting but it’s the image that holds it tight.
Yours is not better dude — some random pothead in the audience — You also get images from a free website. Anyone can do that!
That’s true. People will start Xerox copying the hell of my sources after this story. Who cares?! Call me the trendsetter.
Use images as your point of focus. A reader will stop scrolling through the countless stories in their feed when they see yours.
Use images to break blocks of text and use them as a pause or re-direct the attention from the skimming reader.
Step 2: Search for the Right Image.
I’m in the middle of this story and I’m already thinking about what images should I use.
The most obvious answer is: I have no freaking idea!
But first, let’s go for the most obvious stuff. Where do I get my finger-licking good images?
Here are some websites:
- Unsplash. Yep, I can talk shit about it but trust me you can make it interesting.
- Pexels. I’ve used it one or two times. They have the kind of images I like. It’s a step forward from Uns-bleargh-plash.
- Pixabay. Meh, you can find good images here. There is a lot of other than photo stuff, so make sure you use those filters.
- Freepik. Ahh! Sweet Freepik. My go-to for images. It is such a wonderful website to find the most interesting pictures.
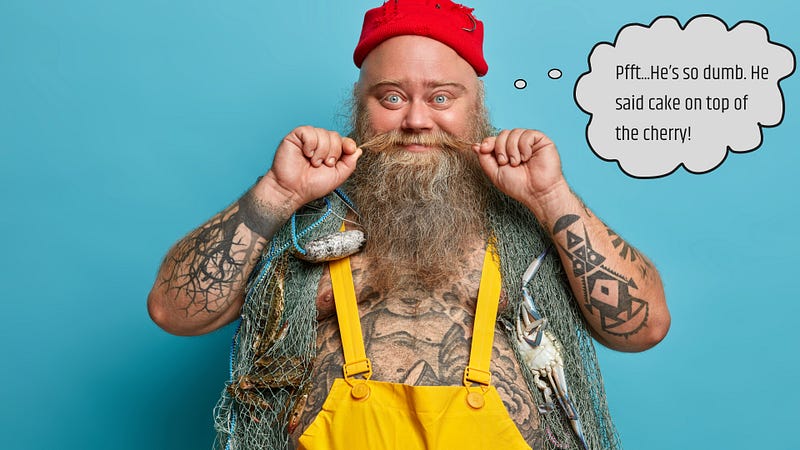
Wait, there’s more. The cake on top of the cherry. You can also edit your photos before you download them. Don’t forget to thank me in the comments.
- Bonus: Canva. Yep, you are not imagining that. Canva provides you with some kick-ass photos. It has the bonus to edit your images before downloading them.
I wanted to say cake on top of the cherry. If I went for the cliche, your mind would skip it.
You got the source of goods. We are ready to sparkle your story with some of the most outrageous photos you can find.
What is my process?
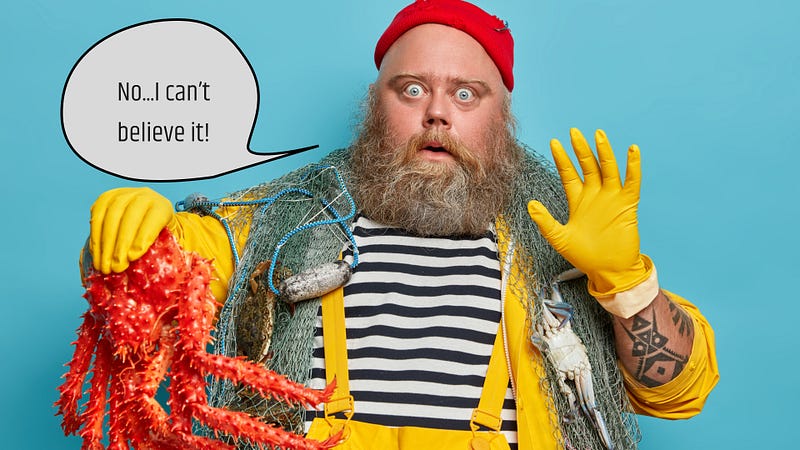
For the main image, it must be something related to the story.
That is why I went to Mr. Handsome Beard for teaching tags or the cross-eyed pug for skimming readers.
It’s relatable to the story at hand. I add some conversation bubbles to add more life to the image.
What about the other images?
For lessons, or How-to’s I follow the same type of image. Same character, same pets. Something that doesn’t distract too much the reader and it’s part of the story.
For other types of stories, my thumb of rule, wink wink, I’ll go to something related to the previous or next paragraph.
The idea is to give context to the reader who is skimming your story and reading only the subheadings. The images will support getting a gist of the story.
What keywords should I search for when looking for an image?
We are getting into the nitty-gritty of selecting images.
The preferred method is emotions.
What’s common to all of us? It’s expressing emotions.
What connects and resonates with most of us? (yes, there are some cold-hearted bastards out there) You’ve got it right, emotions.
Type words like ‘disgusting’, ‘angry’, ‘goofy’, and ‘sad’. Here’s the result for ‘angry’:
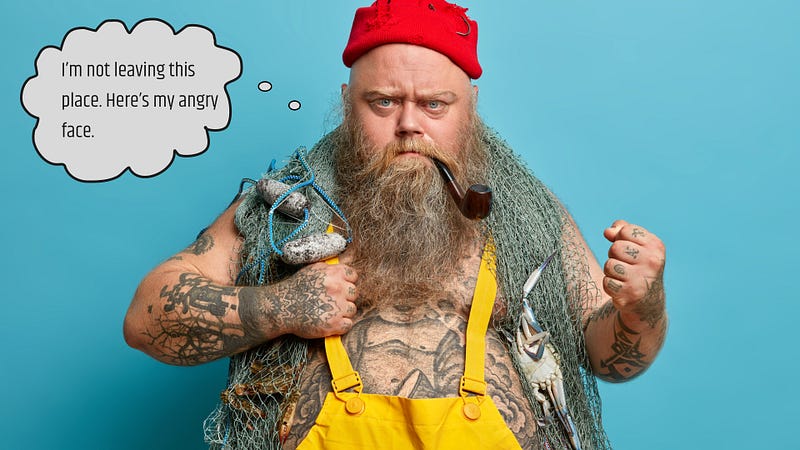
Look for one that whispers your name and shouts “Pick me!”. That’s your image. Me? I had no choice here.
Images with expressions are the ones that will stand out. A close shot of the face, or mid-body upper section showing their hands, are the photos that you should look for.
Pick the photos with a single-color background. The center of attention is the person in the photo, not what’s happening around.
Have you noticed how tiny the picture looks on your feed? Do you want to make it confusing? Or clear as your headline should be?
I’m happy to be pinky without the Brain to tell you that image will catch the eyes of the reader.
That’s it for today’s class! I have at least one more step to show you in the next piece, and it is about editing your images.
Spending time choosing your images might seem like a waste of time — My dear friend is not.
I only need to give you one example: Alex Mathers. See his illustrations.
Your images are part of your brand. They are part of your personality or your style.
Readers will identify your stories in a heartbeat.
If you want to know how to unlock your writing style, check out this piece right here:
Thank you for reading, if you like what you’re reading don’t forget to follow and subscribe to read more of my writing.
I’ll see you in the next one.