This is how to develop a Google Instant app in 7 steps with Hilt
An instant app is a functionality that allows users to use your app without having to install it. This is part 2 of the Instant app series. Do you want more information about Instant apps? Then read the article here.
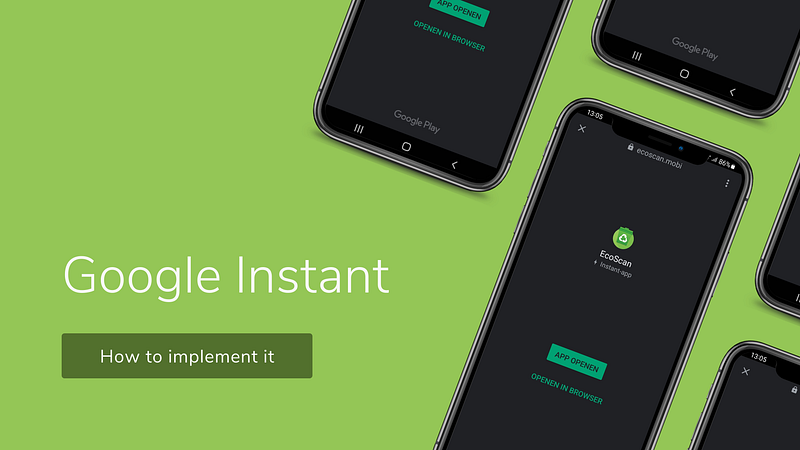
How do you start? That’s the question we asked ourselves last year when we decided to add an Instant app to our existing EcoScan app (www.EcoScanApp.eu). This is an app that helps users to sort waste their waste. Users simply take a photo or scan the barcode and we will tell them in which container it belongs based on their location.
Do I need an Instant app?
The most important thing is that you should first ask yourself whether it has added value for the user, otherwise it is better not to invest time in it. For EcoScan there was added value for the user. We enable manufacturers to provide location-based advice for their customers. Their customers could scan a QR code, which then opens the Instant app. The user can therefore quickly see in which container the waste belongs without having to download the app first.
There are already various tutorials that you can use for developing an Instant app, but things have been modified in recent years in terms of development, so that it often worked differently now.
This are the steps I took to get it working on production.
- Server configuration
Before you start modifying the code, make sure that Google knows that an instant app is present. You do this by adding the Digital Asset Links JSON file to your website. The location is <
[
  {
    "relation": [
      "delegate_permission/common.handle_all_urls"
    ],
    "target": {
      "namespace": "android_app",
      "package_name": "<<your app package name>>",
      "sha256_cert_fingerprints": [
        "<<your certificated fingerprint>>"
      ]
    }
  }
]
2. Add modules (feature module)
After you have added the configuration file to your server, you could go on with creating the Instant app. Due to the size limitation of the app bundle, it is necessary to put the Instant functionality in a separate module. In addition, it is wise to make a separate module for the logic that is necessary in both modules, for example the style of your app.
You create an Instant module by going to File > New > New module in Android Studio. In the screen that now appears, select the template “Instant Dynamic Feature”. Adjust the information in the screen and click Finish.
If you would like to have a seperate module you could add it as well.
3. Gradle configuration
After creating the module(s) some adjustments are still needed in the gradle file. Add the following in the Instant module:
plugin {
  id id 'kotlin-kapt'
}
android {
dataBinding {
enabled true
}/* if you have compileoptions / kotlinOptions / productflavors add them here as well */}
dependencies {
  implementation project(":app")
implementation "javax.inject:javax.inject:1"
implementation "com.google.android.gms:play-services-instantapps:$instant_version"
implementation "com.google.dagger:hilt-android:$hilt_version"
implementation "androidx.appcompat:appcompat:$appcompat_version"
kapt "com.google.dagger:hilt-android-compiler:$hilt_version"
implementation "org.jetbrains.kotlin:kotlin-stdlib:$kotlin_version"
}4. Configuration Hilt
In our project we use Hilt as a dependency injection framework. In the app module it is therefore necessary to add all references that we need in our Instant app. This way you can use them in your Instant app. The class look like this:
@EntryPoint
@InstallIn(SingletonComponent::class)
interface FeatureValidateBarcodeModuleDependencies {
fun hasUserInfo(): HasUserInfo
fun registerAnonymous(): RegisterAnonymous
}This should be places within the app module.
5. Add or move Instant Functionality
This depends on the app you are going to develop. I have chosen to use a separate Activity. The view could be like this but probably you would a more complex view. This is just for demo purpose.
<?xml version="1.0" encoding="utf-8"?>
<layout xmlns:android="http://schemas.android.com/apk/res/android">

    <data>

    </data>

    <LinearLayout
        android:layout_width="match_parent"
        android:layout_height="match_parent"
        android:gravity="center"
        android:orientation="vertical">

        <TextView
            android:id="@+id/hello_world"
            android:layout_width="match_parent"
            android:layout_height="match_parent" />
    </LinearLayout>
</layout>
This screen looks like this:
class ValidateBarcodeActivity : AppCompatActivity() {

    private lateinit var binding: ActivityValidateBarcodeBinding

    @Inject
    lateinit var hasUserInfo: HasUserInfo

    @Inject
    lateinit var registerAnonymous: RegisterAnonymous

    override fun onCreate(savedInstanceState: Bundle?) {
        handleInject()
        super.onCreate(savedInstanceState)
        binding = DataBindingUtil.setContentView(this, R.layout.activity_validate_barcode)

        if (hasUserInfo()) {
            handleFeature()
        } else {
            registerAnonymous().observe(this, {
                if (it.status == Result.Status.SUCCESS) {
                    handleFeature()
                }
            })
        }
    }

    private fun handleFeature() {
        if (InstantApps.getPackageManagerCompat(this).isInstantApp) {
            intent.data?.let {
                // TODO handle url for instant
                binding.helloWorld.text = "Hello Instant world"
            }
        } else {
            intent.data?.let {
                // TODO handle url for normal app
                binding.helloWorld.text = "Hello App world"
            }
        }
    }

    private fun handleInject() {
        DaggerValidateBarcodeComponent.builder()
            .context(this)
            .appDependencies(
                EntryPointAccessors.fromApplication(
                    applicationContext,
                    FeatureValidateBarcodeModuleDependencies::class.java
                )
            )
            .build()
            .inject(this)
    }
}
The most important code is InstantApps.getPackageManagerCompat(this).isInstantApp.
This check could be used to check if the app is an instant app or the normal app as the activity could also be used within the app itself.
As you can see we have to init Hilt manually. This is because we couldn’t use the @AndroidEntryPoint within the Instant app.
@Component(
    dependencies = [FeatureValidateBarcodeModuleDependencies::class]
)
interface ValidateBarcodeComponent {

    fun inject(activity: ValidateBarcodeActivity)

    @Component.Builder
    interface Builder {
        fun context(@BindsInstance context: Context): Builder
        fun appDependencies(featureValidateBarcodeModuleDependencies: FeatureValidateBarcodeModuleDependencies): Builder
        fun build(): ValidateBarcodeComponent
    }
}
6. Customize Android manifest
To open an Instant app you need to edit the Android Manifest file. Here you enter the URL and the Activity that should be started. In addition, it is necessary to add a default URL as meta data as well. This URL will be used as URL when the user clicks on the “Try Now” button in the details screen of your app in the Google play store. The Instant module AndroidManifest.xml looks like this:
<?xml version="1.0" encoding="utf-8"?>
<manifest xmlns:android="http://schemas.android.com/apk/res/android"
    xmlns:dist="http://schemas.android.com/apk/distribution"
    package="<<package name feature>>"
    android:targetSandboxVersion="2">

    <dist:module
        dist:instant="true"
        dist:onDemand="false"
        dist:title="@string/app_name">
        <dist:fusing dist:include="true" />
    </dist:module>

    <application>
        <activity
            android:name="<<package name>>.ValidateBarcodeActivity"
            android:exported="true"
            android:label="@string/app_name"
            android:theme="@style/AppTheme">

            <intent-filter
                android:autoVerify="true"
                android:order="1">
                <action android:name="android.intent.action.VIEW" />

                <category android:name="android.intent.category.BROWSABLE" />
                <category android:name="android.intent.category.DEFAULT" />

                <data android:host="<<domain>>" />
                <data android:pathPrefix="/validate-barcode" />
                <data android:scheme="https" />
                <data android:scheme="http" />

            </intent-filter>
            <meta-data
                android:name="default-url"
                android:value="https://<<domain>>/validate-barcode" />
        </activity>

        <!-- other activities that are used within the instant module -->
    </application>
</manifest>
Tests
After you have added the above code, you could test the app. You do this in Android Studio by selecting the Instant app and click on Run. If it’s not added yet, you could add it manually. Click on “Edit configuration” and click on the + button and select the Instant module.
tip: just make sure the normal app is not on your phone.
After installing the app on your device the Instant app could be run via the command line.
adb shell am start -a android.intent.action.VIEW -d “<
>”
Does it work right away? Then you did the job very well!
It probably won’t work the first time and you will have to solve a few problems. Please let us know, so we can add this and help others get it working quickly and smooth!
7. Create a build
After your app works, it’s time to create the App Bundle. You do this with the gradle command:
./gradlew app:bundle<
>Release
In our case that is:
./gradlew app:bundleProductionRelease
Deploy in Play store
After you have tested the functionality, you can publish it to the Play Store.
Do you want to know how that works? Read that in this article.
Do you like the article? Please give it a clap and follow me! Have you tried everything but it still doesn’t work? Let me know so I can help you. You could also send me a message on LinkedIn.
To get access to unlimited stories, you can also consider signing up to become a Medium member for just $5 a month or $50 a year. If you sign up using my link, I’ll receive a small commission (with no extra cost for you, so thank you!)


