
Ffmpeg
Using FFmpeg For Archiving Duties
Effortlessly reduce the size of your video collection and free up storage space with FFmpeg
FFmpeg is a powerful tool for handling multimedia files, and it can be especially useful for archiving purposes. In this article, we will see how to use FFmpeg to create lightweight copies of your video and audio files.
Thanks to FFmpeg, I was able to easily batch-convert all of the videos in my video archive, significantly reducing the amount of storage space needed. This not only saved money on storage costs, but it also made it easier to manage and organize the video archive. Overall, using FFmpeg for converting videos to the HEVC codec has been a great decision.
Before delving into the details let’s see how to quickly install the tool to have it available on your machine.
To install FFmpeg on macOS, you have a few different options, the easiest and quickest way is through Homebrew. If you don’t have the Homebrew package manager installed on your Mac first install it by visiting the https://brew.sh/ website.
To install FFmpeg through Homebrew, open a terminal session and run the following command. After a minute it will be done.
brew install ffmpegIf you are on Linux, you will first need to determine which distribution of Linux you are using. Most modern distributions include a package manager that can be used to easily install FFmpeg. For example, on Ubuntu and other Debian-based distributions, you can use the apt package manager to install FFmpeg by running the following command:
sudo apt install ffmpegOn other distributions, you may need to use a different package manager or compile FFmpeg from source. You can find detailed instructions for installing FFmpeg on a variety of Linux distributions or on Windows on the FFmpeg website https://ffmpeg.org/.
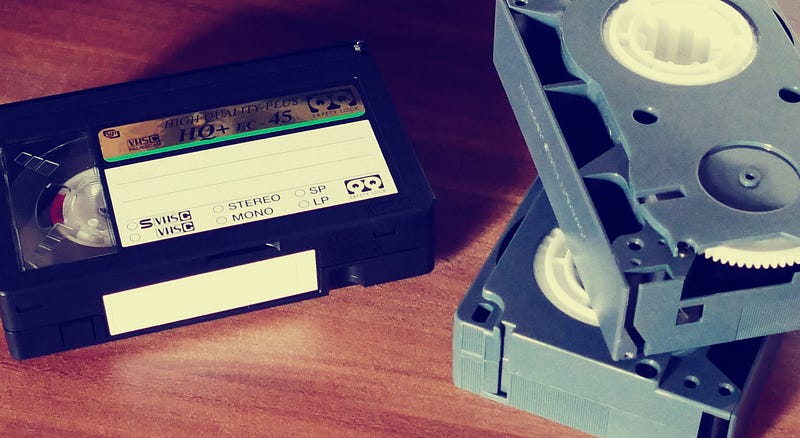
One of the most common uses for FFmpeg is to convert files from one format to another. This can be useful for ensuring that your media files are compatible with different devices or software. For example, if you have a collection of old video tapes that you want to digitize, you can use FFmpeg to convert the tapes to a digital format like mp4.
To do this, you would use the ffmpeg -i command to specify the input file, followed by the -c:v and -c:a options to specify the target codecs for the video and audio, respectively. For example, the following command would take as input a video file called input.mp4 and generate an mp4 file called output.mp4 using the H.264 video codec and the AAC audio codec:
ffmpeg -i input.mp4 -c:a aac -c:v libx264 output.mp4In addition to converting files, FFmpeg can also be used to extract audio or video streams from a file. This can be useful if you only need a specific part of a media file, or if you want to create a separate audio or video file from a larger one. For example, the following command would extract the audio from a video file called input.mp4 and save it as a separate file called output.mp3:
ffmpeg -i input.mp4 -vn -c:a libmp3lame output.mp3Another useful feature of FFmpeg is its ability to create video files from a series of image files. This can be useful for creating timelapse videos or stop-motion animations. To do this, you would use the ffmpeg -f command to specify the input file format, followed by the -i option and a pattern for the input filenames. For example, the following command would create a video from a series of JPEG images named img001.jpg, img002.jpg, etc.:
ffmpeg -f image2 -i img%03d.jpg output.mp4How to shrink a video file
One of the codecs that FFmpeg supports is H.265, also known as HEVC (High Efficiency Video Coding). H.265 is a popular codec that is known for its high-quality video compression, which can help to reduce the size of video files without much sacrifices in terms of quality.
To use FFmpeg to convert a video file to the HEVC codec, you would use a command like the following:
ffmpeg -i input.mp4 -c:a copy -c:v libx265 -crf 30 -preset medium -tag:v hvc1 output.mp4This command would convert the video file input.mp4 to the H.265 codec, using the libx265 library, and save the output to the file output.mp4. You should be aware that using this command will result in the CPU, rather than the GPU, handling the transcoding process, this helps a lot in reducing the final file size but on the other end results in higher transcoding times and potentially higher power consumption. But these compromises are acceptable if our aims are to produce a more lightweight video archive. By using the HEVC video codec, the file size can be decreased by more than 50% of the original one in certain conditions, by optimising the transcoding process.
Extreme compression
So far, you’ve seen techniques that can significantly reduce the file size of your videos. However, if you want to take it to the next level, you can use a stronger transcoding algorithm for compression. This is especially useful for videos that consist mostly of static content and still images (frames), such as slide presentations, video lessons, screen sharing sessions, and whiteboards. Keep in mind that using this transcoding method may take longer, so you may want to experiment with different values for the parameters, or simply use the standard command I mentioned earlier if the process is too slow on your machine.
ffmpeg -i input.mp4 -c:a copy -c:v libx265 -tag:v hvc1 -crf 30 -preset medium -x265-params keyint=3600:min-keyint=120 output.mp4 The keyint and min-keyint parameters are what makes the most difference in terms of processing time and resulting file size. You can try adjusting these values to see the effect on both. By the way, the default value for thekeyint parameter is 250 while for themin-keyint parameter is 25.
It’s also important to note that FFmpeg is a command-line tool, so you would need to use a terminal or command prompt to run the commands. Nevertheless you can also use FFmpeg in combination with other GUI tools and scripts to automate and streamline the process of converting and compressing video files, but this is out of the scope of this article.
Bonus tip
If you’re using FFmpeg to convert large video files, you may find that the process takes a long time. Here’s a bonus tip to help you out: you can temporarily suspend the transcoding process by suspending the ffmpeg process using its PID (process ID). To find the PID, you can use the terminal command ps. Once you have the PID, you can suspend the process by typing kill -STOP [PID] into the terminal.
Alternatively you can use this one-liner command I’ve prepared. You can just run it into a terminal window to pause the FFmpeg process running on your machine:
top -l 1 | grep ffmpeg | awk '{print $1}' | xargs kill -STOPKeep in mind that FFmpeg doesn't have built-in support for pausing the conversion process, but this method allows you to do it indirectly by suspending the terminal process itself. To unpause the process, simply type fg into the terminal window in which the paused ffmpeg process was running. Of course if you close that window while the FFmpeg process is paused, you would kill the parent process and the FFmpeg one with it, thus you wouldn’t be able to unpause the FFmpeg process afterwards. This can be a useful trick if you need to temporarily pause the transcoding process for any reason.
Remember also that you can stop and resume the ffmpeg process as many times as you like, but keep in mind that if you shut down your machine, you won’t be able to resume the process.
Do you have any experience with FFmpeg or video transcoding in general? Perhaps you’ve dealt with archiving large quantities of video files, like family movies or video lessons. If so, I’d love to hear about it! Share your experiences in the comments.
If you liked 👏 this article you may enjoy reading through some of my other articles. Oh, and don’t forget to follow me! 🫵
Further reading
Below, you can find some of my other articles:


