
WRITING
Unlocking the Potential of AI: A Fiction Writer’s Guide to AI Image Generation
A writer’s journey with Midjourney
When writing screenplays or radio plays, I often used images to put me in the fictional worlds I was writing about. I would look for images that roughly matched scenes or characters and hang them on the wall next to my computer. But it was always a compromise, because the images I found on the Internet were never exactly what I was looking for. Now, with AI Image Generation, we have a revolutionary tool that is a game changer for any writer who uses images to generate ideas and as a narrative catalyst. Whether you’re working on screenplays, novels, or blog posts: AI tools let you actually ask for exactly what you want to see — if you know the right questions.
In this article, you’ll learn some tricks for keeping your characters consistent and making them appear in different scenes so you can change props, lighting, shot types, and more. If you haven’t used AI-generated images as inspiration for your text before, now is the perfect time to start!
Step 1: Setting up Midjourney
This article focuses on Midjourney, a fantastic tool for writers looking for inspiration and to spark their creativity. It has a web app to create images, but the real fun starts when you invite the Midjourney bot to your own little private server (stay tuned, it doesn’t get too technical, I promise). Here’s a step-by-step guide on how to set up Midjourney that way — you’ll need to use Discord, a social instant messaging platform that lets you communicate and share media files via text and voice/video chats. This happens in public chat rooms called “servers”, but you can also create them yourself and run them in complete solitude. Well, writing is a lonely job, they say.
By the way, before we dive into our fiction writer’s guide to AI image generation, the Midjourney veterans among you might be interested in other (more advanced) techniques — you guys might want to check my list full of Midjourney tutorials.
Step 2: Creating a character
Defining character traits
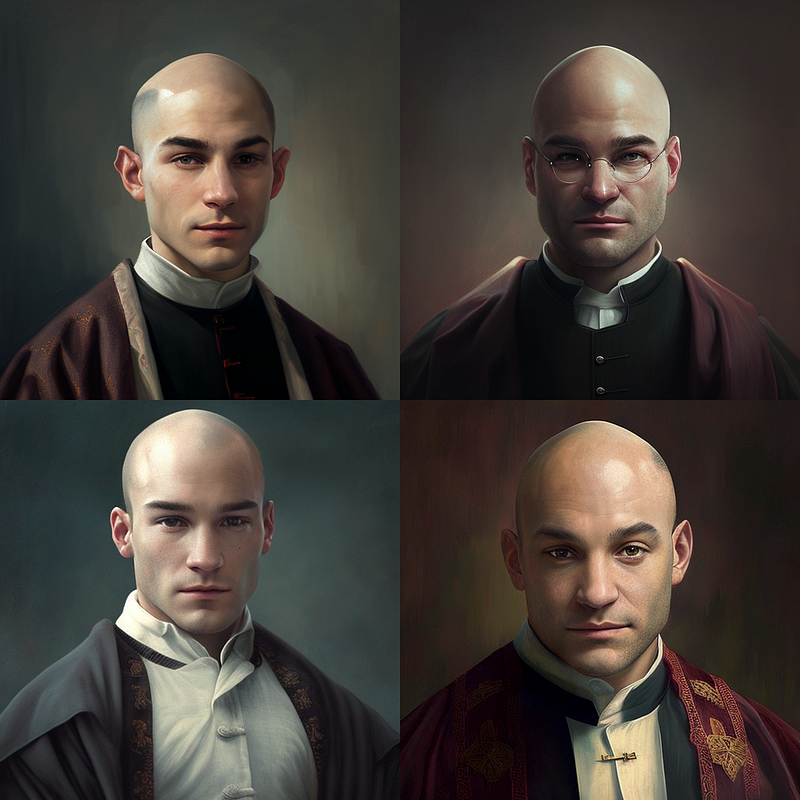
First, determine the character you want to have in your mood board, storyline, or on the wall next to your writing instrument. In the steps that follow, we’ll use that character and try to keep it consistent in different scenes or with different shot types or cinematic styles. To a human, this sounds easy to imagine, but an AI image generator like Midjourney, which basically uses random noise patterns to create images, will have a hard time pulling this off. But there are some tricks we can use to help it with this task. Suppose we have a bald priest as our protagonist …
… you could start with a simple prompt like this:
/imagine prompt: a young bald priest

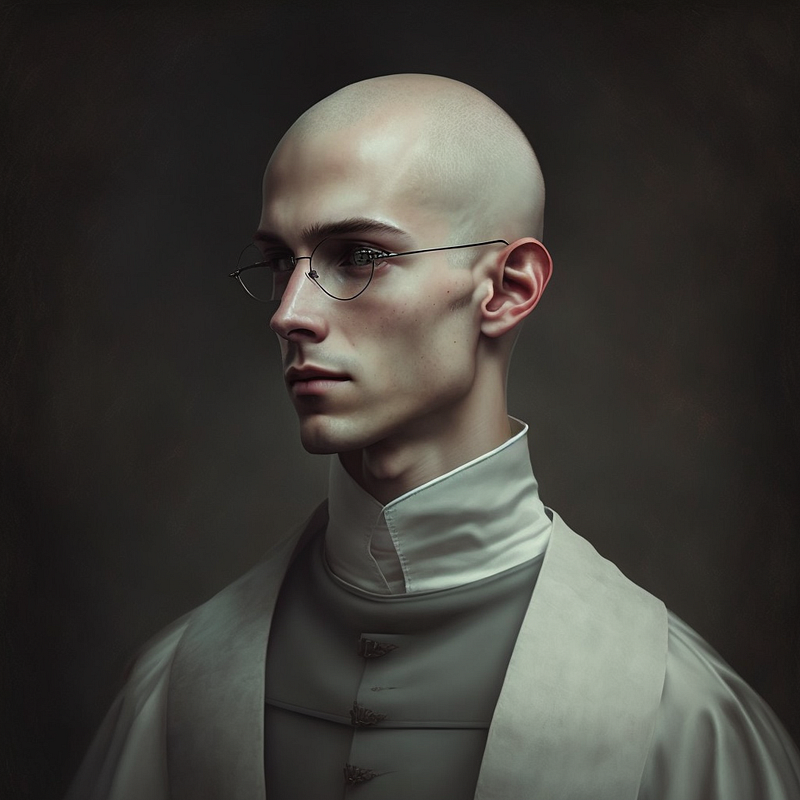
Or add further information about the character like so:
/imagine prompt: a young bald priest, glasses, scarf
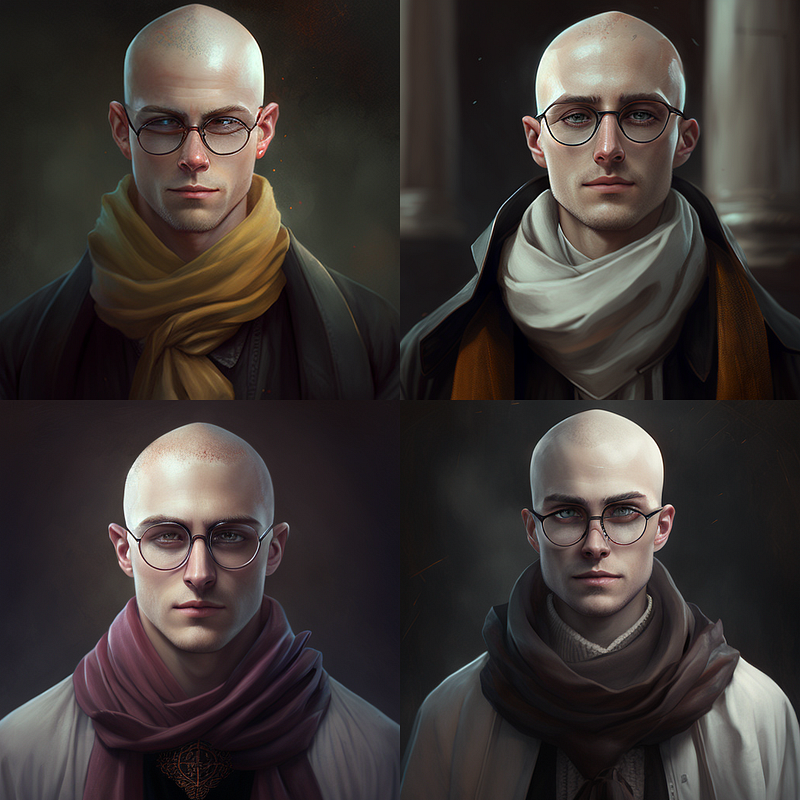
Or, and this works so well because Midjourney knows a lot of famous faces, you can create looks based on well-known actors:
/imagine prompt: a young bald priest, blend of Patrick Stewart::1 and Danny Devito::1
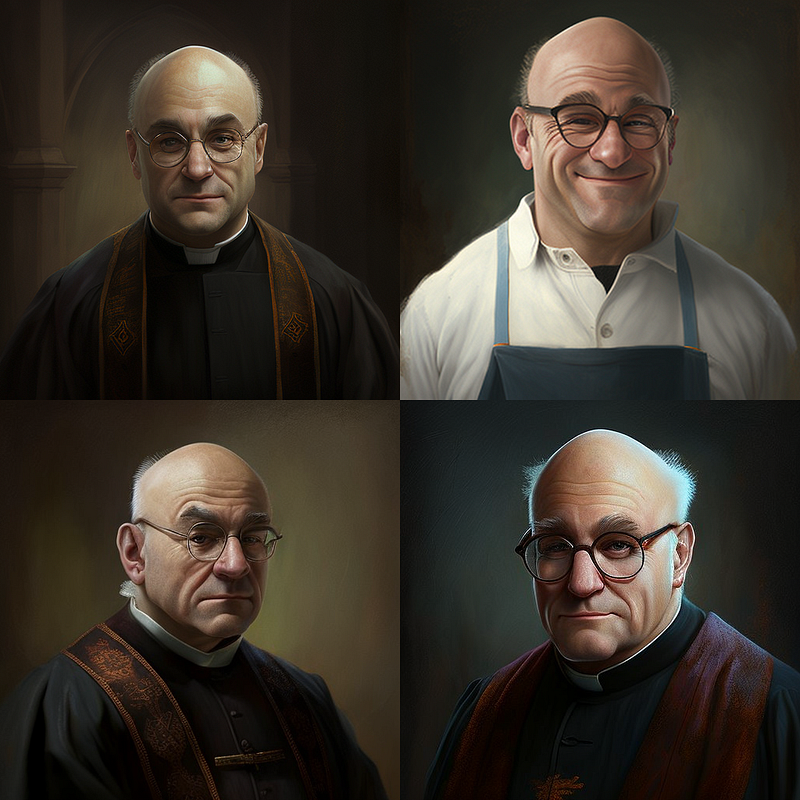
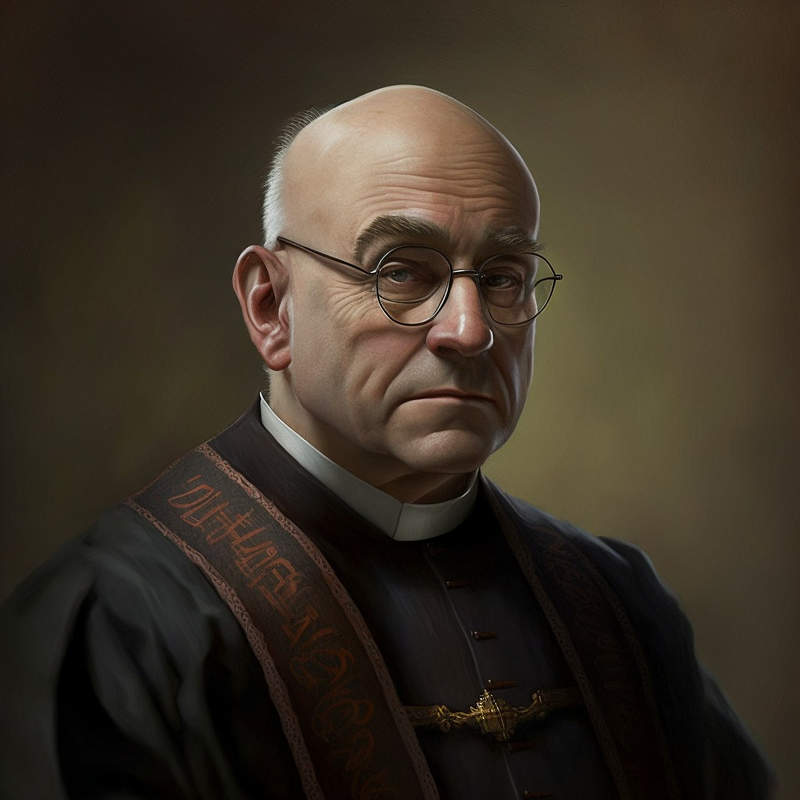
So you see the “::”? These are so-called “weights”. You specify how much of a word you want to weight in the resulting image. Our Picard/DeVito character looks great, but I want it to look a little more like Picard. So I changed the weighting to:
/imagine prompt: a young bald priest, blend of Patrick Stewart::1 and Danny Devito::0.5
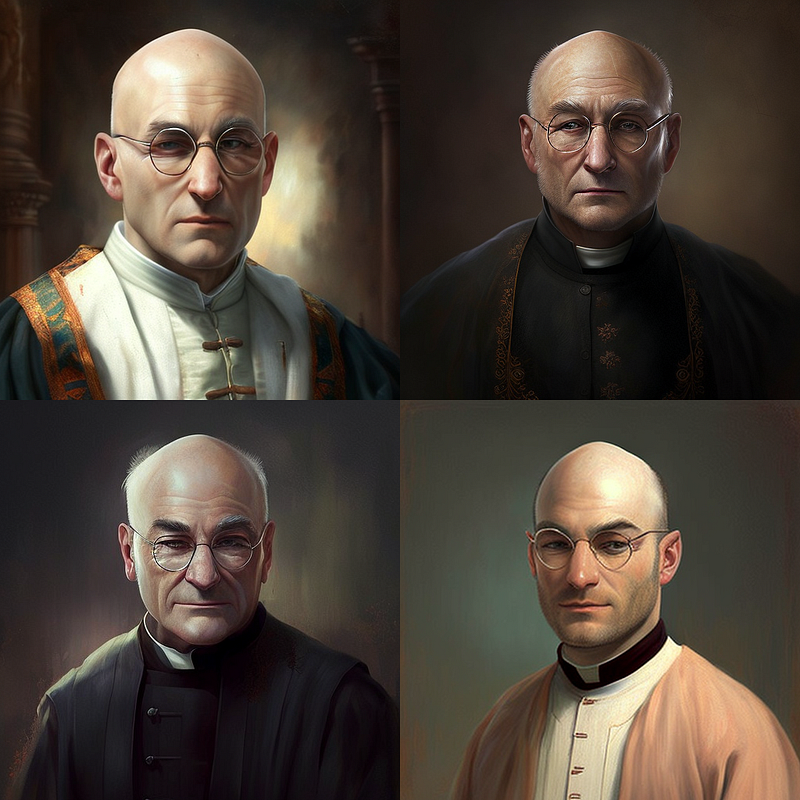
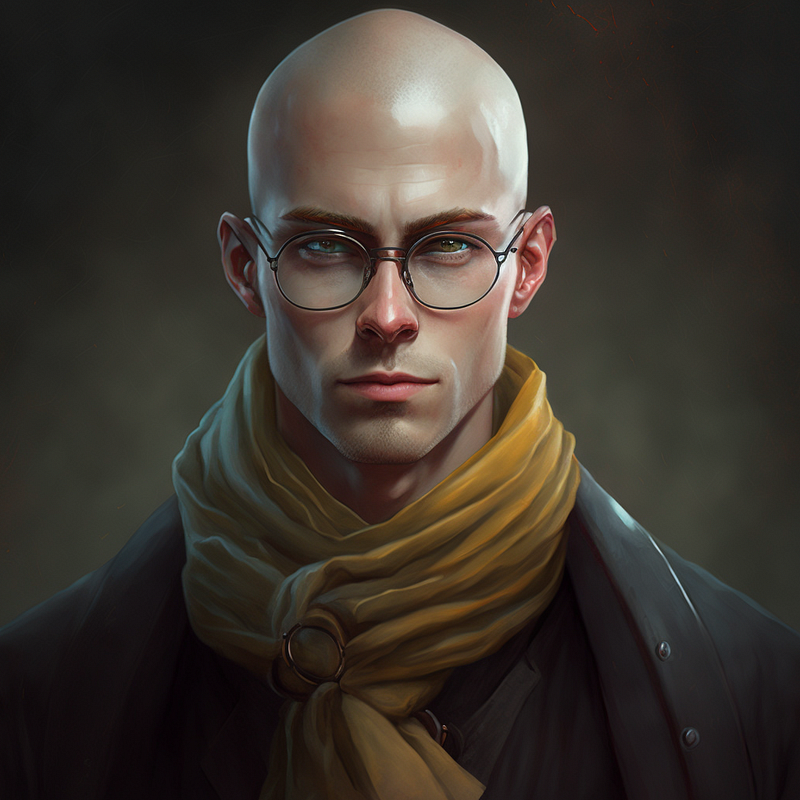
See? But now that guy doesn’t look like a “young” priest anymore, right? So let’s try:
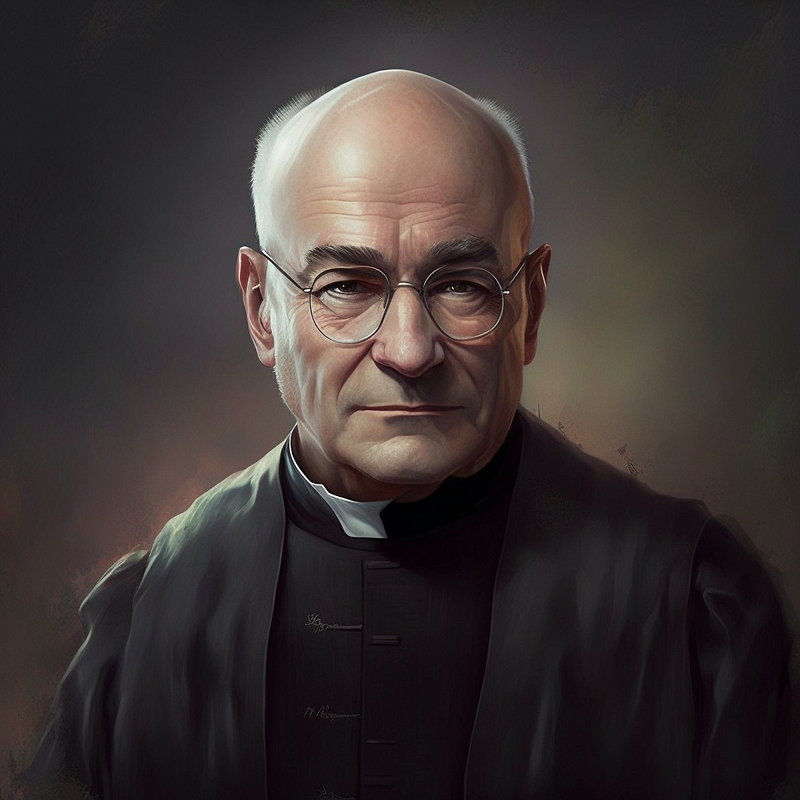
/imagine prompt: a young bald priest, blend of young Patrick Stewart::1 and young Danny Devito::0.5
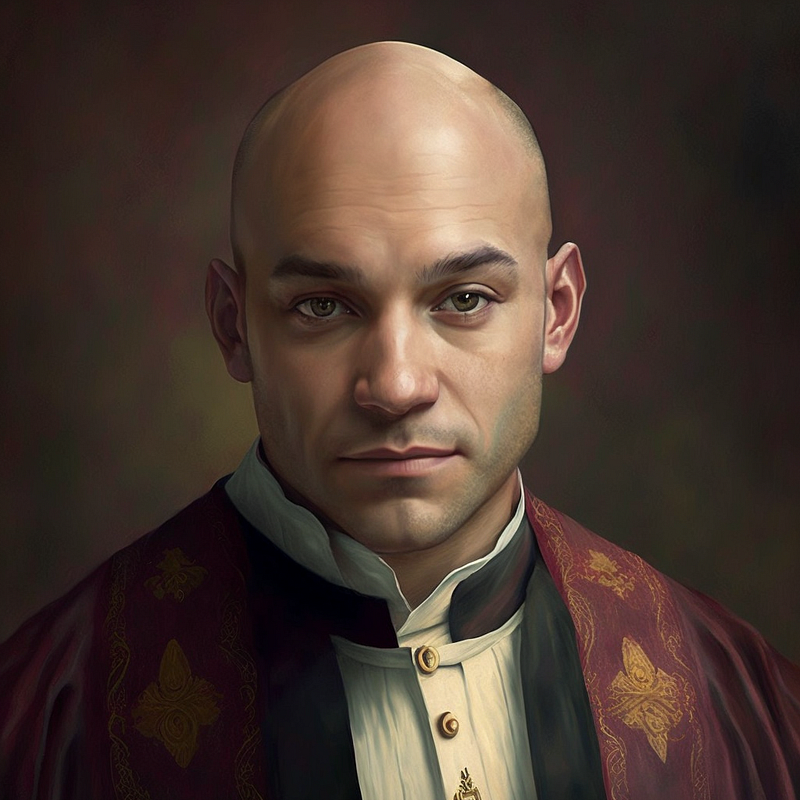
That’s better, I guess. You will quickly get the hang of it once you start experimenting. The important thing here is that you specify as precisely as possible what your character should look like and how it should be displayed, what shot size, for example, or in what lighting conditions.
Here is another one:
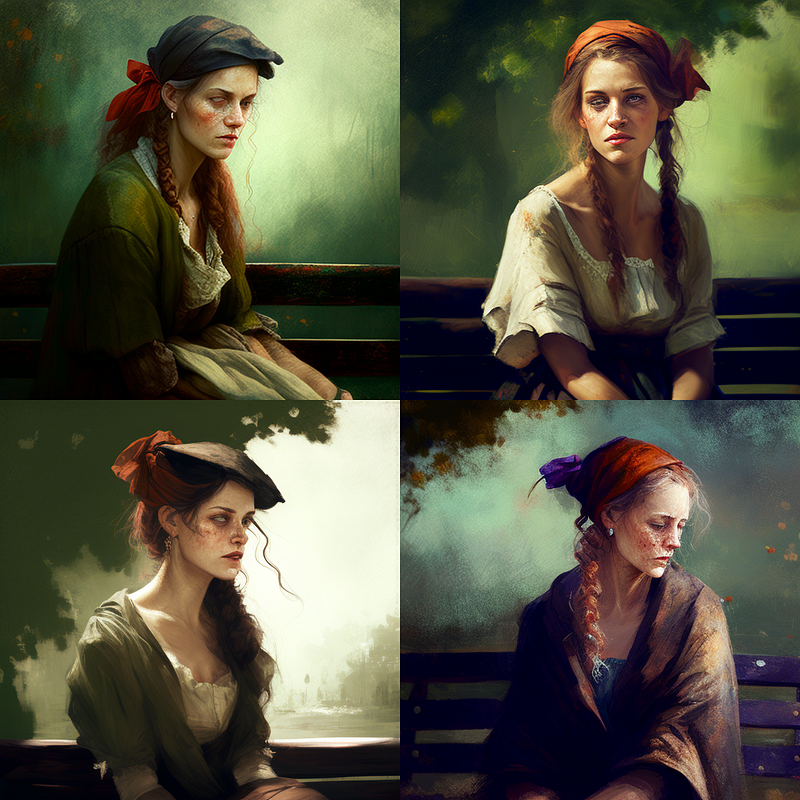
/imagine prompt: pirate woman, blend drew barrymore::1 and jennifer garner::1
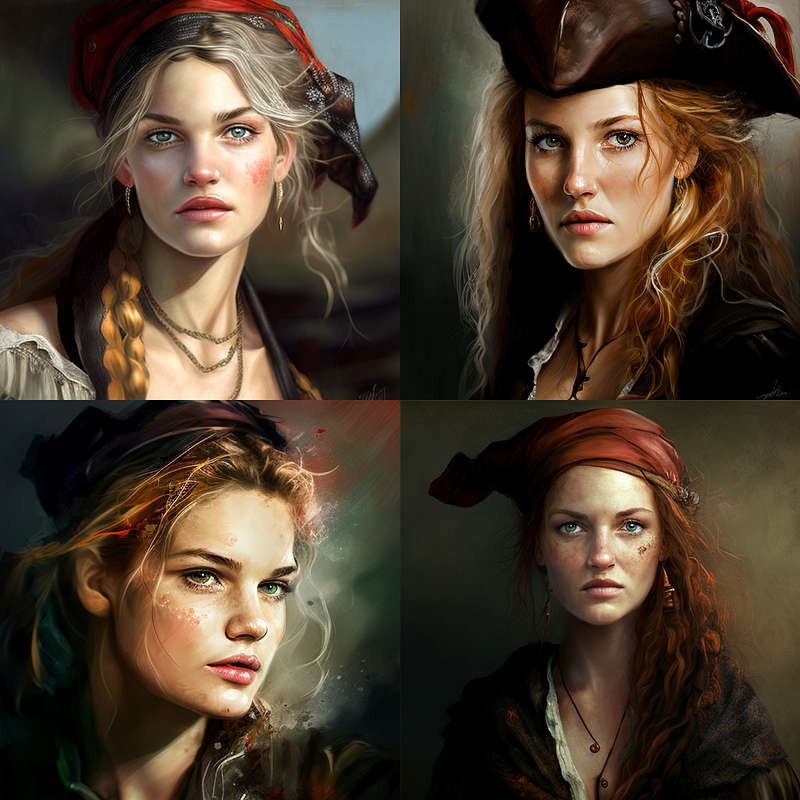

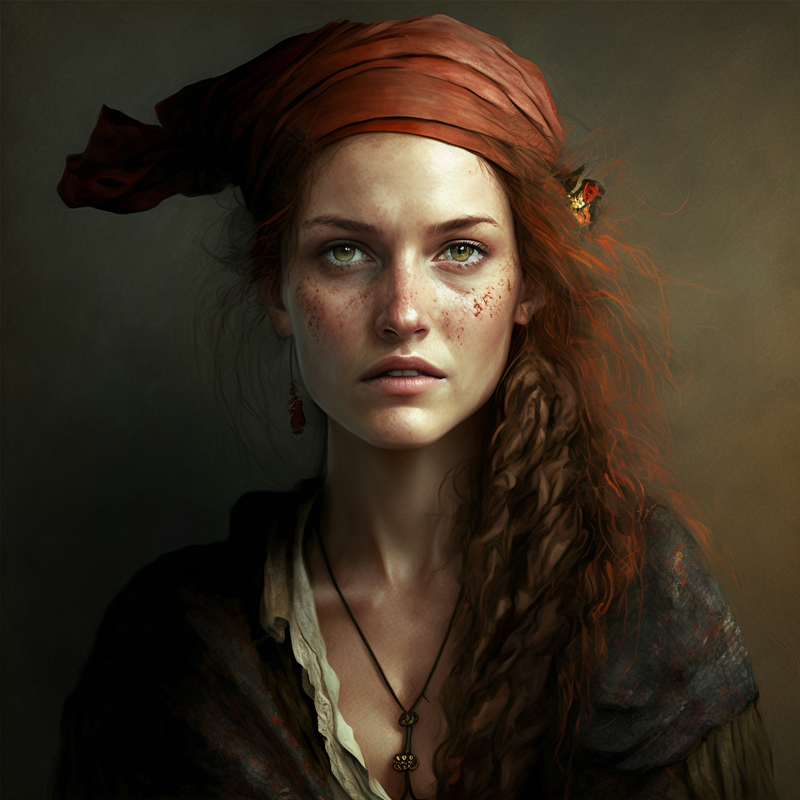
The image on the right will be our character base image. So how do we get this female pirate from her portrait session into another scene?
Using character base images as image prompts
With our character base image in place, we can now use the URL to that image as an image prompt (right-click on the upscaled image and save the link to it). We will refer to this URL as “link to character bas image”.
/imagine prompt: [link to character base image] woman on a park bench
And voilá, we changed the scene and got — very untypical for AI image generators like Midjourney — a pretty similar pirate (long red hair, freckles). Now, admittedly, it’s a good approximation, but somehow something is missing. We can do better by forcing the original “pirate woman” prompt:
/imagine prompt: [link to character base image] pirate woman on a park bench

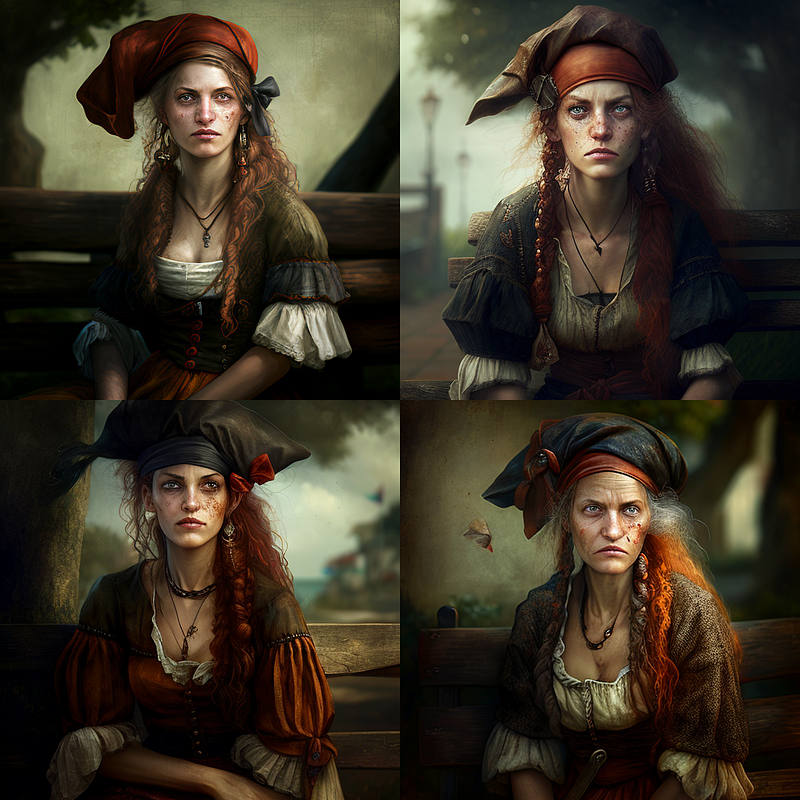
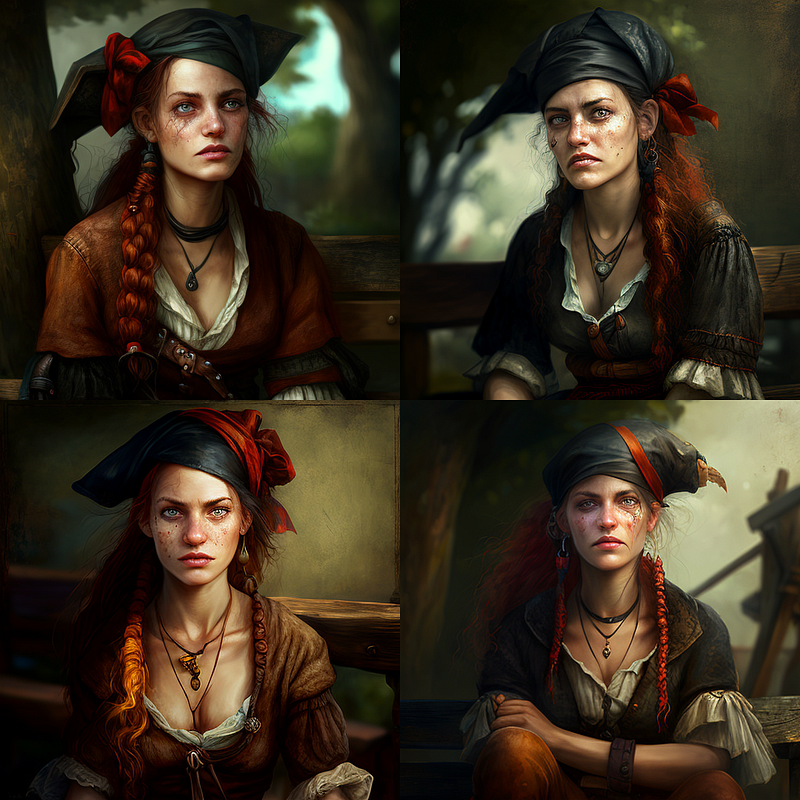
That’s a pretty good transformation from a portrait session to a scene on a park bench, isn’t it?
Set the right scene
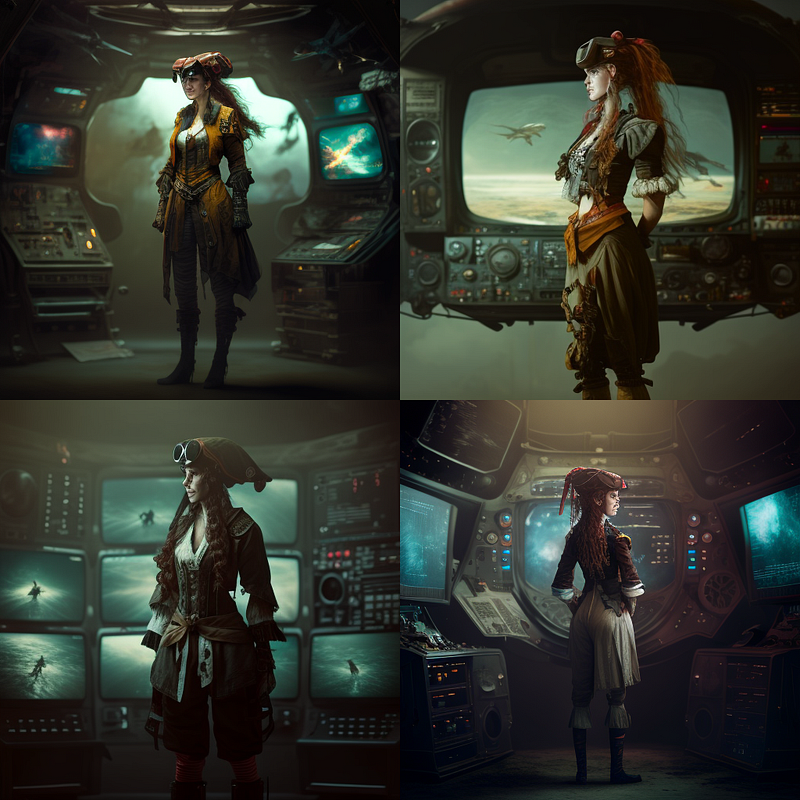
Alright, then let’s put our character in more different scenes. All we need to do is to use the link to the character base image. We’ll additionally use the “film still” prefix to already trigger the use of different shot types and lighting styles later. Let’s try some sci-fi …
/imagine film still, [link to character base image] pirate woman inside a spaceship, surrounded by computer screens, futuristic devices in the background

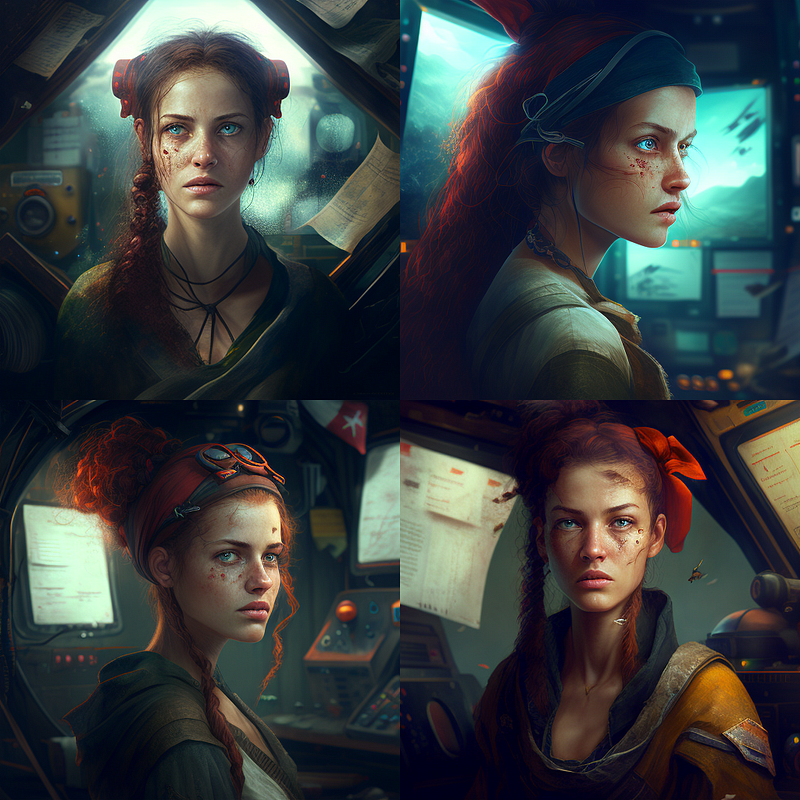
You can also play with lighting:
/imagine film still, [link to character base image] pirate woman inside a spaceship, surrounded by computer screens, futuristic devices in the background, sunset, golden hour
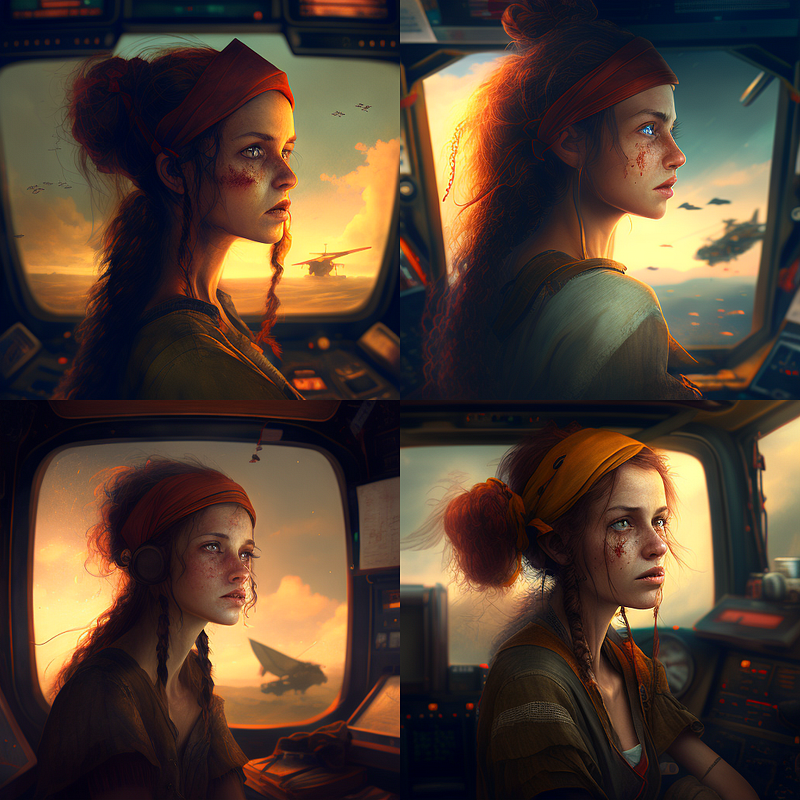
Looks pretty decent already, doesn’t it?
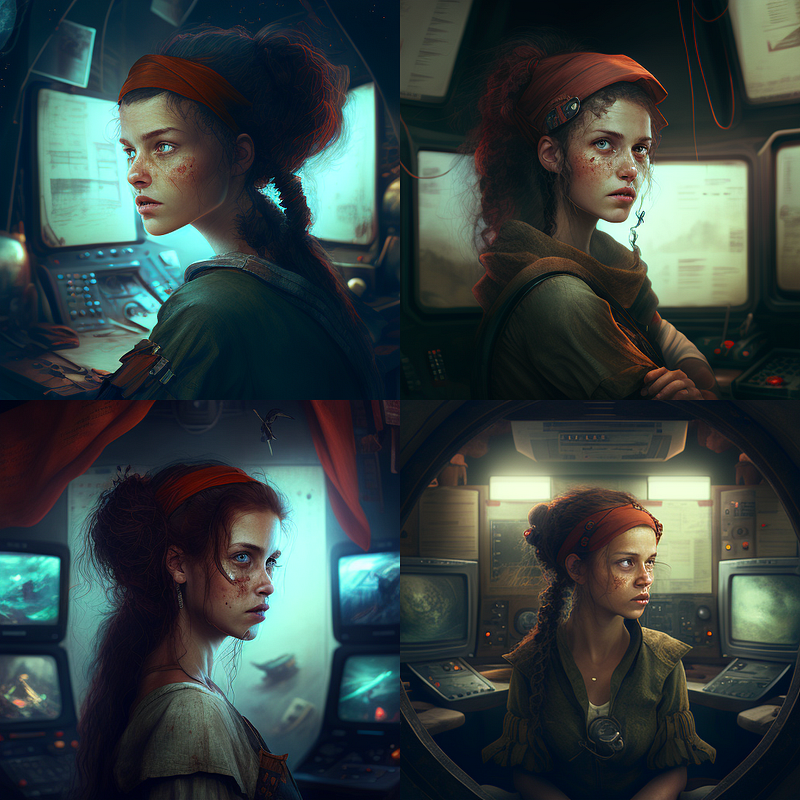
Let’s try another one:
/imagine film still, [link to character base image] pirate woman inside a spaceship, surrounded by computer screens, futuristic devices in the background, night, dimly lit

You’ve noticed that “night, dimly lit” doesn’t work so well, right? That’s because our base character image doesn’t have a very “night, dimly lit” atmosphere, so Midjourney will have a hard time incorporating that into your render.
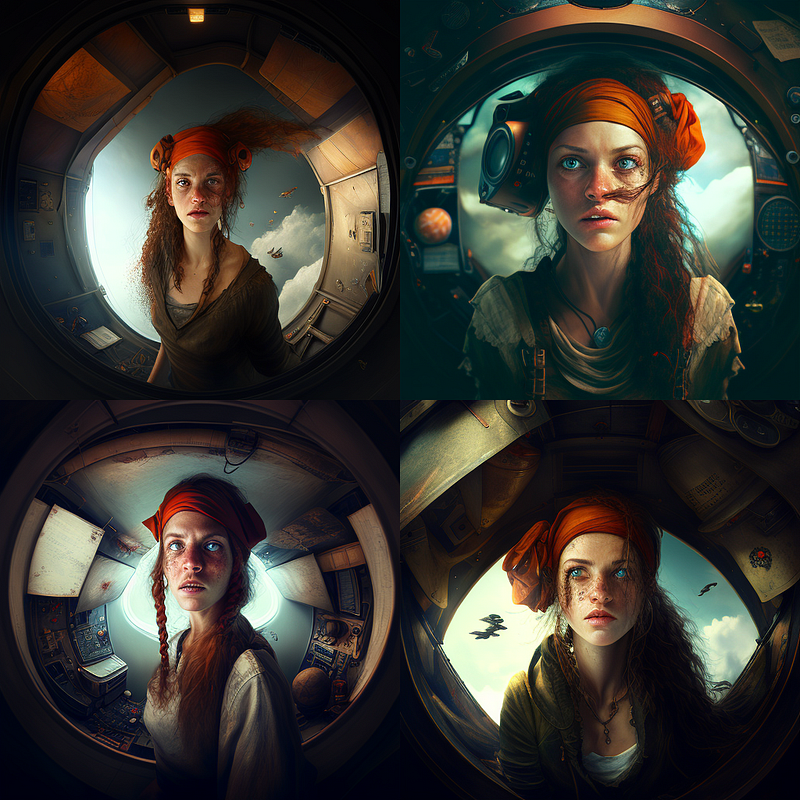
The same goes for shot types:
/imagine film still, [link to character base image] pirate woman inside a spaceship, surrounded by computer screens, futuristic devices in the background, medium shot
Changing the shot type to “medium shot” also doesn’t work, because our character base image is a close-up of a pirate woman. When using image prompts, you will always end up with approximately the original image type (until Midjourney V4 gives us the option to use custom image weights). Interestingly, Midjourney seems to interpret shot types that don’t match the image as some sort of lens change. Check these out:
/imagine film still, [link to character base image] pirate woman inside a spaceship, surrounded by computer screens, futuristic devices in the background, wide angle
and
/imagine film still, [link to character base image] pirate woman inside a spaceship, surrounded by computer screens, futuristic devices in the background, wide shot
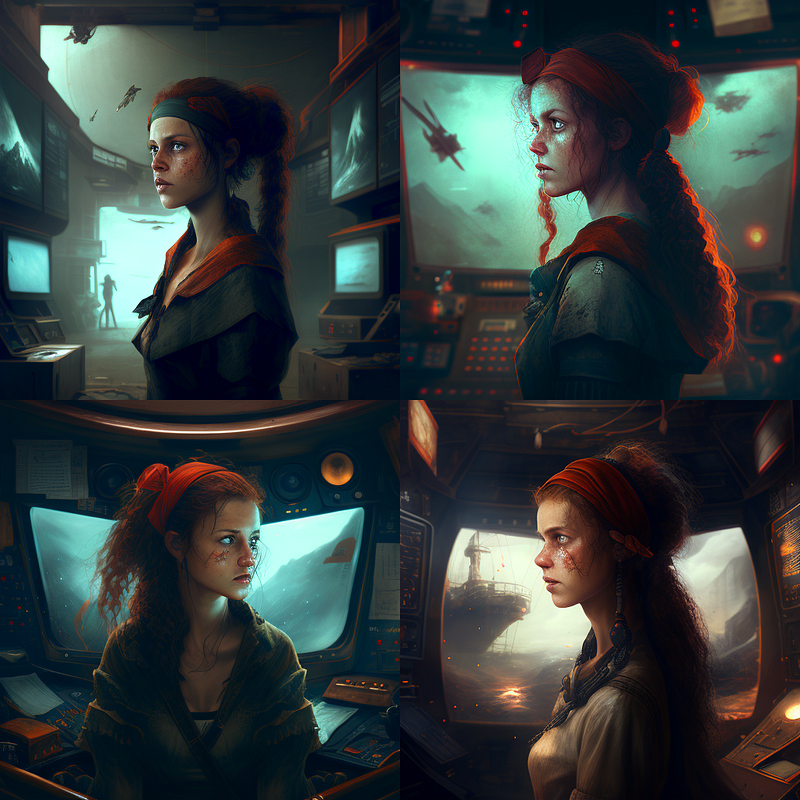
So, to change the shot type, we need a different base image for the character. Therefore, these images should be carefully composed according to the requirements of the scenes in which they will be used later.
Here’s a new character base image rendered with the prompt
/imagine full body shot of a pirate woman standing, black shoes, full body shot
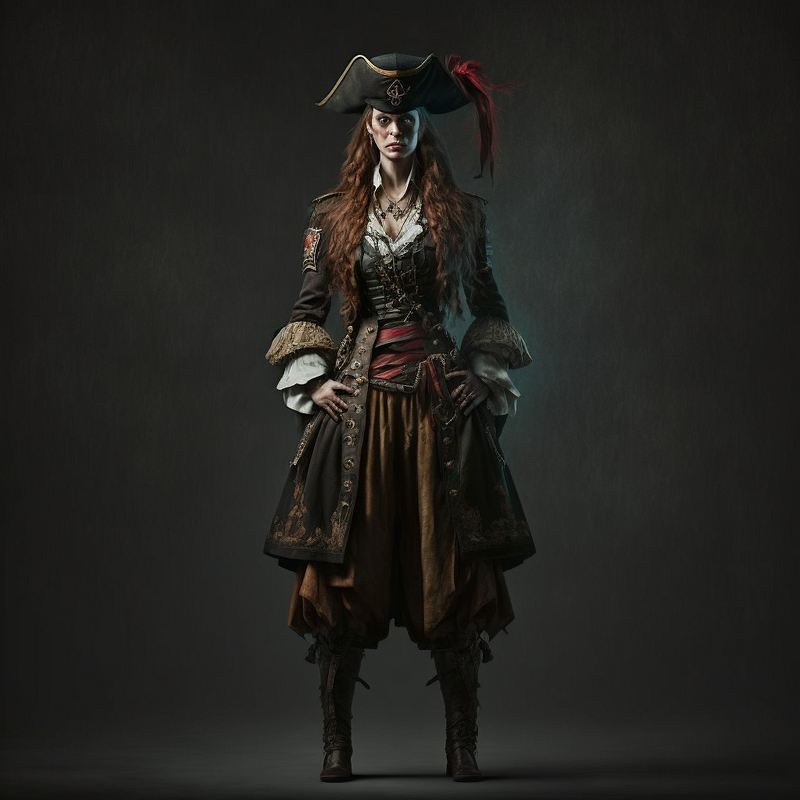
Did you notice the “enforcement” here? By asking Midjourney to render a “standing” pirate with “black shoes” and in a “full body shot”, we have made it clear to the AI what we are looking for.
With this character base image, we can successfully create:
/imagine film still, wide shot, [link to character base image] pirate woman inside a space ship, surrounded by computer screens, futuristic devices in the background, full body shot
or
/imagine film still, wide shot, [link to character base image] pirate woman standing on a moutain, full body shot
(note the enforcement of the shot type by repeating it at the beginning and the end)
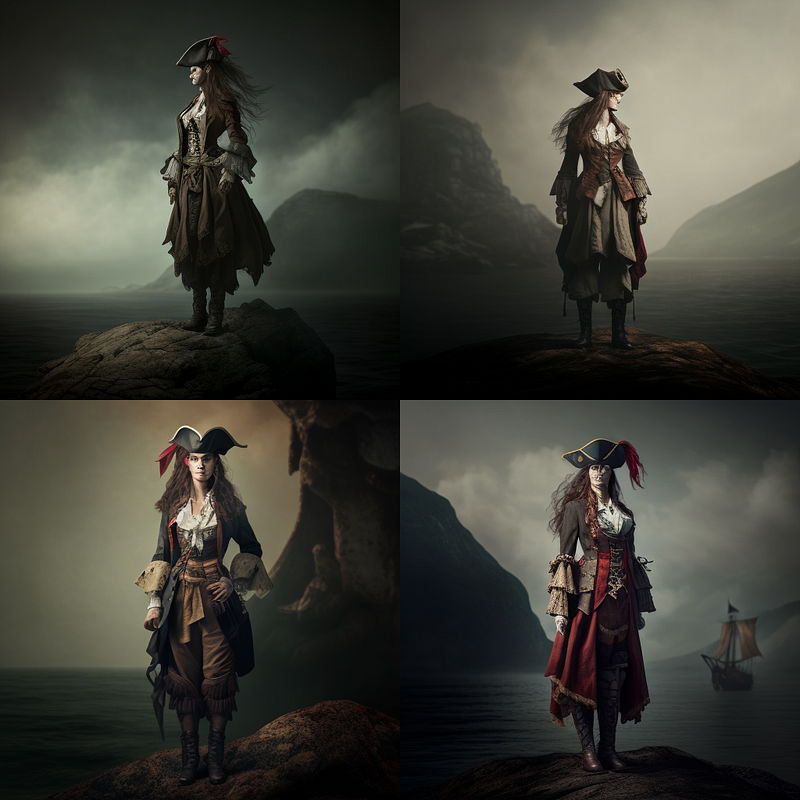
And that’s a wrap. Try this with your characters and scenes and let me know in the comments if this helps your creative process.
If you like my posts on AI image generation from the writer’s point of view, you can check out these lists where you can find my Medium articles sorted by specific topics.
You can also follow me on Twitter where I am sharing work-in-progress to learn more about AI Cinema and AI Art: www.twitter.com/tristwolff

- Subscribe to Storius Direct to receive articles like this to your inbox
- Subscribe to Storius Digest to receive a weekly digest with links
Elsewhere: LinkedIn • Facebook • Instagram • Twitter • Flipboard