
The simplest CI/CD for flutter app with Codemagic. Part 1
Let’s say you are a developer on some small project. There is only limited access to App Store Connect and Google Play Console. These are such restrictions: like signing builds and publishing to the marketplaces.
Of course, you can bypass these restrictions if you make the necessary certificates and profiles (in the case of iOS) or using the original jks file and passwords to it (in the case of Android). To do this, you usually need to ask the owner of these accounts.
This article will be useful to you if you see yourself in at least one of the above cases:
- The process of building for iOS or Android takes too much time and resources of your computer
- There is another developer on the project who is actively engaged in the project and is making some changes day to day, but only you can do the build
- The Project Manager has asked you to send another build to the testers, but you don’t have access to your computer
This will be a detailed tutorial with many screenshots.
Non-members can read for free here.
Minimum requirements for iOS and Android
Signing for release builds:
- iOS: certificate.p12 (Distribution or iOS Distribution) and its password; profile.mobileprovision (App Store Connect Distribution)
- Android: keystore.jks and passwords to it
Access to Stores API — for generally organizing the process of sending to Stores via third-party services like Codemagic, GitHub Actions, Fastlane and others:
- App Store Connect API: IssuerID App Store Connect API Key with .p8 extension
- Google Play Android Developer API: json file of the Service Account from the project in Google Cloud Console
Codemagic Registration
Initial prerequisites:
- Have an account on GitHub, GitLab, or BitBucket
- Have access to the project repository
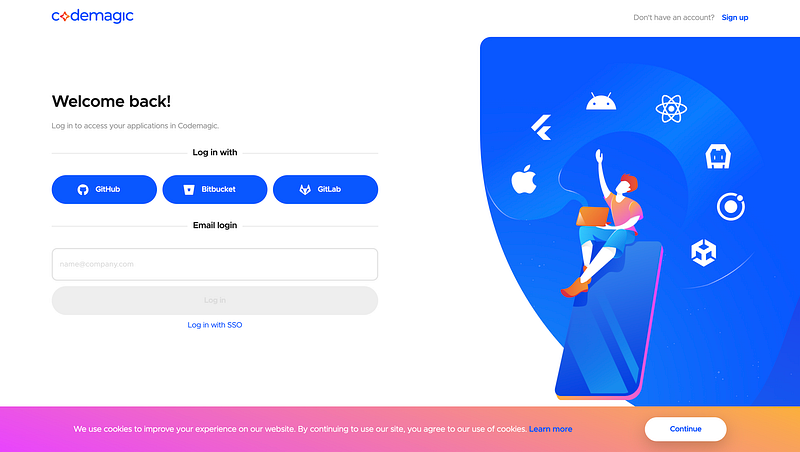
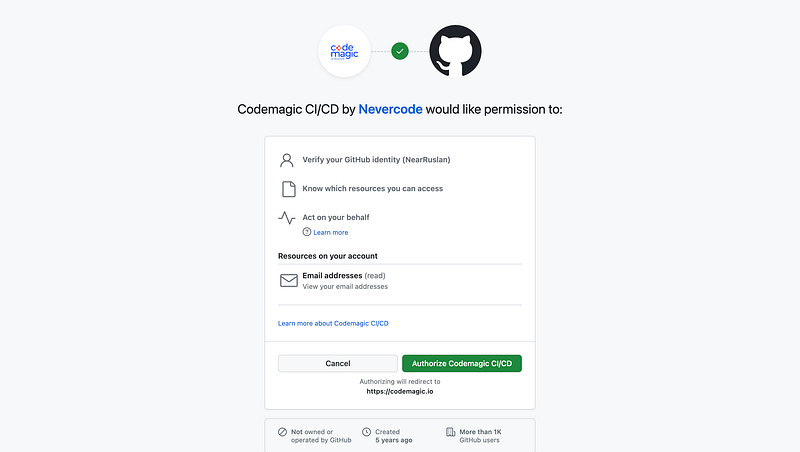
First, you need to create an account with Codemagic if you don’t already have one:
It’s easy. You just have to click on the most bright buttons:
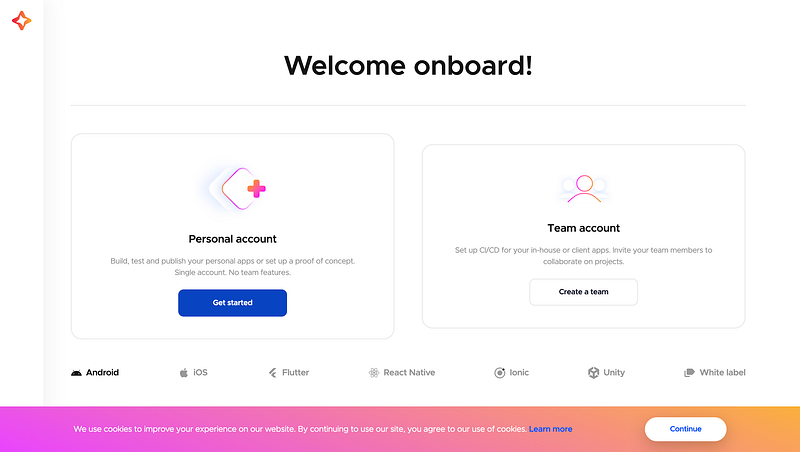
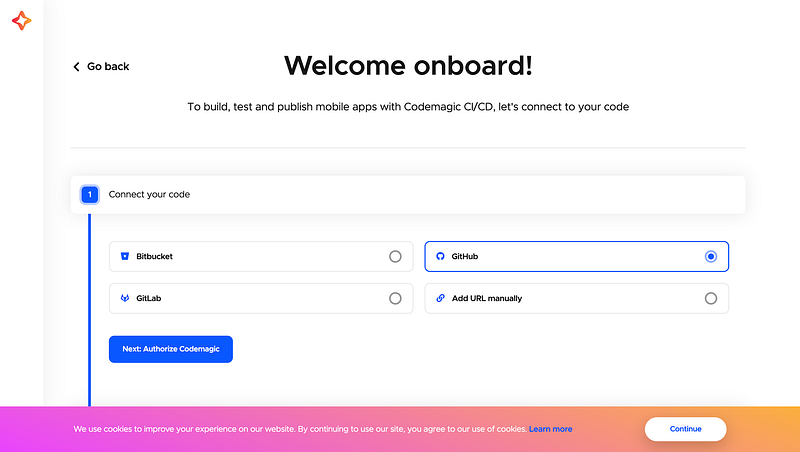
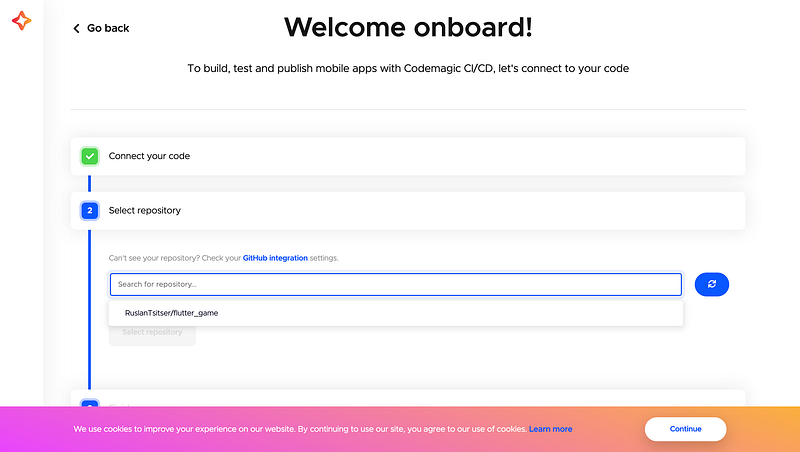
In the end you should see something like this:
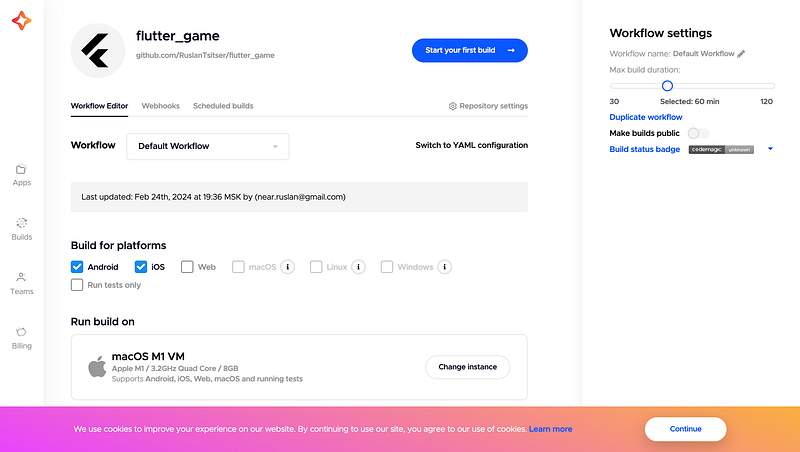
Let’s break down how to set up CI/CD
Codemagic setup for Android. Signing release builds
This, in my opinion, is the easiest.
It will require:
- A jks file to sign the release build
- Passwords and Key Alias
Project setup
On my projects the android folder usually looks like this:
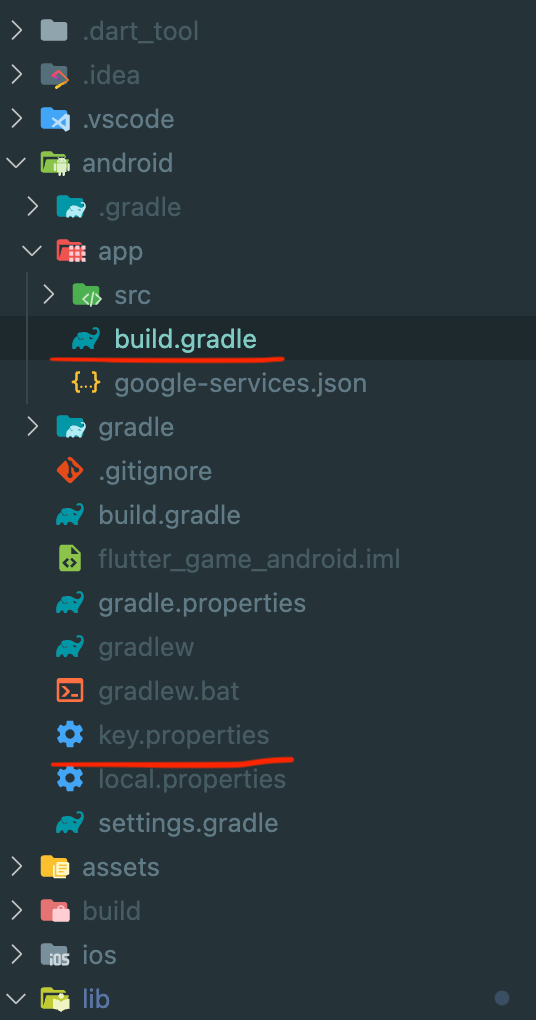
- android/app/build.gradle — the following condition should be added here:
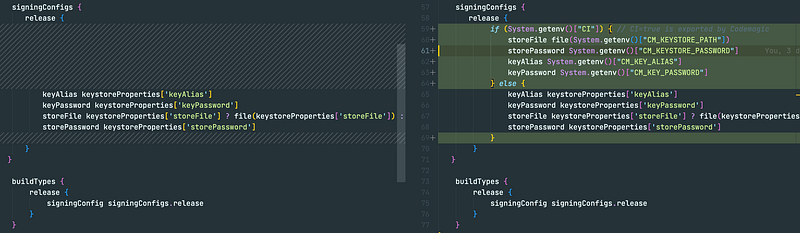
if (System.getenv()["CI"]) { // CI=true is exported by Codemagic
    storeFile file(System.getenv()["CM_KEYSTORE_PATH"])
    storePassword System.getenv()["CM_KEYSTORE_PASSWORD"]
    keyAlias System.getenv()["CM_KEY_ALIAS"]
    keyPassword System.getenv()["CM_KEY_PASSWORD"]
} else {
    keyAlias keystoreProperties['keyAlias']
    keyPassword keystoreProperties['keyPassword']
    storeFile keystoreProperties['storeFile'] ? file(keystoreProperties['storeFile']) : null
    storePassword keystoreProperties['storePassword']
}- andoid/key.properties — all secrets are usually stored here, they are required to access the keystore file for the release build. This data will be used in Codemagic later.
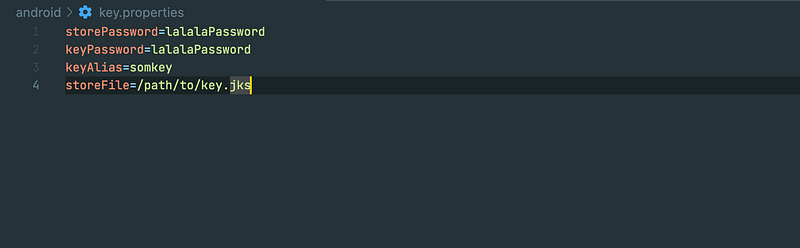
Just in case I remind you that this file should not be stored in public access, especially if the project is public!
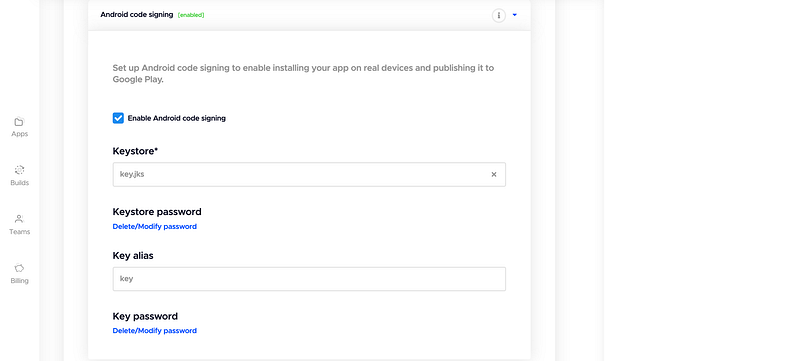
Codemagic setup
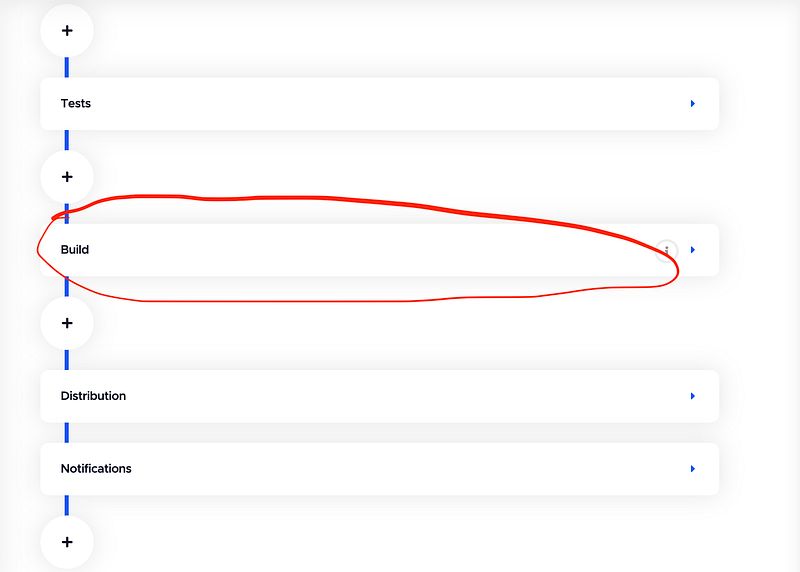
- Expand the Build section
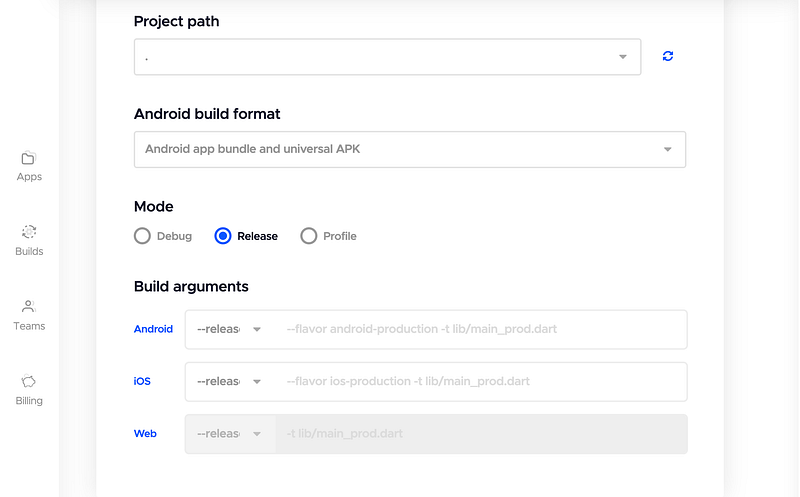
- It should be Release mode selected
- Expand the Distribution section

- Upload the keystore.jks file and fill the fields with data from the key.properties
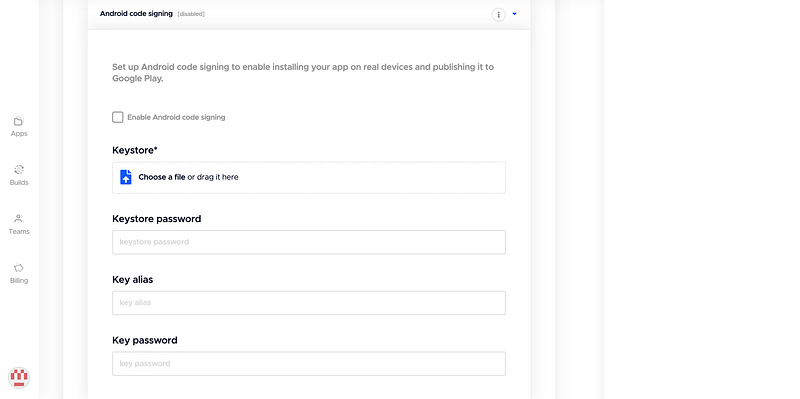
- After these step you should see something like this:
In general, this is enough for building not on your computer. After clicking on Start new build, you will only have to select the branch you want to build from.
After successful build it will look like this:
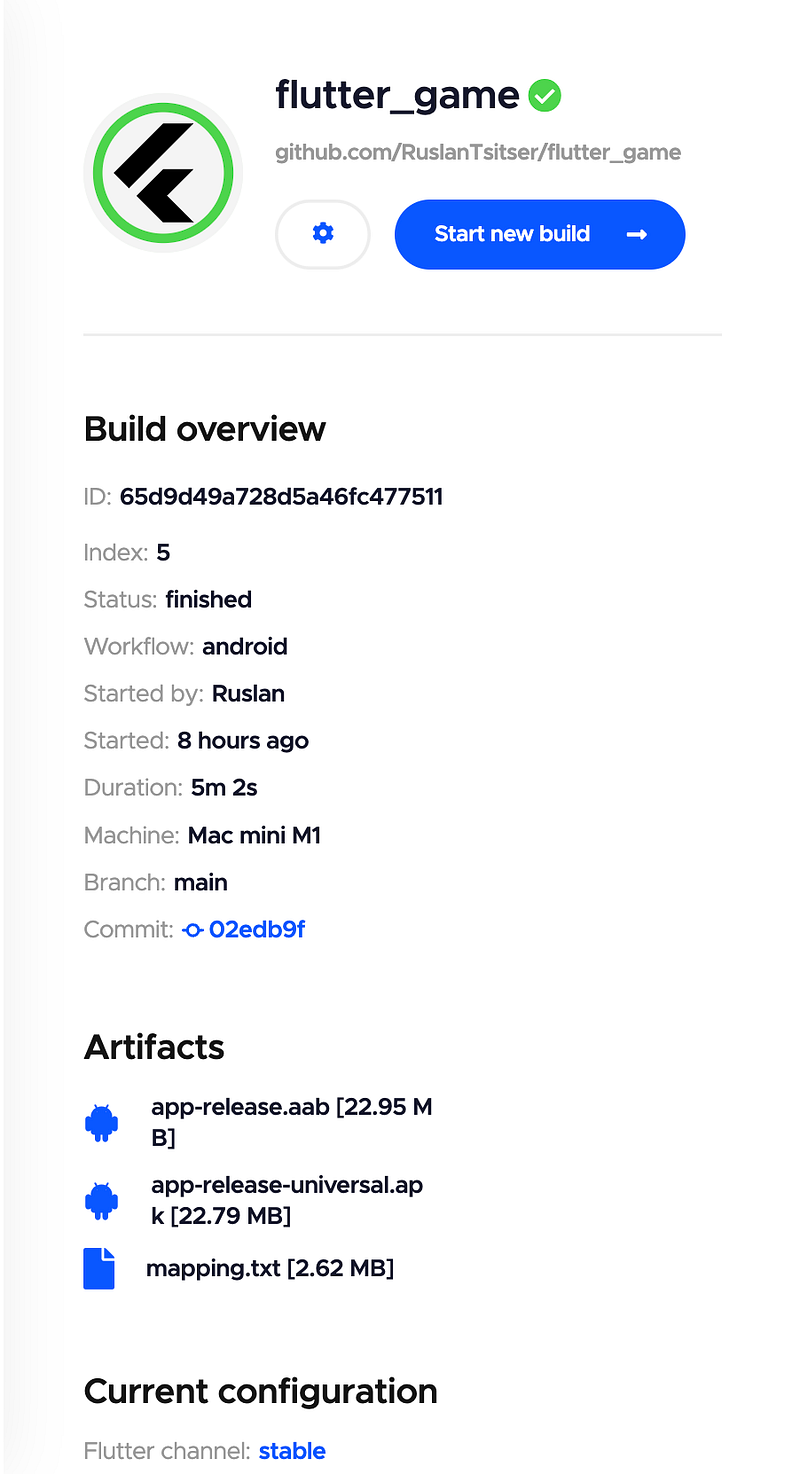
You can manually download artifacts and send them to their destination.
Codemagic setup for Android. Automatic publishing to Google Play
This step, as I mentioned above, requires the access to the Google Play Android Developer API
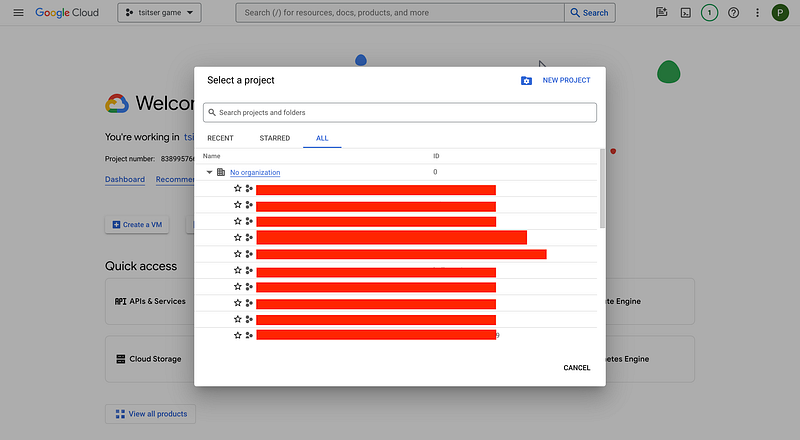
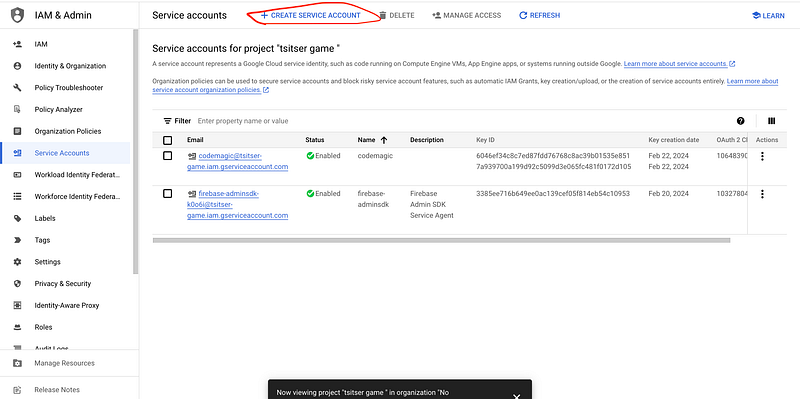
First, you need to open an existing project in Google Cloud Console or create a new one. Or you can, for example, use an existing Firebase project.
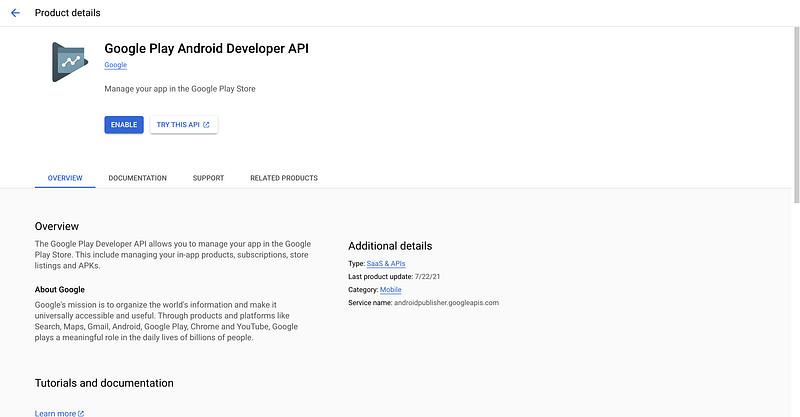
- Enable Google Play Android Developer API. Follow the link
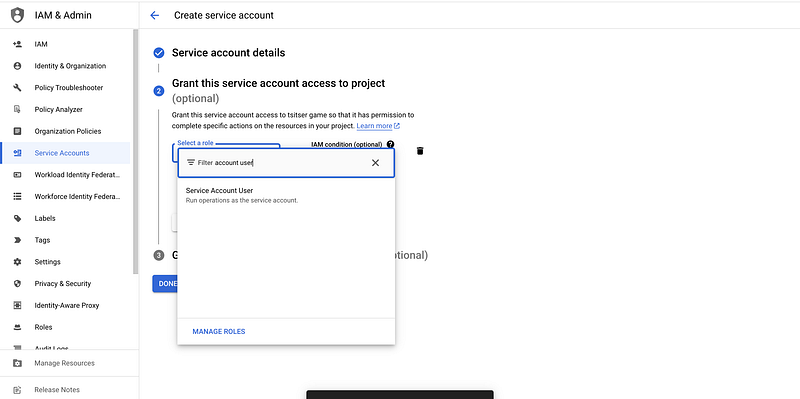
- Create a new Service Account (link), grant the permission of Service Account User and save its email for the future. In this example, the email is [email protected]
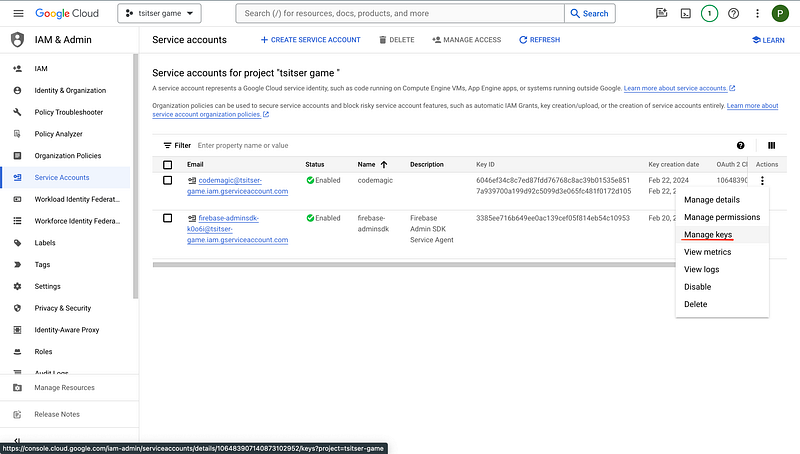
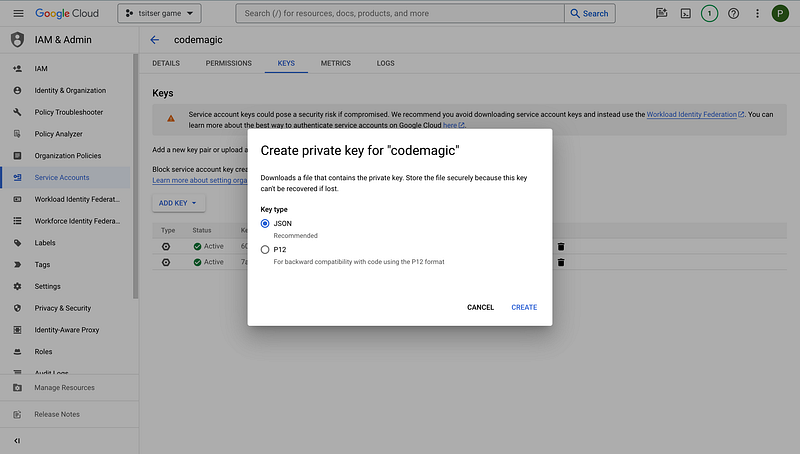
- Create and save a private key JSON of this Service Account
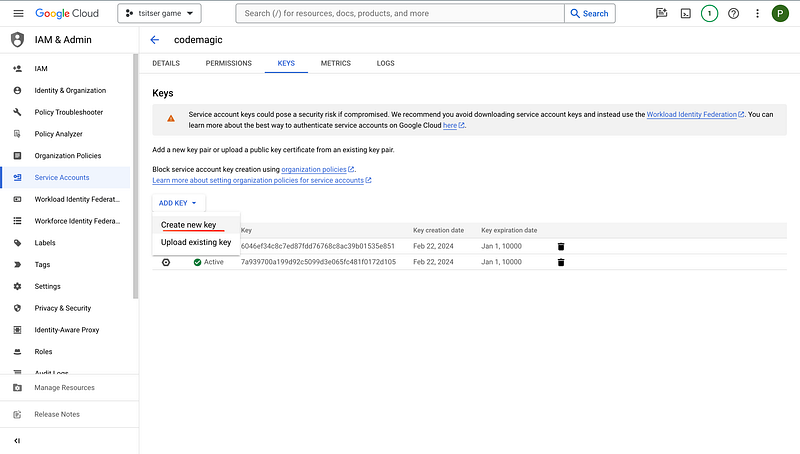
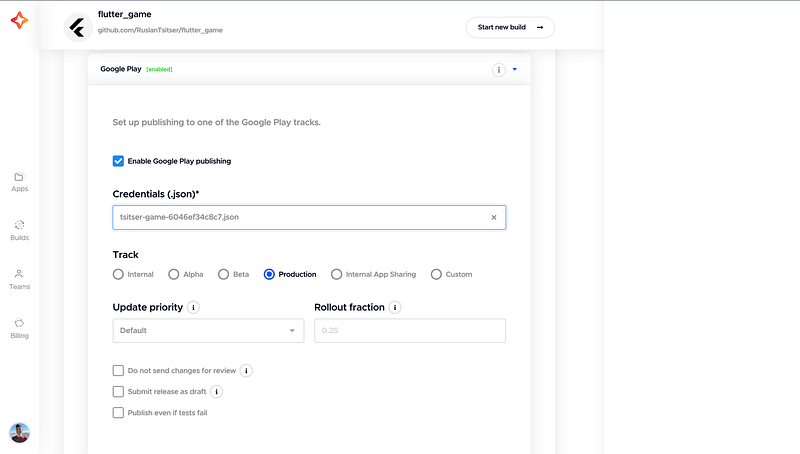
- Upload the Private Key JSON to Codemagic
Warning! The following steps require Admin permissions in Google Play Console
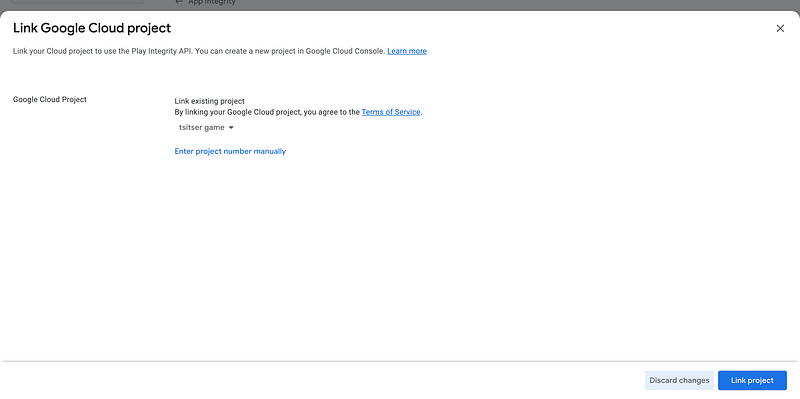
- Go to the App integrity section of Google Play Console and link to the Cloud Project
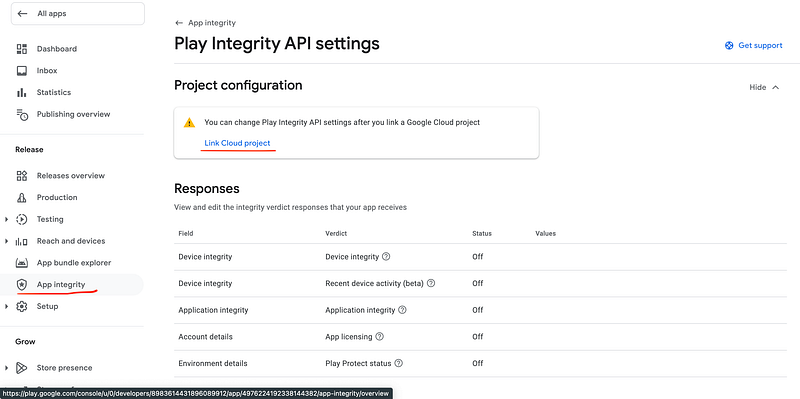
- If you have the permissions you see something like this:
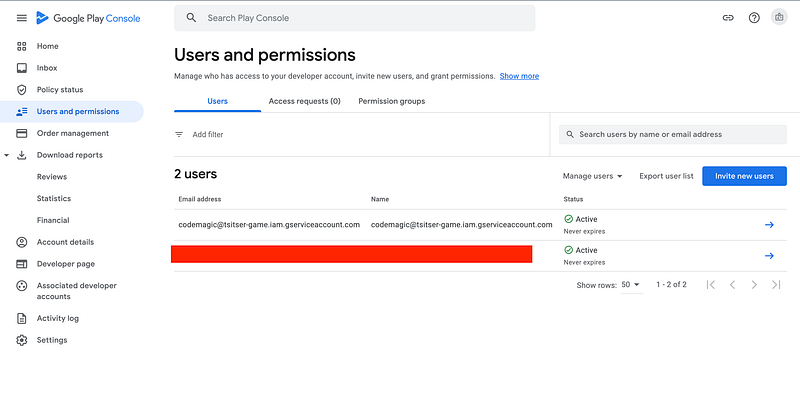
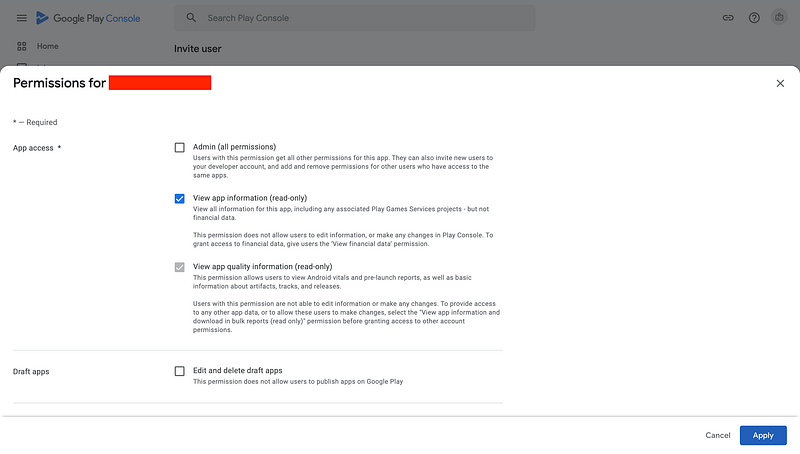
- After that you have to got to the Users and Permissions section, add previously saved email of the Service Account from the Google Cloud Console This is [email protected] in my example. You can save the default permissions
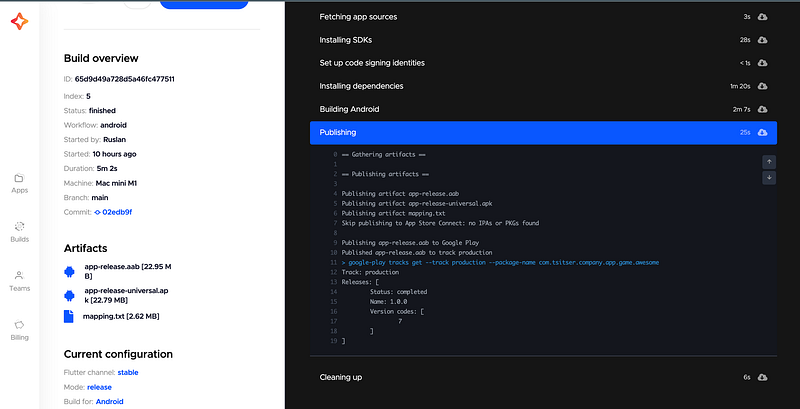
If everything is configured correctly, then after running the build you will see the similar result:
And in the Google Play Console you will see this:

Conclusions
Today we looked at how to easily organize CI/CD to build and publish a flutter app to Google Play using Codemagic.
What is required for a developer:
- Access to the project repository
- A keystore file for signing of release builds and passwords to it
- Admin permissions in Google Play Console
What is required to do for the Google Play Account Holder:
- Give admin rights to the developer
The next article will be about setting up CI/CD for iOS and publishing to App Store Connect (TestFlight), as well as briefly talk about the limitations of this service and other important points.


