
Tensorflow and Keras Model Deployment using Flask in Google Colab
A Deep Learning Model Deployment Task
Model deployment is one of the interesting aspects of an end-to-end Deep Learning project.
In this article, we are going to learn how to deploy the Deep Learning model which includes Libraries such as Tensorflow and Keras using flask in Google Colab.
We can easily dump the Machine Learning models using Pickle or Joblib.
But we can’t dump the Deep Learning models which include libraries such as and easily deploy our model Tensorflow and Keras.
When we try to dump these models using pickle the error comes as follows,
“TypeError: can’t pickle weakref objects occurs” occurs.
The solution for this problem is that we can save our model using the inbuilt Keras save() function.
The Keras API makes it possible to save all of these pieces to disk at once, or to only selectively save some of them:
- Saving everything into a single archive in the TensorFlow SavedModel format (or in the older Keras H5 format). This is the standard practice.
- Saving the architecture/configuration only, typically as a JSON file.
- Saving the values of the weights only. This is generally used when training the model.
For the model deployment task, we need a model.
For this, we will take the saved model of Horses or Humans image classification which I had built and saved using save(), in my previous article.
Now we have the model and therefore let’s create a web server using Flask.
For running the flask app in Google Colab we need to first install flask-ngrok.
What is flask-ngrok?
It is a simple way to demo Flask apps from our machine. It makes our Flask apps running on localhost available over the internet.
For installing the flask-ngrok library we will execute the following code,
!pip install flask-ngrokAs we are deploying our model on the web, we, therefore, need an HTML file.
Let this be our HTML file,
<!DOCTYPE html>
<html lang="en">
<head>
    <title>Horse_or_Human</title>
    <style>
        h1{text-align:center;}
    </style>
</head>
<body bgcolor='black' text='white'>
<h1>
<b>
<font size=15 class="text-center">
Horse or Human Prediction Model using Convnet
</font>
</b>
</h1>
<div style="background-color:white">
<hr>
<hr></div>
<h2> Upload the image to predict!</h2>
<form action="/", method="post", enctype="multipart/form-data">
  Upload the image :<input type="file" name="imagefile">
  <p><input type="submit" value="Predict image"></p>
</form>
<img src="{{ user_image }}" height="280px" width="400px">
<p>
<h2>
<b> {{ prediction_text }}</b>
</h2></p>
</body>
</html>
Note: We name this file “index.html’’ and keep this file inside a folder named “templates”.
After that, we will make a zip folder of this templates folder.
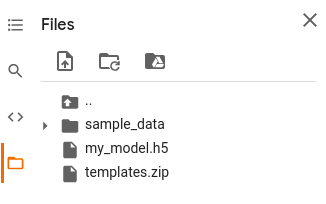
Next, we will upload the model and this zip file in our Google Colab by executing the following code,
from google.colab import files
uploaded = files.upload()
After successfully uploading the files we can go to check the files section for confirmation. It will look like this
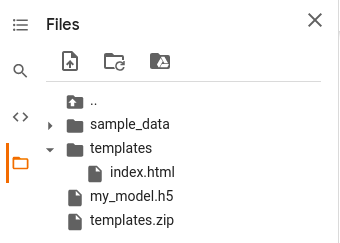
As we have uploaded the zip file and therefore we have to unzip it. We can unzip the file using the following code.
from zipfile import ZipFile

file_name = '/content/templates.zip'

with ZipFile(file_name, 'r') as zip:
  zip.extractall()
  print('Done')
After unzipping we see that a new directory is created in the files section with the name ‘templates’.
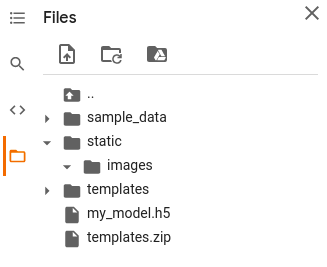
Now we create a new directory named static which contains an images directory for storing the images.
!mkdir static

cd /content/static

!mkdir images

cd ..
Check new directory got created
We will now import the necessary libraries that we will need
import flask
from flask import Flask, render_template, request
from flask_ngrok import run_with_ngrok
import os

from keras.models import load_model
from keras.preprocessing import image
import numpy as np
Now we will run the flask app and after that, we will run our flask-ngrok.
Let's now load our pre-trained model and configure the images folder.
image_folder = os.path.join('static', 'images')
app.config["UPLOAD_FOLDER"] = image_folder

model = load_model('my_model.h5')
After that, we will call route with the methods ‘GET’ and define a home function to get the image from the user which is our input.
@app.route('/', methods=['GET'])
def home():
  return render_template('index.html')
Now we will call another route with the method name “POST” to display our predictions on the web.
For this, we will define a predict function that makes the predictions using the model and render the output. This can be done as
@app.route('/', methods=['POST'])
def predict():
# predicting images
imagefile = request.files['imagefile']
image_path = './static/images/' + imagefile.filename
imagefile.save(image_path)
img = image.load_img(image_path, target_size=(300, 300))
x = image.img_to_array(img)
x = np.expand_dims(x, axis=0)
images = np.vstack([x])
classes = model.predict(images, batch_size=10)
pic = os.path.join(app.config['UPLOAD_FOLDER'], imagefile.filename)
if classes[0]>0.5:
return render_template('index.html', user_image=pic, prediction_text='{} is the image of Human'.format(imagefile.filename))
else:
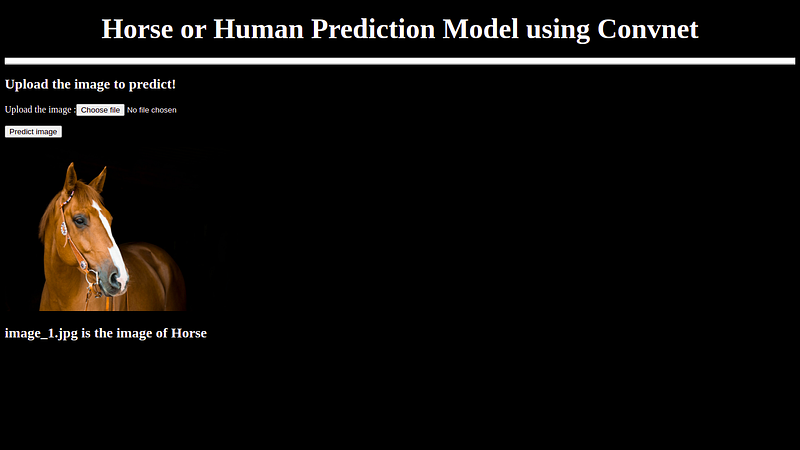
return render_template('index.html', user_image=pic, prediction_text='{} is the image of Horse'.format(imagefile.filename))Now finally we run our flask application.
if __name__=='__main__':
  app.run()
When we run we get an output as follows,
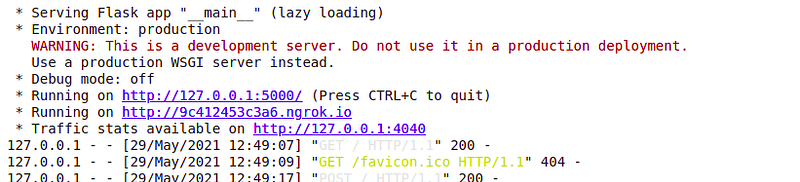
When we click on the ngrok.io file we will get directed to the webpage as follows in which we can feed the image and get the predictions.
Link to my previous articles: