
SQL Tutorial. Installing MySQL Workbench and Mysql Server On Mac
Walkthrough on how to install MySQL Workbench on Mac.

In this article, we go over the process of installing MySQL and MySQL workbench for Mac OS. MySQL and MySQL workbench offer a platform where you can work on and edit databases. MySQL workbench is very intuitive and easy to use and offers a number of tools that make SQL statements easy to write.
The are no requirements for installing MySQL. You simply need an Internet connection and free space on one of your disks.
If you have a Windows, I have a separate guide here.
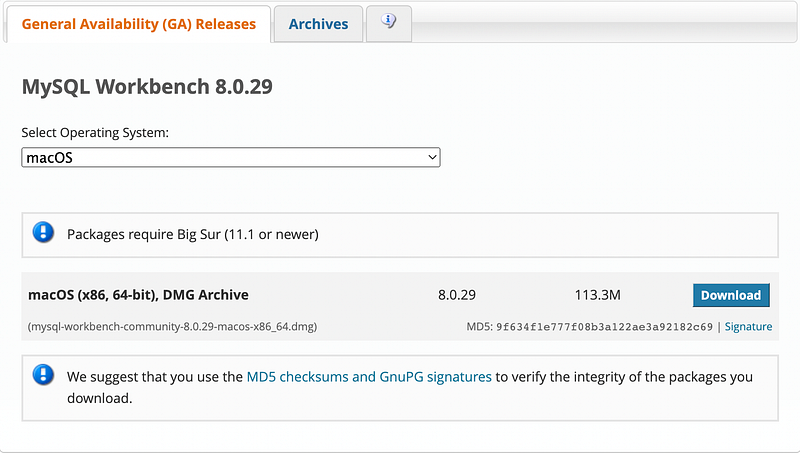
First we will go to the MySQL website download page. Select the version of your system and click on the download button. If it prompts you to create an Oracle account, just click on "No thanks, just start my download" at the bottom of the page.
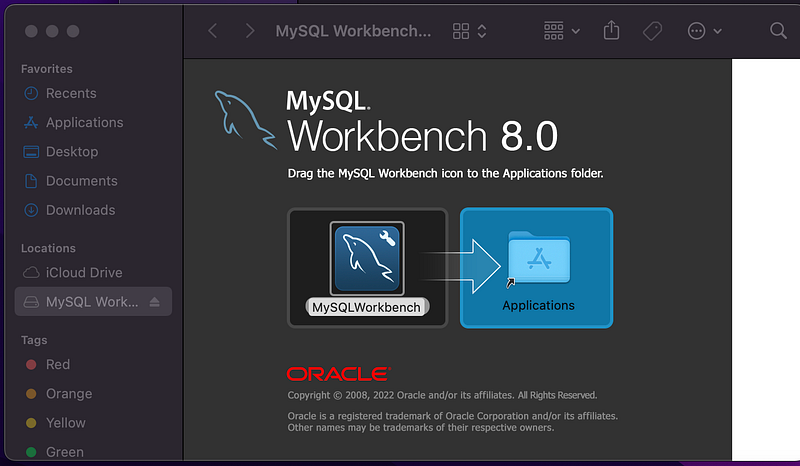
Once the download has completed, you will move the application to the applications folder.
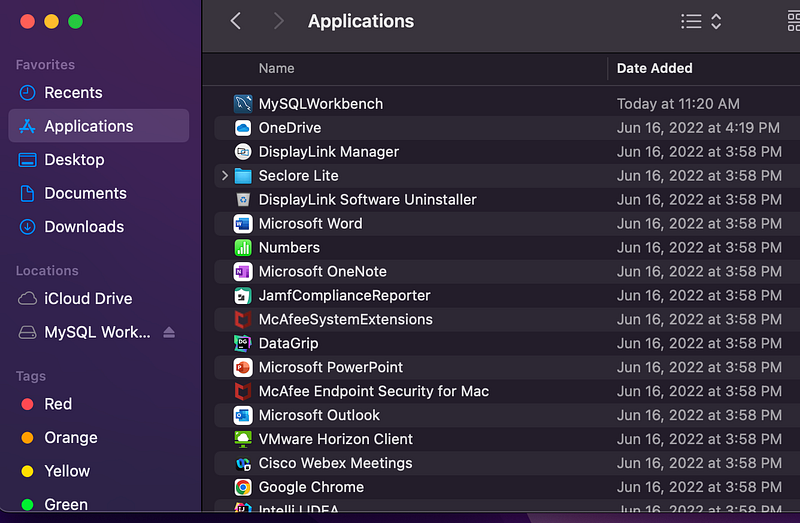
Once the installation is complete you are going to click on your finder and go to “Applications”
Right-click on the MySQL workbench and click on “open” from the shortcut menu. A popup will appear and you will click on "open" again.
You should see a screen like this once you have completed.

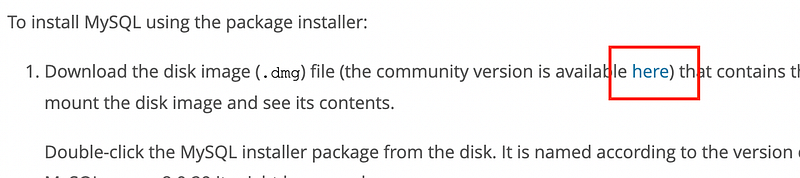
We must now add the MySQL server to our MySQL workbench. To do so, navigate to this link and in the first entry of the list, there will be a hyperlink you are going to navigate to.
In the MySQL community Downloads you are going to select Mac as your operating system and select this version of the installer

Once the download finishes, open the package inside by right-clicking the icon and selecting “open” from the shortcut menu. Select “open” from the preceding pop up window. When asked for permission to see if the software can be installed select “Allow”.
You will eventually get to a screen that will ask you what type of password encryption you want, I personally selected strong password encryption.
Once you have gone through the installer instructions it will ask you to enter a password for your server. Make sure you write something that is easy to remember and continue.
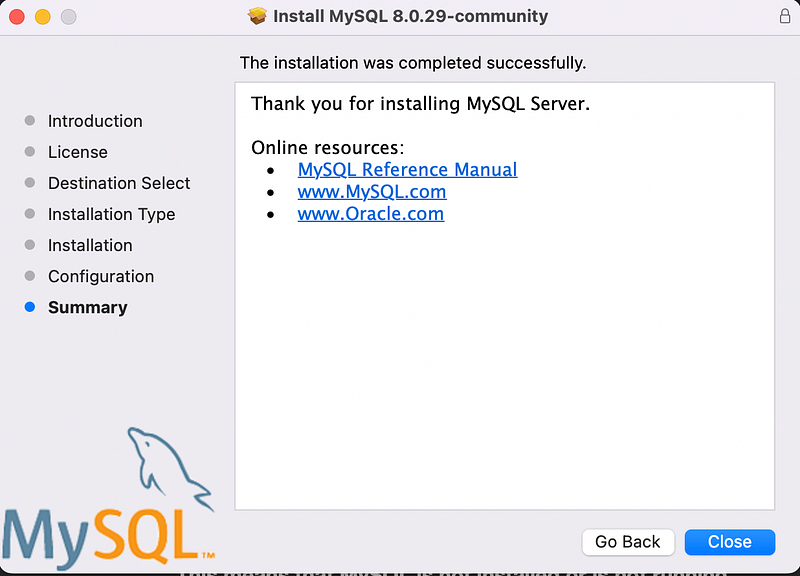
When your done, you will get this screen
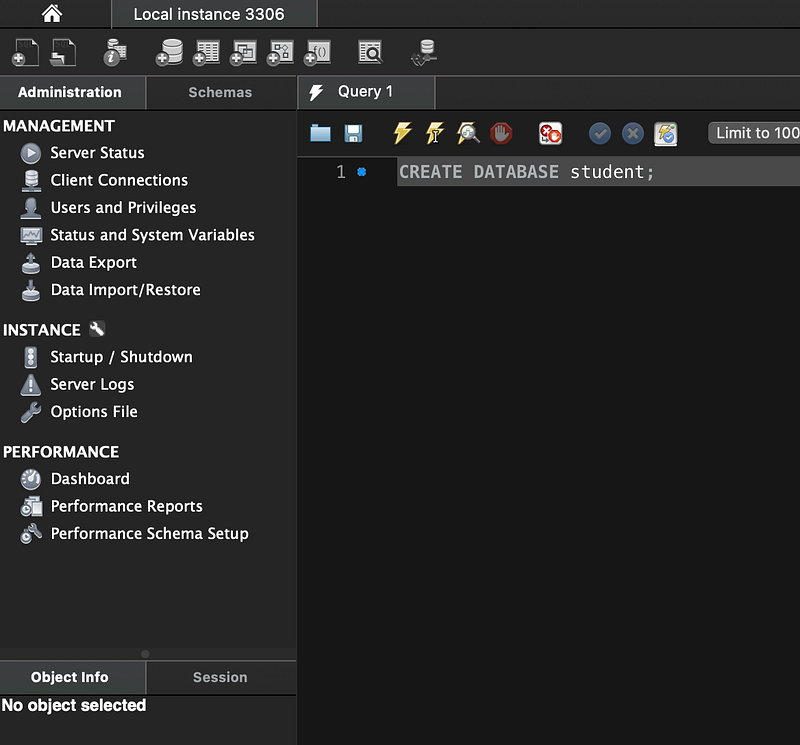
Now go back to your MySQL Workbench and click on the “Rescan Servers” button at the bottom. If you have done everything right, you will see your server listed.

Double-click on your server and enter the password you created during the installation. This will give you access to the workbench.
Congratulations, you have successfully installed MySQL on your system. Hope you found this guide helpful. If you have any further questions, please leave a comment and I will get to it ASAP.
Have a great day!