
Spark ETL Chapter 3 with Cloud data lakes (Azure Blob | Azure ADLS)
Previous blog/Context:
In an earlier blog, we discussed Spark ETL with NoSQL Databases (MongoDB Database). Please find below blog post for more details.
Introduction:
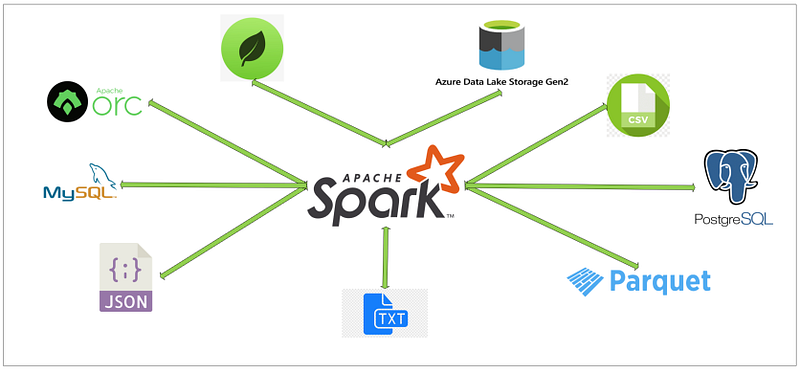
In this blog, we will discuss Spark ETL with Cloud data lakes and we will be doing Spark ETL with Azure Blob storage. We will use public blob storage and we will understand how to do ETL with Azure Blob storage. In coming blogs, we will be also doing Spark ETL with AWS S3 buckets and Google buckets.
Today, we will perform below Spark ETL operations
- Install required spark libraries
- Create a connection with Azure Blob storage
- Read data from the blob and store it in a data frame
- Transform data
- write data into a parquet file
- write data into JSON file
First, clone below the GitHub repo, where we have all the required sample files and the solution
If you don’t have a setup for Spark instance follow the earlier blog for setting up Data Engineering tools in your system. (Data Engineering suite tool will setup Spark, MySQL, PostgreSQL, and MongoDB in your system) In that Spark instance, we already have packages installed for Azure blog storage and Azure Data Lake Services.
Public Azure Blob Storage
We are going to access Public Azure blob storage from Spark. As a part of Azure Open Datasets, there are different types of data publicly available for learning purposes.
We will be using NYC yellow taxi data.
Install required spark libraries & Start Spark Session
With our Spark instance, we already have Azure Blob storage and ADLS packages installed. So, we will not require to specify externally. You can check Jars files from /opt/spark/jars location

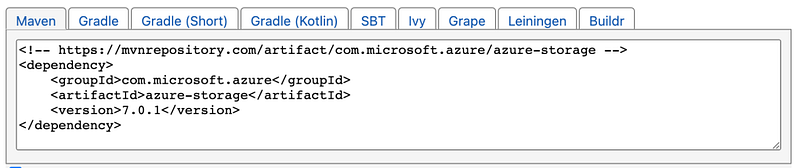
If you want to use the same package you can use the Maven repo link and pass it in the config file.
https://mvnrepository.com/artifact/com.microsoft.azure/azure-storage/7.0.1
We will start our Spark session.

Create a connection with Azure Blob storage from Spark
For connecting to Azure blob storage, we need the details below. Like what is the account name, what is container name, and what is key for connecting that storage and relative path. We have three different datasets
- NYC Yellow taxi data -> very high volume
- Covid public data -> Medium volume
- Public holidays -> low volume
Let’s start here with NYC yellow taxi data.
The volume of data is too high. 50 billion rows and 50 GB of data. (All in parquet format)
# Azure storage for NYC Yellow taxi
blob_account_name = "azureopendatastorage"
blob_container_name = "nyctlc"
blob_relative_path = "yellow"
blob_sas_token = "r"
If you want to try Covid Public data you can use the blob details. (NYC taxi is a very big data set so it will take time to load all data)
The volume of data is medium. 125 K rows and around 40 MB of parquet file.
# Azure storage for Covid dataset
blob_account_name = "pandemicdatalake"
blob_container_name = "public"
blob_relative_path = "curated/covid-19/bing_covid-19_data/latest/bing_covid-19_data.parquet"
blob_sas_token = r""
If you want to try a very small data set, use the holiday list below which is 500KB of data and 70,000 rows.
# Azure storage for Holiday
blob_account_name = "azureopendatastorage"
blob_container_name = "holidaydatacontainer"
blob_relative_path = "Processed"
blob_sas_token = r""
Once we declare variables for all of the details. We will create a connection string and set it in Spark configuration as below. I am going ahead with yellow taxi data but I will suggest trying public holidays. (As volume is low so it will do all the operations faster)
# Allow SPARK to read from Blob remotely
wasbs_path = 'wasbs://%s@%s.blob.core.windows.net/%s' % (blob_container_name, blob_account_name, blob_relative_path)
spark.conf.set(
  'fs.azure.sas.%s.%s.blob.core.windows.net' % (blob_container_name, blob_account_name),
  blob_sas_token)
print('Remote blob path: ' + wasbs_path)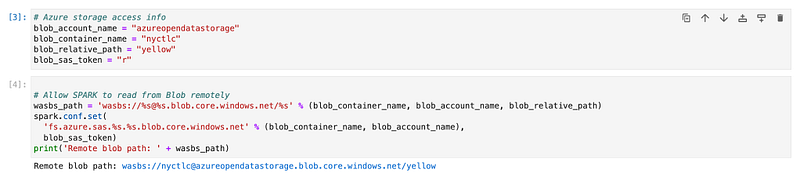
Read data from the blob and store it in a data frame
The next step is to read data from this location. We have parquet files stored in the location. So, we will use “spark.read.parquet”
df = spark.read.parquet(wasbs_path)
We now have data available in the data frame. So, we will print the schema and check the data.
df.printSchema()
df.show(n=2)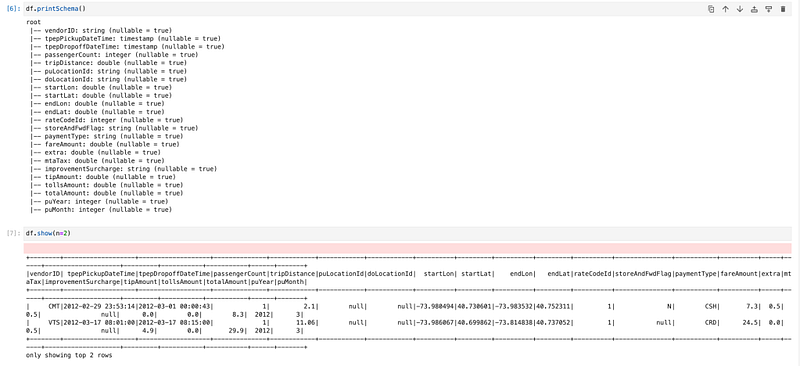
Transform data
We will create a HIVE temp view. So, we can write Spark SQL and do Transformation.
df.createOrReplaceTempView('tempSource')We will select the top 10 rows and create a new data frame.
newdf = spark.sql('SELECT * FROM tempSource LIMIT 10')
Write data into a local file (Parquet | JSON)
We have data available in the data frame. Using spark. Write we can write data into different file formats.
newdf.write.format("parquet").option("compression","snappy").save("parquetdata",mode='append')
newdf.write.format("csv").option("header","true").save("csvdata",mode='append')
Once this is executed, it will create a folder with the names “parquetdata” and “csvdata”.
Conclusion:
Once we set the config of Azure blob storage or Azure Data Lake services, using spark. Read we can read files from there and using spark. Write we can write files there.