
Data Engineering Tool Suite
Introduction
In this blog post, we are setting up Data Engineering tools set on our local environment using docker. For the Data Engineering tool suite, for now, we are considering the below tools on the initial level. In the coming future, we will update our docker files and add more tools.
- Apache Spark
- Jupyter Lab
- Package for Delta Lake
- Package for AWS S3 (
s3a://) - Package for Google Cloud Storage (
gs://) - Package for Azure Blob Storage (
wasbs://) - Package for Azure Data lake generation 1 (
adls://) - Package for Azure Data lake generation 2 (
abfss://) - Snowflake
- Hadoop cloud magic committer for AWS
- PostgreSQL
- MySQL
- MongoDB
Use below GitHub Repo, clone it on your local system
https://github.com/shahkalpan/DataEngineeringSuite
Deploying Tool Suite using Docker
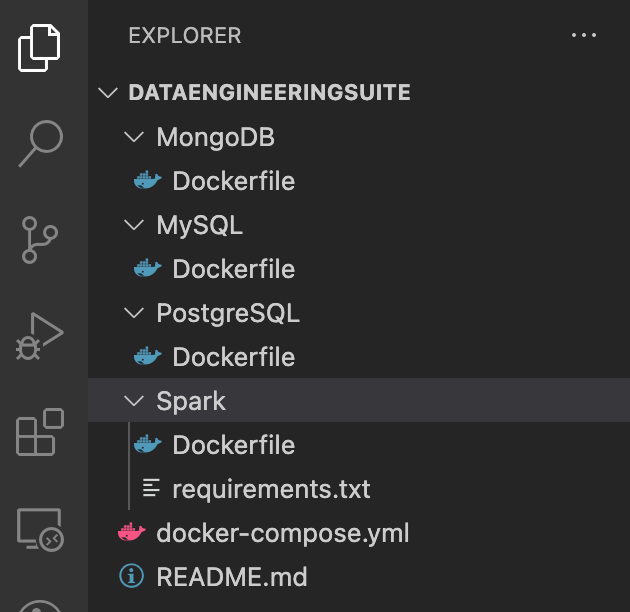
Once you clone GitHub Repo, you will see the files below.
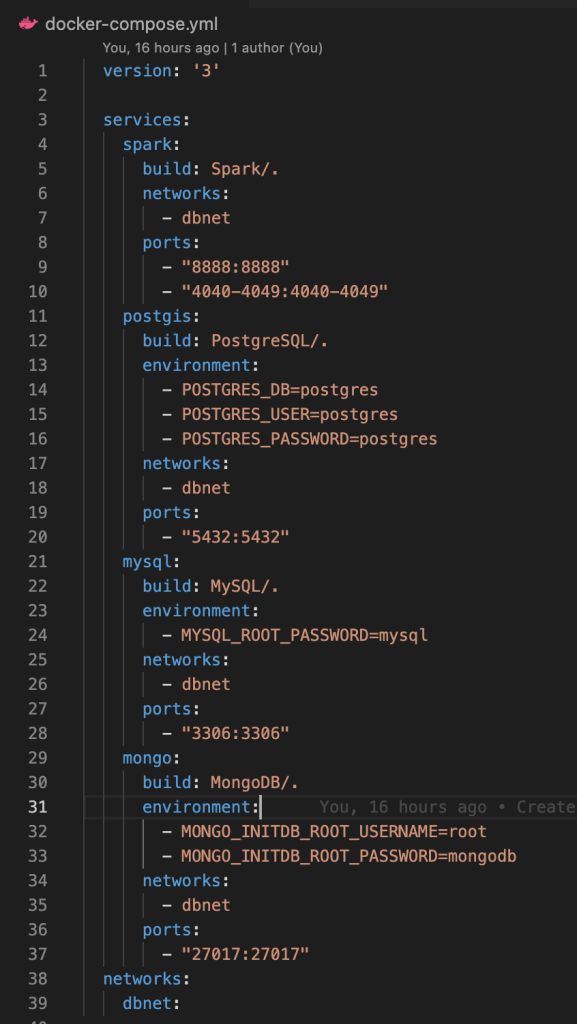
And configuration in a docker-compose file is as below
- You can change passwords for all MongoDB, PostgreSQL, and MySQL.
- We have exposed all the required ports so that we can easily access it from our laptop
- For Spark, we have exposed the port for Jupyter lab and all the spark job UI
- For MySQL, we have exposed a port for accessing the database
- For MongoDB, the exposed port for accessing it
- For PostgreSQL, the exposed port for accessing it
The next step is to create an image and start the container, for that use the below command
docker-compose up --build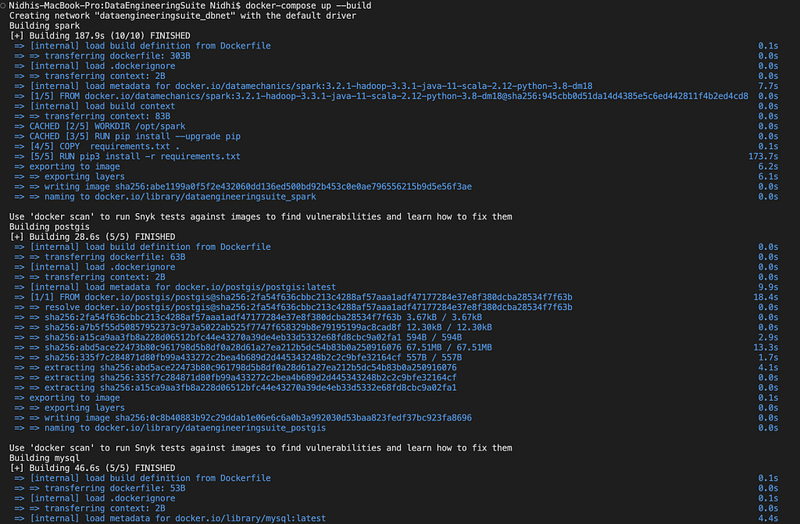
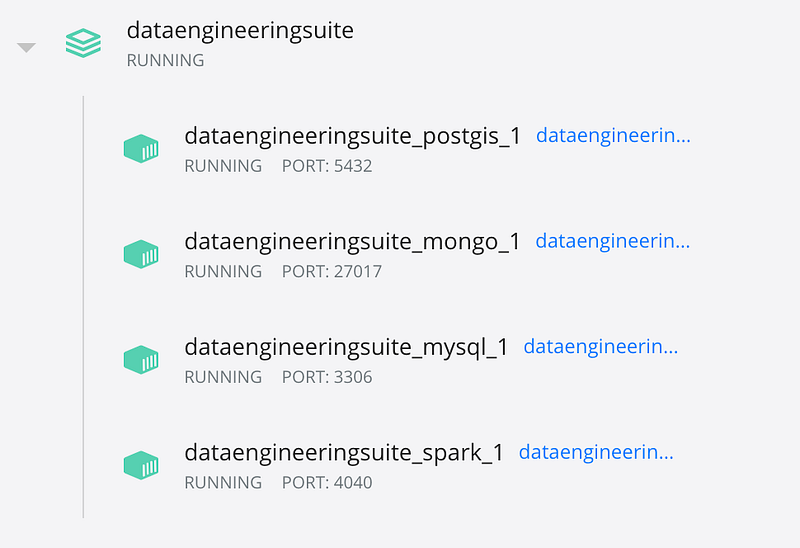
Once docker images are created and containers are up, we can see that below
docker-compose ps
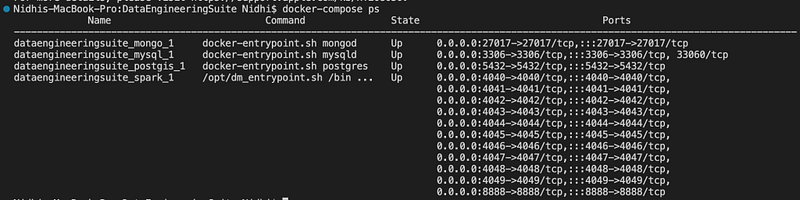
We can see all the containers up and also can see all the exposed ports with them.
We can also check it from the docker desktop.
The next step is to check whether all the tools are configured and installed correctly or not.
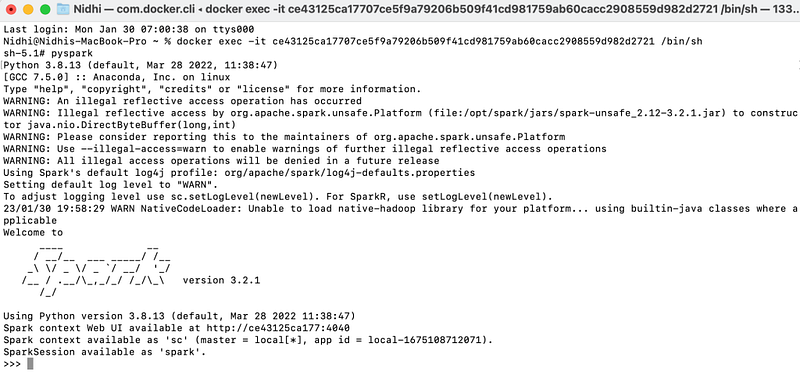
Spark
We can go inside the container and can check if the spark is properly configured or not
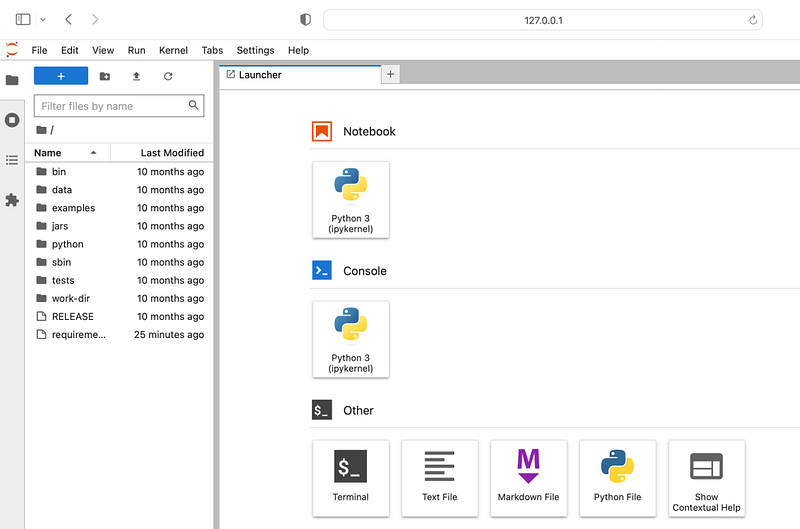
We can also check by Jupyter Notebook.
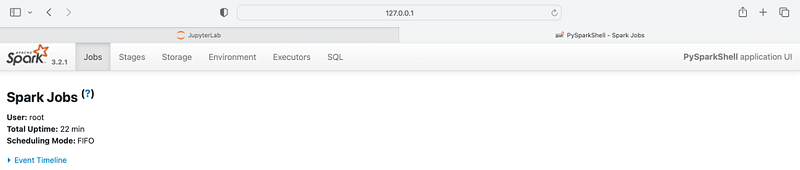
Once we start the Spark session, it will provide a link for checking
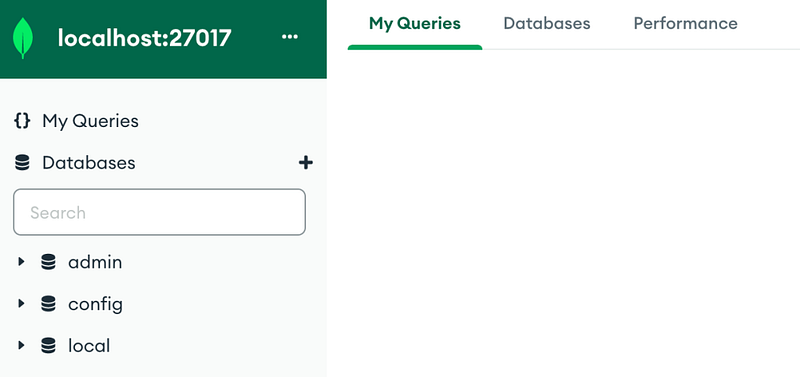
MongoDB
Used Mongo Compass to connect MongoDB and it is connected successfully, and we can see collections.
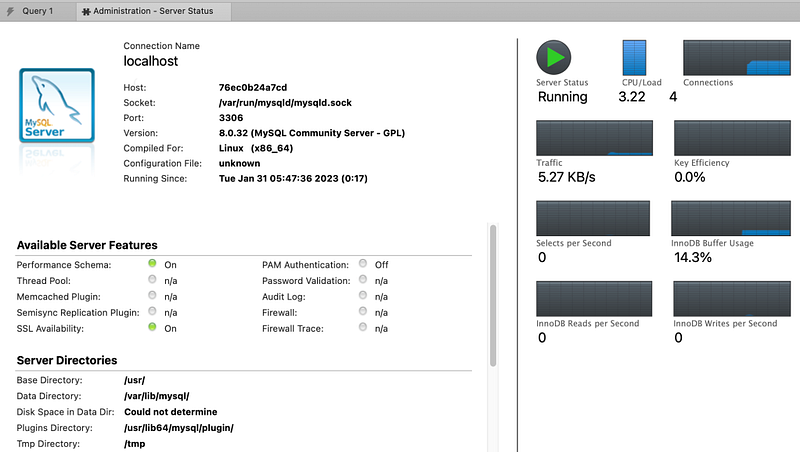
MySQL
We can connect MySQL using MySQL Workbench.
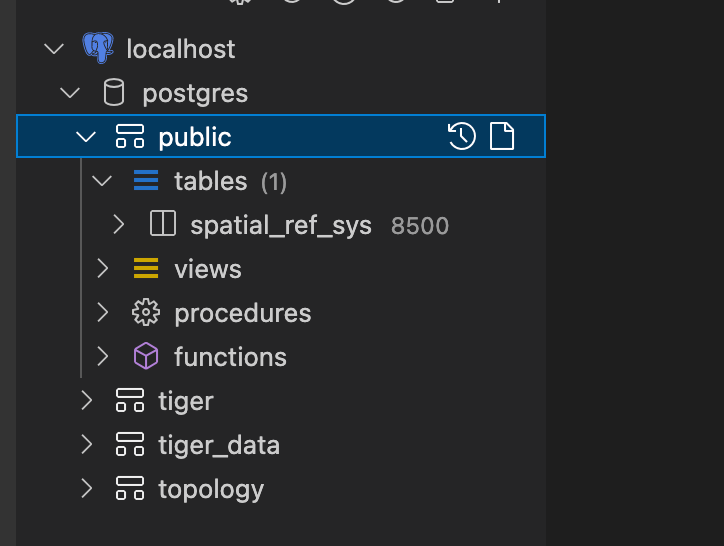
PostgreSQL
We can connect to the PostgreSQL server also. We can use the pgAdmin or VS code database plugin to check that.
We now have all the required tools installed in our system. From our next blog, we will start learning Data Engineering concepts and start
Please also find below the video which provides more explanation on this.