Rorschach Test For You
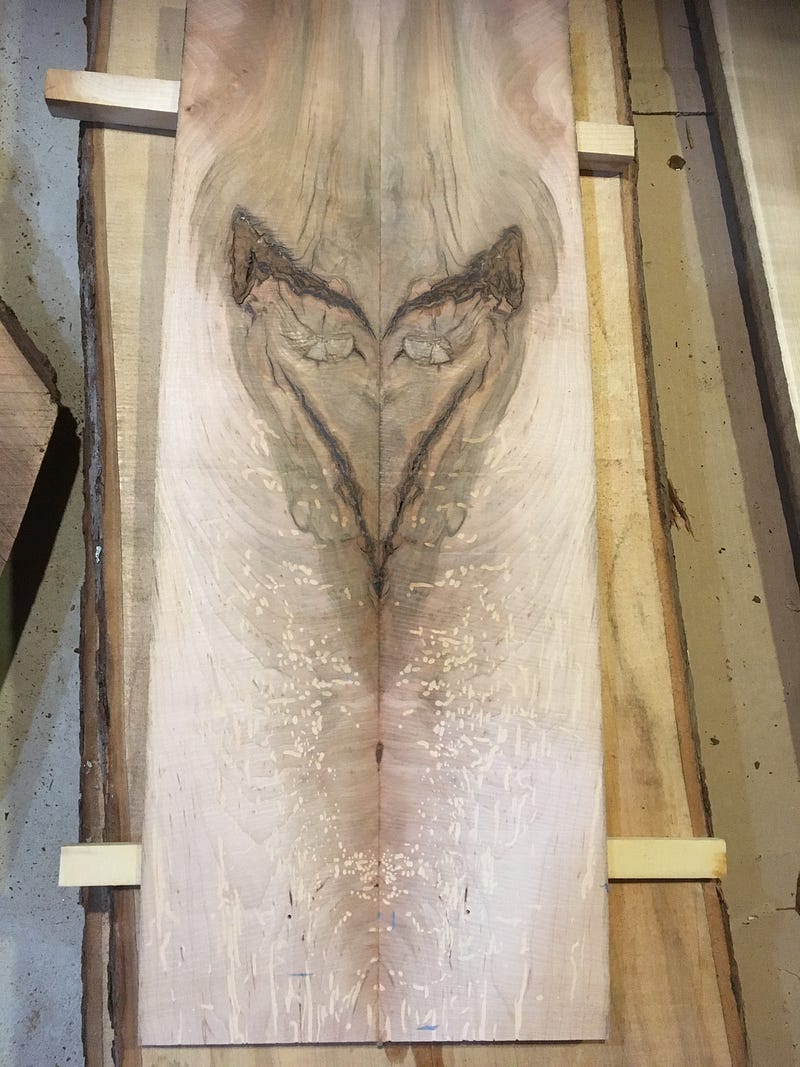
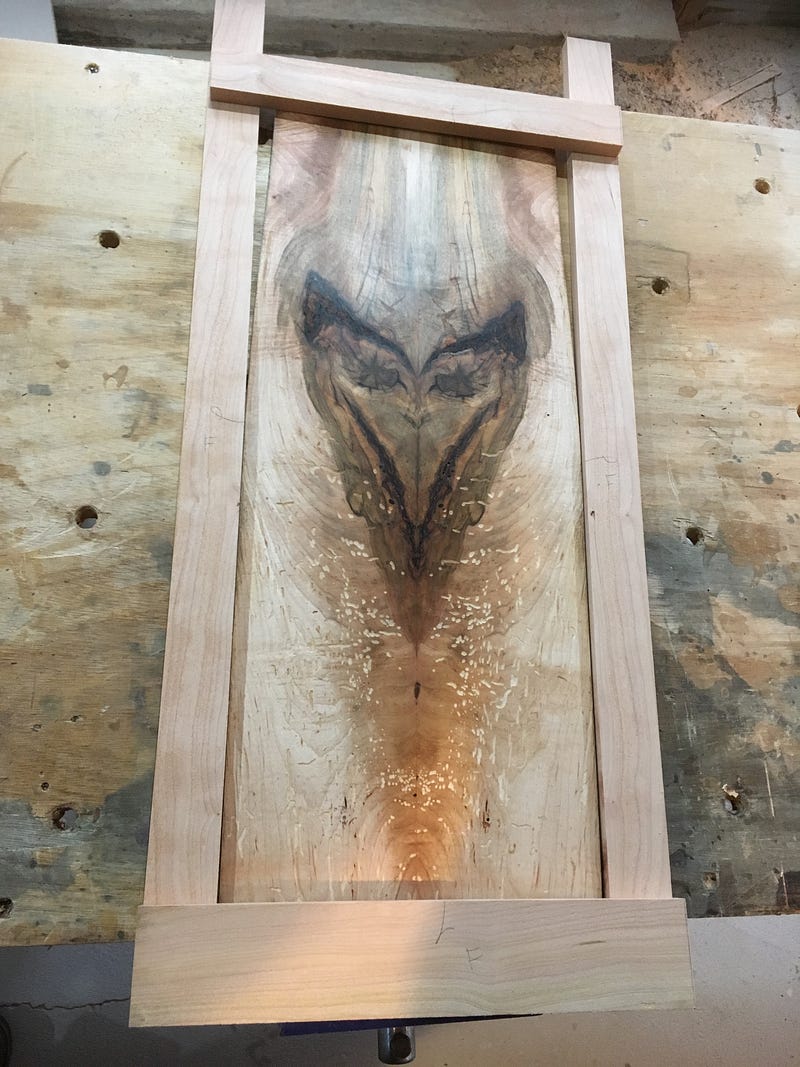
Here’s a hand-made Rorschach test made just for you. What do you see…
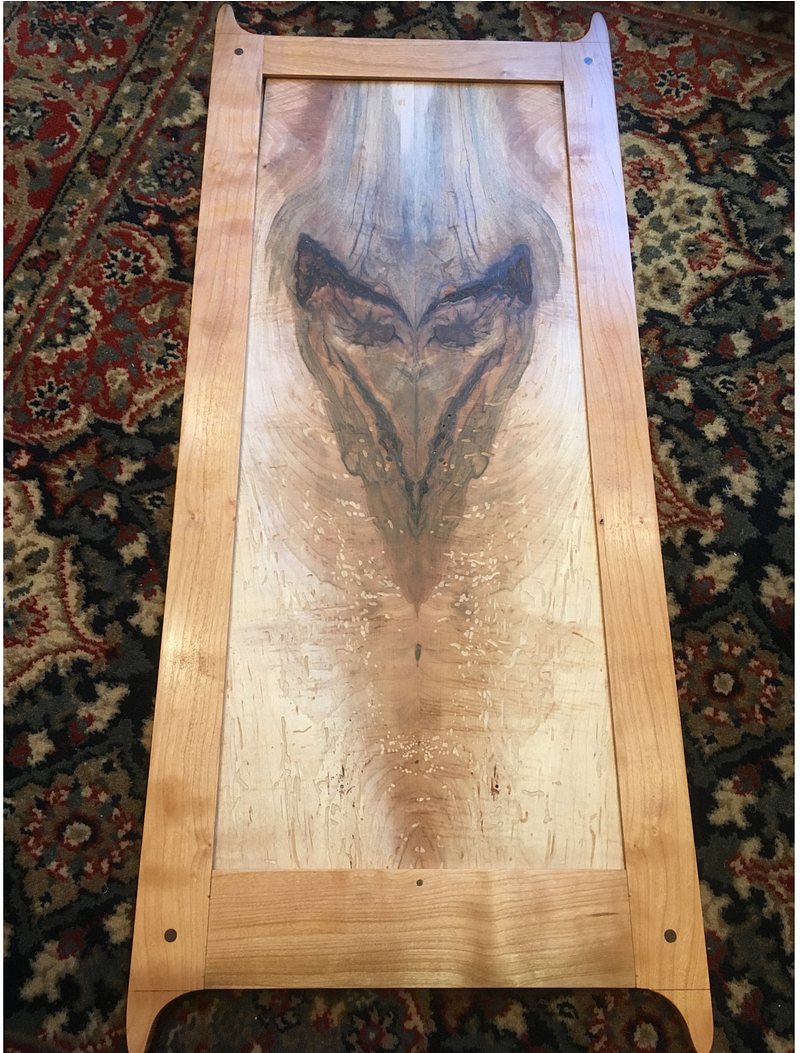
What do you see?
The kids see a fox, an owl, a troll, or a devil…
This is another frame-and-panel practice piece with the panel made from another scrap of wood, similar to one I wrote about here:
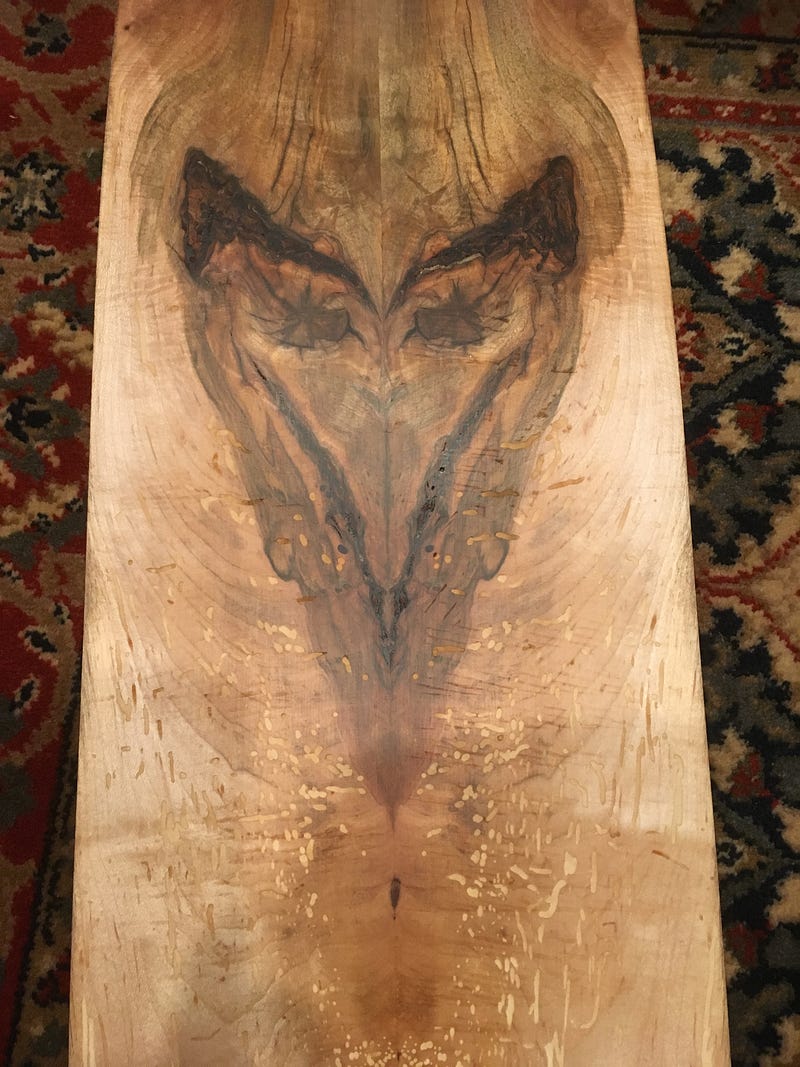
Again, like the Worm’s House panels I wrote about before, I don’t know what kind of wood this panel is made from either. It was, if possible, even more worm-eaten than the previous one. This piece of wood, however, did not have that appealing curly grain, the tiger-stripe pattern of coruscating light reflecting from the rippling grain.
It did have a tremendous knot right in the middle that required a lot of epoxy to stabilize the wood and fill the gaps, and the question for me is always, what will it look like if I split it through the thickness and open it up like a book?
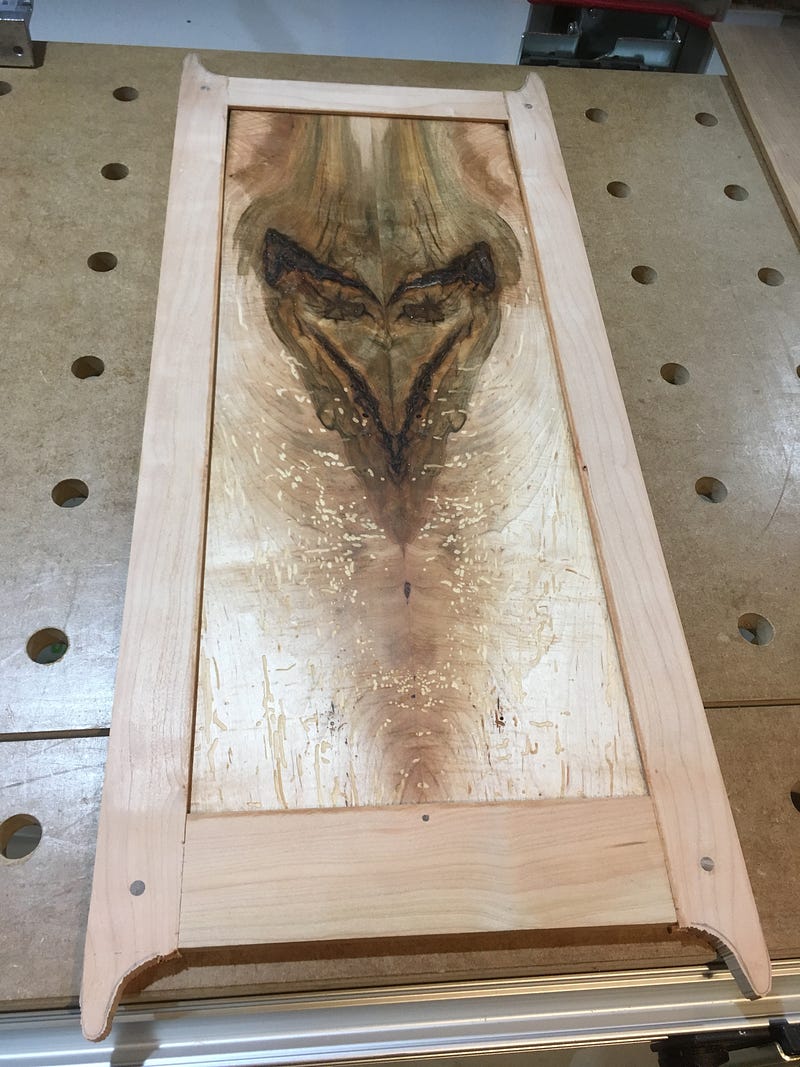
And like the previous piece, I also framed this one in cherry, one of my favorite woods. Here is the fox-faced Rorschach test next to my previous panels:
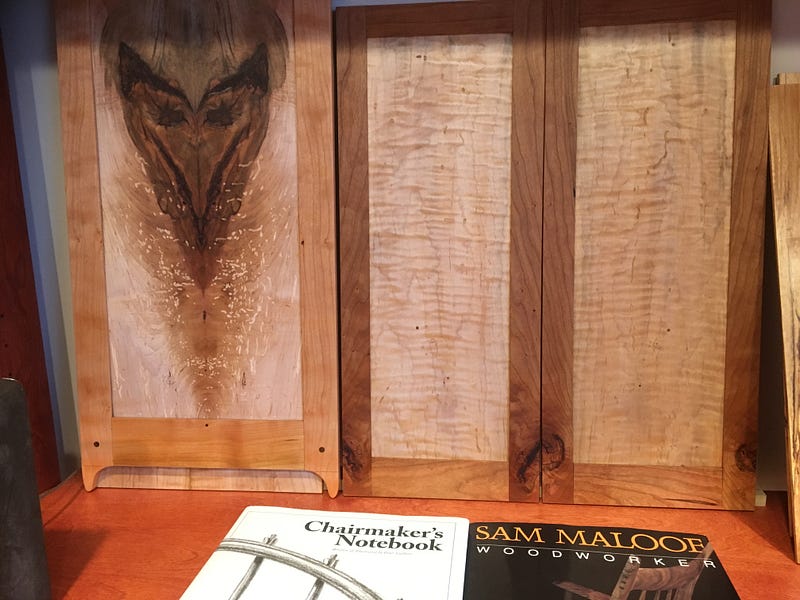
You can see how much darker the previous cherry frame is compared to the freshly-made frame for the fox-faced panel. One of the charms of cherry wood is that the resin in the wood oxidizes and gets darker with age.
I made the horns on the corners of the frame as last-minute additions. They were originally going to be sawn off just like in the traditional pair of frames around the curly maple(?) panels.
The next set of photos below just shows how I made this fox-faced frame-and-panel piece.
Again, just a disclaimer… I am a novice woodworker. I lack most tools any competent woodworker uses like a tablesaw, jointer, planer, drill press, etc. Therefore, most of my work in my shop is actually an exercise in problem-solving (how will I do this next step without the usual tools), rather than productive woodworking.
I welcome any comments, criticism, and suggestions (especially how you do things and how I might do things better).
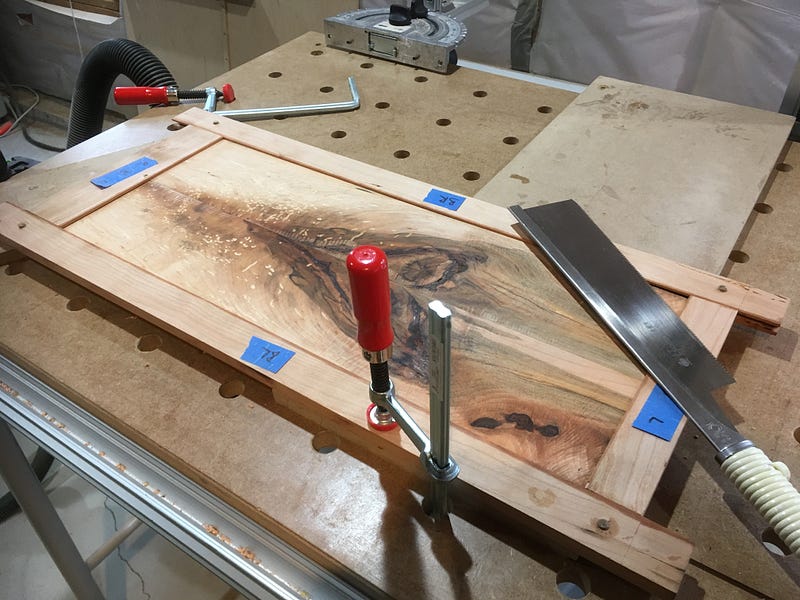
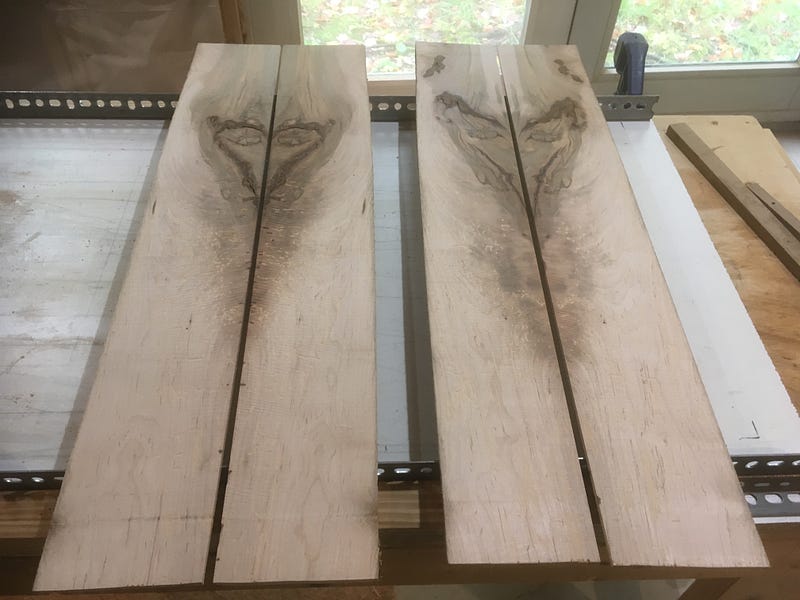
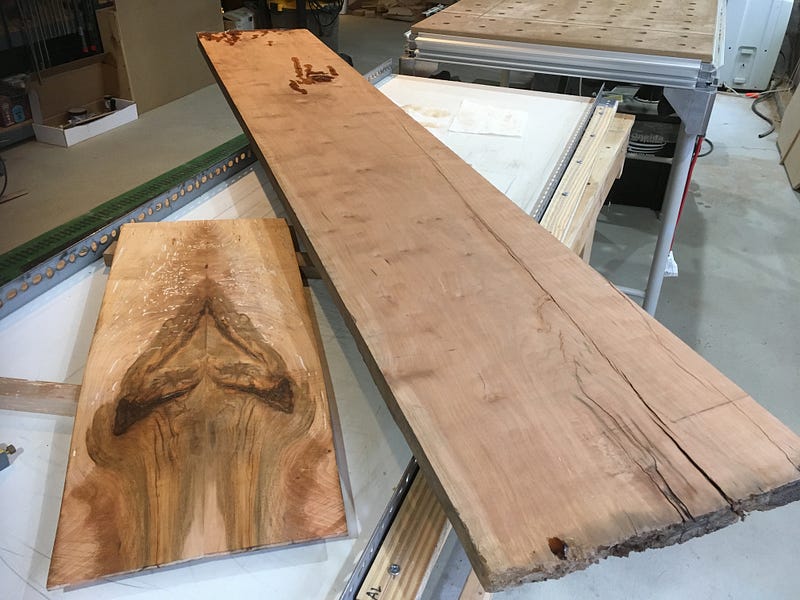
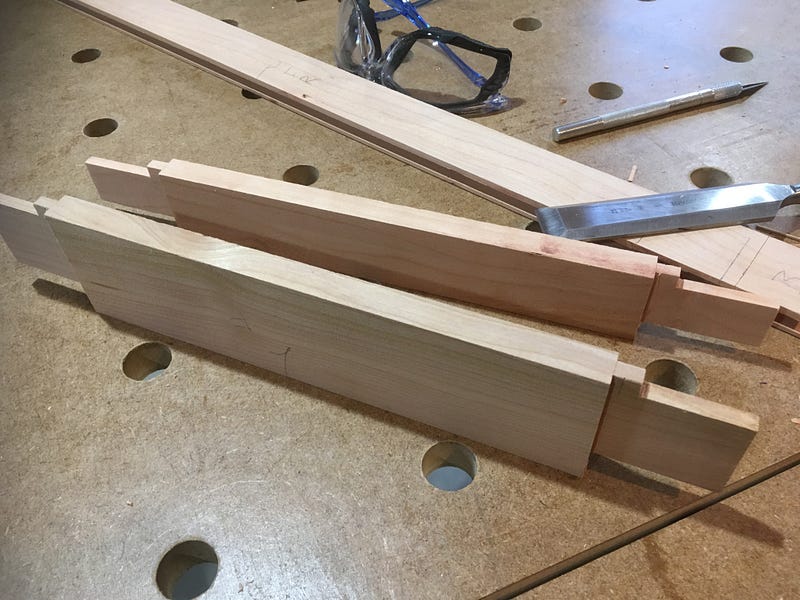
The first photo shows the scrap board after I had filled the defects with epoxy, and then sawn them through the thickness into four thin panels. I believe the original scrap board was over an inch thick, and I got four a hair under quarter-inch thick panels.
I arranged them in the best mirror image pairs to see which ones, if any, I wanted to try to work with.
I picked the pair on the right. The other pair went into the scrap bin.
Remnants of a scrap board I was trying to rescue (well, really just practice with) going into the scrap bin. Kinda ironic huh?
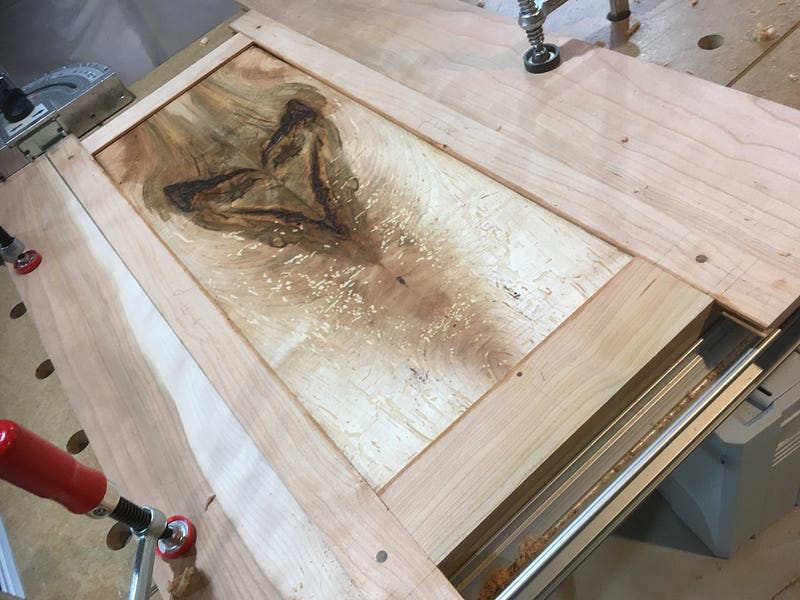
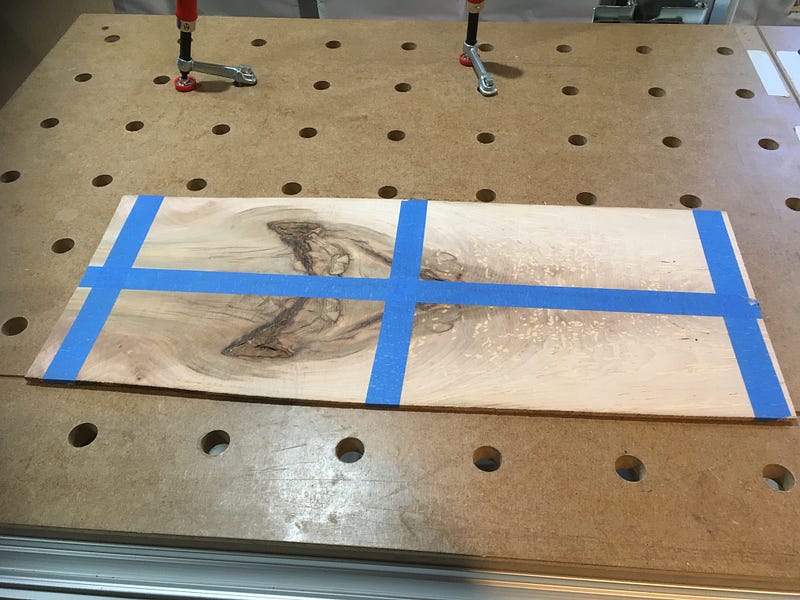
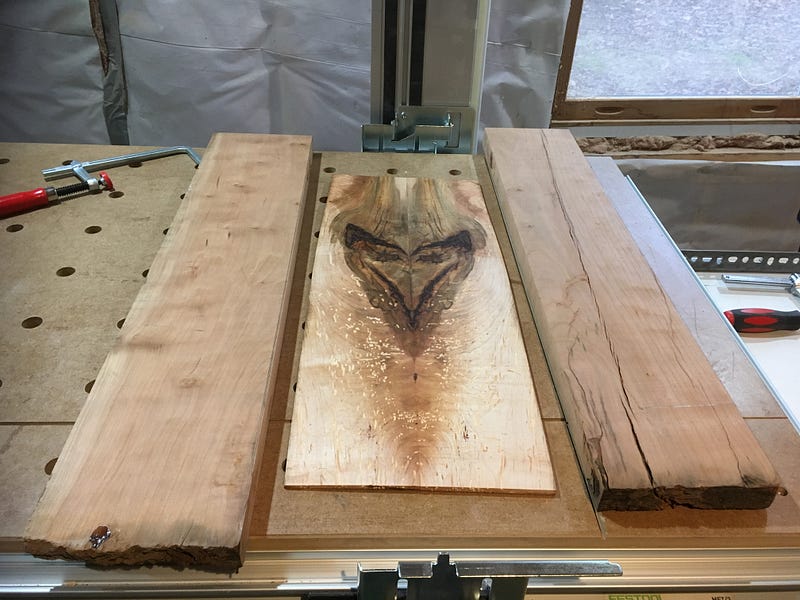
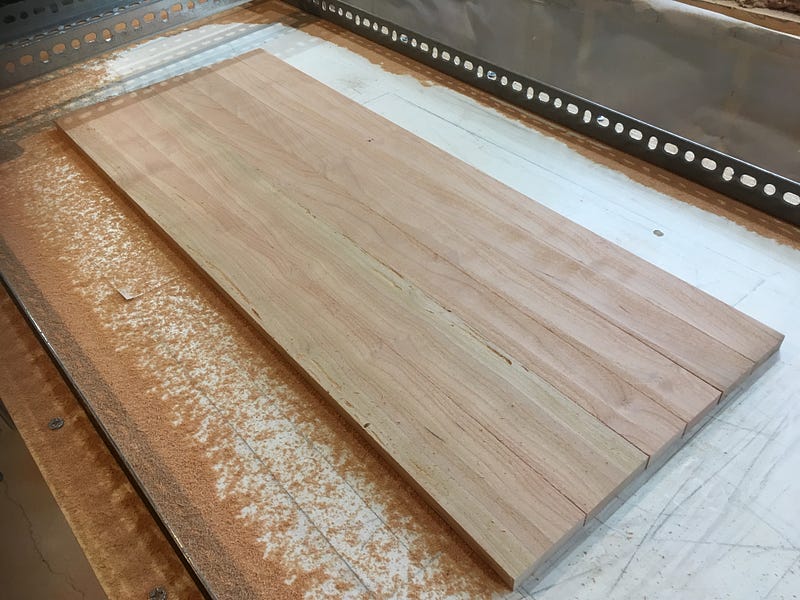
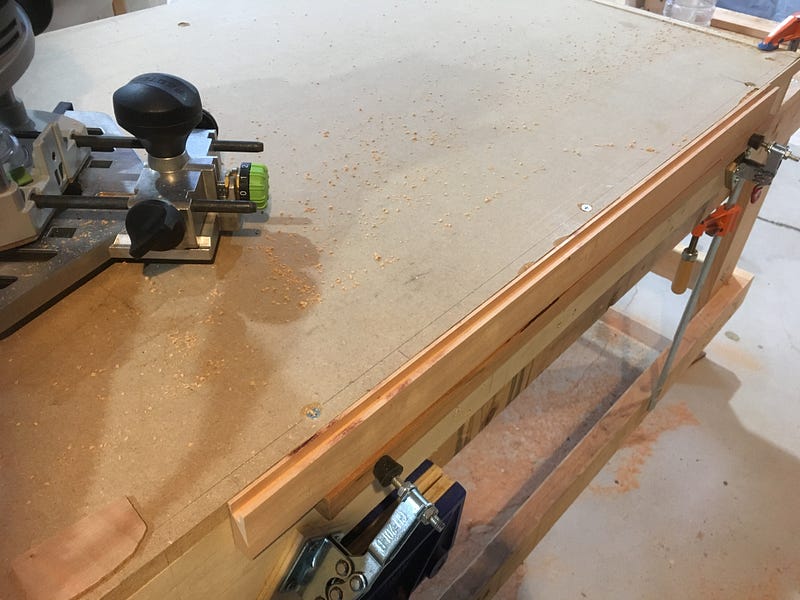
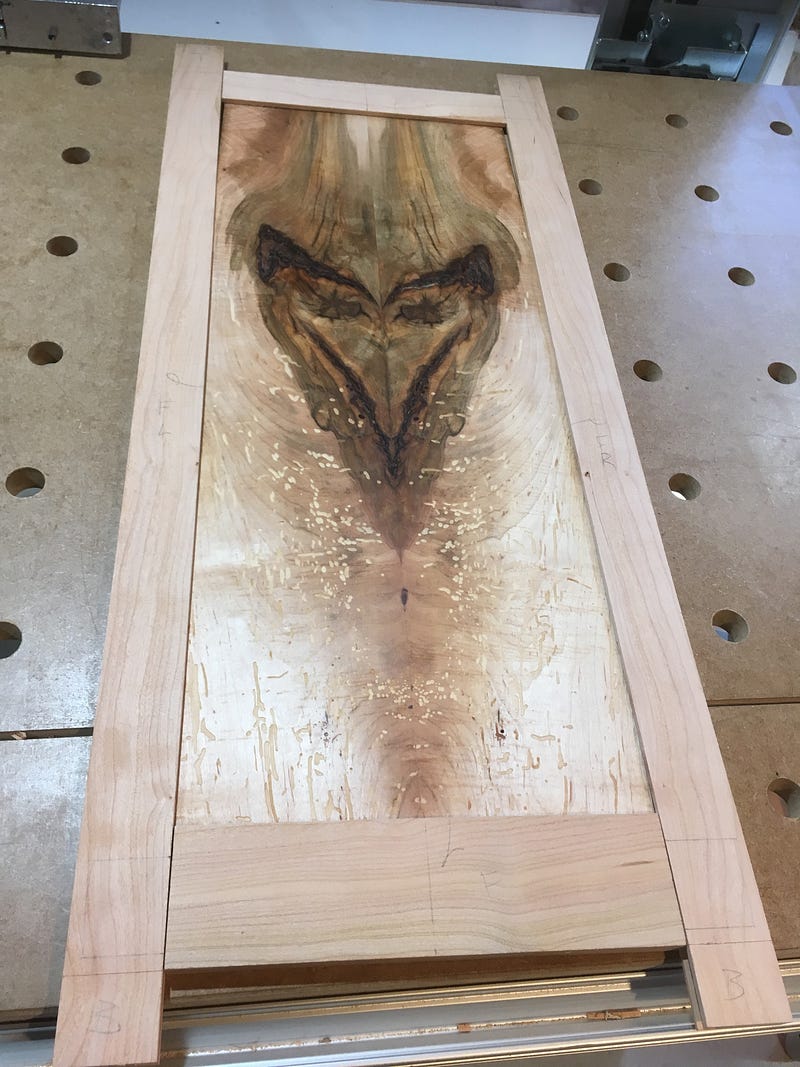
I wanted a larger book-matched panel, which means gluing the thin panels along one of the edges to give me a mostly symmetric pattern, as shown in the next photo. But you can see that the edges were not quite straight and required trimming. I did that with a track saw with the blade trimming each piece of wood equally as they were clamped to this table.
You can see the gap in the middle is pretty large, so I needed two passes with the track saw before the gap disappeared.

One of the benefits of cutting both pieces of wood simultaneously is that if there is the slightest misalignment of the saw blade or other parts of your fixturing, you will never have flush edges which will glue perfectly.
But if you cut both pieces clamped together like shown above, the blade, even if misaligned, will cut each piece with the same misalignment, so when you glue them together, the fit is perfect.
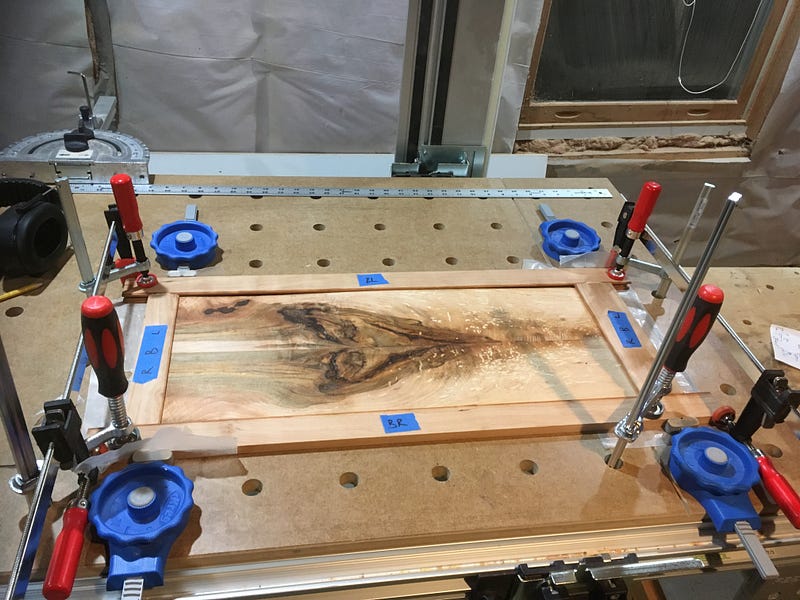
The next image shows the glued pieces taped together to dry. I used Titebond III wood glue, which is my go-to glue these days.
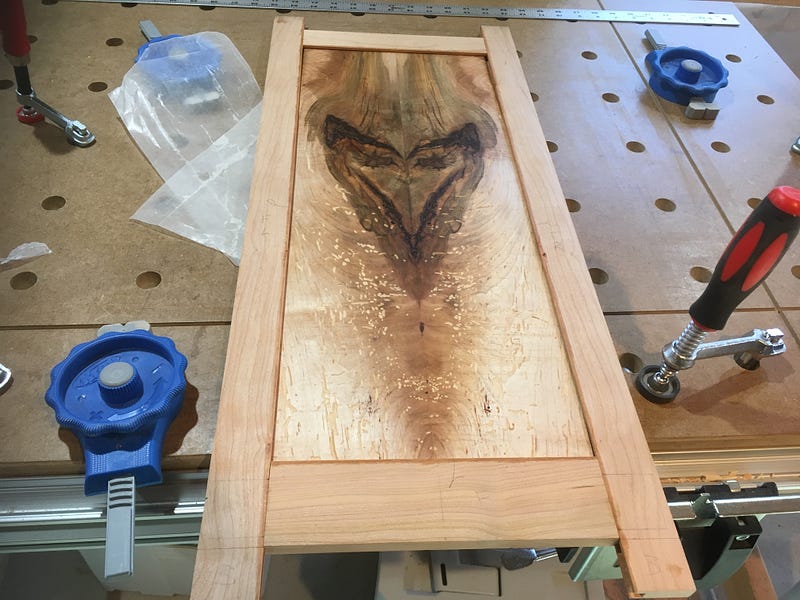
After letting the glue dry overnight, this is what the board looked like after removing the tape.
My next goal was to remove any minor step between the panels at the glue-line and make this as flush as possible. I was hoping to make the joint line disappear into the pattern of the wood. So, I did lots of sanding from here.
After sanding for an eternity, and applying three coats of Danish oil, this was the result.

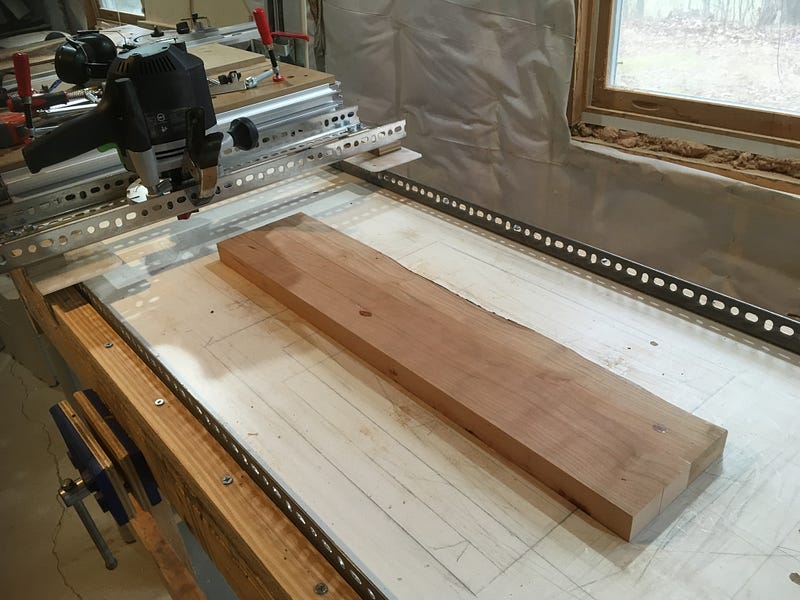
Next, I wanted to make a frame, so I picked the rattiest piece of cherry lumber I could find since this was a piece of scrap wood, after all. I wasn’t going to waste the nicest piece of cherry for this panel was I?
The piece of cherry I have here has long splits in it, and some knots I had to fill with epoxy. Perfect for my worm-eaten fox-faced panel.
I measured for the lengths I’d need to see if this board was sufficient to supply me with what I needed.
It’s cutting it tight here as you can see. Once I was sure I had all the pieces I needed, I cut them to their approximate lengths and widths (plenty of extra just in case — I find it better for me to cut to final dimensions as late as possible.
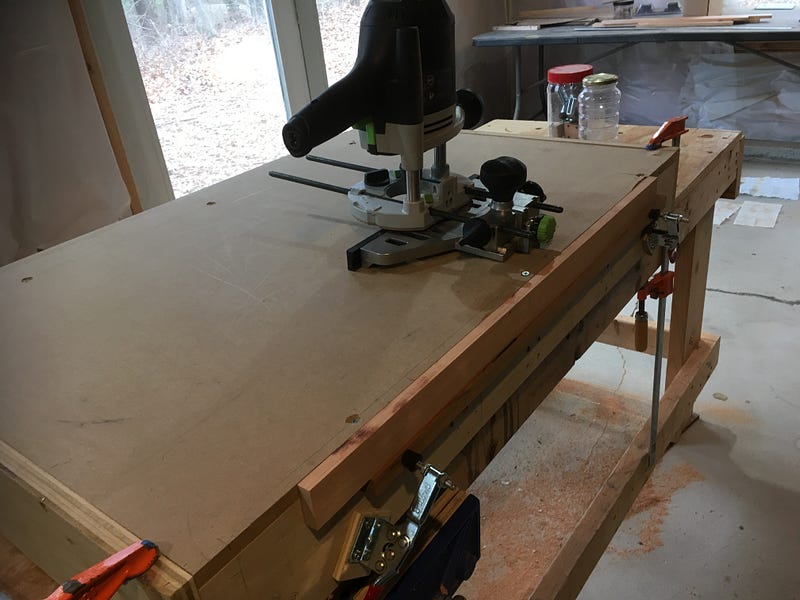
Once I have the material I need cut out, I use my router to plane the pieces flat.
The next photo shows the frame pieces taped to a fixture where I router-plane the parts flat and to approximate thickness (oversized again).
This cherry stock was thick enough that I could saw them through the thickness and get two pieces from each one. After I bandsaw the flattened stock I repeat the router planing to make sure all pieces are flat and close to final thickness.
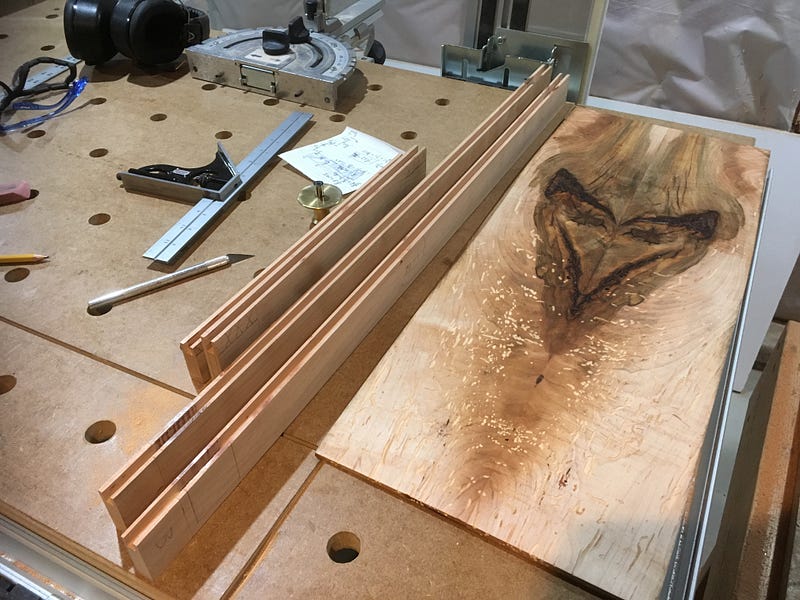
Now let’s lay out the frame components against the panel to make sure I have everything I need.
You can see I have excess length on the stiles (the vertical part of the frame), which I’ll use for clamping during the gluing of the frame.
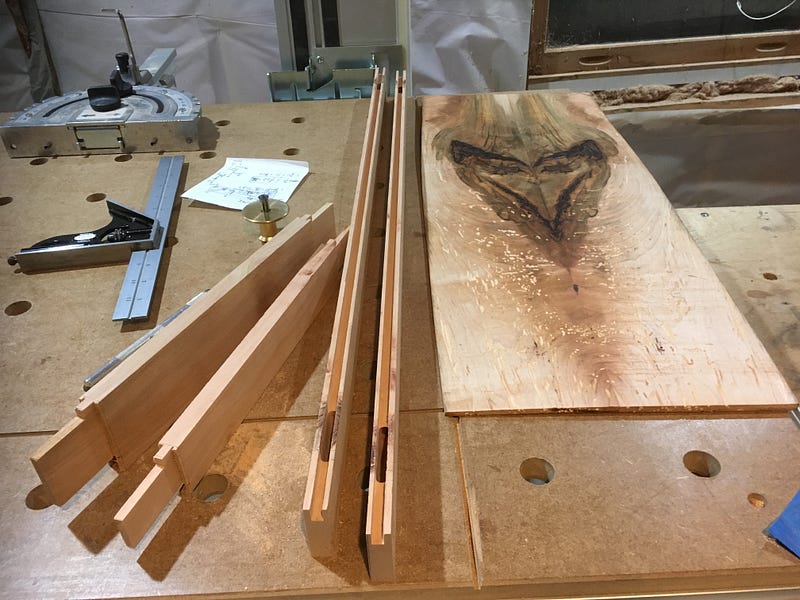
The next image shows my crude fixture for routing a groove for the panel into one edge of each frame component.
And next is the groove as-machined.
And here are all the components with the grooves in place.
Next I created the tenons (pegs) and mortises (holes), the parts of the joints that will hold the frame together. This here is really the heart of what I wanted to practice, the joinery, although the rest of the work is similarly still challenging for me, it is less finicky than than joinery which requires more precision.
Here is a close-up of one of the tenons. I have roughed out most of the tenon, but left lots of material around the shoulder of the tenon, the edges which you see that I’ve scribed with a knife to mark the precise location.
I try to cut exactly to that knife line so I have no ugly gaps between the frame pieces after gluing them together. Any gaps reflect on the precision of the next steps (as well as the fit of the tenons into the mortises).
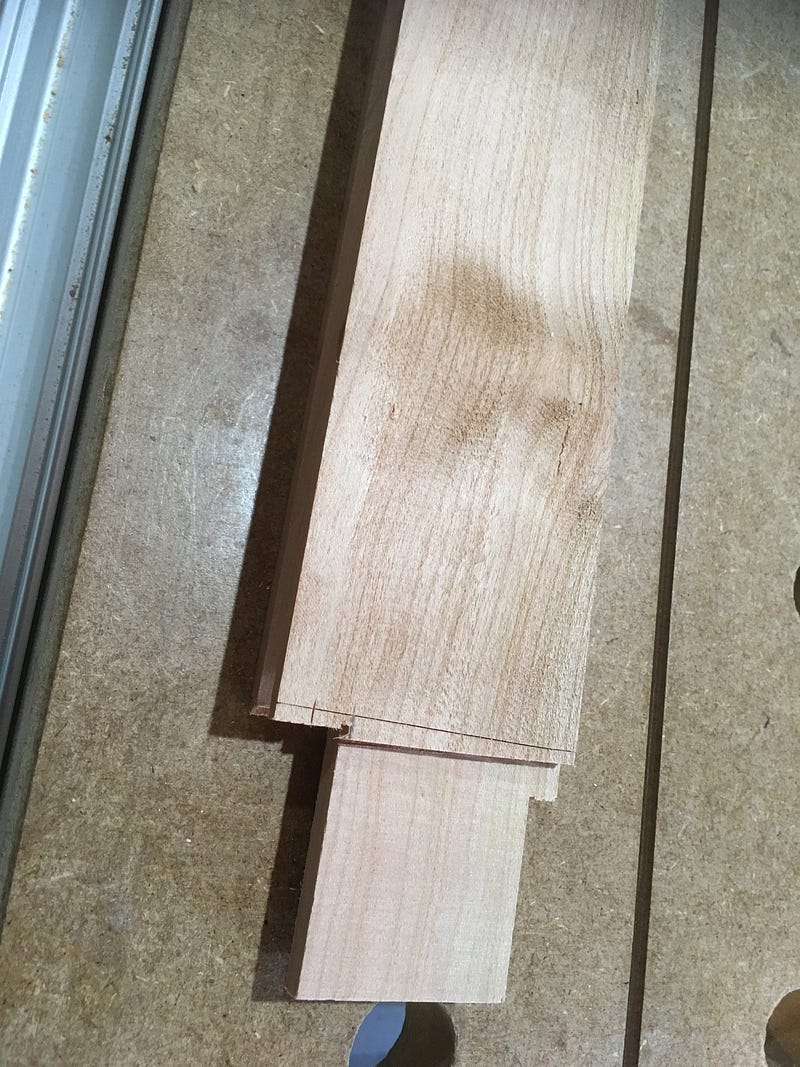
Here are the final tenons trimmed to the knife line.
Now time to check the fit of all the parts to see if I’ve made any egregious errors — to my eyes all looks good here.
Now for one of the most stressful parts of a project for me — gluing. You can read about some of my misadventures in gluing in my story about the piano bench here:
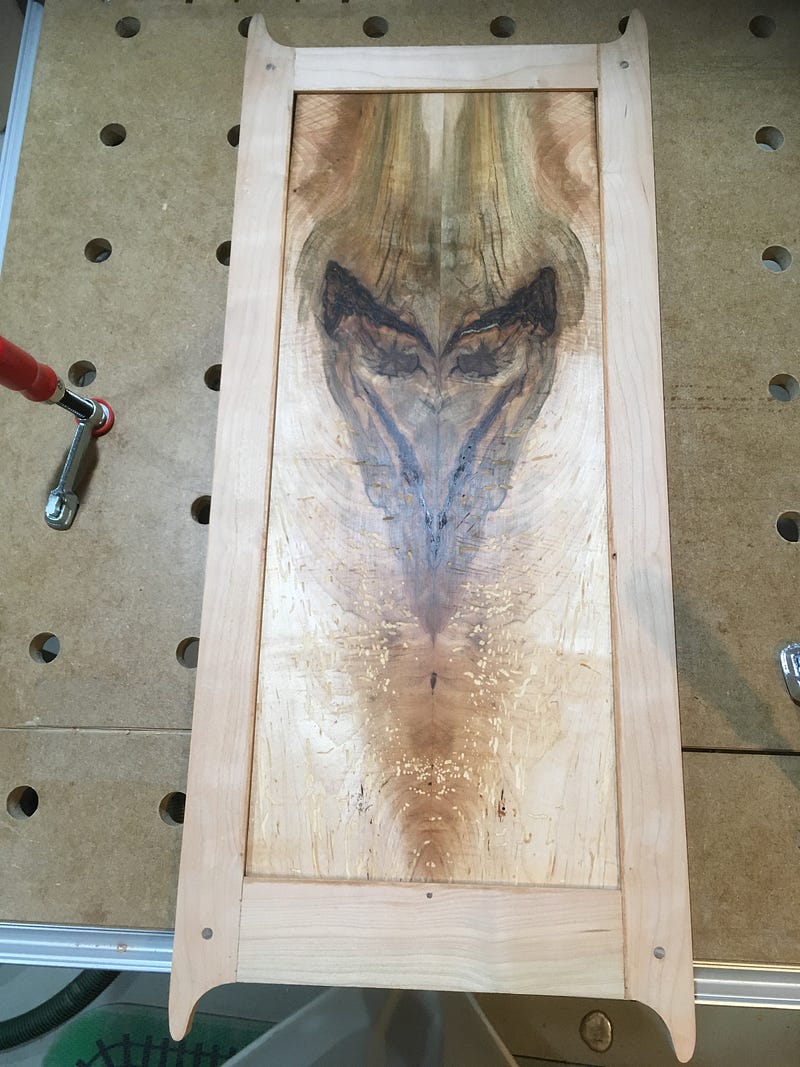
After letting the glue dry overnight, here is the frame fresh out of the clamps.
My joinery needs lots of improvement and I always have a small but noticeable step at the joints between parts which require sanding down to make them flush. But I make a last-second executive decision. I would like a nice contrasting round peg at the corners, which will also act to mechanically reinforce the mortise and tenon joints. This is totally unnecessary… No one will be sitting on this picture frame. But I want those. Round accents in the corners.
So I drill holes where each peg will go, and then hand-carve the pegs that will fit into them, as shown in the next image.

After gluing the walnut pegs into the holes and letting them dry, I saw the excess off, and now I can start sanding, and then apply finish to the completed frame.