
Raspberry Pi 4: Install Flatcar Container Linux ( with new SD )
The first time installing Flatcar Container Linux on Raspberry Pi 4.
Disclaimer
“As an Amazon Associate, I earn from qualifying purchases.”
Intro
Recently, I got three Paspberry Pi 4. The first project I’m going to do with one of them is setting up a local DNS with either AdGuard or Pi-Hole.
For the OS, I decided to use Flatcar Container Linux instead of Raspberry Pi OS. It’s is directly derived from CoreOS, enabling seamless in-place migration. ( drop-in replacement )
Note about Flatcar Container Linux on Pi
Ref: https://www.flatcar.org/docs/latest/installing/bare-metal/raspberry-pi/#before-we-start
Here are warning from Flatcar for Pi users
A word of warning:
- The UEFI firmware used in this guide is an UNOFFICIAL firmware , provided under an open source BSD license.
- Flatcar Container Linux support for Raspberry Pi is still in its early stages and is not thoroughly tested.
- Deploy Flatcar Container Linux on the hardware for purely fun and learning.
- Please follow the documentation at your own risk.
Steps: Setup Flatcar on Micro SD card
The steps setting up Flatcar is documented here. Based on the official document, I re-defined the steps like below.
- Setup Bootloader on SD card
- Boot Raspberry Pi with the Bootloader installed SD Card on the step #1
- Install Flatcar on the SD Card updated from step #2
- Add Raspberry Pi 4 UEFI Firmware on the SD Card
- Boot Raspberry Pi with SD Card Flatcar installed
Step1: Install Bootloader on SD card
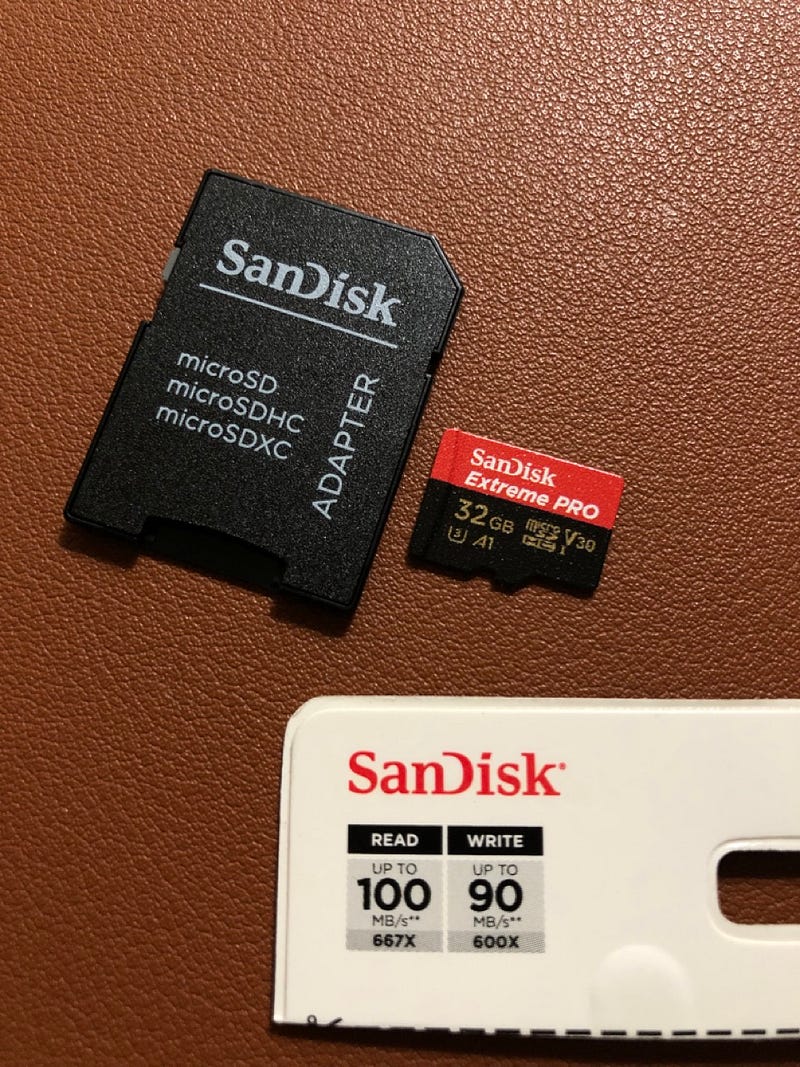
1.1. Plug in SD Card to Computer
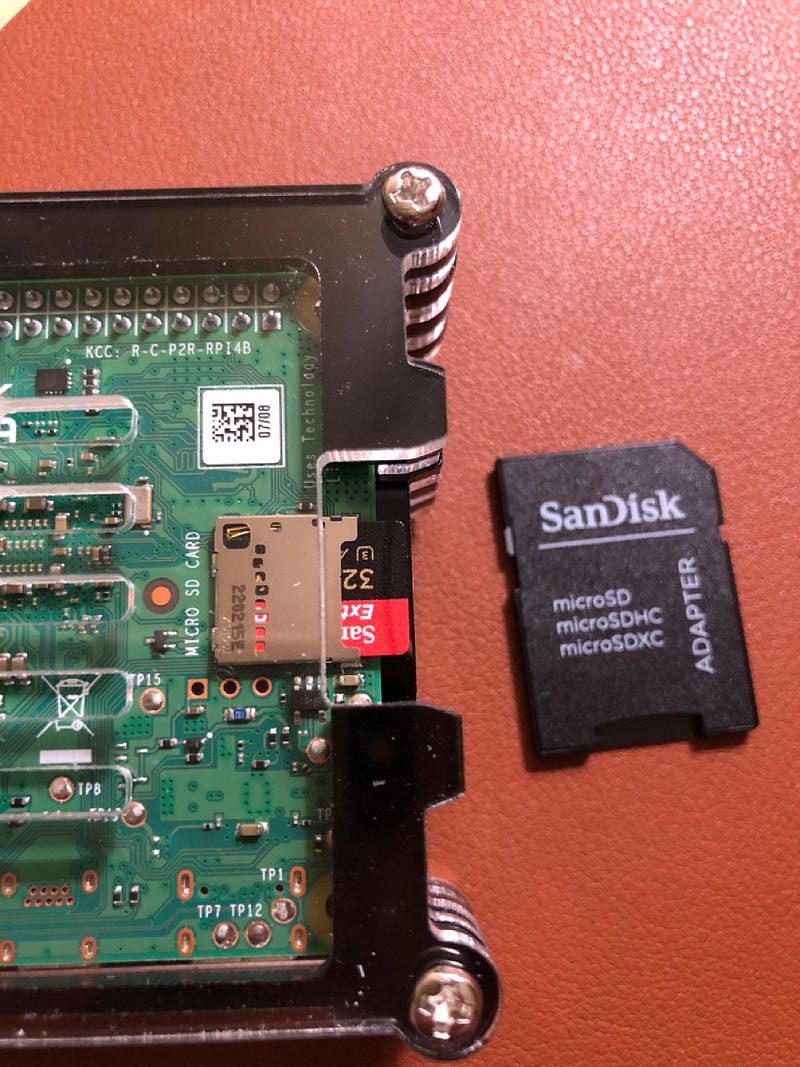
Plug in the Micro SD card to your computer.
If you need a bundled Raspberry Pi accessories, you can try this that I bought. ( Check in Amazon )
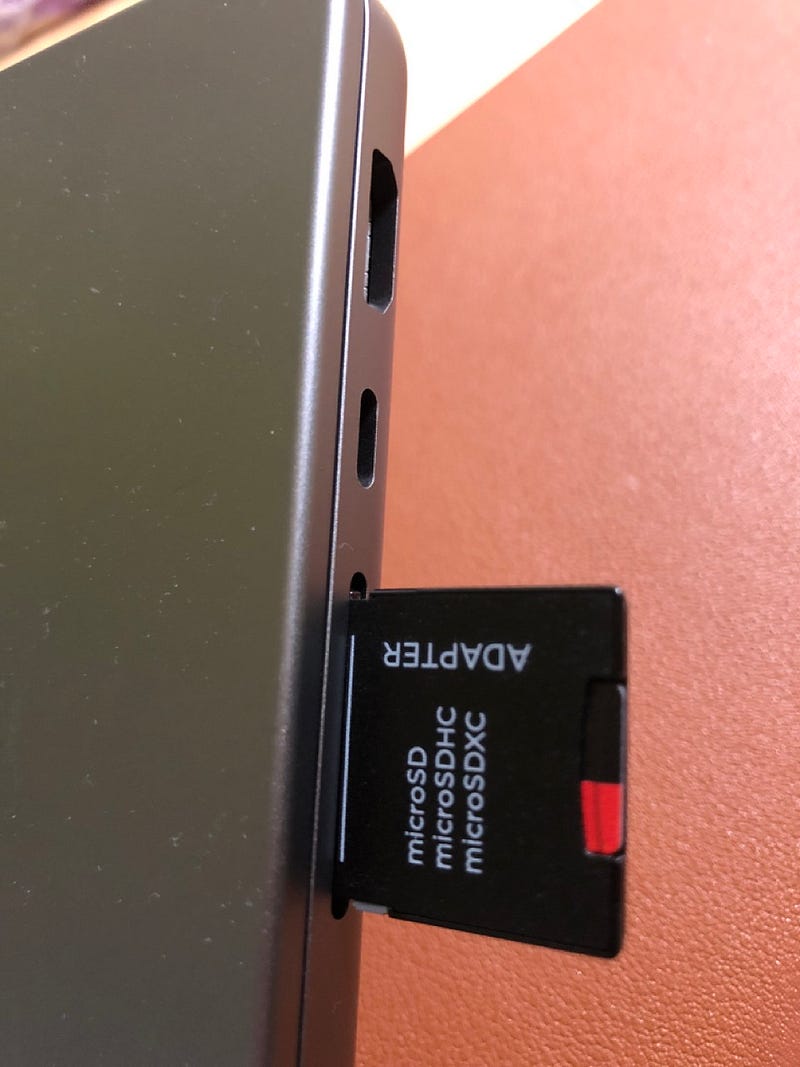
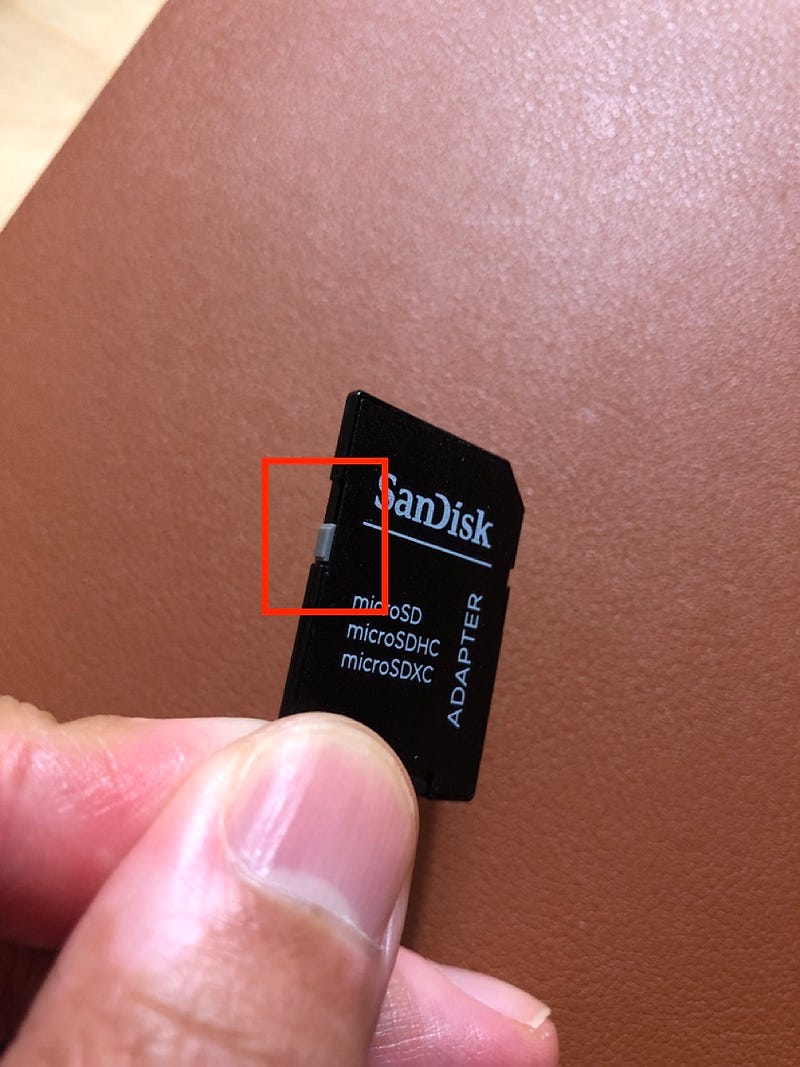
NOTE: If you use SD Card adapter like the screenshot above, please make sure the switch on the side is not down. If it is down, it is set as protected mode and it is not writable.
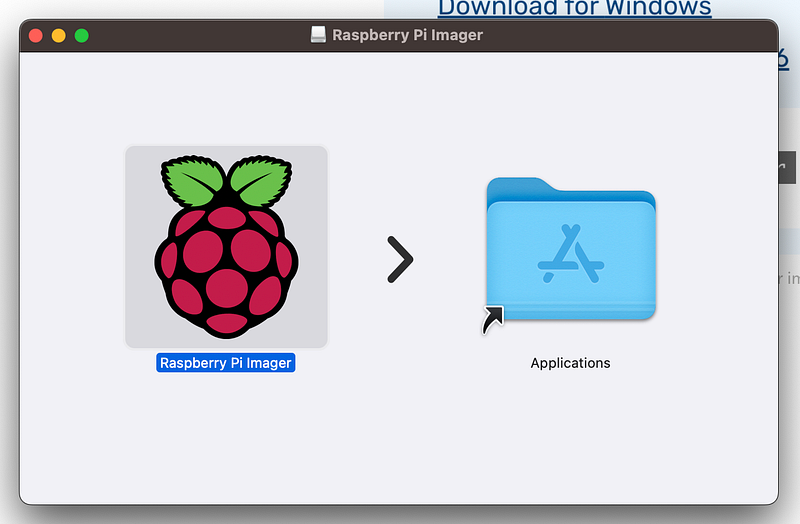
1.2. Download / Install Raspberry Pi Imager
Raspberry Pi Imager can be downloaded from Pi website. Once it is downloaded, install it on your computer.

1.3. Install Bootloader by Raspberry Pi Imager
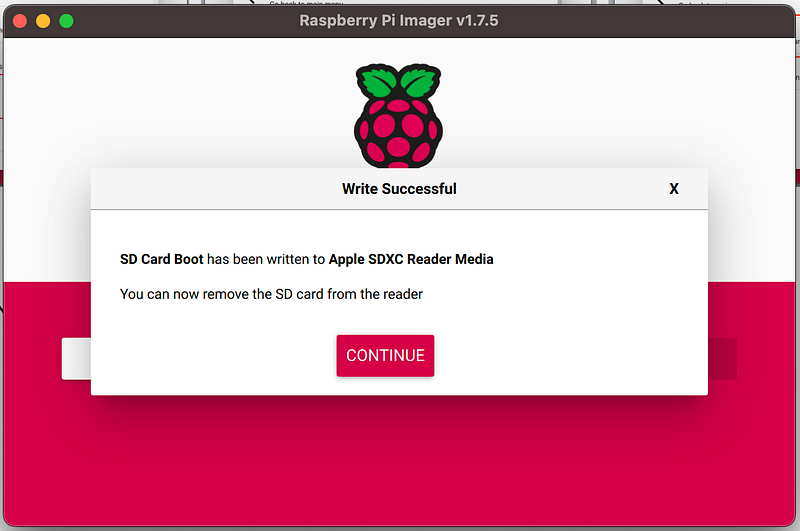
First, run the installed Raspberry Pi Imager. Once Raspberry Pi Imager is up, you will see this screen.
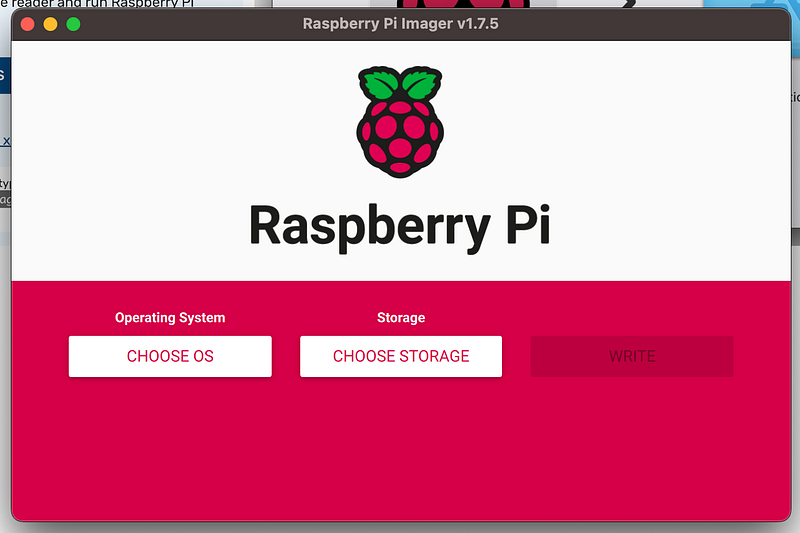
We’re going to select two things.
- Operating System
- Storage
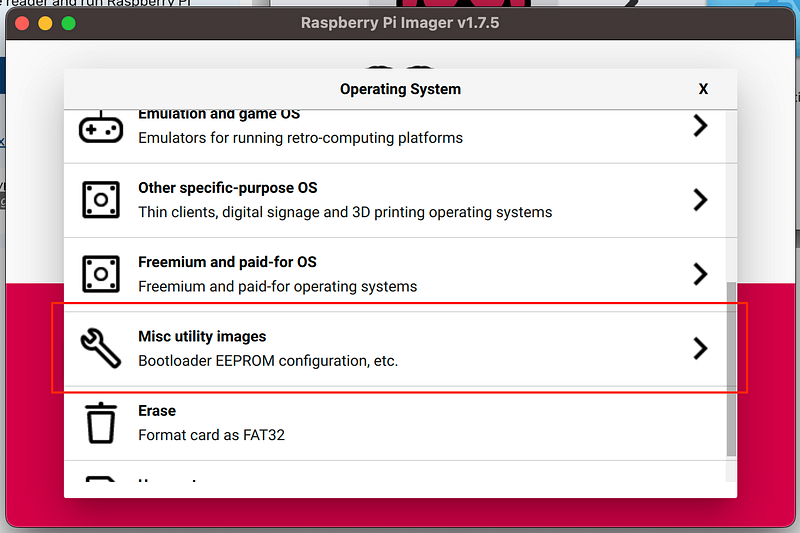
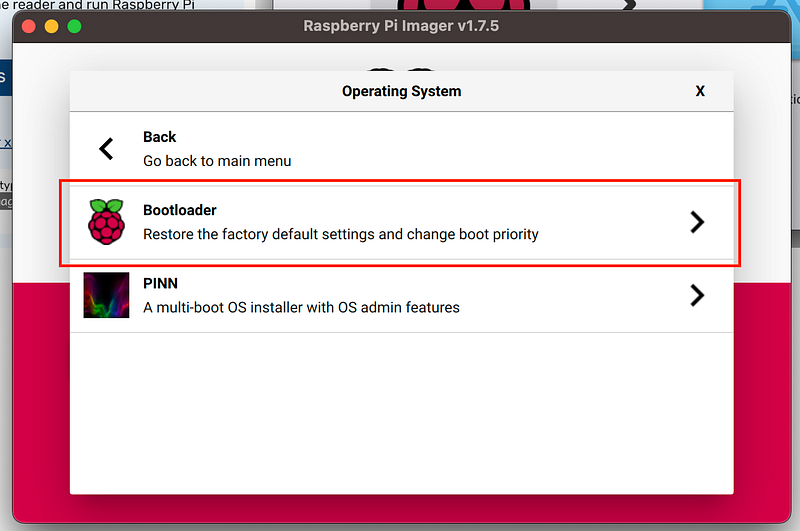
Let’s start selecting Bootloader in Operating System menu by clicking “CHOOSE OS”. The screenshots below are the steps.
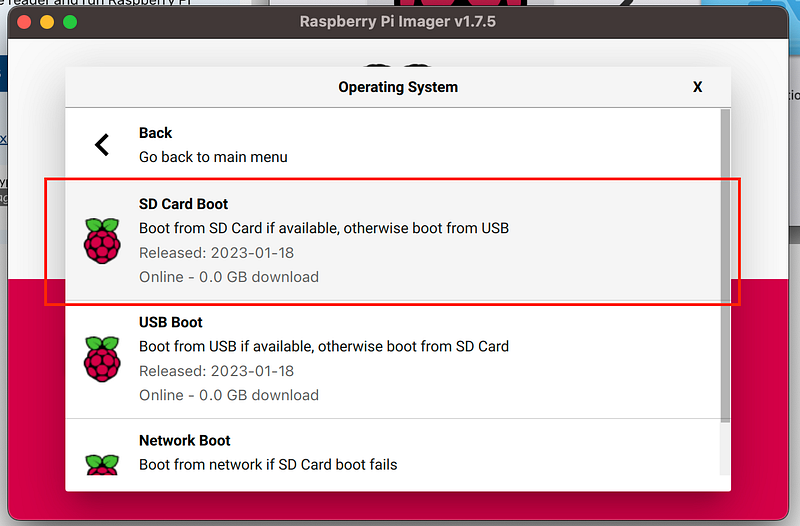
NOTE: Since I want to boot by SD Card, I chose “SD Card Boot”.
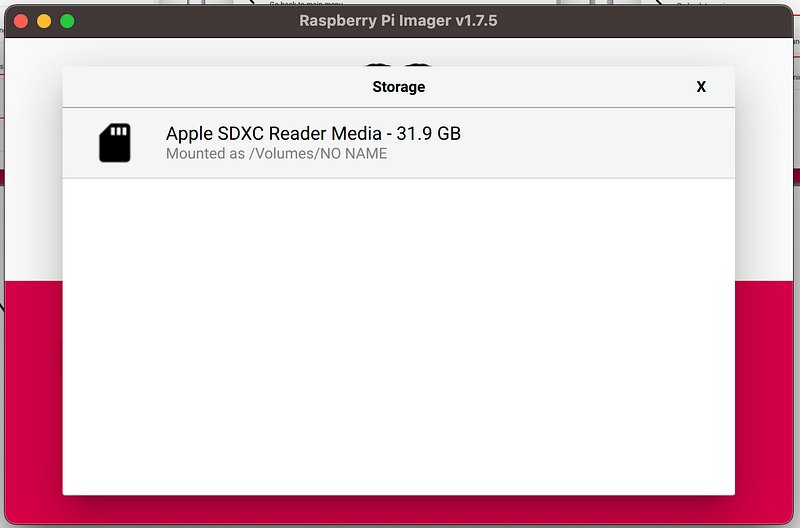
Next, let’s select the storage by clicking “CHOOSE STORAGE”.
I chose the Micro SD card that I pluged to my computer.
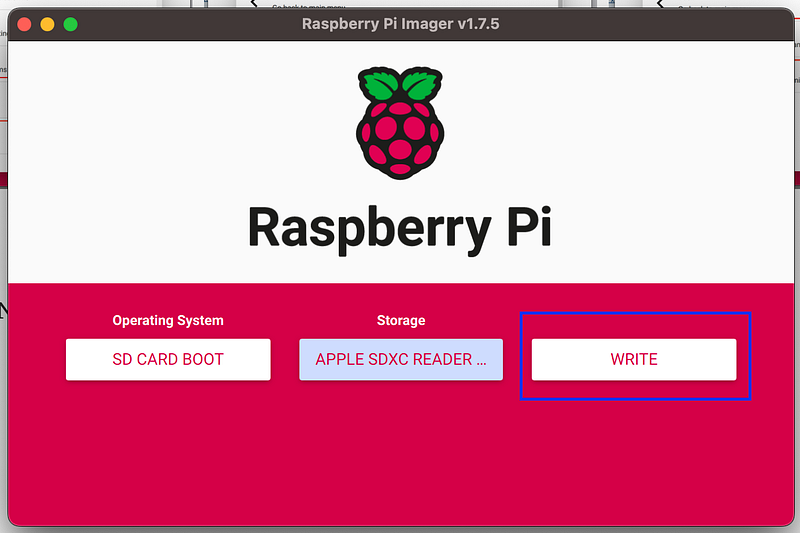
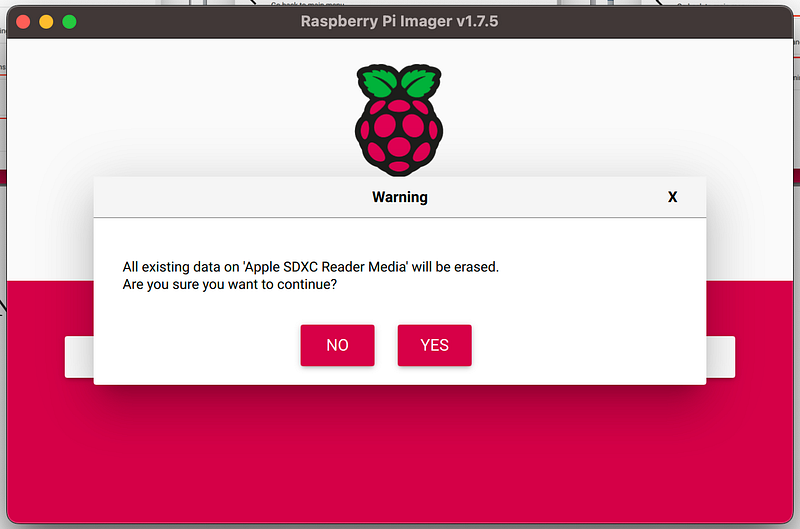
Let’s start installing the Bootloader. The installation didn’t take a long time. ( less than 30sec in my case ). I guess the time is bounded by your network bandwidth and Micro SD card’s writing speed.
Step2: Boot Raspberry Pi with the Bootloader installed SD Card
By using the SD Card built by the step #1, let’s boot Raspberry Pi.
Let’s plug in Micro SD card and Monitor to the Raspberry Pi. A keyword and a mouse doesn’t have to be plugged.
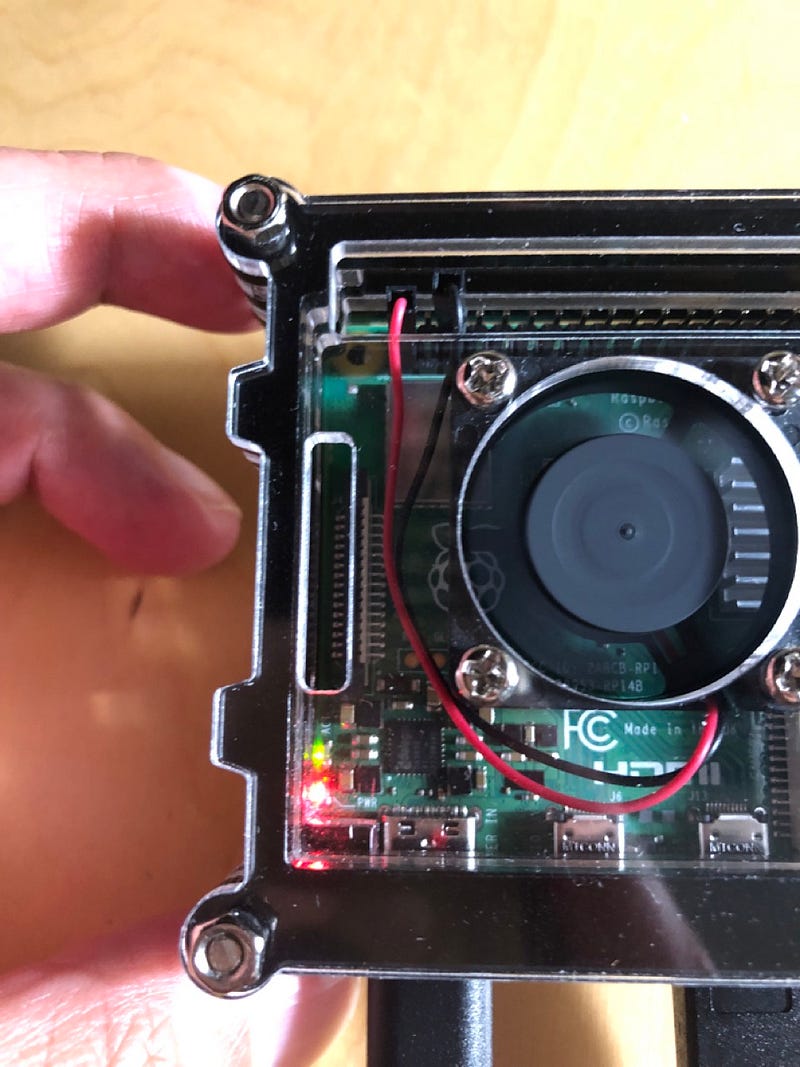
Let’s power up the Raspberry Pi 4 by plugin.
If it works fine, then you will see the green activity LED will blink with a steady pattern on Raspberry Pi 4 ( The left screenshot below ) And, the display will be green. ( The right screenshot below ).
IMPORTANT: Now, power off the Raspberry Pi and take out the Micro SD from it.
The Raspberry PI 4 uses an EEPROM to boot the system. Before proceeding ahead, it is recommended to update the EEPROM. Raspberry Pi OS automatically updates the bootloader on system boot.
ref: https://www.flatcar.org/docs/latest/installing/bare-metal/raspberry-pi/#update-the-eeprom

Note: Had a hard time to figure out the next step
After I checked that the green activity LED blinked with a steady pattern on Raspberry Pi 4 and the display was green, I wasn’t sure what the next was.
Somehow, I thought something would magically happen. ( more than just seeing the green screen )
But, the documentation said that I needed to power off the Pi and remove the Micro SD card. ( WHY?????? )
I realized that I didn’t install the Flatcar Container Linux yet. ( OMG!! )
Let’s continue.
Step3: Install Flatcar on the SD Card
From the step #2, the Bootloader was updated on system boot.
Now, I need to install Flatcar on the SD Card. To do that, I have to plug in the Micro SD card to my computer again. ( Ok… )
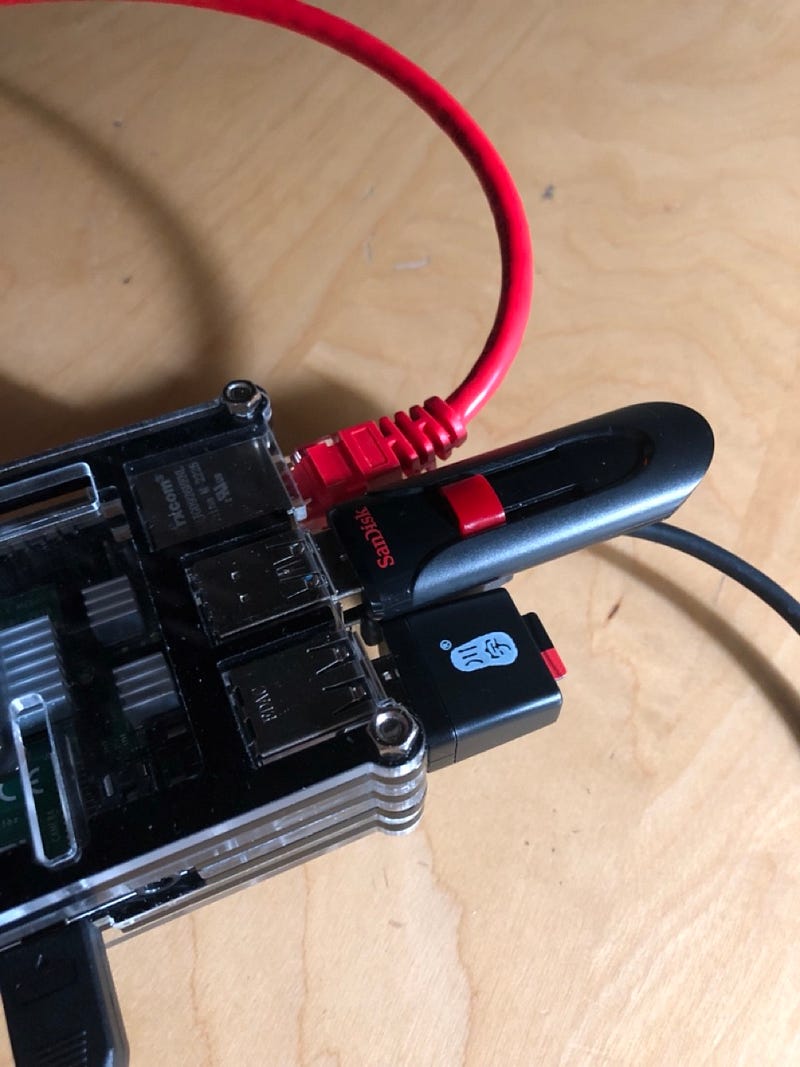
IMPORTANT: The flatcar-install script was NOT able to run on MacOS. I tried with Docker container with Debian, but Docker container is not able to connect to USB. So, I made a bootable Raspberry OS on a USB. By using the bootable USB, I booted Raspberry and plugged the Micro SD by using USB adapter. With this setup, I was able to install Flatcar on Micro SD. ( Like blow )
3.0 Install required dependencies on Raspberry OS
The flatcar-install script needs some commands and those have to be installed first.
sudo apt-get update
sudo apt-get install curl bzip2 btrfs-progs gawk gpg udev wget jq
3.1. Setup flatcar-install script
- Download the script
- Add execution permission
The official document moves the flatcar-install script to ~/.local/bin , but I didn’t want that. Therefore, I created a tmp directory flatcar_proj and put the flatcar-install script under the directory. ( you can see it in the screenshot below )
# ref: https://github.com/flatcar/init/tree/flatcar-master/bin/flatcar-install

mkdir flatcar_proj
cd flatcar_proj
curl -LO https://raw.githubusercontent.com/flatcar/init/flatcar-master/bin/flatcar-install
chmod +x flatcar-install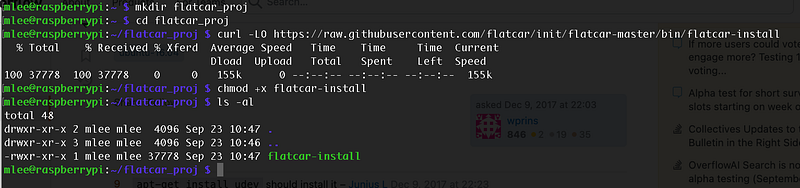
3.2 Create a Ignition file
What is Ignition file? I’ve never heard about it, so I googled about it.
Ignition is a provisioning utility that reads a configuration file (in JSON format) and provisions a Fedora CoreOS system based on that configuration. Configurable components include storage and filesystems, systemd units, and users.
Ignition runs only once during the first boot of the system (while in the initramfs). Because Ignition runs so early in the boot process, it can re-partition disks, format filesystems, create users, and write files before the userspace begins to boot. As a result, systemd services are already written to disk when systemd starts, speeding the time to boot.
ref: https://docs.fedoraproject.org/en-US/fedora-coreos/producing-ign/
So, if I summarize it, Ignition is
- a provisioning utility that reads a configuration file
- provisioning a Flatcar Container Linux system based on that configuration
- running only once during the first boot of the system
- so, it can re-partition disks, format filesystems, create users, and write files before the userspace begins to boot.
Ok. Let’s create a Ignition file. Please make sure you replace “
{
    "ignition": {
        "config": {},
        "security": {
            "tls": {}
        },
        "timeouts": {},
        "version": "2.3.0"
    },
    "networkd": {},
    "passwd": {
        "users": [
            {
                "name": "core",
                "sshAuthorizedKeys": [
            <Insert your SSH Keys here>
                ]
            }
        ]
    },
    "storage": {
        "filesystems": [
            {
                "name": "OEM",
                "mount": {
                    "device": "/dev/disk/by-label/OEM",
                    "format": "btrfs"
                }
            }
        ],
        "files": [
            {
                "filesystem": "OEM",
                "path": "/grub.cfg",
                "mode": 420,
                "append": true,
                "contents": {
                    "source": "data:,set%20linux_console%3D%22console%3DttyAMA0%2C115200n8%20console%3Dtty1%22%0Aset%20linux_append%3D%22flatcar.autologin%20usbcore.autosuspend%3D-1%22%0A",
                    "verification": {}
                }
            }
        ]
    },
    "systemd": {}
}
3.3 Install the Flatcar Container Linux image on Micro SD card
First, find the device name of the Micro SD card by using lsblk . In my case, the device name was /dev/sdb .
- With the given values of
channelandboard, the script would download the image, verify it with gpg, and then copy it bit for bit to disk. - In our case, Flatcar does not yet ship Raspberry PI specific OEM images yet so the value will be an empty string
''.
Second, run the flatcar-install script with the arguments.
# -d DEVICE   Install Flatcar Container Linux to the given device.
# -C CHANNEL  Release channel to use
# -B BOARD    Flatcar Container Linux Board to use
# -o OEM      OEM type to install (e.g. ami), using flatcar_production_<OEM>_image.bin.bz2
# -i IGNITION Insert an Ignition config to be executed on boot.

sudo ./flatcar-install -d /dev/sdb -C stable -B arm64-usr -o '' -i config.json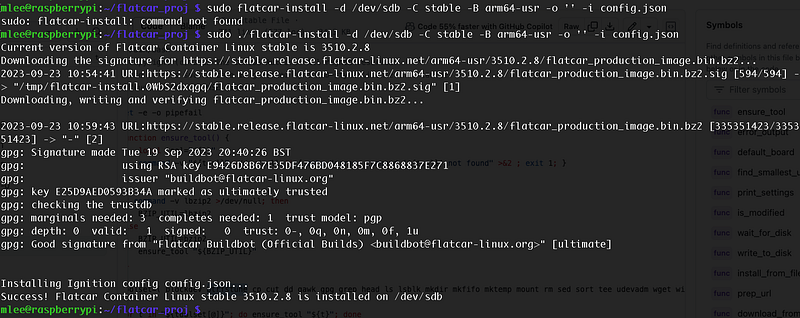
Step4. Add Raspberry Pi 4 UEFI Firmware on the SD Card
This step basically downloads the appropriate Raspberry Pi 4 UEFI Firmware and place it on Micro SD.
efipartition=$(lsblk /dev/sdb -oLABEL,PATH | awk '$1 == "EFI-SYSTEM" {print $2}')
mkdir /tmp/efipartition
sudo mount ${efipartition} /tmp/efipartition
pushd /tmp/efipartition
version=$(curl --silent "https://api.github.com/repos/pftf/RPi4/releases/latest" | jq -r .tag_name)
sudo curl -LO https://github.com/pftf/RPi4/releases/download/${version}/RPi4_UEFI_Firmware_${version}.zip
sudo unzip RPi4_UEFI_Firmware_${version}.zip
sudo rm RPi4_UEFI_Firmware_${version}.zip
popd
sudo umount /tmp/efipartition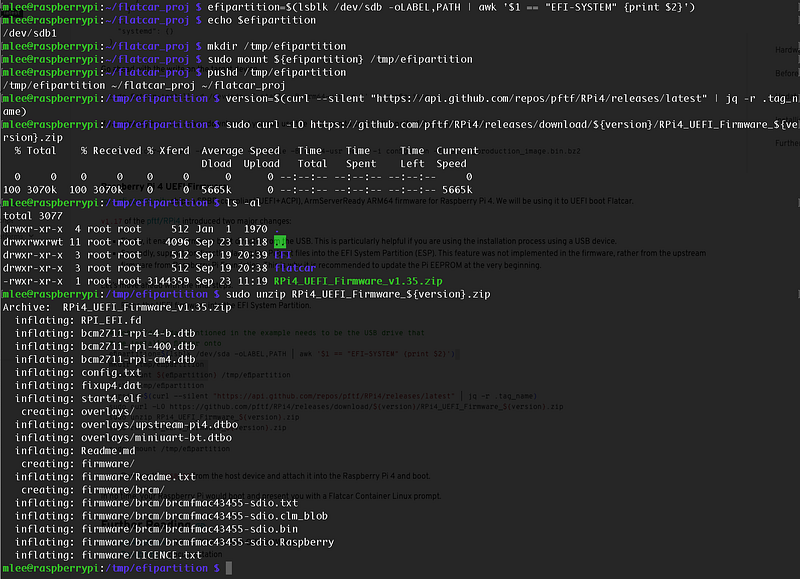
Step5. Time to boot Pi with Flatcar installed Micro SD
Plug in the Micro SD and boot the Raspberry Pi.
The boot will take some times. It looks like stuck, but it is not.
So, be patient until the login prompt shows up.
IMPORTANT: In this tutorial, the user “core” was set to use SSH Key login. Therefore, usernamd and password won’t work with the user “core”
In my case, I was able to SSH to the Pi by SSH.
# my SSH private key for flatcar is in the flatcar-node1 file

ssh core@192.168.2.21 -i ~/.ssh/flatcar-node1


