
Raspberry Pi 4: Enclose with Smraza Case
Assemble Smraza Case I got from Amazon
Disclaimer
“As an Amazon Associate, I earn from qualifying purchases.”
Intro
A few days ago, I bought three Raspberry Pi 4.
They are just boards, so I had to buy some required accessories to start the first project with them.
I did some researches. You can find them from this post.
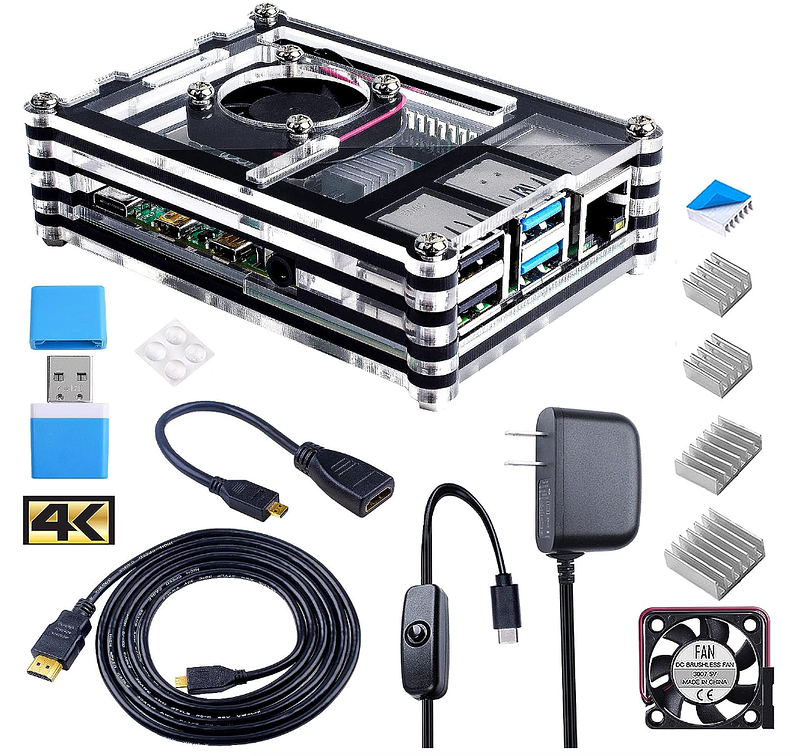
Bought this bundle accessories
I ordered a bundled accessories.( $18 ) It has the things I needed.
- USB C Power Supply
- Mini HDMI cable and adapter
- and a case + a fan + heatsinks
If you’re interested in this, you can find in Amazon ( check in Amazon )
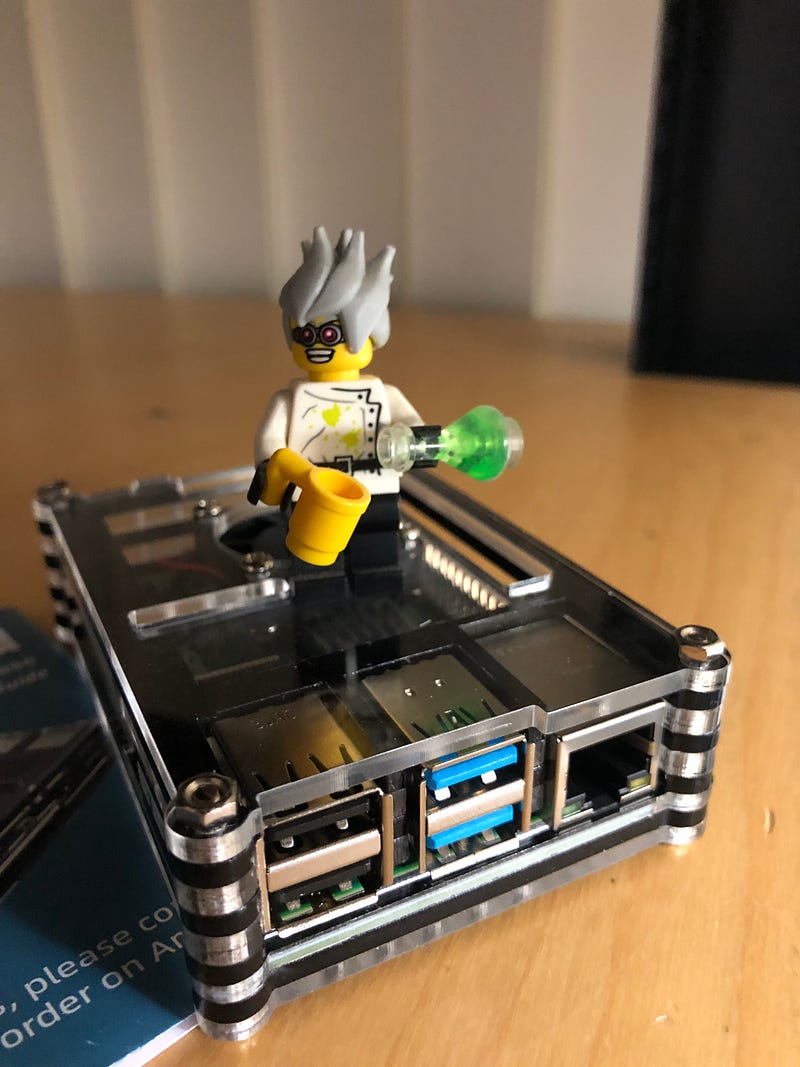
Put them together
I’ve been busy with some on-going work. Finally, today I got some time to put them together.
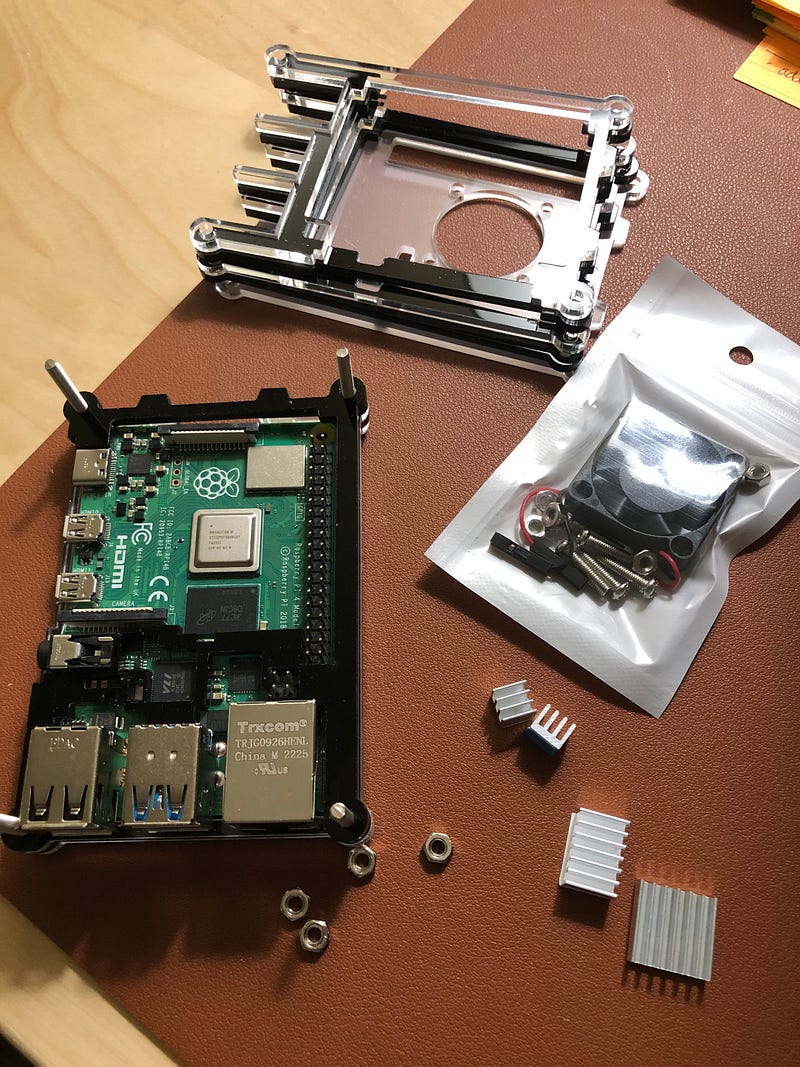
The case has 9 Acrylic Layers. I don’t know why it needs that many layers, but it wasn’t too bad to stack them.
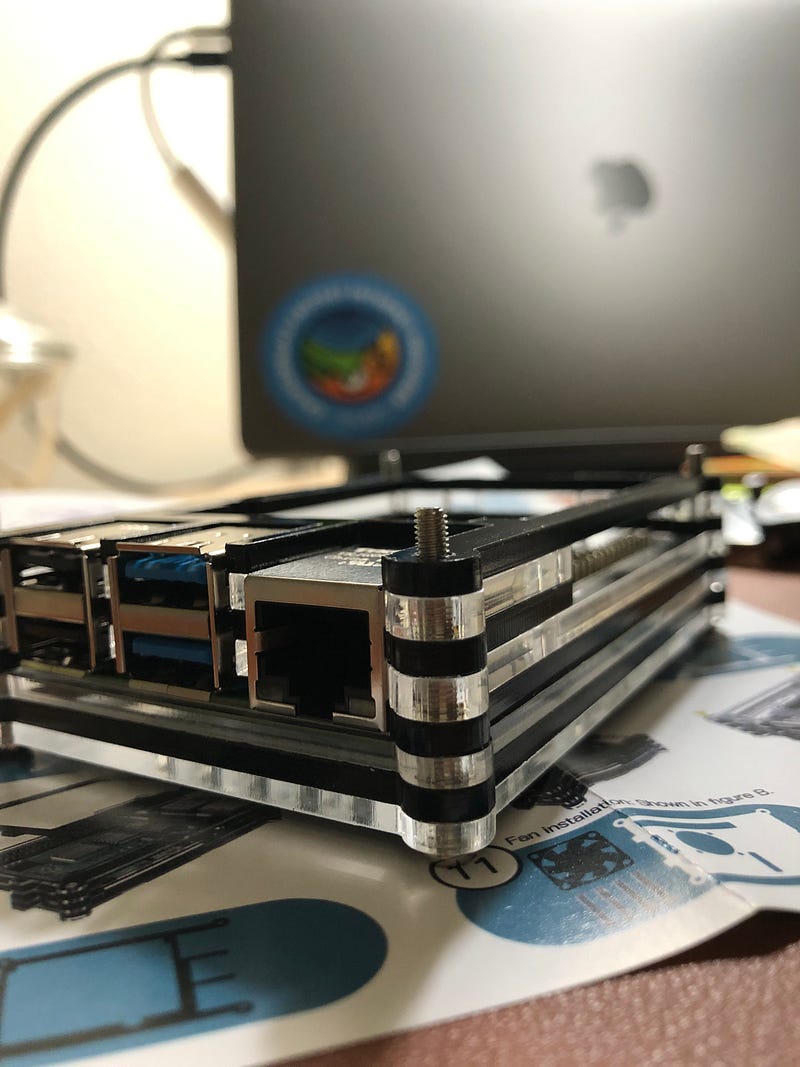
The included manual says that the screws at the four corners should be installed top to bottom, but to make easier to stack the 9 Acrylic Layers, I put the screws from bottom to up.
By mistake, I mounted the fan incorrectly. I had to re-mount it to re-position.
The fan speed can be set two levels ( Low or High ). I set it to “Low” for now. ( I am super sensitive to noise )

Check Power Consumption
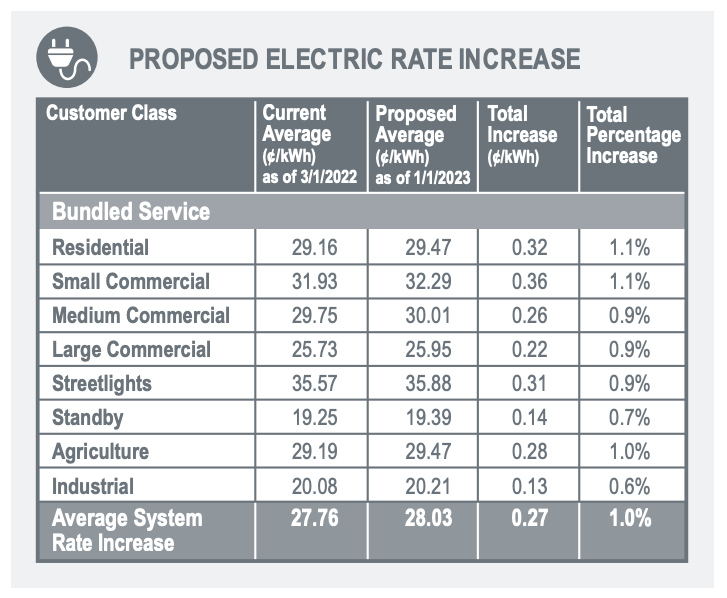
These days, almost everything’s prices are increasing.
And, PG&E ( Energy company where I live ) is currently working on increase the rate of electricity.
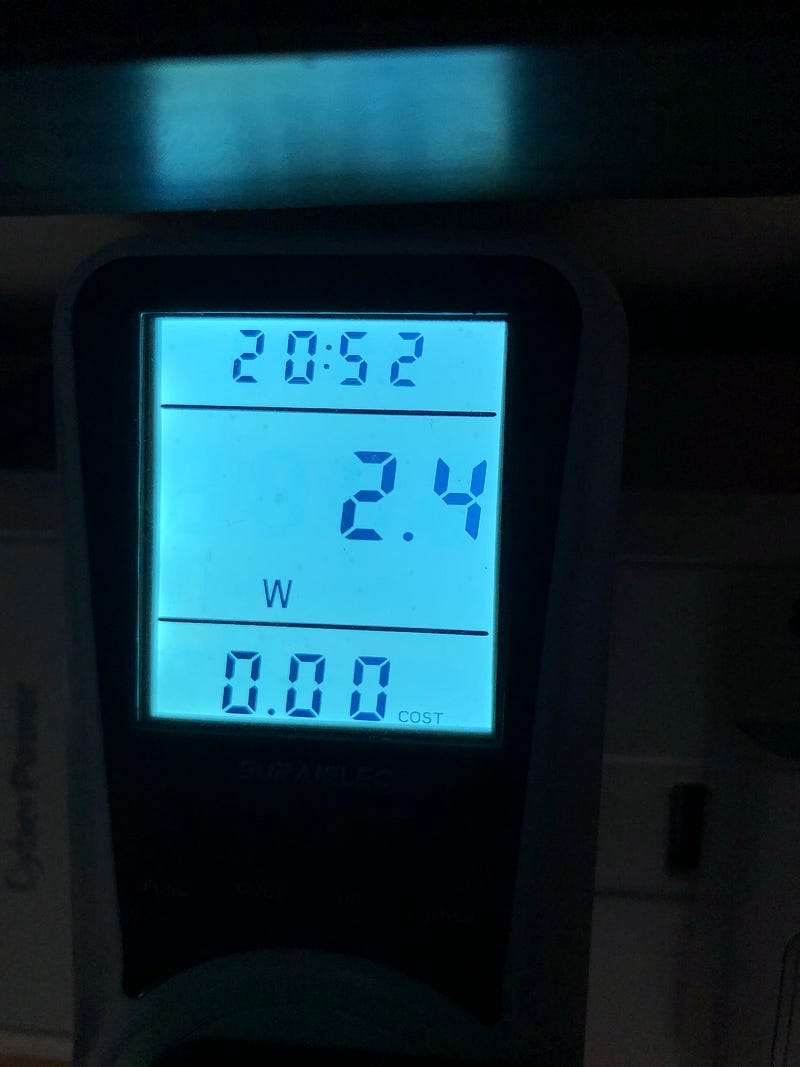
I wanted to know how much power the Raspberry Pi 4 uses when it is ideal. It was between 2.1–2.4W.
Disclosures
Some of Amazon links are Amazon affiliate links. I earn commissions from my sponsored links.