
Provisioning an AWS EC2 Instance for a Laravel Application
AWS EC2, offers scalable cloud computing capabilities, making it an ideal environment for hosting Laravel applications. In this article, we will walk through the steps of installing Laravel on an AWS EC2 server.
Prerequisites:
- An AWS account
Step 1: Create an EC2 Instance
- Log into your AWS Management Console.
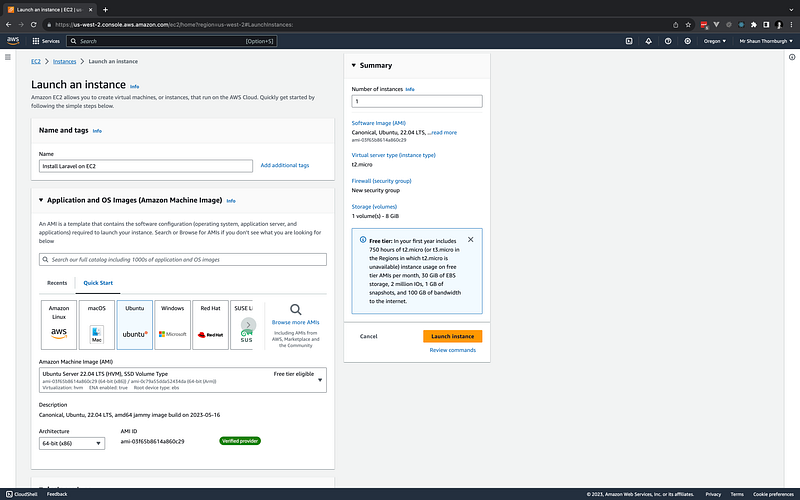
- Access the EC2 dashboard, and click “Launch Instance”.
- Enter a suitable name for your instance.
- Select Ubuntu AMI (Amazon Machine Image).
- Choose your instance type, “t2.micro” is available on the free tier.
- If you don’t already have a key pair, create one.
- Select network settings, you will need to allow SSH and HTTP connections. The standard storage configuration will be suitable for our requirements.
- Review your settings, and click “Launch Instance”.
Step 2: Log in to your EC2 Instance
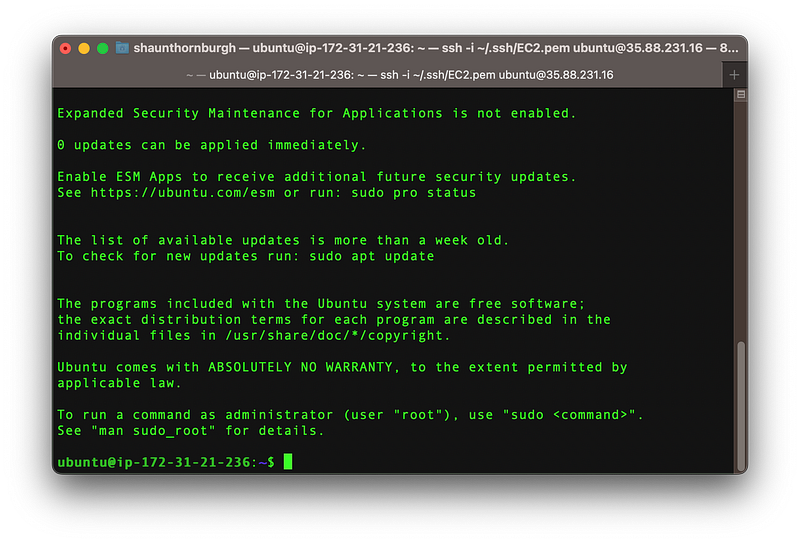
Use the key you created in the previous step you can now connect to your server via SSH.
ssh -i ~/.ssh/EC2.pem ubuntu@[YOUR SERVER IP]
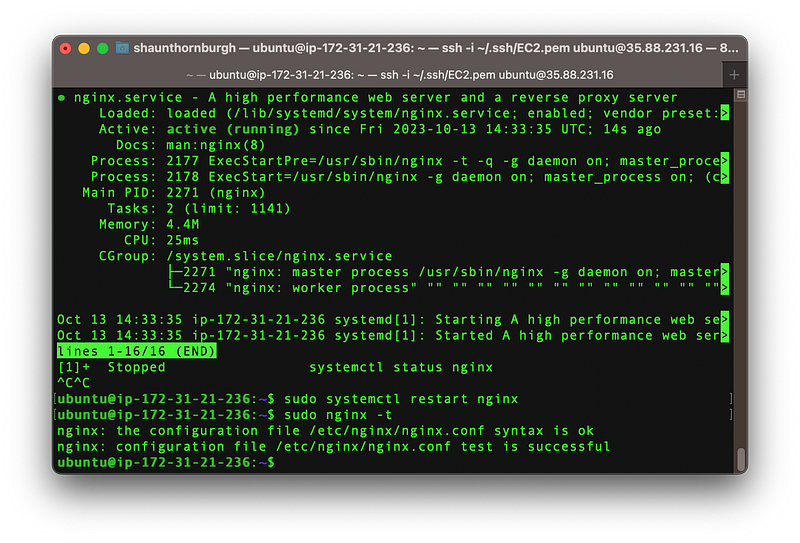
Step 3: Install NGINX
Nginx (pronounced “engine-x”) is a high-performance web server, reverse proxy, load balancer, and HTTP cache. It is free and open-source software and is a popular web server choice due to its speed, stability, and scalability. Run the following commands to install:
sudo apt update
sudo apt install nginx
systemctl status nginx
sudo systemctl restart nginx
sudo nginx -t
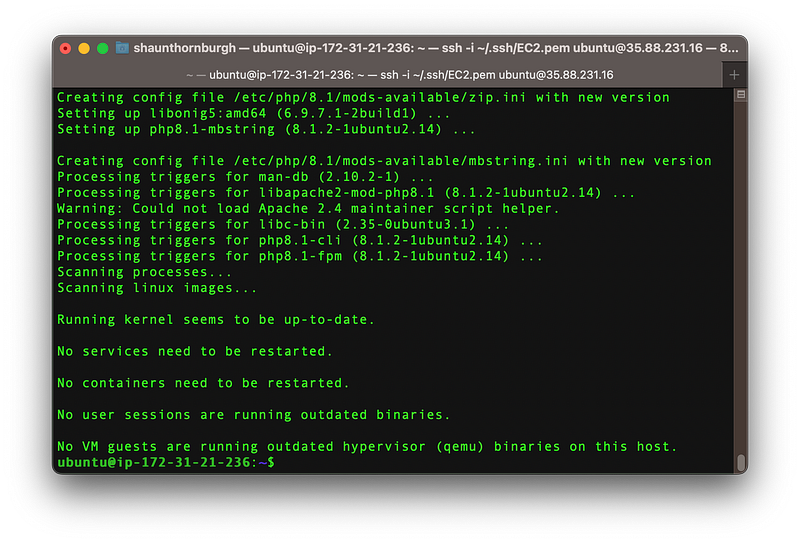
Step 4: Install PHP
Laravel is built using PHP so we are going to have to install this!
sudo apt update
sudo apt install - no-install-recommends php8.1
sudo apt-get install php8.1-cli php8.1-common php8.1-mysql php8.1-zip php8.1-gd php8.1-mbstring php8.1-curl php8.1-xml php8.1-bcmath php8.1-fpm
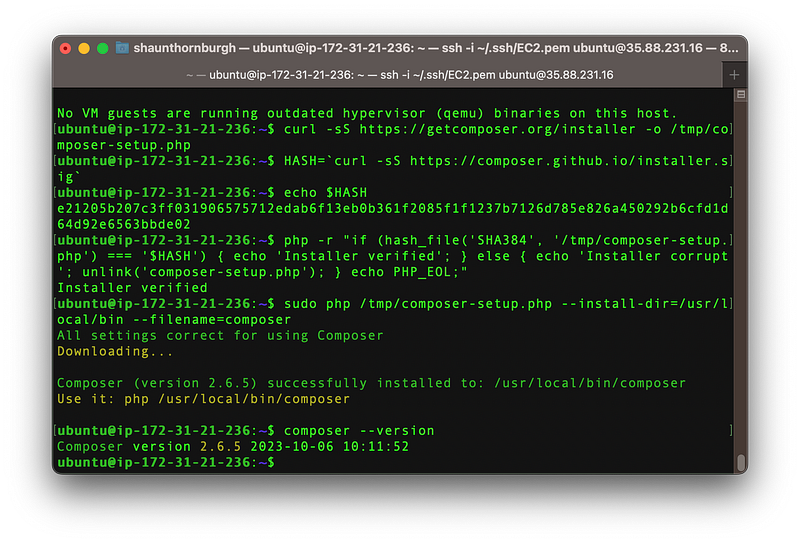
Step 5: Install Composer
Composer is a dependency management tool for PHP, allowing developers to declare the libraries on which their projects depend and automatically manage their inclusion and versioning. By specifying a list of required packages in a composer.json file, you can leverage Composer to download and update the necessary libraries and their respective dependencies, ensuring that the project has the correct versions of each library. This makes the process of managing and sharing PHP-based projects easier for us. Laravel utilises Composer to manage its dependencies so let’s get it installed in our server.
Step 6: Install MySQL & Create Database
MySQL is an open-source relational database management system (RDBMS) that allows users to store, organise, and retrieve data from structured sets of tables using SQL (Structured Query Language).
Laravel is configured to use MySQL by default, to change its default database type, you can update config/database.php.
sudo apt update
sudo apt install mysql-server
Once you have installed mysql, reset the root user password.
sudo mysql
ALTER USER 'root'@'localhost' IDENTIFIED WITH mysql_native_password BY 'password';
exit
sudo systemctl restart nginx
sudo systemctl restart php8.1-fpm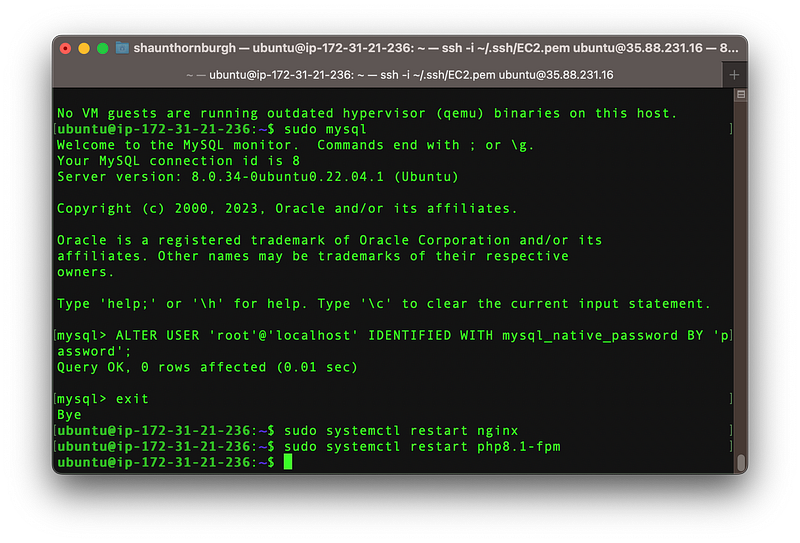
Step 7: Set Directory Permissions
The first step is to create a directory for our Laravel application.
We need to change the permissions for so that it can be accessed without root privilages. We just need to change the owner to current logged-in user to have full access to this folder:
sudo mkdir -p /var/www/html/
sudo chown -R ubuntu:ubuntu /var/www/html/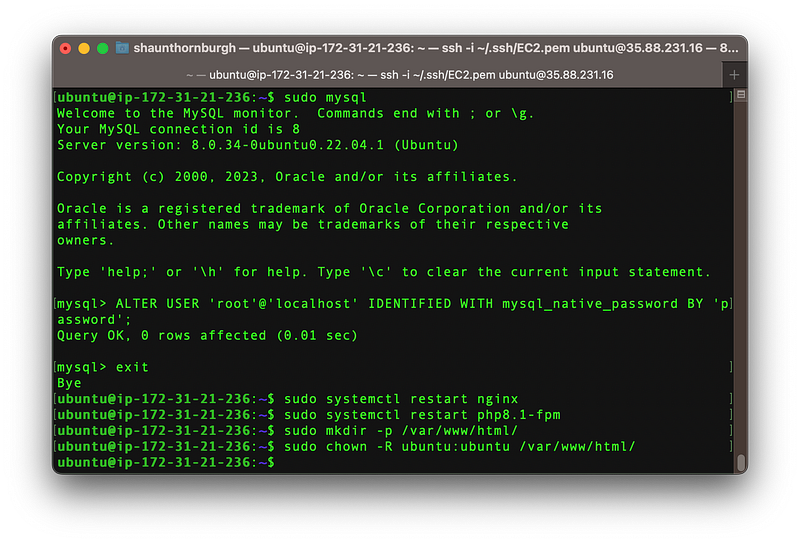
Step 8: Install Laravel
At this stage you can either install a fresh Laravel application or clone an existing repository. In this article we will install Laravel directory on to this server, if you would like to know more about automated deplyments I have written another article on this:
Run the following to install Laravel directly onto the server:
cd /var/www/html/
composer create-project - prefer-dist laravel/laravel laravel-install-test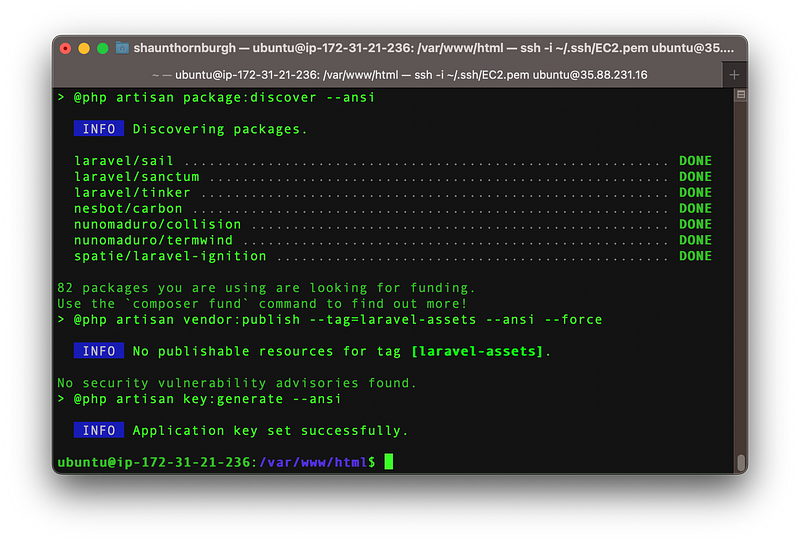
Step 9: Create Folders
We need to create the following folders and update permissions.
cd laravel-install-test/
chmod -R ugo+rw storage/logs
mkdir -p framework/{sessions,views,cache}
chmod -R ugo+rw storage/framework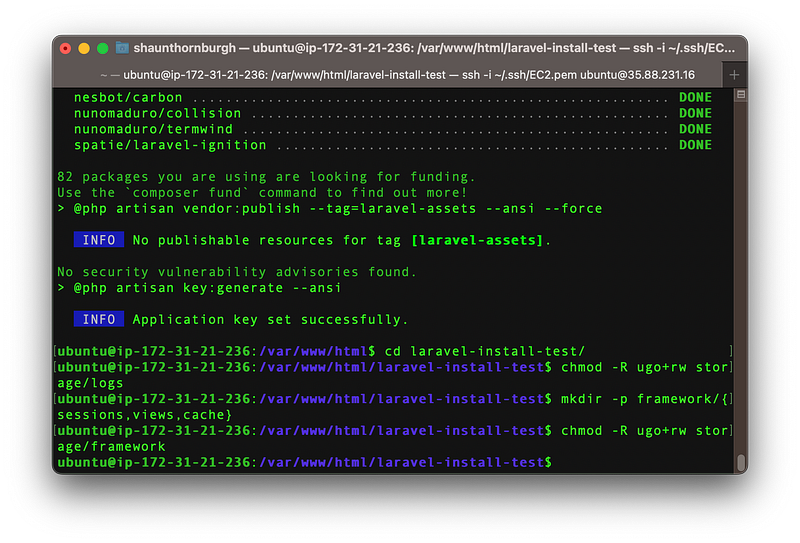
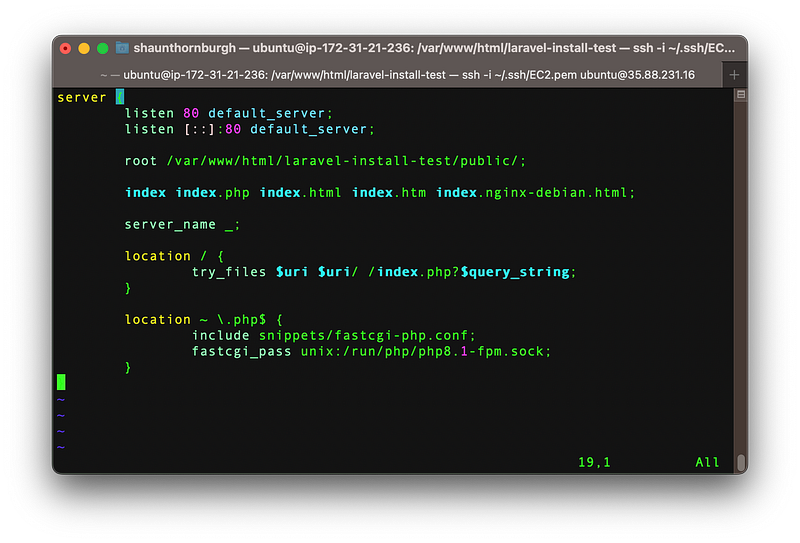
Step 10: Update Default Nginx Config
As we are only installing one site on this machine we can just update /etc/nginx/sites-enabled/default.
server {
       listen 80 default_server;
       listen [::]:80 default_server;

       root /var/www/html/laravel-install-test/public/;

       index index.php index.html index.htm index.nginx-debian.html;

       server_name _;

       location / {
               try_files $uri $uri/ /index.php?$query_string;
       }

       location ~ \.php$ {
               include snippets/fastcgi-php.conf;
               fastcgi_pass unix:/run/php/php8.1-fpm.sock;
       }
}
Save the file and restart Nginx.
sudo systemctl restart nginx
Step 11: Validate Installation
You can now validate your installation by visiting the public IP address for your EC2 instance.
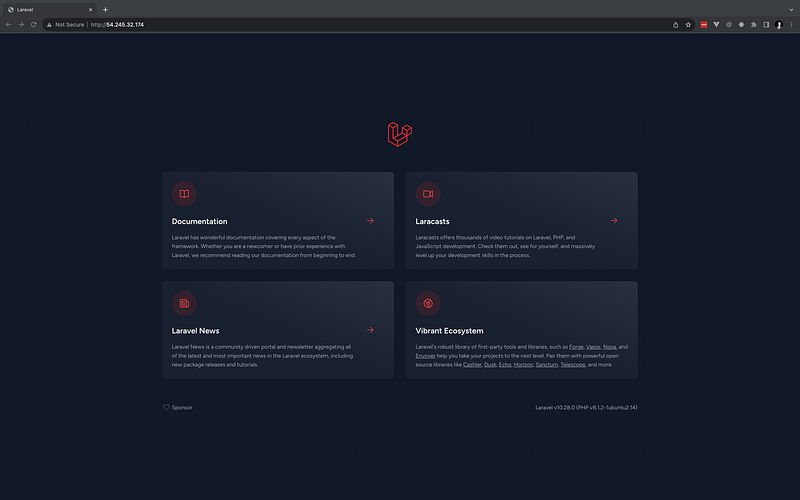
Congratulations! You now have a Laravel installation on a live AWS EC2 instance :)
Conclusion
In this article, we have walked through the process of setting up Laravel on an EC2 instance, breaking down each step which I hope you found easy to understand.
Amazon’s EC2 offers scalable and robust infrastructure, and combining it with Laravel presents a powerful toolset for web development. Please bear in my mind this is a very basic installation and it’s essential to learn more about security and maintenance aspects, regularly updating both your server and Laravel application to keep up with the latest patches and updates.
As always, continual learning and adapting to the ever-evolving tech landscape will ensure optimal performance and security for your applications.