Orange Soup — Your Way
Pumpkins and squashes and soup, oh my! — with a couple of bonus ideas thrown in!
No, this is not a photo of my pumpkin soup. But let’s be honest: they all look the same. It’s orange. It’s in a bowl. It’s delicious. You get the idea.
Today I am going to give you a recipe you have no doubt seen a million times before. In fact, it’s such a simple little dish that it hardly needs more words wasted on it. And yet — here we are! If you can master these simple veggie soups, you are, in the process, gaining great skills in preparing all kinds of yummy dishes — soup is a great crash course in savory cookery! So, let’s get started.
Pumpkin Soup — mmmmmm.
Now, in the season (and I realize that’s not quite yet), pumpkins grow thick and fast and the more ways you can use them, the better. The hard-shelled pumpkins keep for ages, but the softer-shelled butternut squashes and other varieties really don’t last that long. You need to use ‘em.
So, in brief:
Pumpkin Soup — the simplest way to use your pumpkins because:
· It freezes be-yoo-tifully.
· You don’t have to chop the pumpkin up small (and they can be ornery little beggars to chop, especially the hard-shelled ones).
· You can use just two ingredients if you want. Two!
· It cooks fast and lasts and lasts.
A Word on Textures
Option One — smooth and creamy.
Now, pumpkin is a sweet, sweet veg to work with, as it just dissolves into whatever it is you’re making. So making a nice creamy soup is super easy with this yummy veg.
Option Two — textured and tasty.
This is the option for those hardy souls who are willing to include the pumpkin or squash skin in their soup. Quelle horreur, I hear you say, but no. You may recall that I have soliloquized on the glories of using vegetable skin before, and I will say it again: the skin gives you fiber, texture and lots and lots more nutrients. So, don’t be afraid!
Having said that I will say that I mostly do not use pumpkin skin in my soups, for the main reason that my kids prefer creamy over crunchy. Hey, gotta keep the audience happy!
Right, here’s what you need:
· Pumpkin or squash. Lots of it! You can use up a whole pumpkin in a big pot of soup. Try mixing different pumpkins up. A word of warning: Some squashes in particular can have an odd taste on their own. ALWAYS TASTE YOUR FOOD BEFORE SERVING! When you’ve made your soup, taste it and test it. If it tastes a bit meh, there are ways to improve it.
My father presented me with some home-grown squashes (or were they pumpkins? They looked a bit like a crossbreed of the two) which I made into soup last autumn. But the taste wasn’t great. So, I added a whole cauliflower to the soup. It worked! Made all the difference. It changed the texture (lumpier), but the taste really improved, like mild pumpkin and mild cauliflower, oddly enough(!). The moral of the story is: if it ain’t right, don’t toss it. Add something and try again. If you don’t like cauliflower, leeks and peas hold their own in the taste department. Carrots can make a big flavor difference too, and can add a nice sweet touch to a bitter dish. Don’t be afraid to problem solve.
· Vegetable or chicken stock (liquid stock, or 1 teaspoon or cube of powdered stock per 250 ml (1 cup) of water).
Those, right there, pumpkin and stock, are the only two ingredients you need for pumpkin soup. Just boil one in the other until soft. Easy as!
But if you want to go super fancy, here are a few more you can add:
· Oil (could be olive, canola, sesame — though that has a taste to it — or butter. Hey, you could use margarine, but the health problems associated with it are only getting more worrisome.
· Onion
· Garlic
· Celery (this is super optional. It’s nice in the base with your onion and garlic, but it does add an extra taste and it doesn’t keep as well in the fridge, so you might not always have it handy)
· Potato (this makes your soup thicker. It also has a magic power: If you’ve over-salted your dish (could be soup, stew, pasta sauce, you name it), just add a few potatoes to the mix and cook them on simmer till they’re soft. The potato craves salt; it adores it. It will soak up all your too-much-salt and balance your dish to perfection. AND it will make your food stretch further and fill you up a bit more, all at once!
· Sour cream ( this is if you want a Cream of Pumpkin soup: it basically adds volume, lightens the color and makes it smoother and creamier. It really doesn’t affect the taste at all. You could add milk if you wanted to instead).
Not too stressful, right? Especially if, like me, you have oil, onions, garlic, potatoes and stock in the pantry most of the time. After all, they form the base components of so many yummy recipes.
And onto the method!
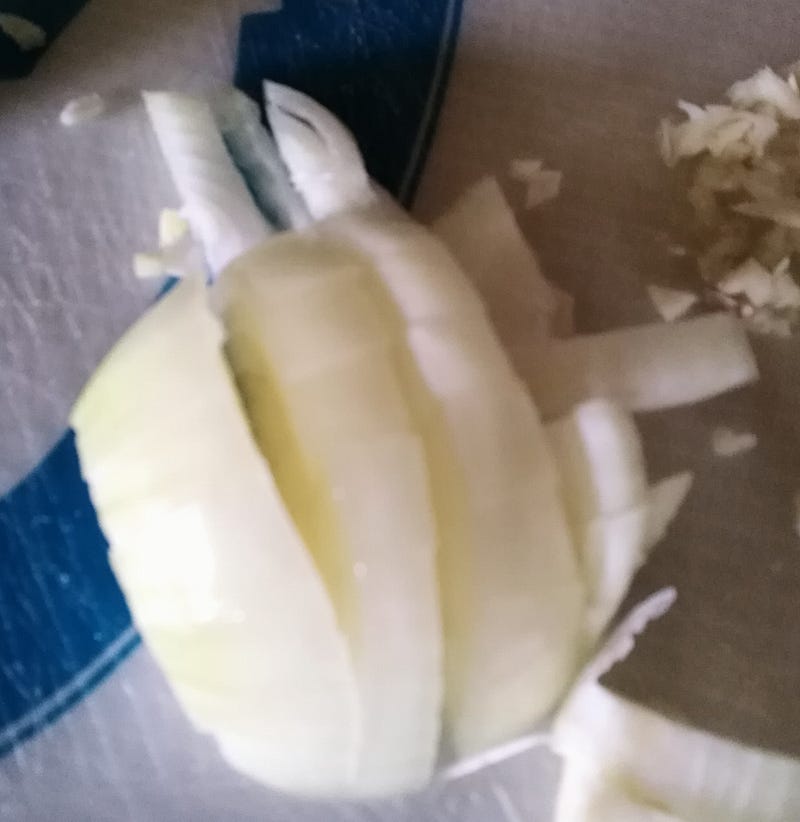
- If you’re using onion, garlic and/or celery, chop it up roughly (I’ve talked about how to do this and why you NEVER have to make every little piece of onion the exact same size unless you’re in a cooking competition). Also, here’s a picture of onion being chopped:
2. Prepare your pumpkin. Ooooh, sounds ominous, but let’s break it down.
a. First, decide: skin on or off? If on, chop that baby into big chunky pieces. The only thing you need to decide is how long you’ve got for cooking. Big pieces = longer cooking time. Small pieces = smaller cooking time. Don’t include the pumpkin seeds!
b. By the way, you can lay pumpkin seeds out in a single layer on some paper towel and dry them in the sun or roast them in a warm (not hot) oven. A yummy snack food! Good on salads.
c. If you don’t want to use the skin, chop the skin off (sometimes cutting big chunks into smaller chunks first helps you to cut the skin without losing too much flesh) and then chop your pumpkin in pieces ready for cooking.
3. If you’re using potato (or indeed any other vegetable), chop these up into pieces too. Potato will cook more slowly than pumpkin, so if you want it all soft at the same time, make your potato pieces a bit smaller than your pumpkin pieces.
4. Put your pan on the stove on a medium heat setting. Don’t add anything to the pan yet.
5. When the pan is warm (hover your hand over the bottom), add your oil and immediately add your chopped onion, garlic and/or celery.
6. Stir it regularly for 2–3 minutes and let it soften and go slightly translucent. This is called sautéing or, indeed, stir-frying. Or cooking, for goodness sake. If the onion starts to stick or blacken, your heat is too high. Turn it down a bit and remove the pan from the heat for a minute. Add more oil if the veggies continue to stick.
7. Add your pumpkin pieces (and potato pieces if you’re using them) and stir them around for a few minutes; don’t let them stick (if they do stick, don’t panic. The stuck bits will come away once you’ve added the stock and boiled it). As soon as you feel like it (or immediately), add the stock (I like to stir the veggies around in the oil for a minute or two first before adding the stock. It’s a kind of meditation for me. I know, I’m odd. Don’t care.). Look at the amount of pumpkin in your pan. You want the stock to almost cover the pumpkin for a thick soup. Add more stock or water if you want a thinner soup (you can do this after you’ve blended the soup as well).
8. Simmer the soup (that means let it come to a boil and then turn it down so it just bubbles gently) until the pumpkin (and potato) is soft.
9. Use a stick blender (or a hand masher if you’re desperate) to blend the soup until it’s smooth.
10. Add more water or stock if the soup seems too thick. Mix well and keep the heat on so it can simmer a little more.
11. Taste the soup. So important! Now’s the time to add salt and pepper if you need to, or add potato if you got a bit too enthusiastic with the salt. Some stocks are a lot saltier than others, so I never recommend adding salt to something with stock in it until you have tasted it. It’s also why you might prefer to add half water and half stock to your soup.
12. If you’re using sour cream, now’s the time to stir it in. Turn the heat off at this point if you haven’t already. Your soup pot will stay warm for quite a while. The sour cream will absorb into the soup and make it a little thicker and creamier.
13. Some enthusiastic people like to drizzle a little swirl of sour cream or pouring cream over their soup bowls after serving out the soup. Other fine folks add thoughtful little extras like chopped spring onions, croutons (you can make these by tearing or chopping old bread (not moldy-old! One or two days old!), drizzling oil on it and roasting it on a baking tray lined with grease proof paper for a few minutes on moderate. Or buy a packet!) or Parmesan cheese. I do not do these things. I am a ‘here, come and get it, eat it up, I’m busy’ kind of cook. Sorry.
And there you have it: delicious Pumpkin Soup — your way.
But wait: there’s more! If you want to go that little bit more fancy, why not try Roasted Pumpkin Soup? It’s actually simpler to cook and it does taste different — many prefer the taste. I actually prefer non-roasted pumpkin soup, but that’s just me. Here’s how:
1. Prepare your ingredients. This time you need:
a. Pumpkin — chop your pumpkin up into large chunks (even halves or quarters will be fine). Place the pieces on grease proof paper on a baking tray and drizzle some oil on them. Toss a bit of salt and pepper over them. Then roast them in the oven on moderate temperature. Keep an eye on them, as their size will determine how long they take to cook. If they start to brown or blacken but are still hard, the oven is too hot. Wrap them in foil and turn the oven down a touch. When they’re soft to the touch, they’re ready! Hint: if you’re using the skin, roasting is great, as it softens the skin down.
b. While all that’s going on (hey, you’re not doing anything, the oven is making all the effort!), get your stock ready and:
c. If you want to use an onion-garlic-(celery) base, follow steps 1, 4, 5 and 6 above. But you don’t need to!
2. When the pumpkin is ready, take it out of the oven and add it to the onion base still in its pan on the stove (or just add to a clean pan if you’re not bothering with the base). Either chop the pumpkin into smaller chunks and add to the pan, or if you’re not using the skin, chop or scrape the flesh away from the skin and throw the bits of flesh into the pot.
3. Add the stock and bring the whole lot — base, pumpkin and stock — to the boil, stirring well. Once boiling, let it simmer for a few minutes and blend it.
4. Taste, add seasoning (salt and pepper) and EAT!!!
Enjoy your pumpkin soup, everyone!
Ah, but wait — there’s MORE!
Perfect Pumpkin Pasta
Okay, just a little extra because it’s one of my all-time favorite pasta sauces and you’ve basically already made it.
So… At step 7 above, to turn your almost-soup into actual-pumpkin pasta sauce, do this:
7a. Add your pumpkin chunks and a few tablespoons (a good slosh) of stock.
7b. Turn the heat down a bit, put the lid on and let your pumpkin cook in the little bit of liquid and all the steam. You can stir it every now and then.
7c. When the pumpkin is soft, add:
· A tub of thickened cream
· A good, solid cup or two of shaved or grated Parmesan cheese
· A pinch or two of nutmeg (optional)
7d. Blend the lot until smooth. The cheese will melt and absorb into the other ingredients.
7e. Stir in some chopped basil (optional).
7f. Cook some pasta, pour your sauce on top and voila — instant deliciousness!
There you go! Three delicious recipes in one!
Okay, I’m hungry now… Gotta go, sorry! My kitchen’s calling…


