
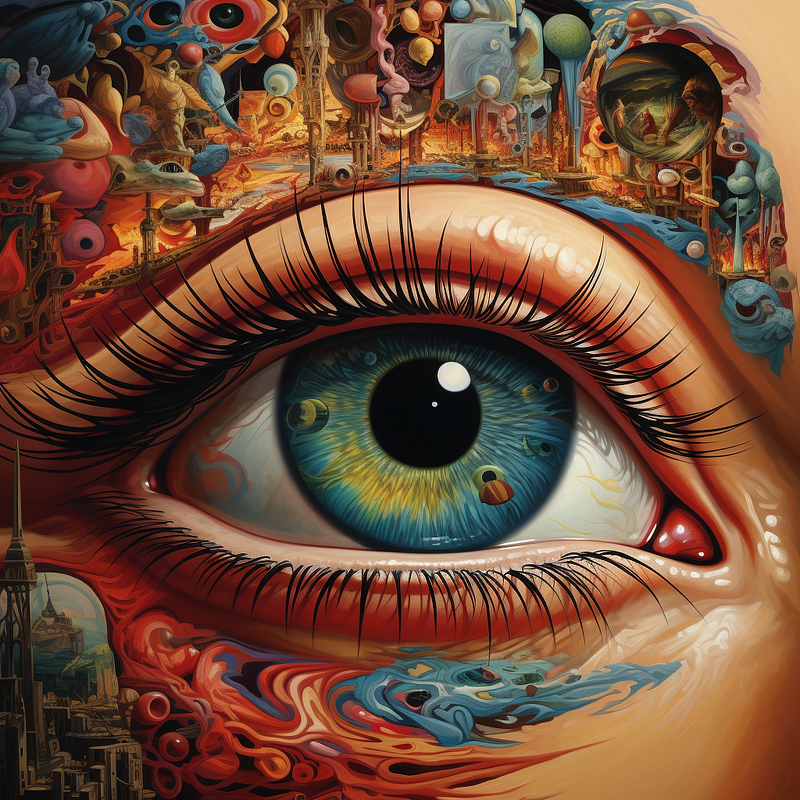
Midjourney Explorations: #10b — Blended Expectations
Welcome back to another installment of my Midjourney Explorations series! Today, we’re diving into the creative realm of image blending. Midjourney offers two main techniques for blending images: the /blend command and the /imagine command with image prompts. Both methods achieve similar outcomes but differ in their execution.
Using /blend
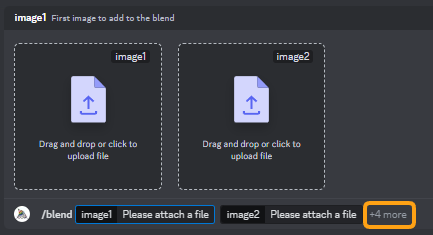
If you’re on mobile, the /blend command is your go-to option as it allows you to select images saved locally on your device. It works on a computer as well, of course. When you type /blend, a popup window appears where you can select up to five images for blending. In this window, you also have the flexibility to choose additional images and adjust the aspect ratio. Once you’ve made your selections, simply move your cursor to the far-right end of the popup window and hit ‘Enter’ to initiate the blending process.
So whether you’re new to image blending or just looking for some tips to improve your technique, read on to discover how these two methods can amplify your creativity.
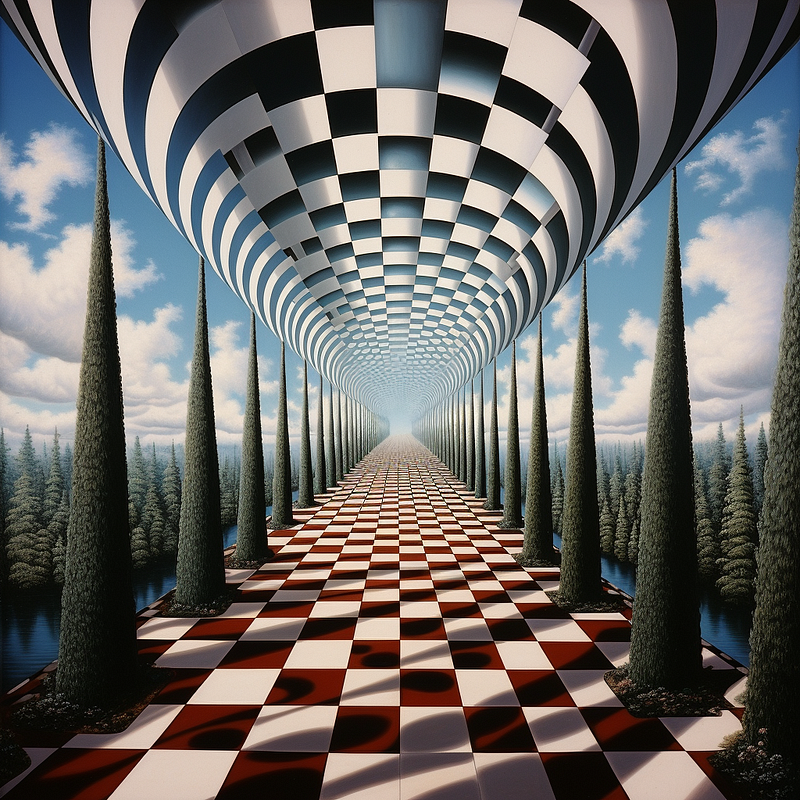
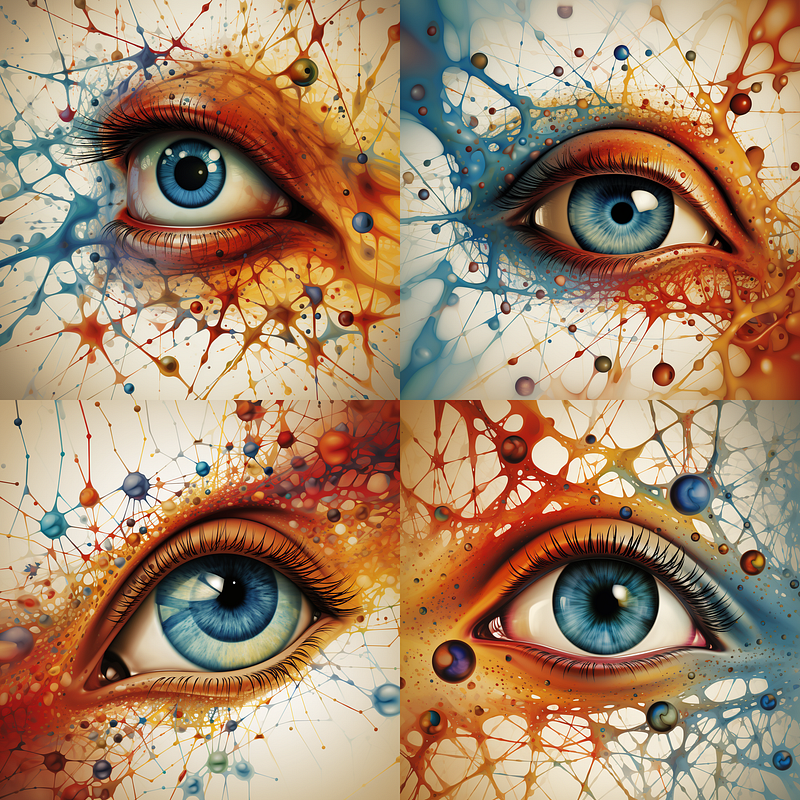
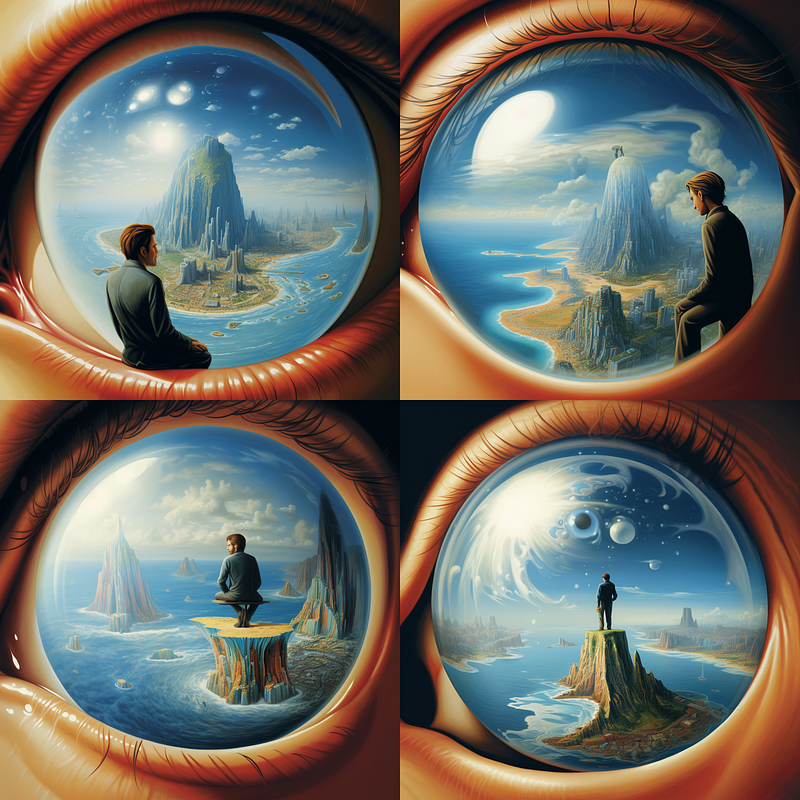
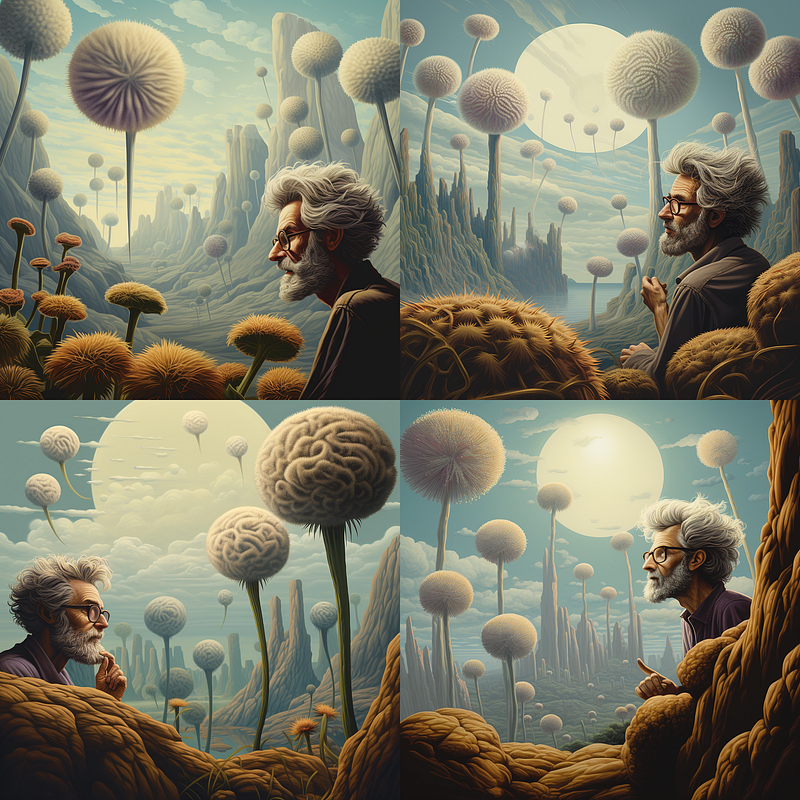
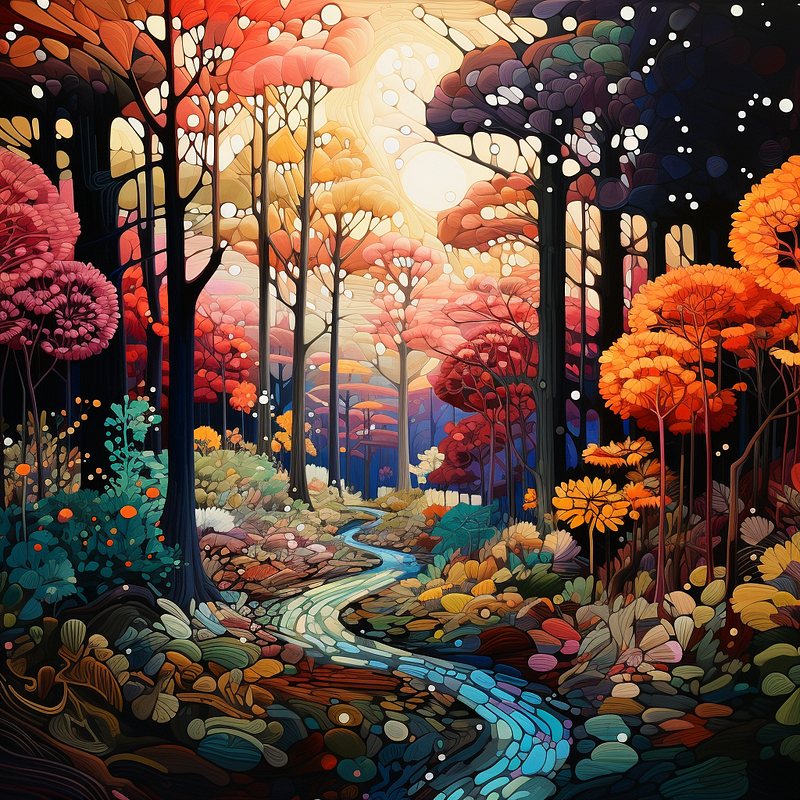
Now, let’s delve into some examples to demonstrate the versatility of these blending methods. I experimented with blending the same images multiple times and obtained varying results. This highlights the creative freedom you have when blending — each combination produces a unique piece of art. So, whether you’re blending a pair of images or opting for more complex blends with multiple inputs, the possibilities are endless.
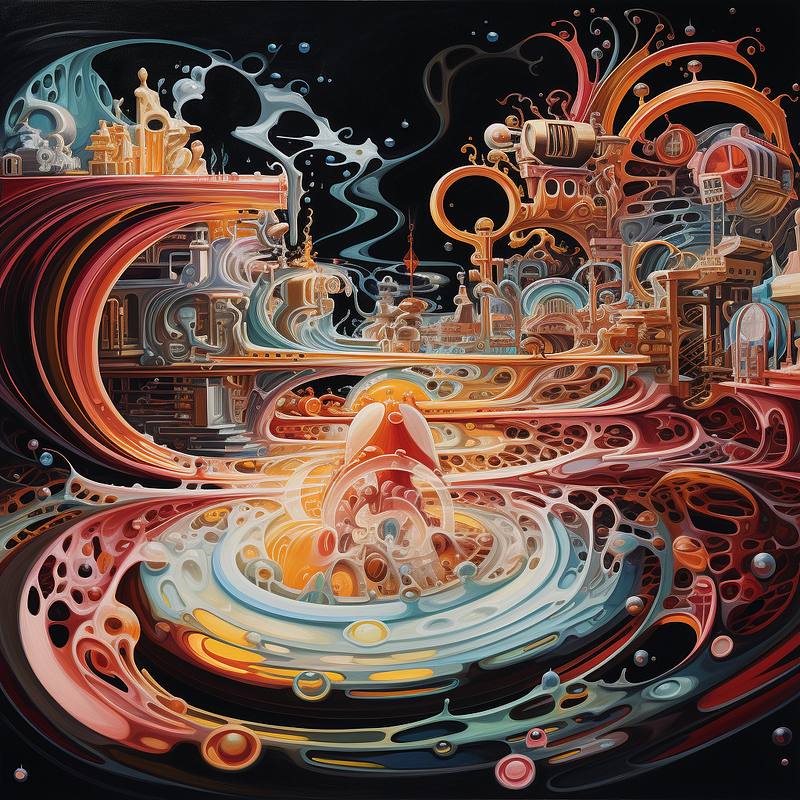
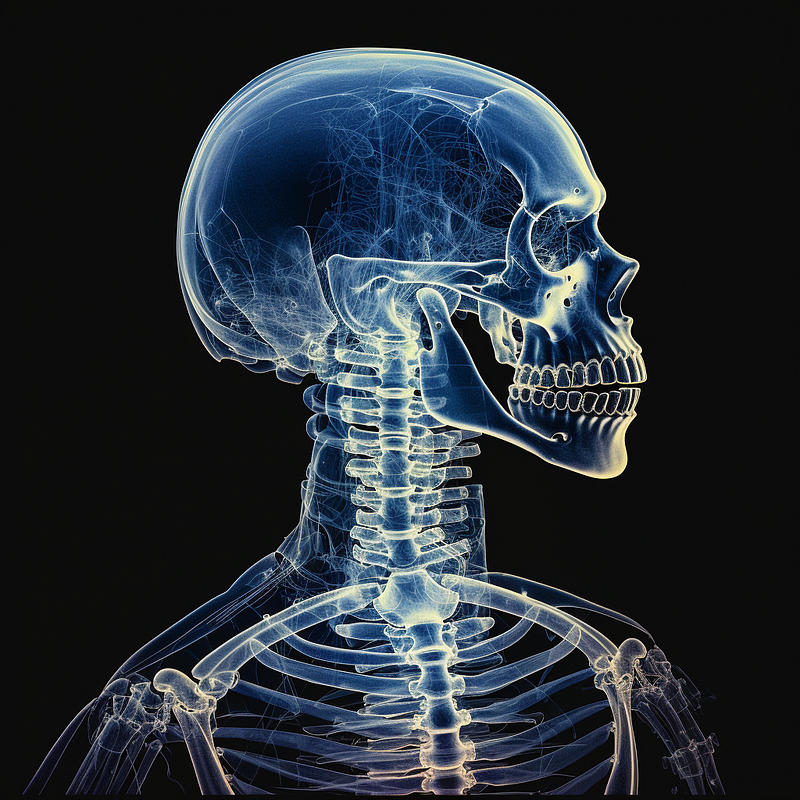
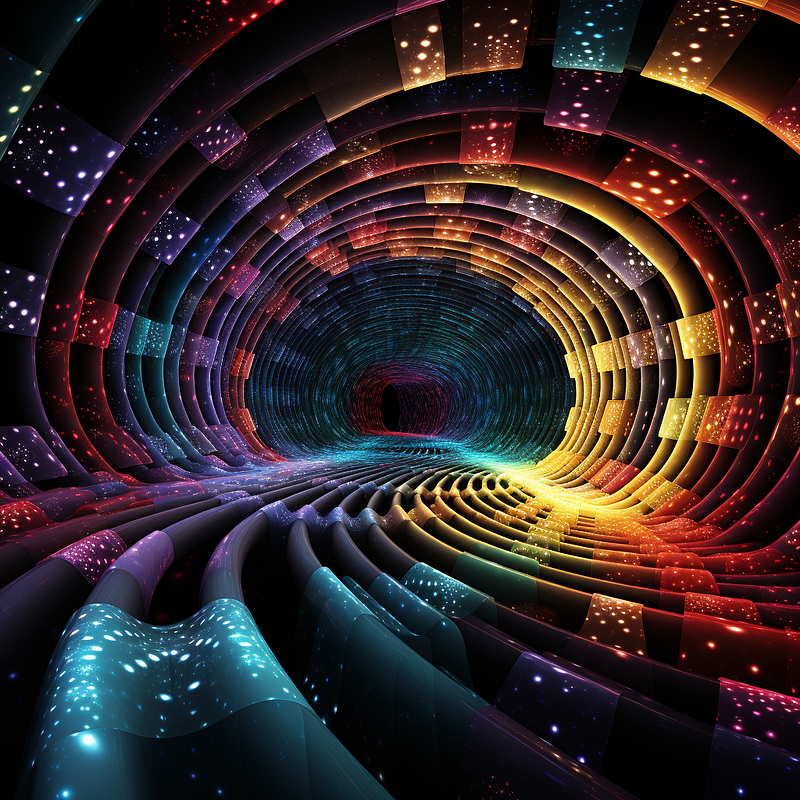
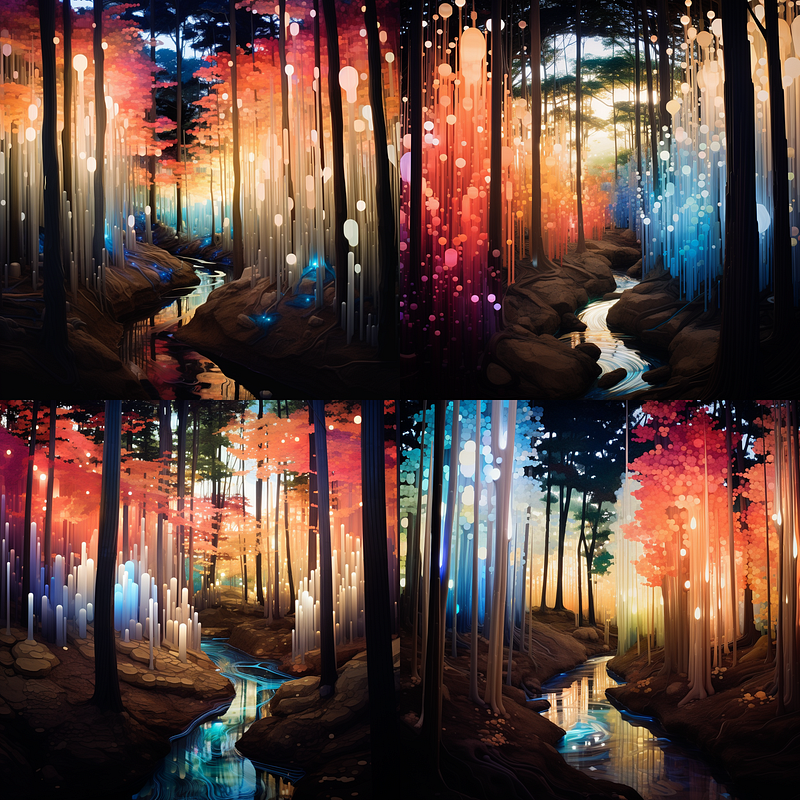
The left and middle blended without any prompt has produced the rightmost image.
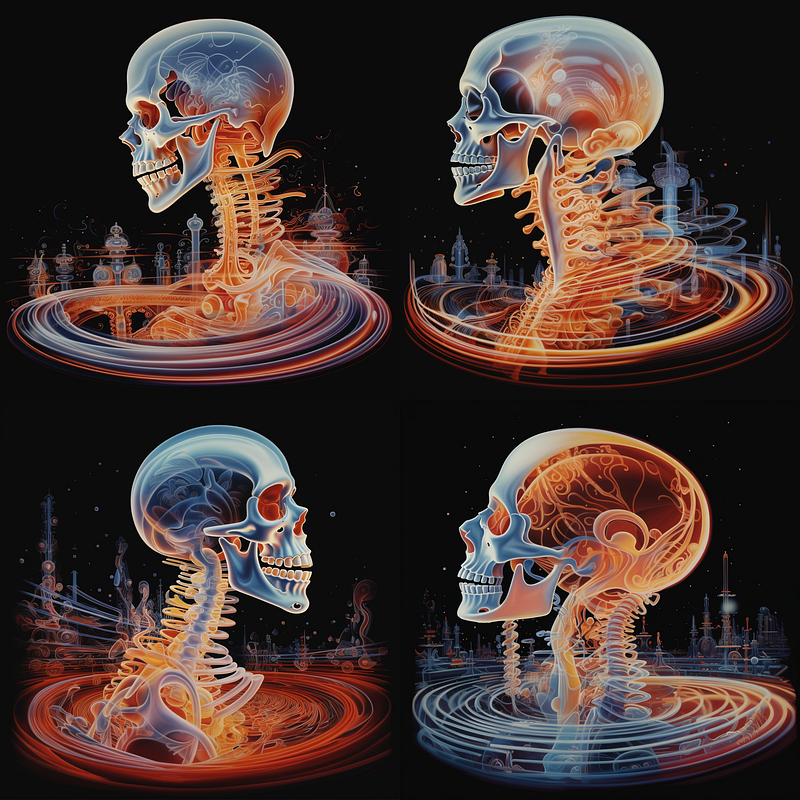


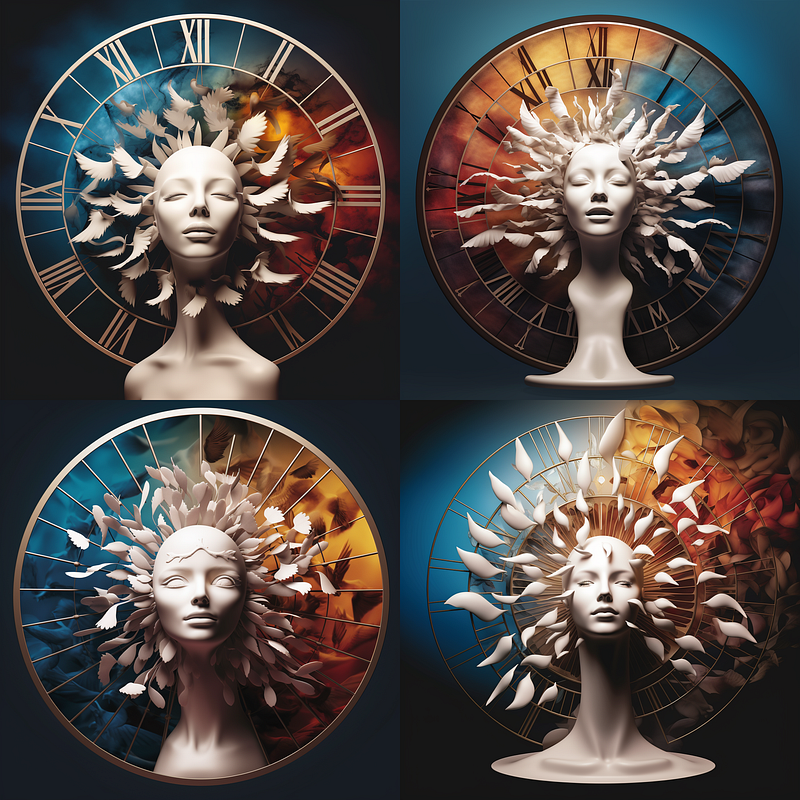
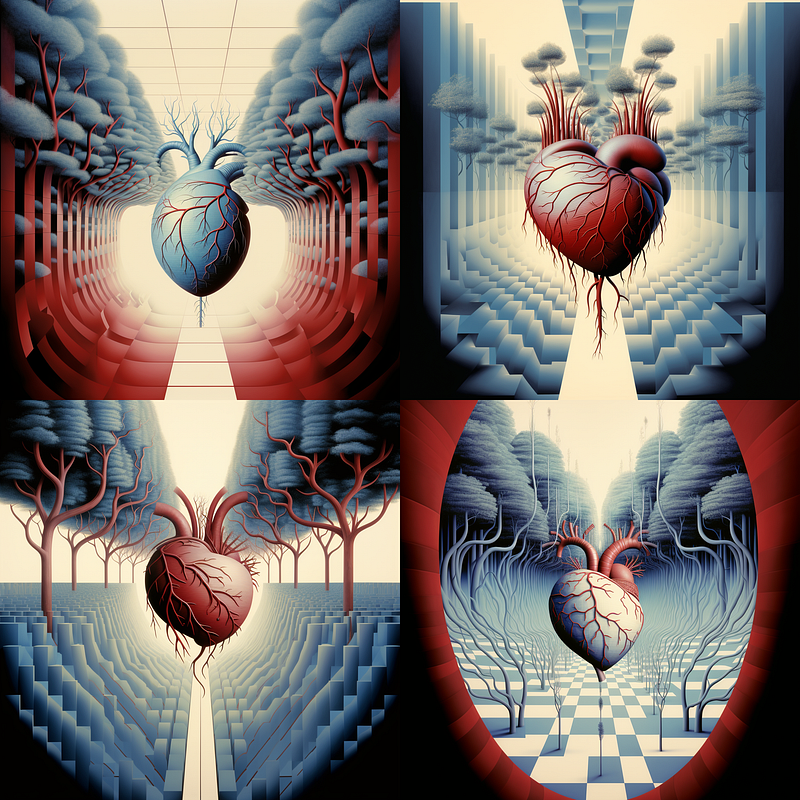

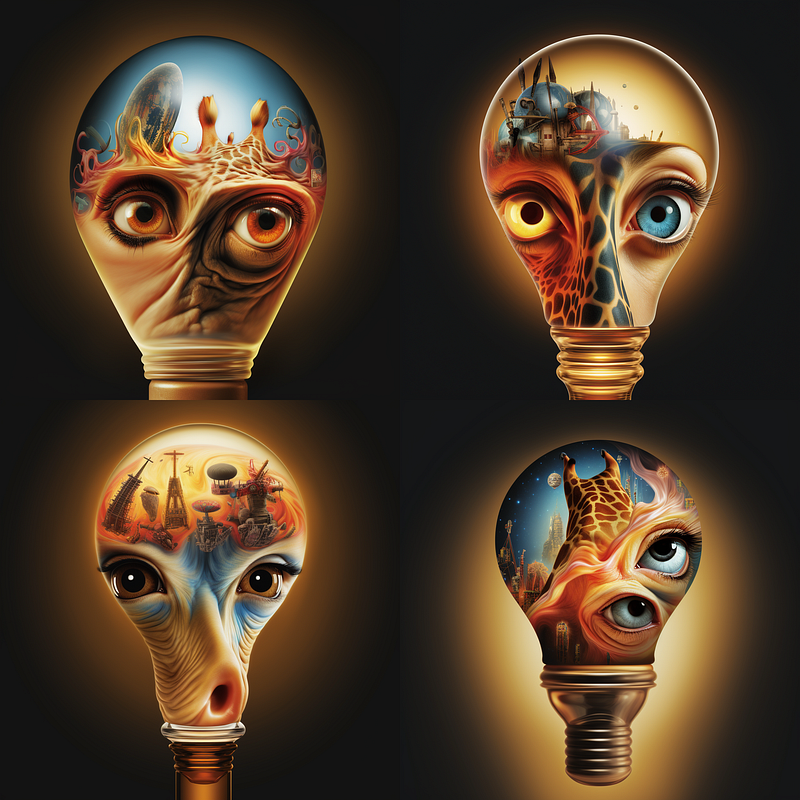
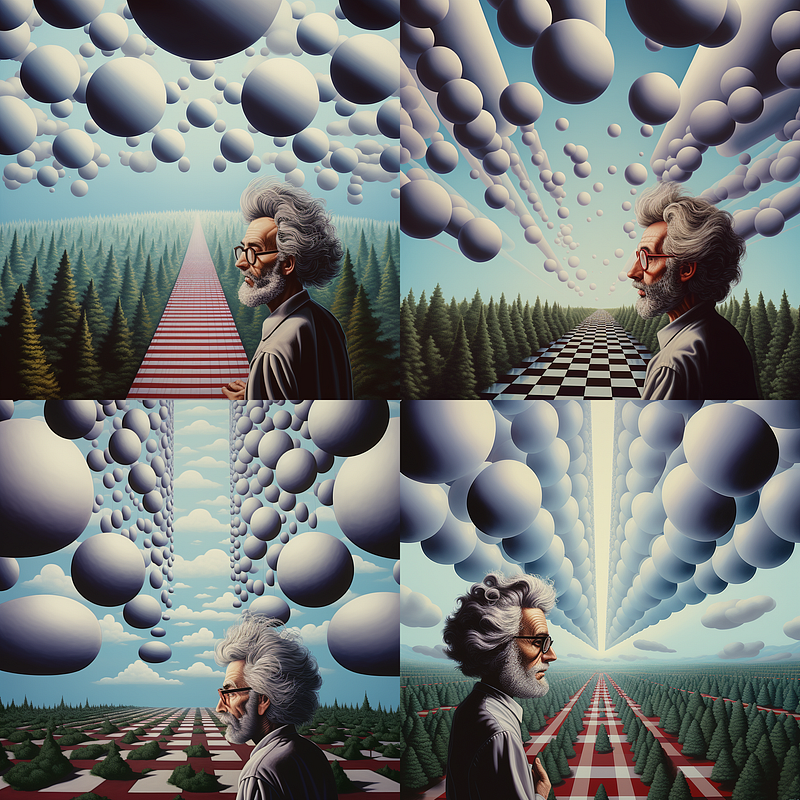

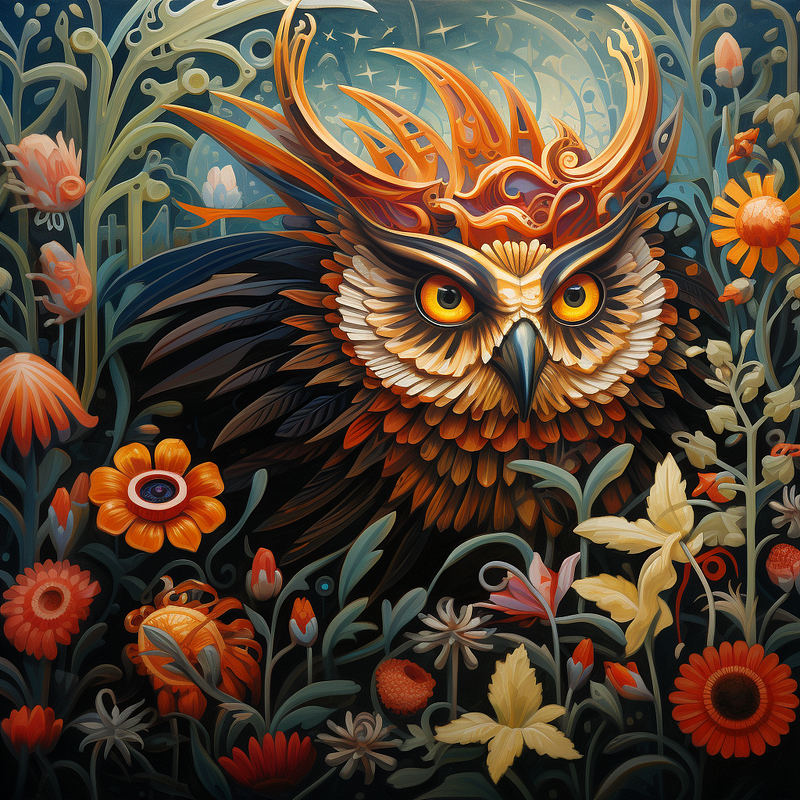
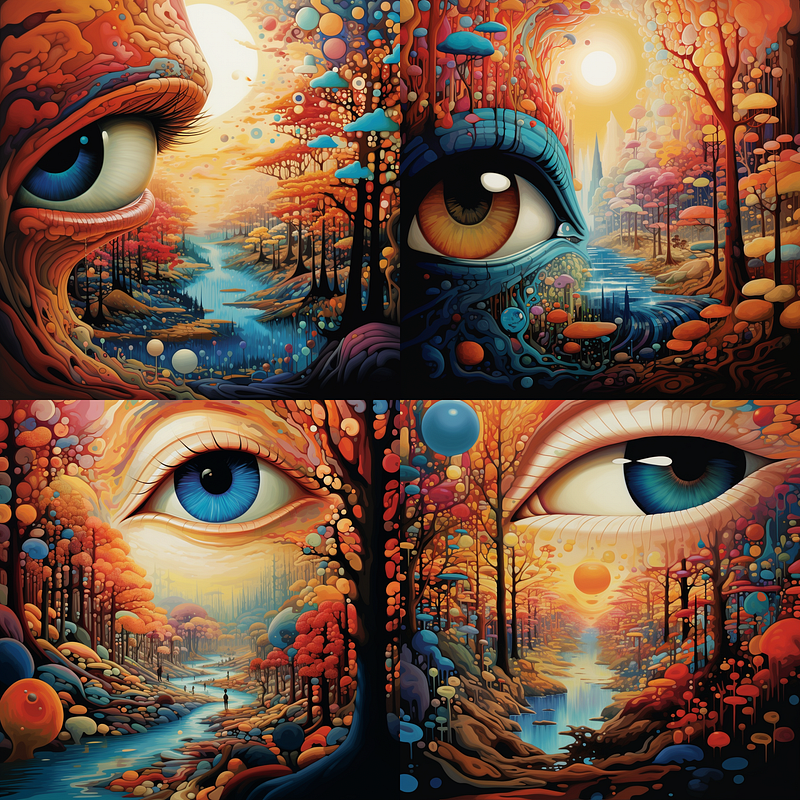

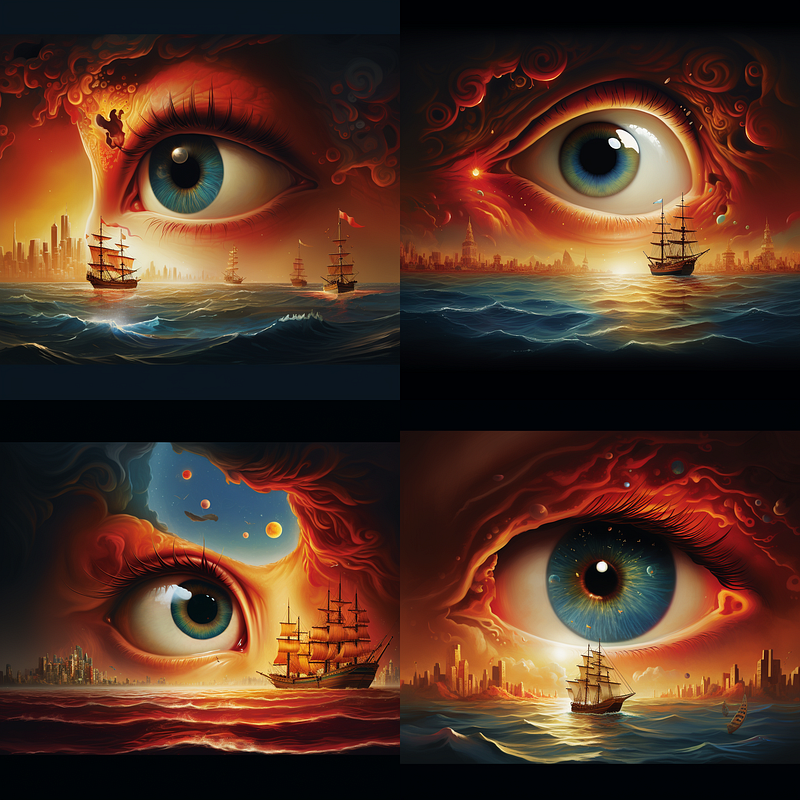
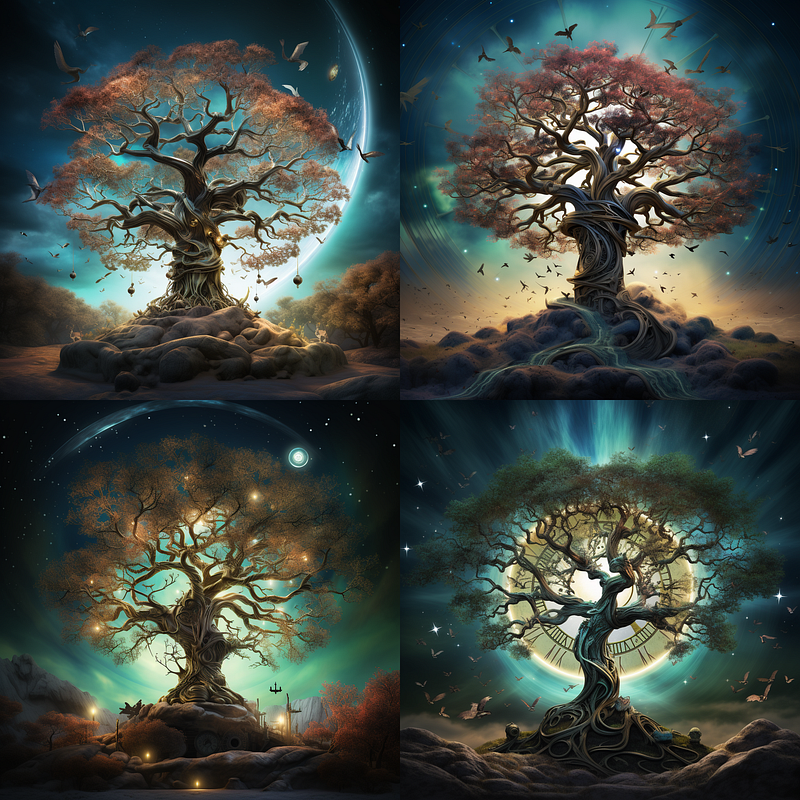
It is possible to use up to five images for your mixing, two or three give you more predictable results. When trying to do something like a selfie or a particular character up to five images of the same thing from slightly different angles can be effective. For this next one, I blended three images:
Using /image to image prompt
The second method for image blending in Midjourney employs the /imagine command along with image URLs and a prompt. This approach gives you a greater degree of control over the final output. To use this method, you’ll need to obtain the URLs for the images you want to blend. If you’re using Discord, you can simply open the image in a separate browser tab and copy the URL from the address bar. Alternatively, right-click on the image and select ‘Copy Image Location.’
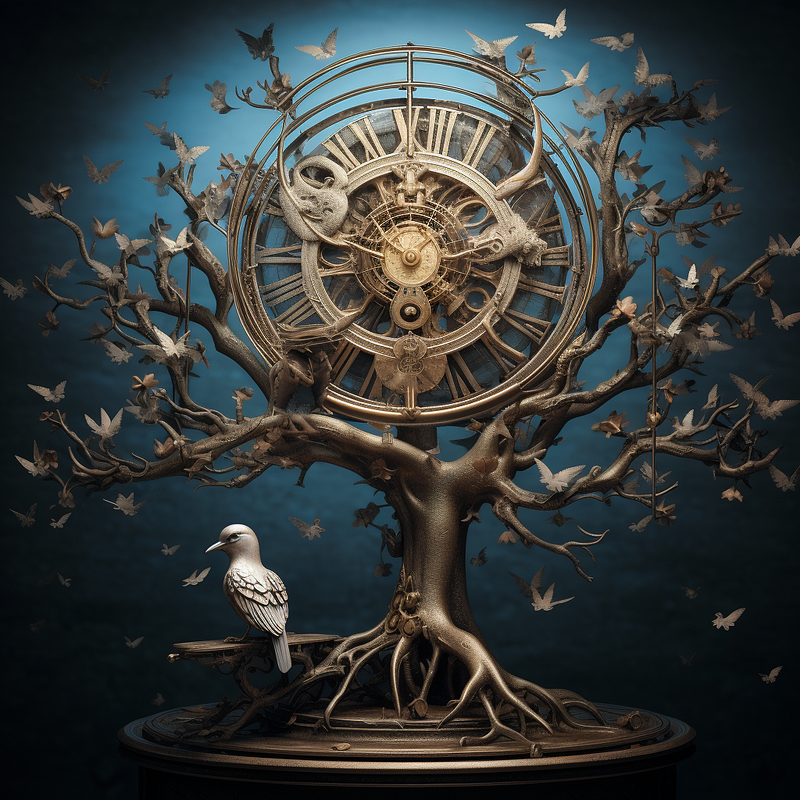
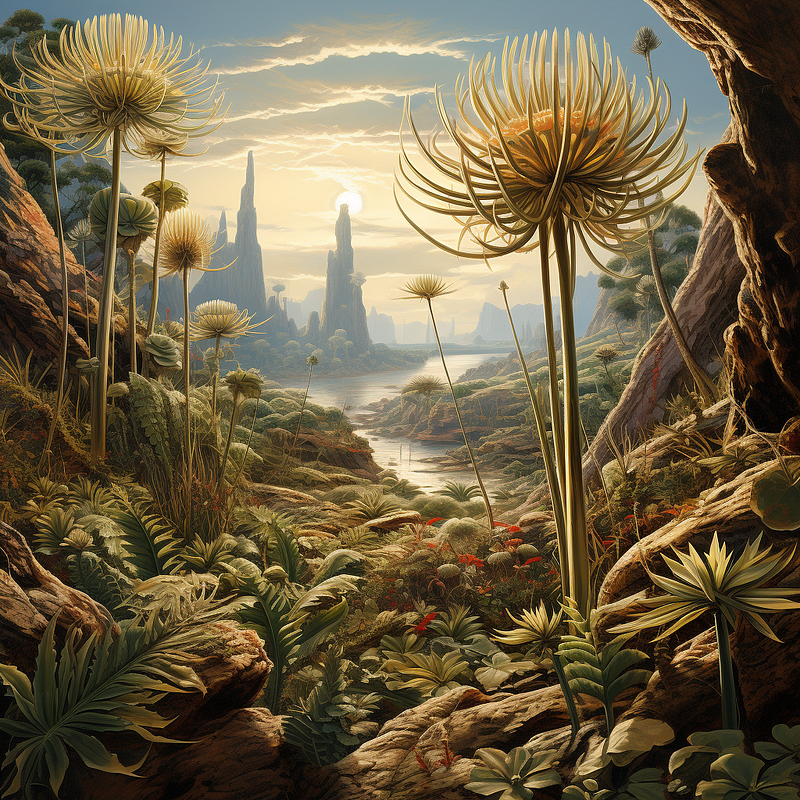
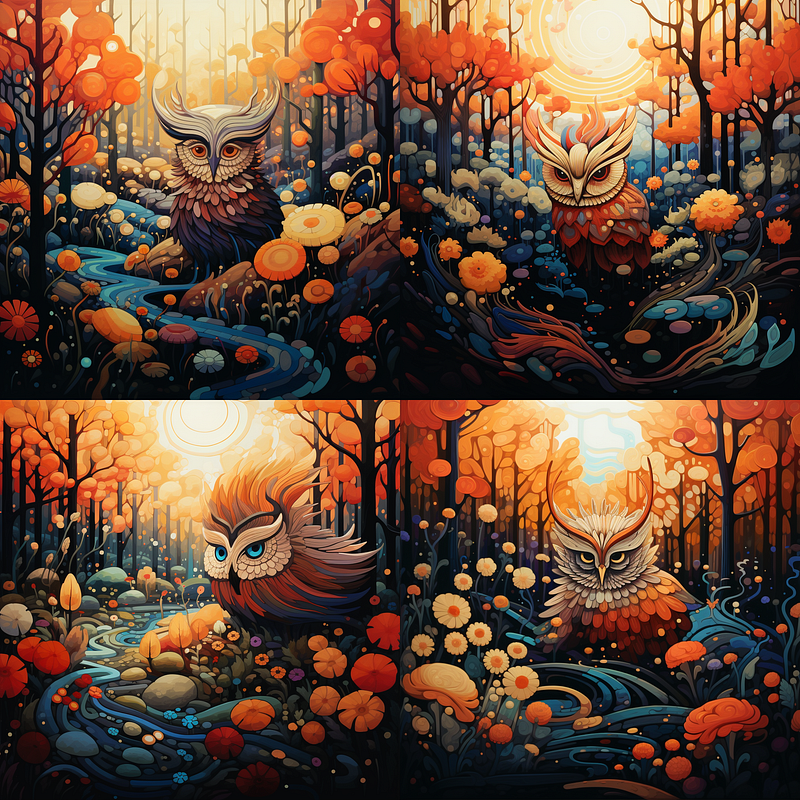
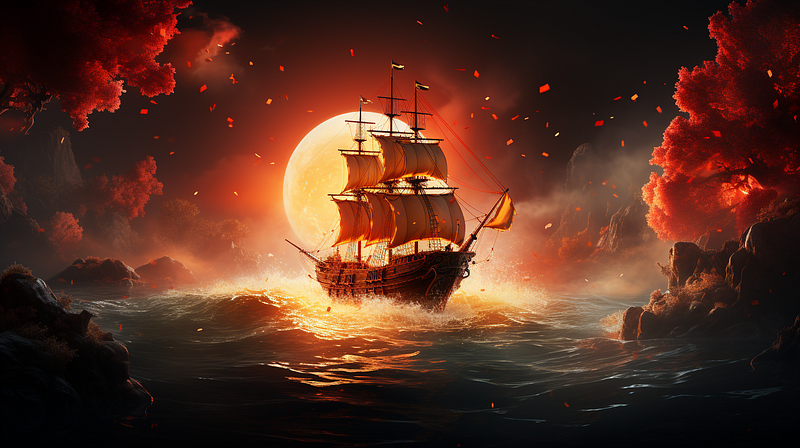
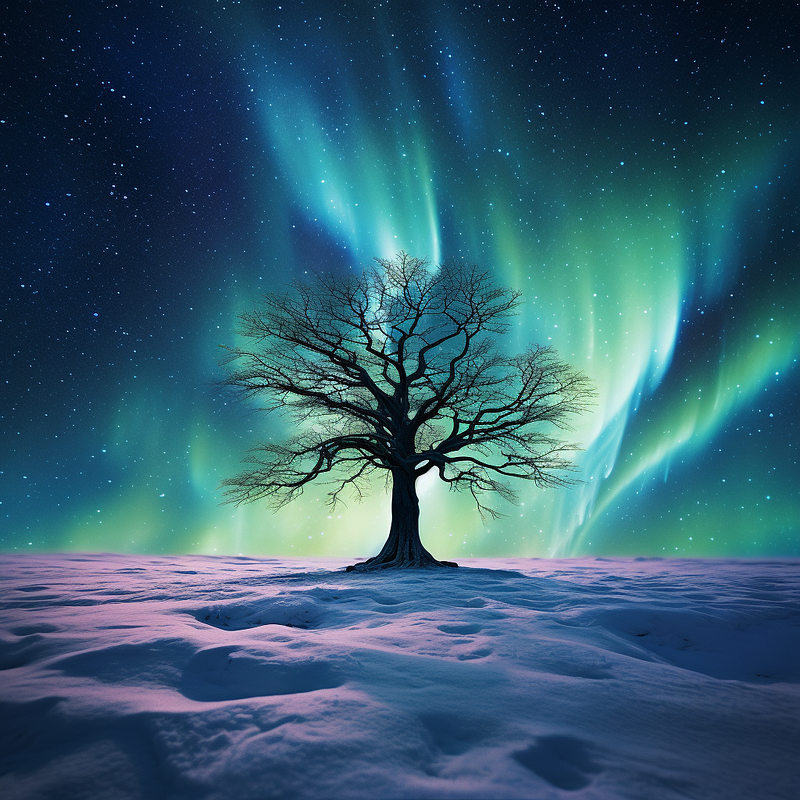
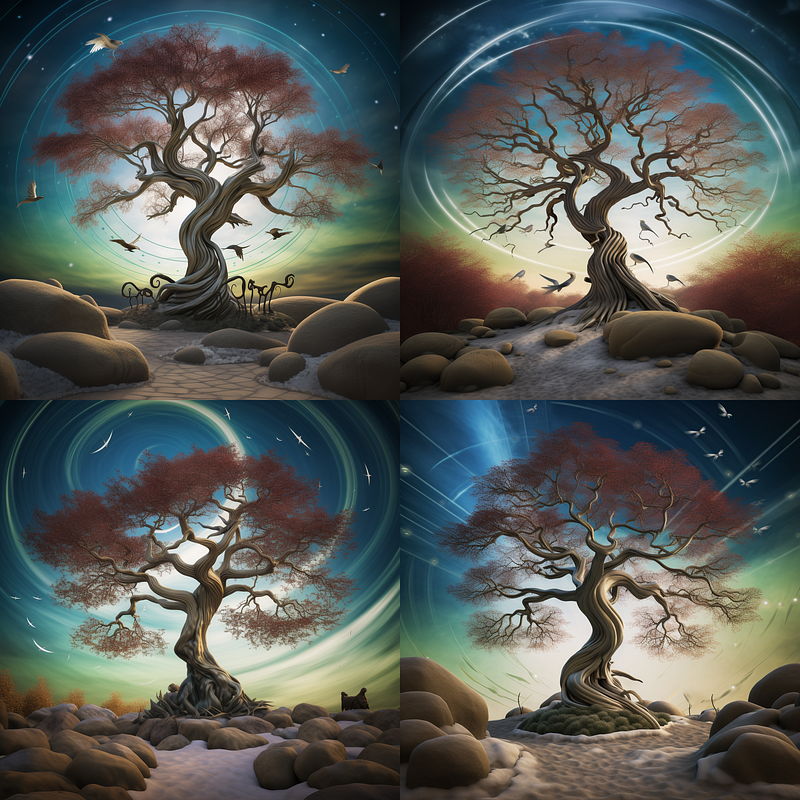
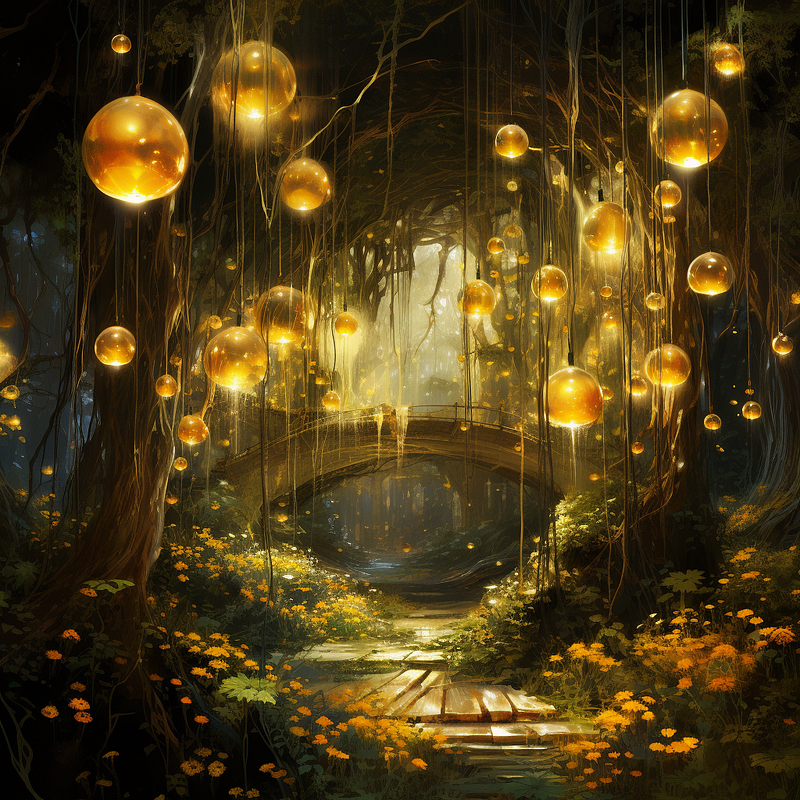
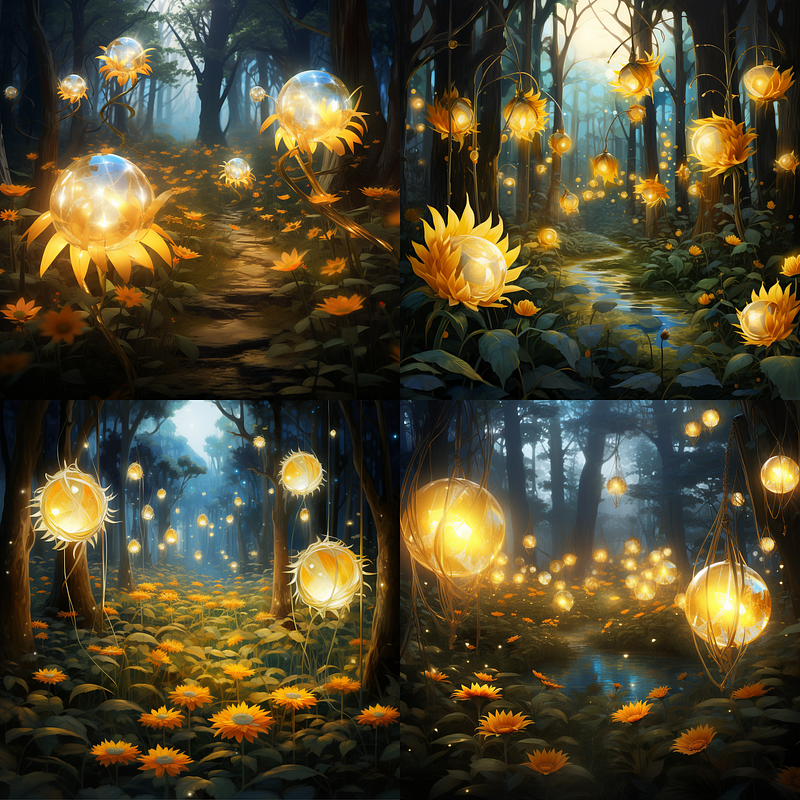
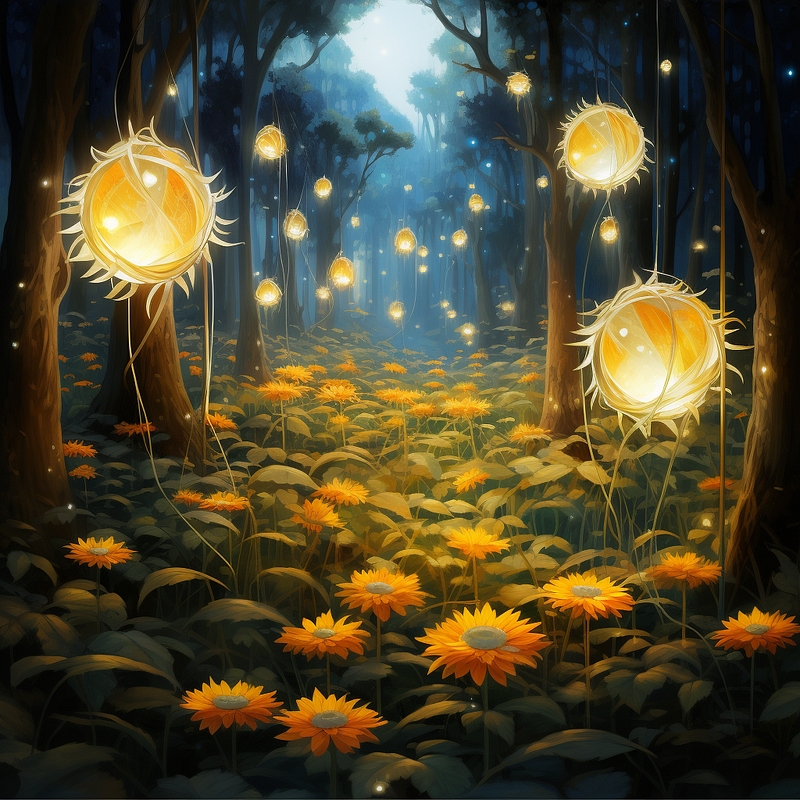
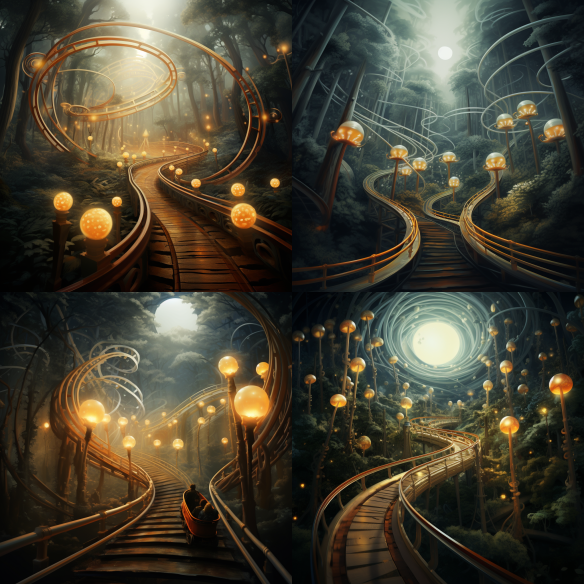
I was hoping for the clockwork in the tree but the first blended result was not quite what I wanted, so I switched gears and did it as a /imagine with the three URLs and the prompt: “an exquisite steampunk tree against an aurora borealis, birds circle overhead” and I was more pleased with the results. Adding my prompt in gave me #4 which was closer to what I had in mind. I might do a bit more varying on that one.
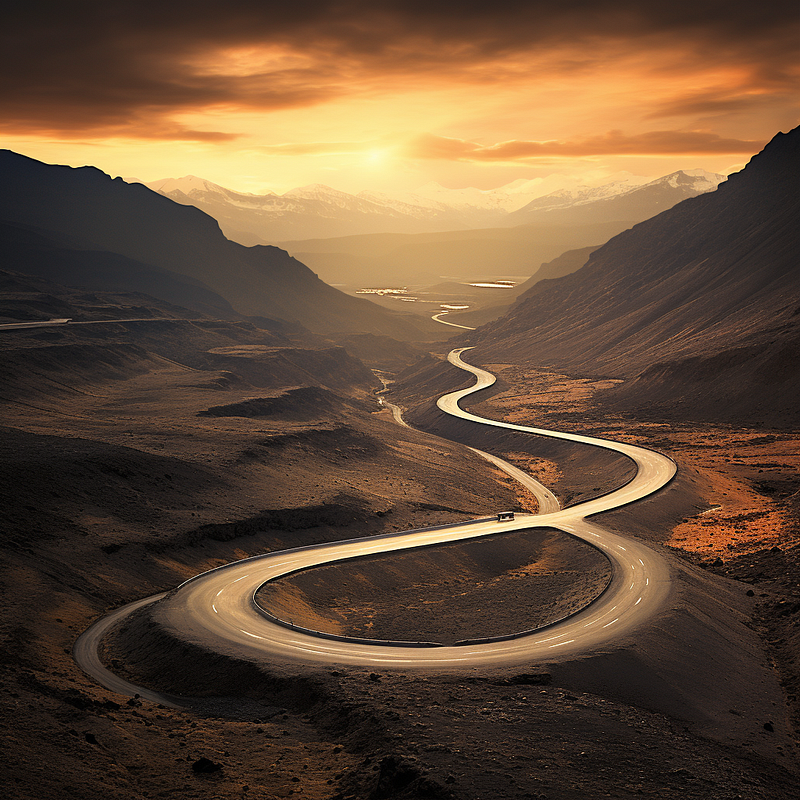
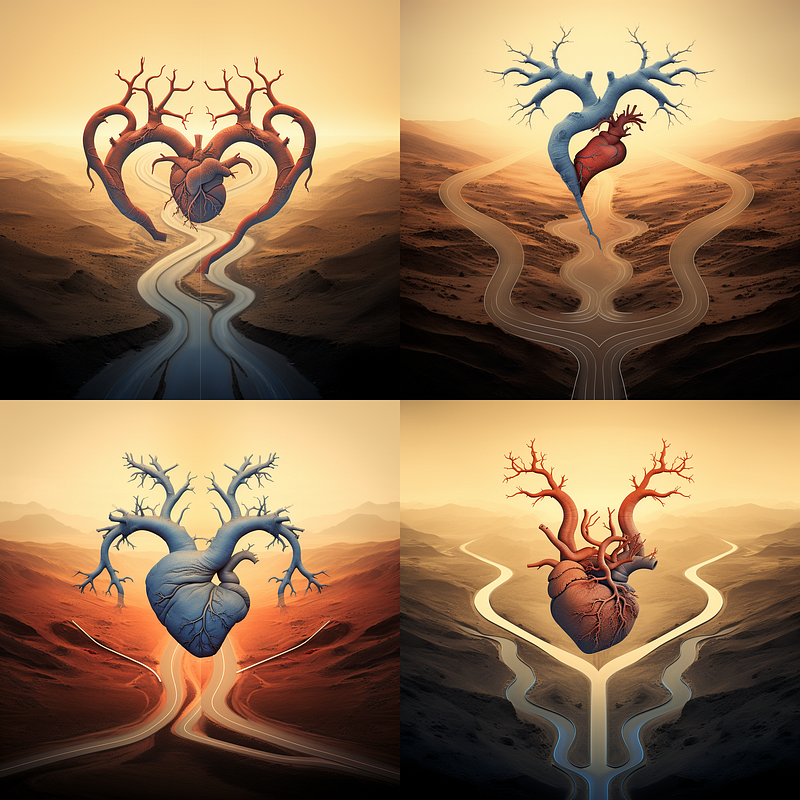
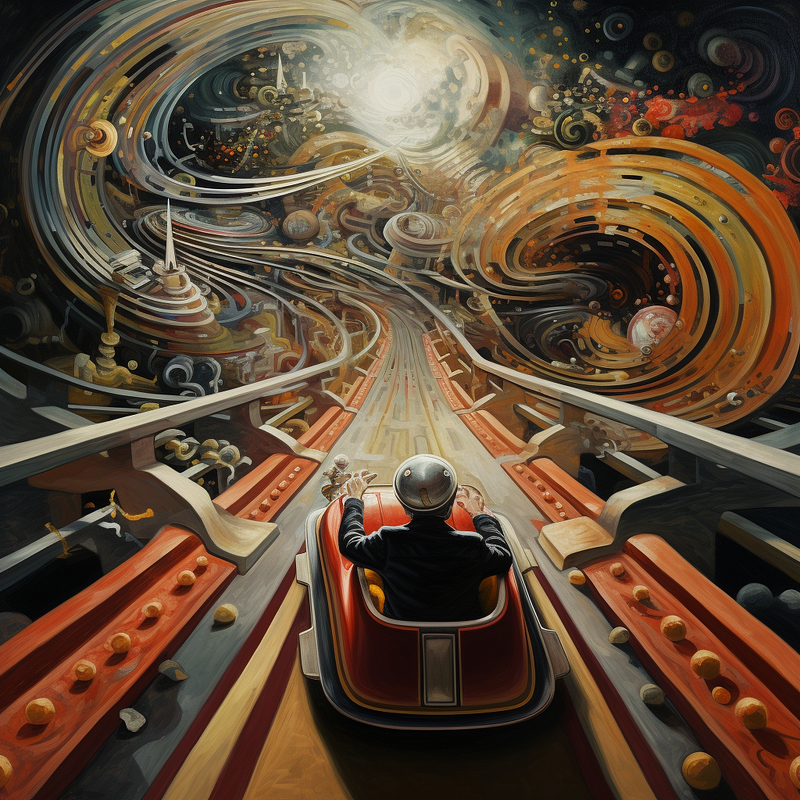
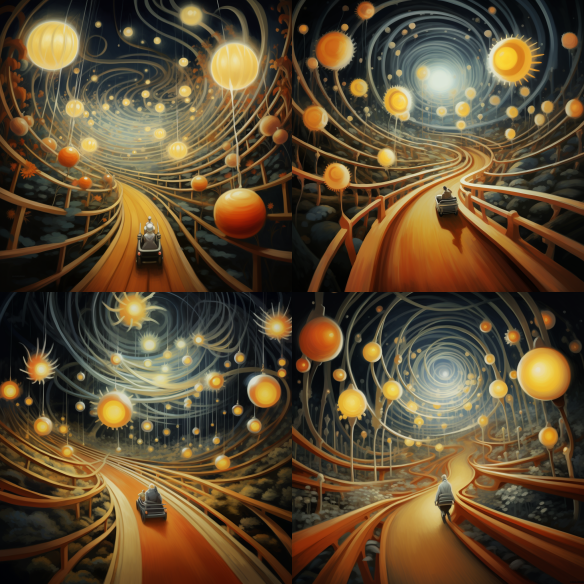
In this combo, I wanted to have the fork replaced with a dancer.
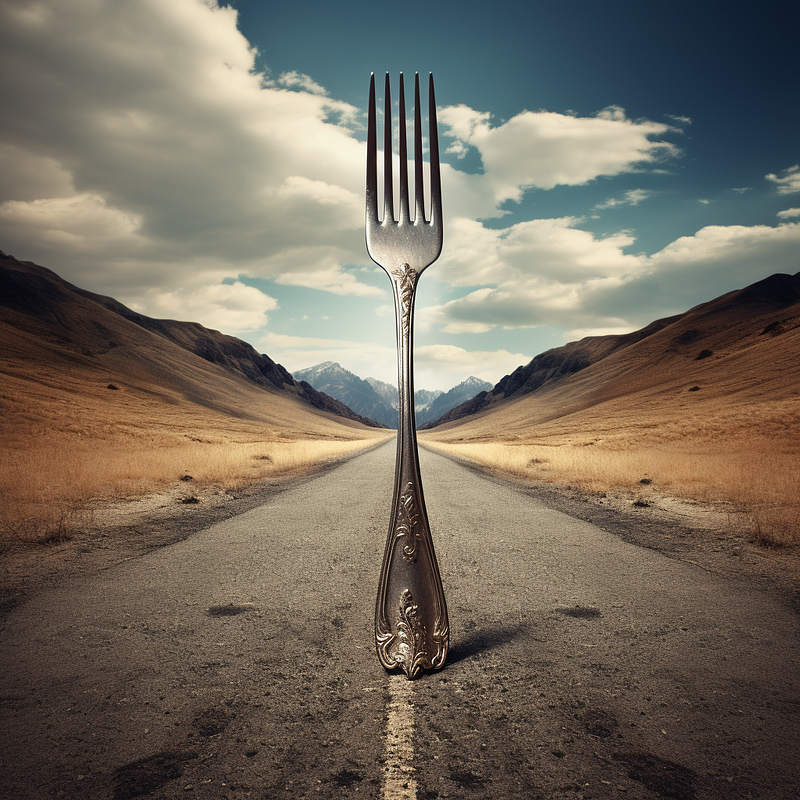
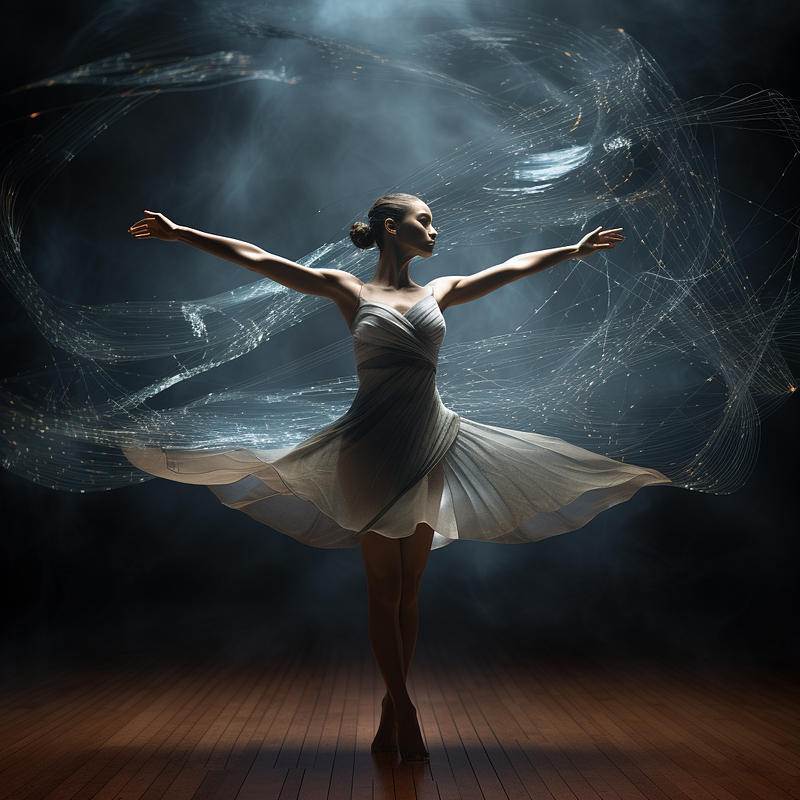
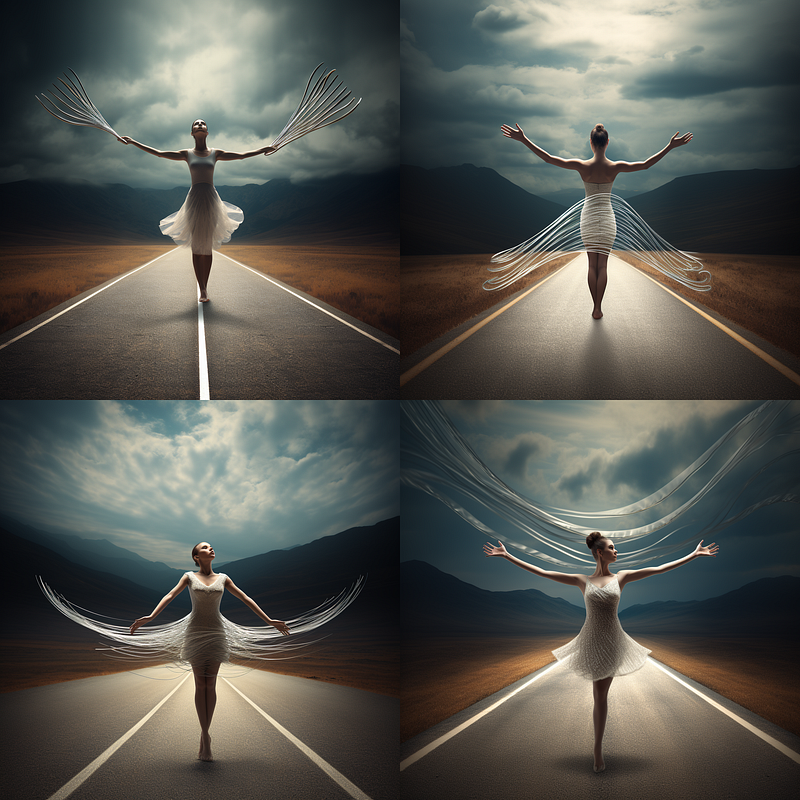
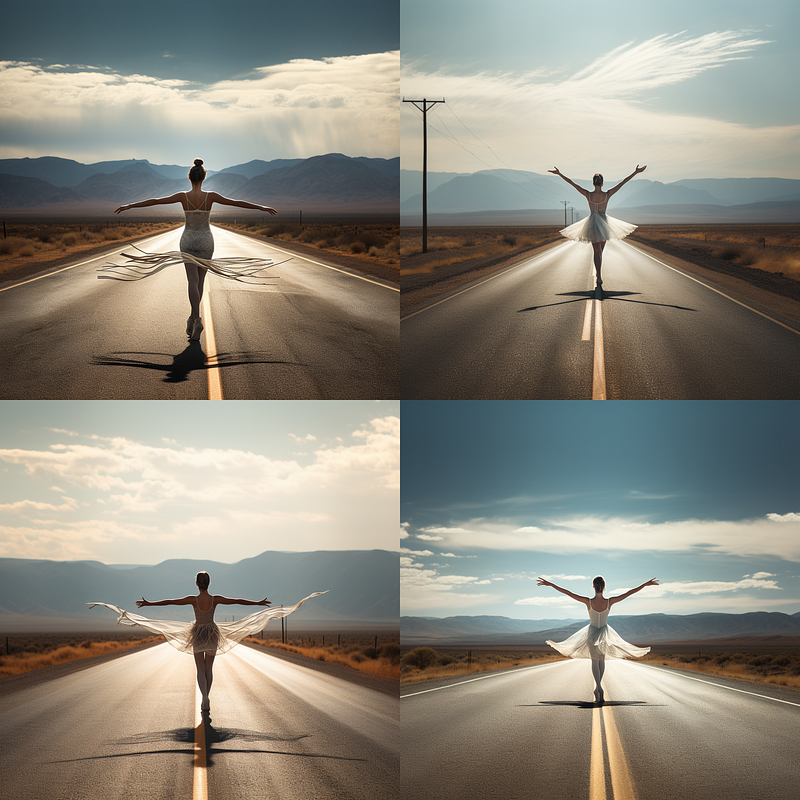
The blended one really wanted that fork in there and produced some interesting output (left) and when I added the prompt: “ a ballerina pirouettes in the middle of a long stretch of road in the middle of nowhere” The result was better and closer to what I had in mind.
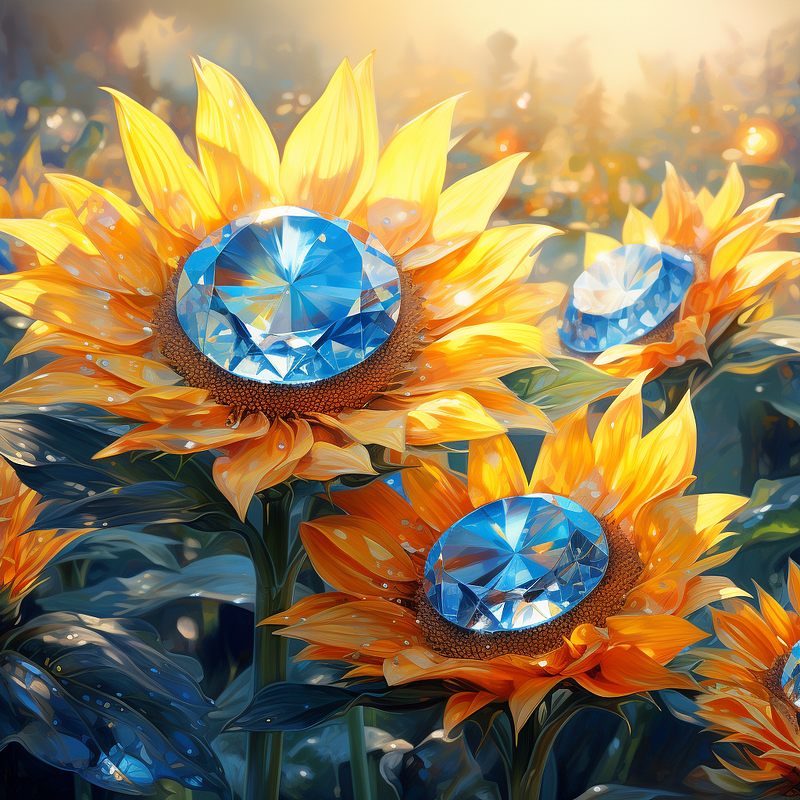
The sky is the limit when it comes to mixing things. You do not need to make the images match in style or concept to get interesting results.
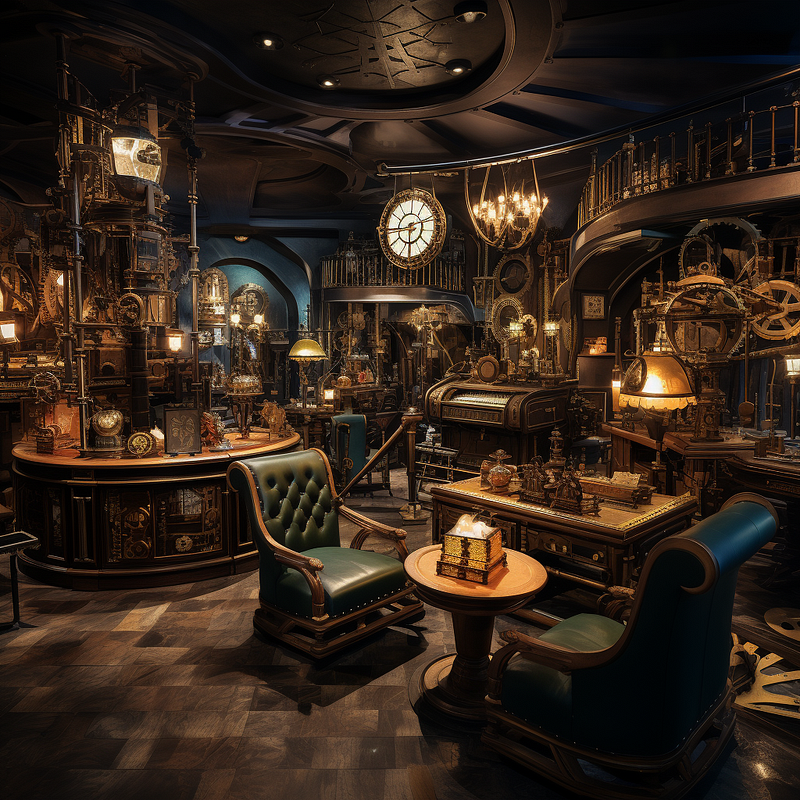
Next, I found a chair I thought was fun and put it in a better setting with more detail.
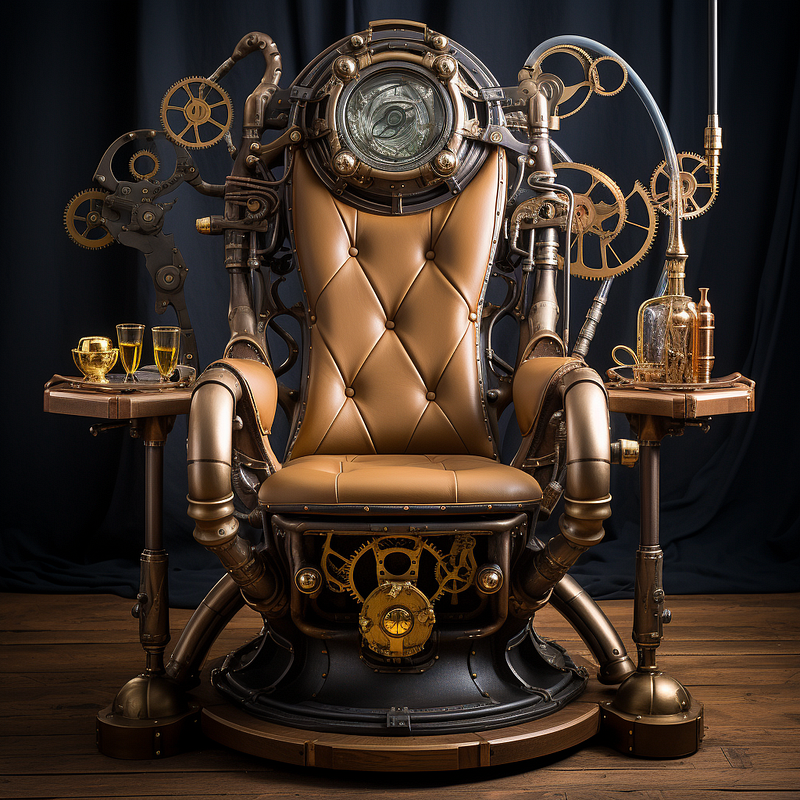
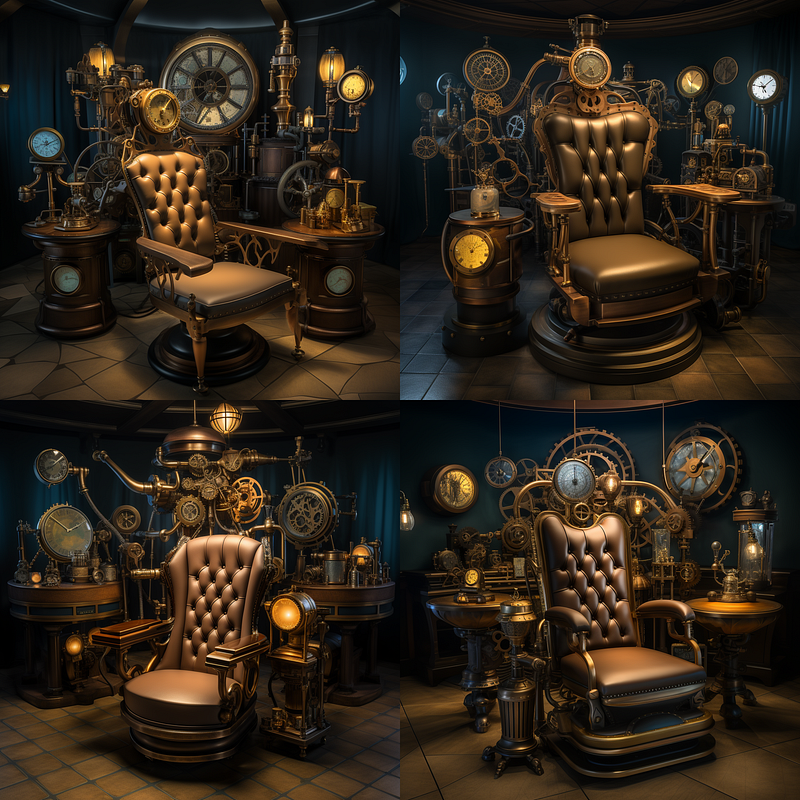
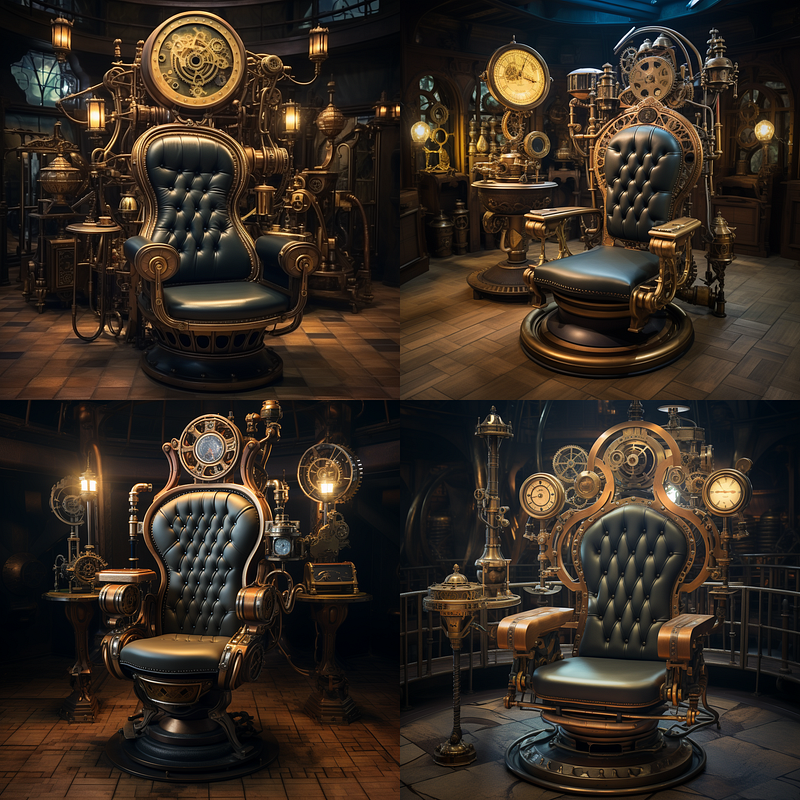
Note that while it did not give me my exact chair, it did give some interesting variety. If you are set on that particular chair, you could try using Vary(Region) and mask out the chair generated with the original as an image prompt.
Alternatively, if you want the background more like the original image. You could mask the chair area front center in that image and use the Vary(Region) with an image prompt of the chair to get a closer example into the picture. See my other articles for fun with pan, zoom and vary.
There are so many ways to achieve outcomes these days that you do not have to stay stuck long. If one technique does not work, back up and try again!
In Conclusion
Thanks for taking the time to explore the exciting world of image blending in Midjourney with me! If you’ve enjoyed this article, don’t hesitate to give it lots of claps and follow for more creative deep dives. Have any topics you’re curious about and would like to see covered in future articles? Feel free to drop a comment below. Until next time, happy blending!
A Message from AI Mind

Thanks for being a part of our community! Before you go:
- 👏 Clap for the story and follow the author 👉
- 📰 View more content in the AI Mind Publication
- 🧠 Improve your AI prompts effortlessly and FREE
- 🧰 Discover Intuitive AI Tools


