
Meet Alist: This Is How I Manage All Cloud Drives in One Place for Free
An open-source tool for easier digital storage management

Google Drive, Dropbox, OneDrive, Amazon S3, iCloud and so on…
I had too many cloud drive accounts and usually forgot which file was put in which account.
There are some platforms for managing all cloud drives in one account, but they are even more expensive than my drives’ subscriptions.
Until I met Alist, an open-source solution for this purpose, my life became much easier.
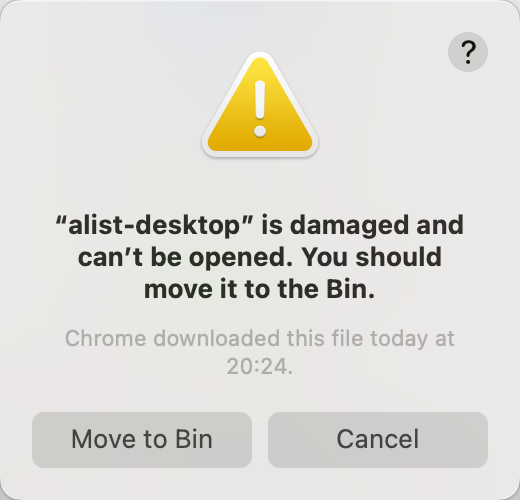
However, freedom is not free. Its desktop version downloaded from its official website can’t be opened on my Apple silicon Mac for unknown reasons:
As a full-stack software engineer, this cannot stop me at all.
Installation and Set up
Since this software is open-source, I can even execute its source code on my machine directly.
Not to mention its GitHub repository provides installation packages.
I downloaded the alist-darwin-amd64.tar.gz file, which is obvious for Mac, cause Darwin is the core Unix operating system of macOS, iOS, watchOS, tvOS, iPadOS, visionOS, and bridgeOS.
After getting the file, I unzipped it using the following command:
tar -zxvf alist-darwin-amd64.tar.gz
Then as suggested on its website, I gave it execution permission through the chmod command:
chmod +x alistAll preparation jobs were done now and I tried to execute the program to start the software:
./alist server
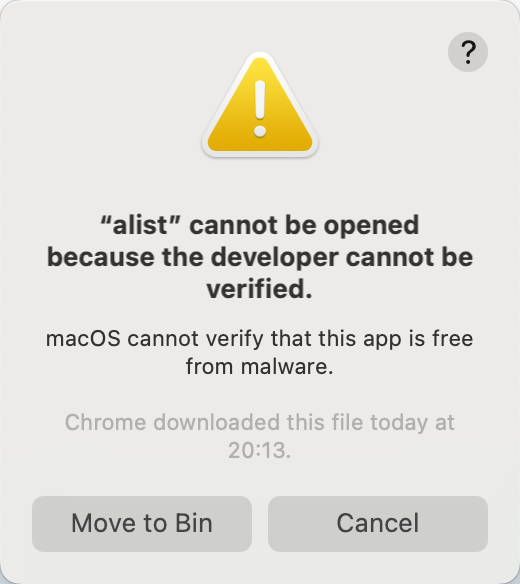
However, Apple stopped me from doing it:
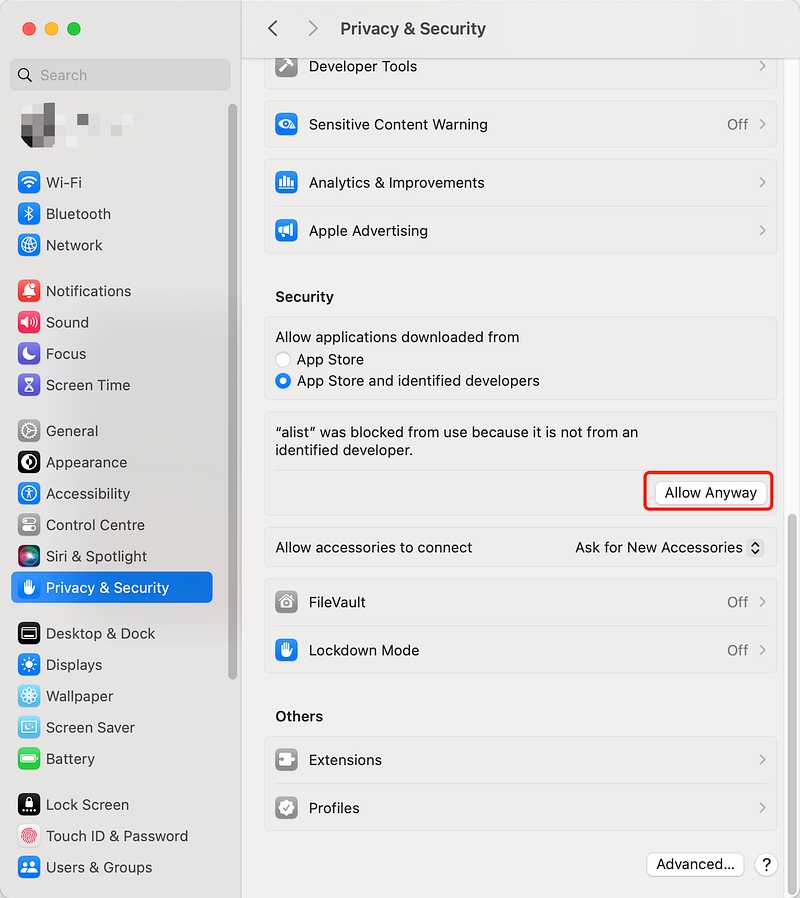
Mac is good for security. But this is an open-source software and I can trust it. So I entered “System Settings” on my Mac and chose the “Privacy & Security” tab to click the “Allow Anyway” button:
Now, I executed the command ./alist server again and it started running smoothly:

As the above screenshot shows, my Alist server was running on 0.0.0.0:5244 now, and I also got my initial username and password.
Add Cloud Drives into Alist
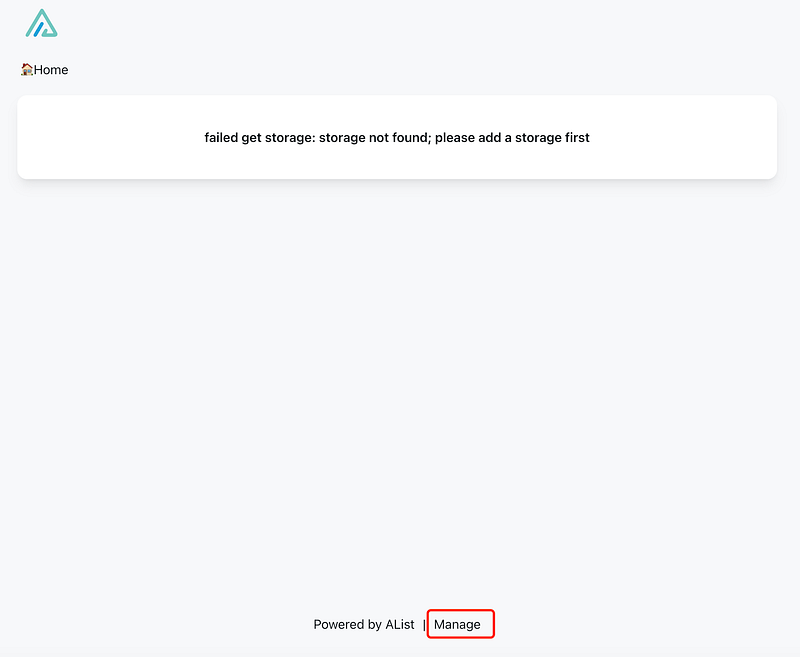
It was time to open it (http://0.0.0.0:5244) on my browser:

After logging into the website with the initial account, there was no storage list yet. So I clicked the “Manage” button at the bottom:
Then it entered the management page:
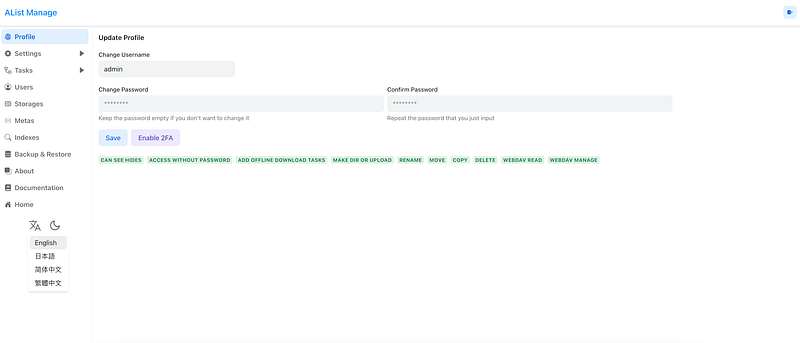
Everything was obvious then. Alist kindly provided 4 language supports, including English, Japanese, Simplified Chinese, and Traditional Chinese.
As we can see in Alist’s official document, it supports almost all mainstream cloud drives and local drives.
Due to space limitations here and its document lists all guides for each drive type, I wouldn’t display how I mount all my cloud drives into Alist here.
In a word, it’s just as simple as finding the correct signature of a relative drive and adding it into Alist.
Update the Initial Password
Of course, I couldn't remember the initial random string as a password, so I executed the ./alist admin command as suggested by its document for exploring how to change my password:

As shown above, it’s as easy as using this command:
./alist admin set NEW_PASSWORDAdvanced Features for Future Exploration
Alist is an ongoing open-source project, the author actively updates its GitHub repository.
There are more and more interesting features for us to explore. Such as two-factor authentication, transferring files between different cloud drives, offline downloading, and so on.
We can star its repository for tracking future updates.
Thanks for reading. ❤️
I am Yang Zhou, a full-stack engineer who loves reading and writing.
Feel free to connect with me:


