
Make a USB Rubber Ducky with less than $3
A series of IOT projects will be coming out soon , need your support :)
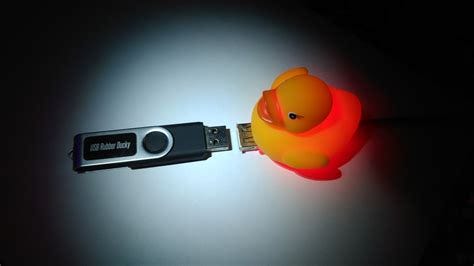
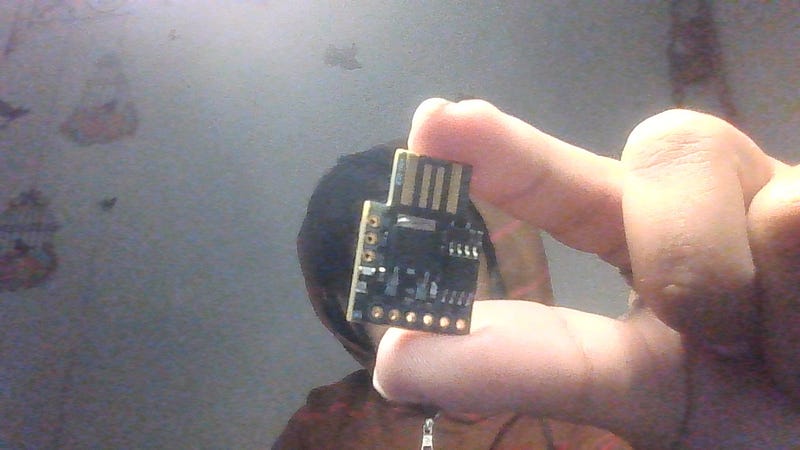
Recently, I got my hands on a Digispark Attiny 85 for just $2.94 (~INR 300) on an online marketplace. This tiny board, which packs 6KB of memory, works like a mini Arduino but comes with its own unique charm……but before building it let me tell you what USB Rubber Ducky is ..It is like USB flash drive, but it’s different. Because it will inject keystrokes with some payload to hack your computer. The best thing is, USB Rubber Ducky is not detected as a flash drive, but as a keyboard… as HID
Hack5 sell this kind of USB for $79.99.

https://shop.hak5.org/products/usb-rubber-ducky-deluxe
So, how to make USB Rubber Ducky with less than $3?
Digispark is the answer….
WHO AM I ????
I’m Satyam Pathania, a cybersecurity enthusiast who loves exploring new ways to gather information and make hacking a bit easier. I’ve spent time learning and working with some awesome tools, and I wanted to share one of the most underrated ones out there… and i have few plans for early 2025 to come up with series of projects related to SOC / SIEM and iot projects as well but all for that i need few hardware and your support what if i don’t get any view at all on my project and should i start youtube ?? i will drop a link soon to send your suggestions or others …
CONTINUE
What You’ll Need:
- Digispark Attiny 85 (costs ~$5-$7)…. for amazon link click here
- Arduino IDE (free download)…
- A glass of coffee paired with good music for the vibe……. get me a coffee as well :) — here
Setup the environment [Linux]
- Download and Install the latest Arduino software at https://www.arduino.cc/en/software. For this project, I use Arduino IDE 2.3.3 for Linux 64 bits. And In this tutorial, I will skip for installation of the Aduino IDE.

Arduino IDE download page
- Run Arduino IDE and go to File menu, and select Preferences. Then in the Additional Boards Manager Urls, put this link
http://digistump.com/package_digistump_index.json
And click ok.
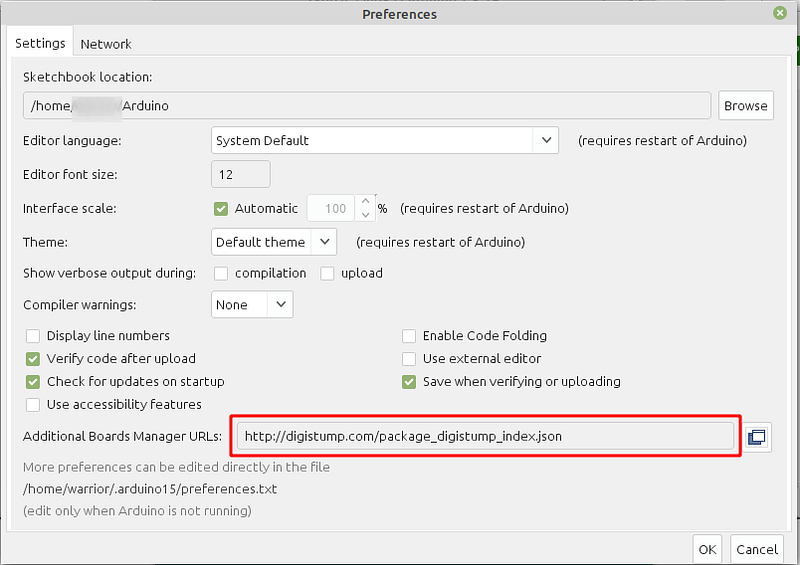
Preference window
- Go to Tools menu, then the Boards submenu, select Board Manager. In the Type field, select Contributed and install Digistump AVR Boards.
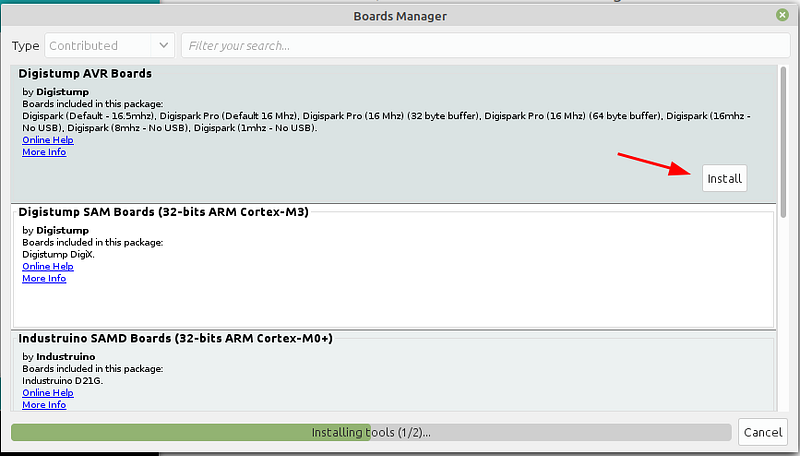
Boards Manager window
- After the installation is finished, close the Boards Manager window.
- The last step, select Digispark (Default — 16.5mhz) as your main board. Go to Tools menu, then Boards submenu, Click Digistump AVR Board and select Digispark (Default — 16.5mhz).
You have been finished setup the Digispark Environment.
Testing with Example Code
- Try with testing code from File > Example > DigisparkKeyboard > Keyboard.
#include "DigiKeyboard.h"void setup() {
  // don't need to set anything up to use DigiKeyboard
}void loop() {
  DigiKeyboard.sendKeyStroke(0);
  DigiKeyboard.println("Hello Digispark!");
  DigiKeyboard.delay(5000);
}
Verify the code, and if it’s okay click the upload button at the right side of the verify button.
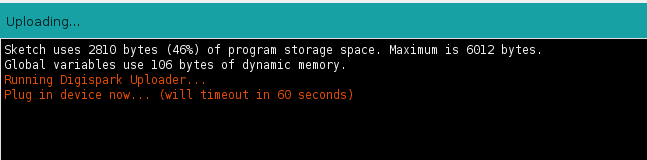
And Then plug in your Digispark.
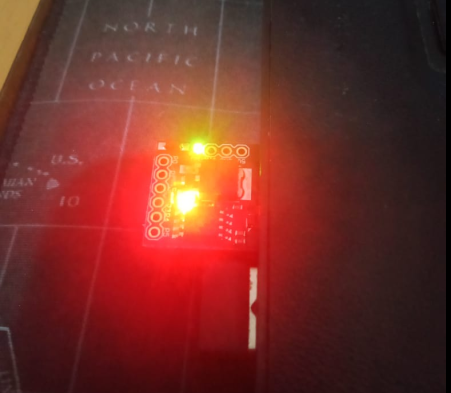
Digispark plug into the laptop
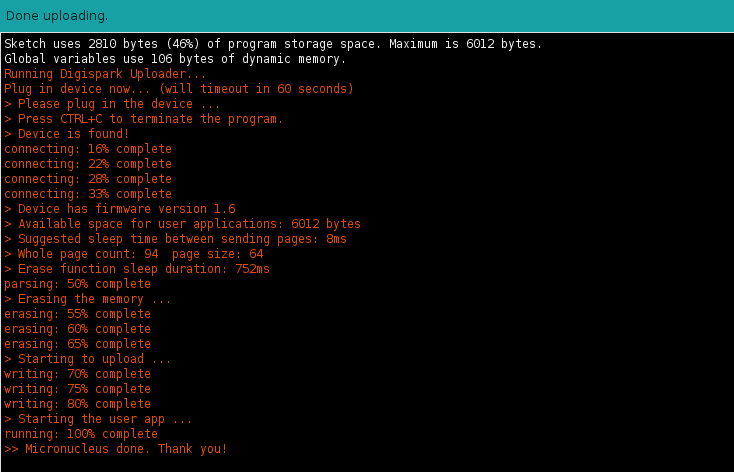
Arduino upload success log
After upload complete, unplug your Digispark and congratulation you have made a USB Rubber Ducky with less than $3.
Testing
You can now test your USB Rubber Ducky:
- On PC: Plug it into a Linux machine (I used Linux ).
- On Android: Use an OTG adapter to test its functionality.
Troubleshooting
Encounter issues? Here’s how to solve common problems:
- Error: Missing
libusb-devRun this command in your terminal:
sudo apt install libusb-dev
- Digispark Not Detected If your dmesg logs show errors, reload the USB rules:
sudo udevadm control --reload-rules- Then reconnect your Digispark and try uploading again.
- For more troubleshooting tips, check the official Digistump Linux guide.
☕ Enjoyed this article?
If you found this helpful and want to support my work, feel free to buy me a coffee! Your support will help me get hardware devices, which I’ll use to create more hands-on cybersecurity content and share my experiences with you all.
Prefer PayPal? You can support my work and help me keep creating by sending your contribution directly via PayPal!
Got questions or need help? Just give me a shout. Happy hacking!
Hacking skills are like virginity — once you lose them, you can never get them back! ~ Satyam Pathania
author — -Satyam Pathania
Follow me on twitter :- https://x.com/satyam72565815


