
MacBook M1: How to install and run Stable Diffusion
Stable Diffusion is an open machine learning model developed by Stability AI to generate digital images from natural language descriptions that has become really popular in the last weeks.

These are the steps I followed to run Stable Diffusion on my laptop with Apple Silicon. These worked for me, and I hope they can work for you too. The first steps are the same I wrote down in my post “MacBook M1: installing TensorFlow and Jupyter Notebook” but I will paste them here for your convenience.
Step 1: Install Xcode
Xcode consists of a suite of tools that developers use to build apps for Apple platforms.
You can install Xcode from the App Store or you can download it from the Developer site.
Step 2: Install the Command Line Tools Package
As defined in the documentation, the Command Line Tools Package is a small self-contained package available for download separately from Xcode and that allows you to do command line development in macOS.
For a fresh install, this command should be enough:
xcode-select --installStep 3: Install Miniforge
Anaconda is a distribution of the Python and R programming languages for scientific computing, that aims to simplify package management and deployment. However, Anaconda comes with many Python packages included, some of which are not Apple Silicon (i.e. ARM) compatible and thus Anaconda is not ARM compatible. Miniforge has Conda, which means you can install many of the packages you want such as Pandas, Scipy, and Numpy — unlike Anaconda, you just have to do the install manually by running ‘conda install mypackagenamehere’.
Miniforge homepage: https://github.com/conda-forge/miniforge
I downloaded ‘miniforge3-macosx-arm64.sh’ (v4.14.0 at the time) from https://github.com/conda-forge/miniforge/releases/, which is the one for the Apple Silicon architecture.
And to install it, I used the following command:
bash Miniforge3-MacOSX-arm64.shI had to accept licensing and terms and when the installation was completed I opened a new terminal and run the following command to verify it worked:
condaThis is what it should appear:
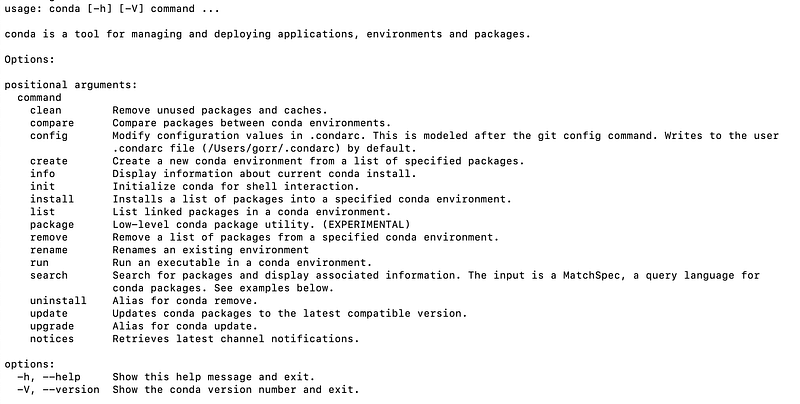
Step 4: Clone the repo
I’ve used Lincoln Stein fork of Stable Diffusion.
First, clone the repo:
git clone https://github.com/lstein/stable-diffusion.git
cd stable-diffusion
Step 5: Clone the weights
To download the weights, go to: https://huggingface.co/CompVis/stable-diffusion-v-1-4-original
Make a Hugging Face account if you don’t have one and accept the terms.
Then download the weights from: https://huggingface.co/CompVis/stable-diffusion-v-1-4-original/blob/main/sd-v1-4.ckpt
Next, create a folder for the models and create a symlink to the model you just downloaded:
mkdir -p models/ldm/stable-diffusion-v1/
PATH_TO_CKPT="$HOME/Documents/stable-diffusion-v-1-4-original"  # or wherever yours is.
ln -s "$PATH_TO_CKPT/sd-v1-4.ckpt" models/ldm/stable-diffusion-v1/model.ckpt
Step 6: Prepare the environment
Run the following commands to prepare your environment:
CONDA_SUBDIR=osx-arm64 conda env create -f environment-mac.yaml
conda activate ldm

python scripts/preload_models.py
I had to fix the file ‘src/k-diffusion/k_diffusion/sampling.py’, changing line 10 from (hopefully this won’t be needed anymore pretty soon):
from typing import Optional, Callable, TypeAliasto:
from typing import Optional, Callable
from typing_extensions import TypeAlias
Then run:
python scripts/dream.py --full_precision # half-precision requires autocast and won't workAnd then you should see the following on your terminal:
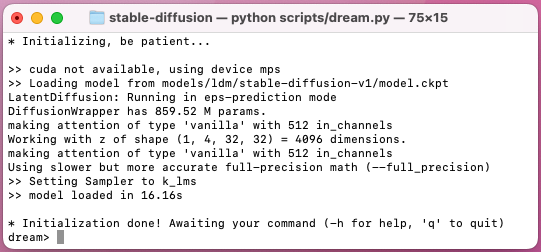
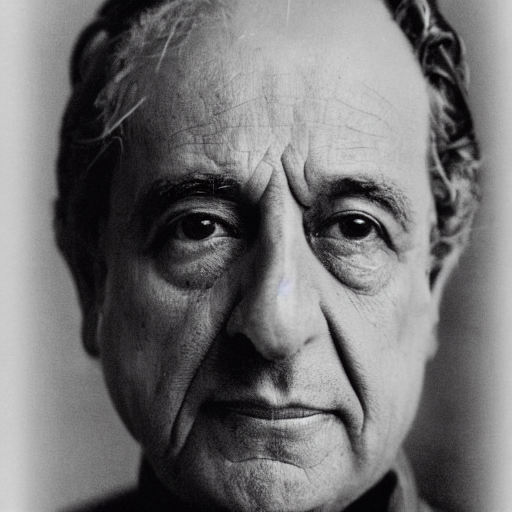
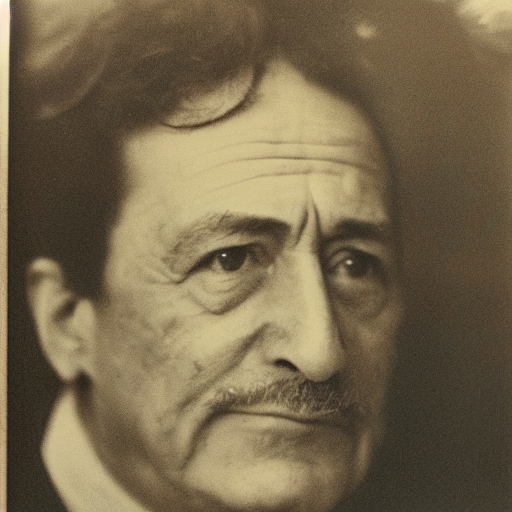
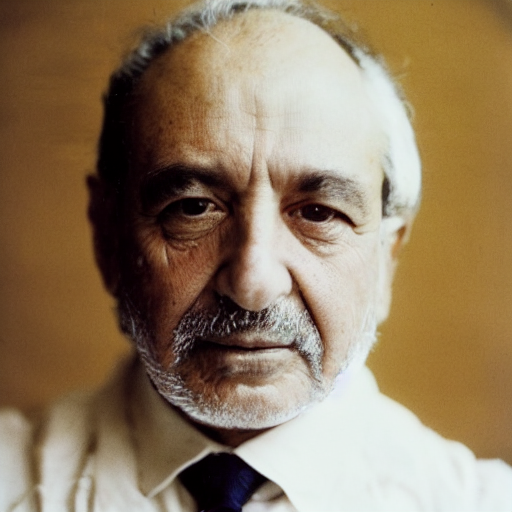
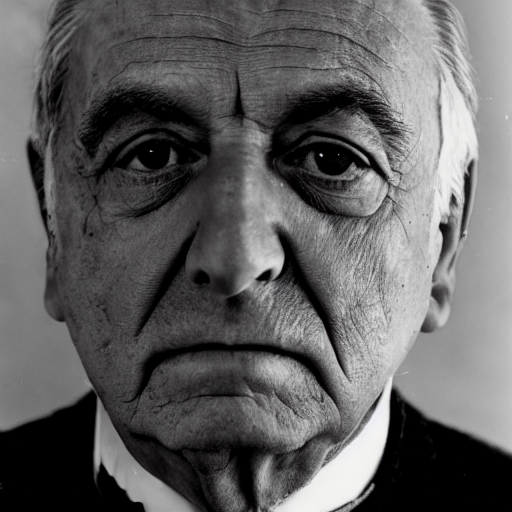
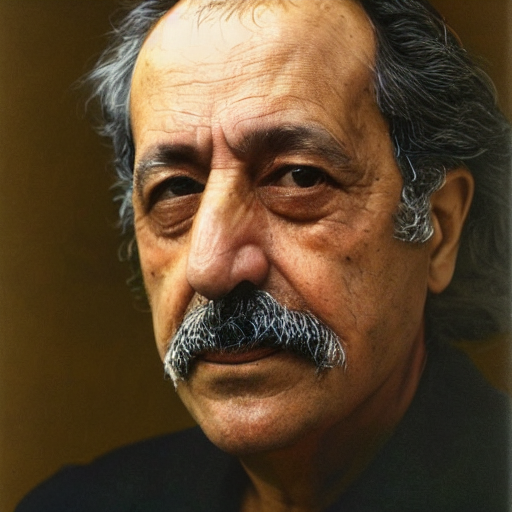
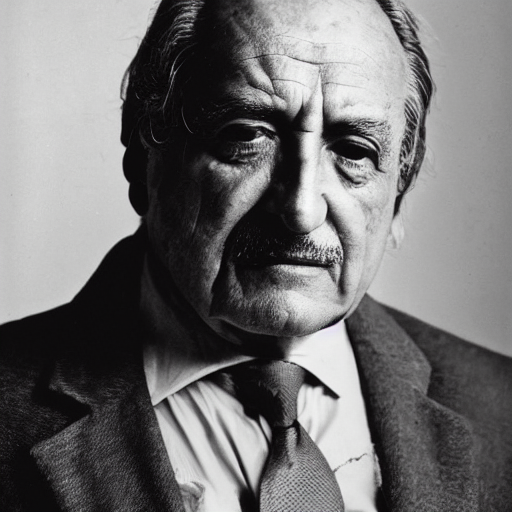
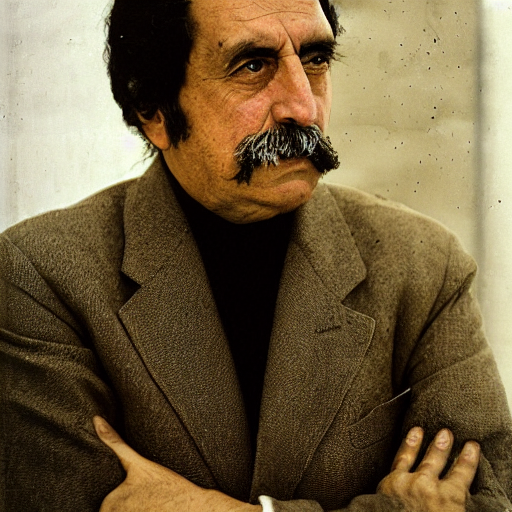
Now, try to generate some images! I used this prompt “A portrait photo of Pedro Gomez de Valdivia, architect in Spain, by Annie Leibovitz -n 9” to generate a few photos of invented people.
These are some of the results I generated in the “output/img-samples” folder, pretty amazing!
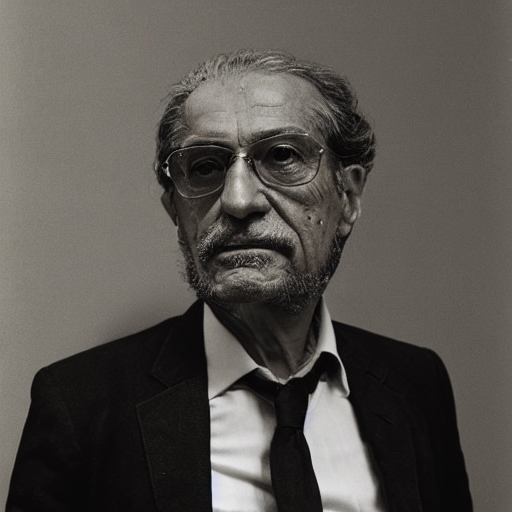
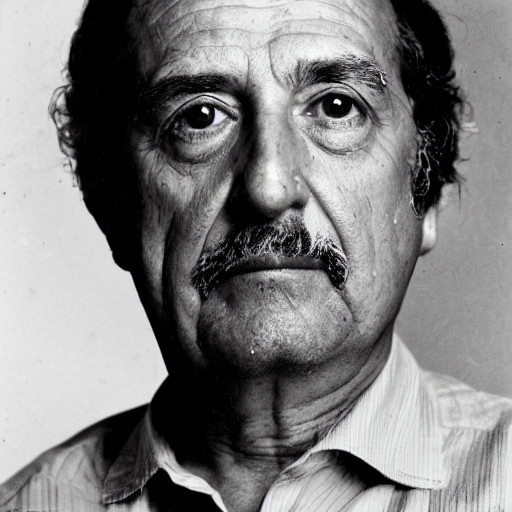
Enjoy you image generation!


