
Login with Facebook and Google in reactjs

If you don’t know how to setup react app, see my previous article on Setting up a React.js project with simple steps.
I am using create-react-app for every new react project. And it’s very easy and good.
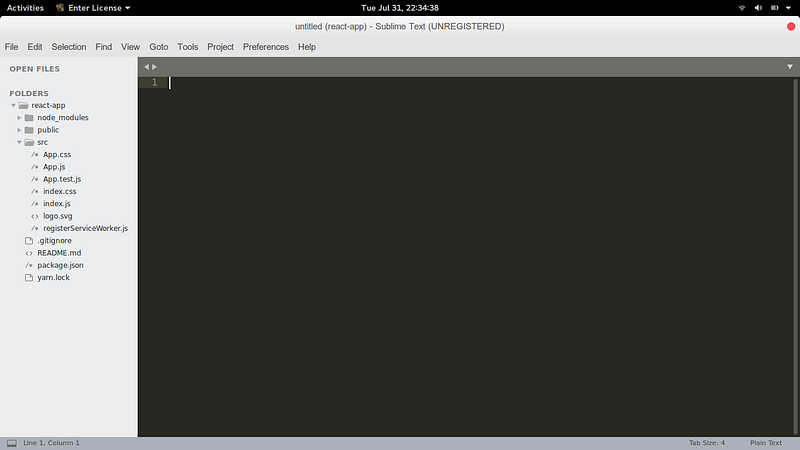
You can also clone the react-app repository from my GitHub account directly and then start coding. And I recommend you clone the repository. After cloned the repository. Your project folder structure will look like this below:-
After cloned the repository into your computer then install some dependencies which is used in your project.
After installing all these dependencies, edit the App.src component which is in the src folder of your react project to see the code below and edit it.
You can see the code above where I comment the APP ID and CLIENT ID not created yet. Now, the next step is to create facebook app id and google client id. First, we will create facebook app id and then google client id.
CREATE FACEBOOK APP ID
Step 1: Click here to create a Facebook application.
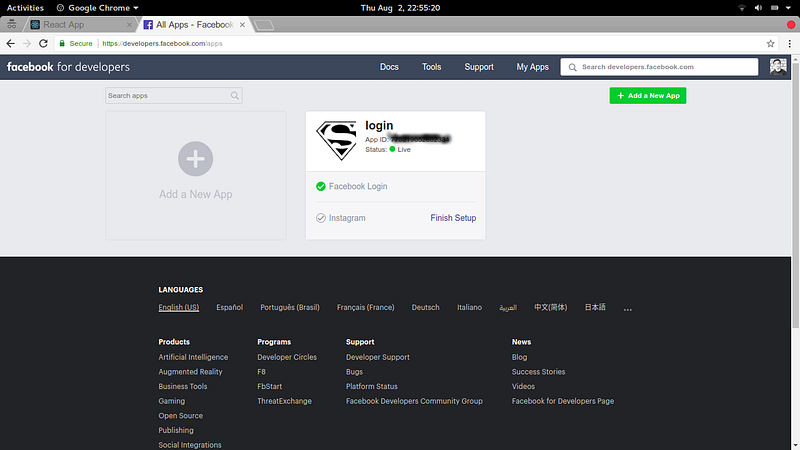
Step 2: Click on Add a New App
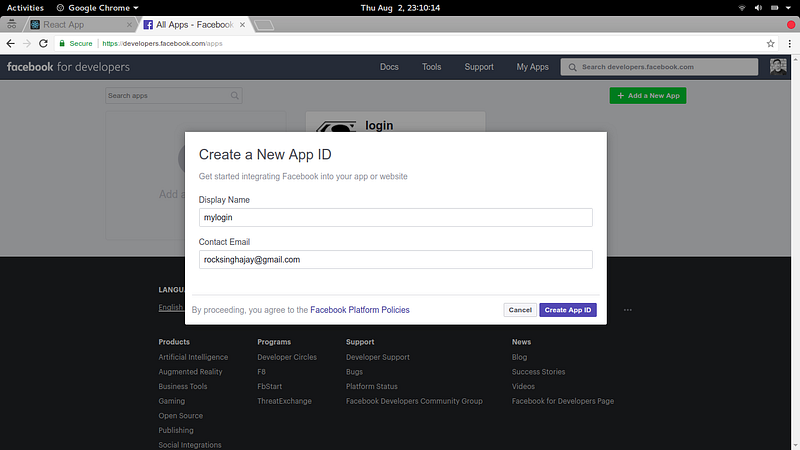
Step 3: Click on Create App ID button
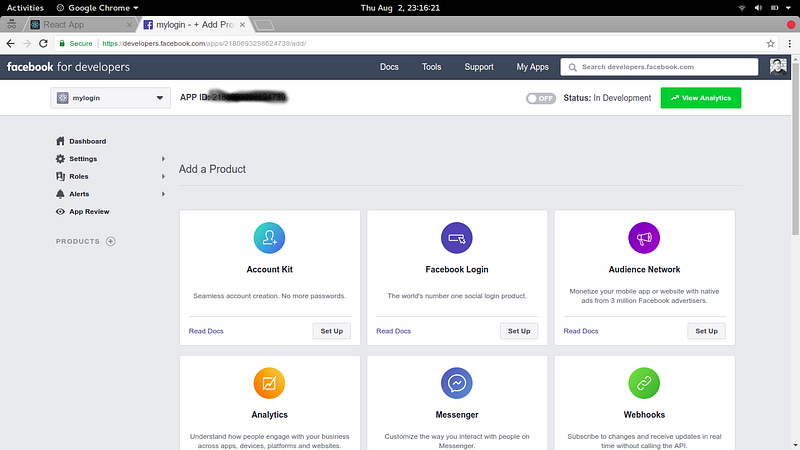
Step 4: Click on Facebook Login Set up button

Step 5: Click on Web and then tell us what the URL of your site is. And go through the all steps also. After that click on the top Setting tab, you see above and then click Basic and then fill the things that are shown in the image below.
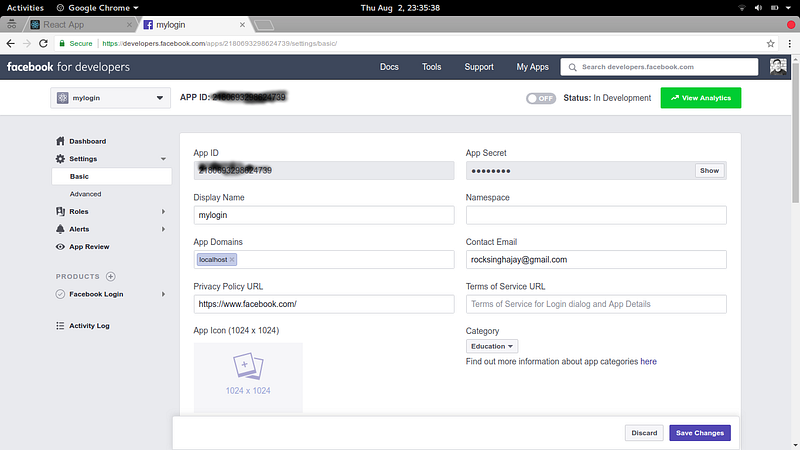
In App Domains, you can type your site URL name. Then click Save Changes Button.
Then you can click on an off button that is shown on the screen for getting your application on live mode.
After that, you want to edit your package.json file and change the starting scripts for start your Facebook login in secures domain. for example : https
After doing all these steps you have your app id copy your unique app id in App.js file where app id of facebook is empty yet.
And your login with facebook part will end up here then go to the next part login with google.
CREATE GOOGLE CLIENT ID
Step 1: Go to Google API Console create client ID and click on Create credentials
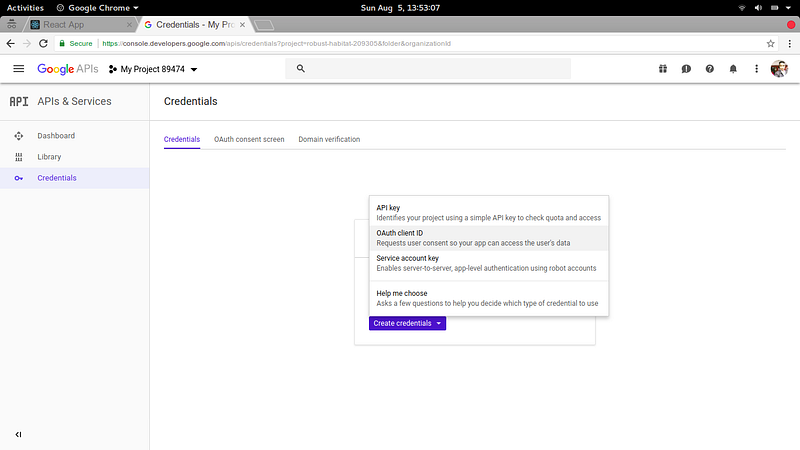
Step 2: Click on OAuth client ID
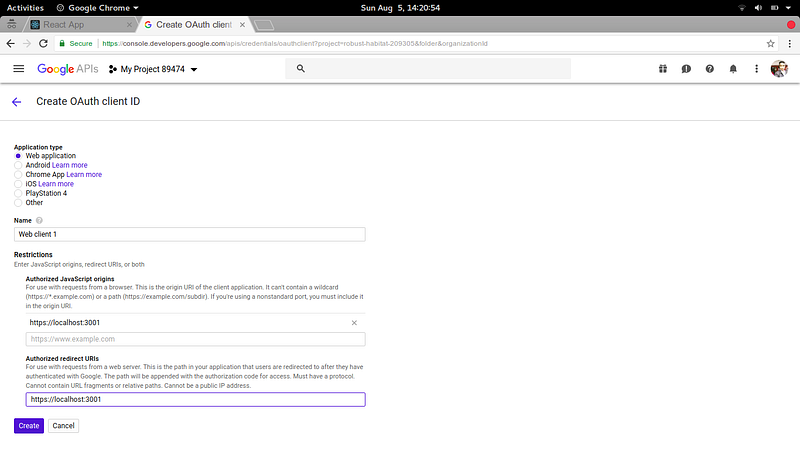
Step 3: And then select application type as a Web application, In name type name according to your choice and in Authorized JavaScript origins and Authorized redirect URLs enter your website URL. At last click on the Create button.

After doing all these steps then you have a google Client id copy that unique Client id and paste it in your App.js component where google client id is empty yet.
After doing all these steps successfully you done all of the steps for creating login with Facebook and google in reactjs.
And start your react app and see the output below like this :
And thank you for reading this article if you like it then share it, with your friends and enemies. And I will be writing more about react.js, stay connected with me.


