
Here’s the Kicker
Let’s Write a Story
And, in the process, discover some of the features of Medium
7 Important Blargs to Blargity Blarg
First, enter a catchy title. You could use a click-baity title, here. You could include a number — and clearly, the odder the number, the better! You could evaluate all your options through CoSchedule Headline Analyzer, as so many writers here are eager to suggest. Just beware — your score there isn’t necessarily an indication of a good headline.
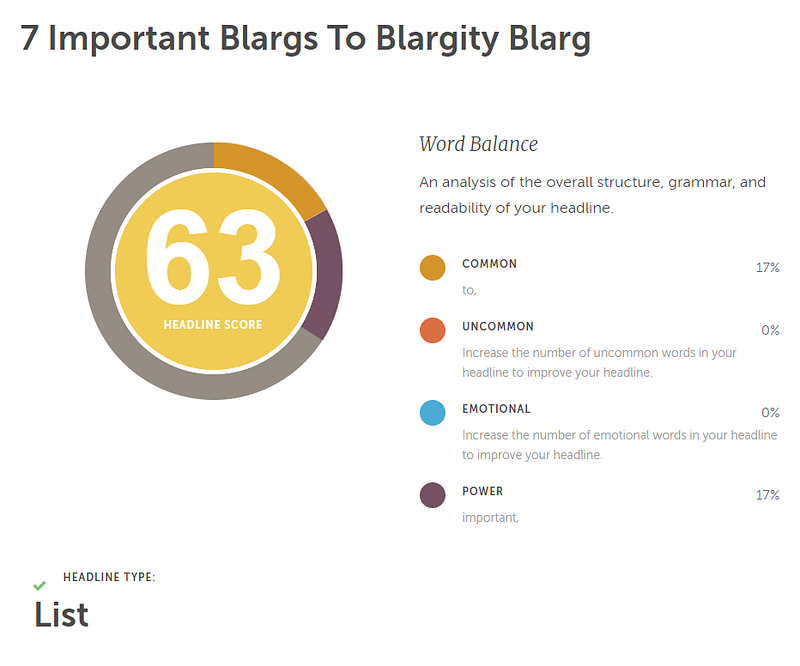
I think natural, organic titles, just like natural, organic vegetables are best. Your title should whet the reader’s appetite, but nobody likes red herrings. The meal is the Story itself, and it had better live up to the promise of the appetizer. So don’t be too cute or too coy about your title. Give readers a solid reason to click, then deliver on the promise.
I have no more blargs to blargity blarg about that.
Here’s the Kicker
No, actually, it’s not literally here. It’s above the title. It says “Here’s the Kicker.” (I told you, I’m not into being coy!) I don’t know why Medium has to make this so convoluted, but it’s not hard. After you type your title, put your cursor before the first word of the title and start typing what you want for a “Kicker.” Hit, mash, smash, squoosh, tap, or tickle the Enter key to put it on a line by itself, then click on one of the words. When you see this:
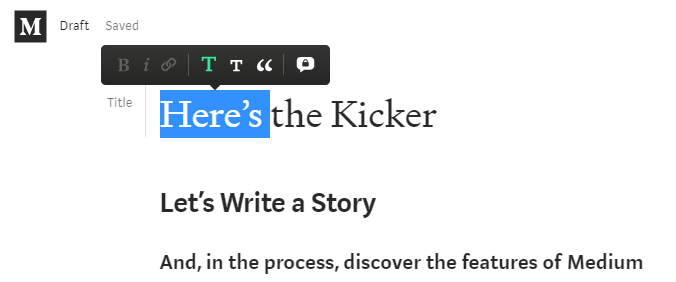
Click the smaller T (to the right of the big green T shown above).
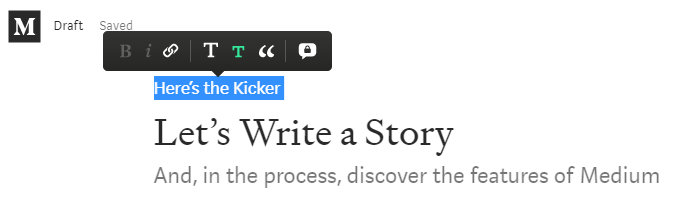
Subtitles Don’t Have to be TOO Subtle
Do something along those lines to create yourself a subtitle, right under the title. Make it work for you. Give readers just a bit more of “what to expect if you keep reading.”
Story Settings and SEO “Secrets”
Now is a good time to talk about the Story Settings. You can do these things any time before you publish, but now is as good a time as any, because this is important but easy to forget.
Click the overflow menu ( . . . ) next to Publish, and select More Settings (towards the bottom of the list):

You will see a number of advanced settings options (about three PC screens’ worth, as shown below):
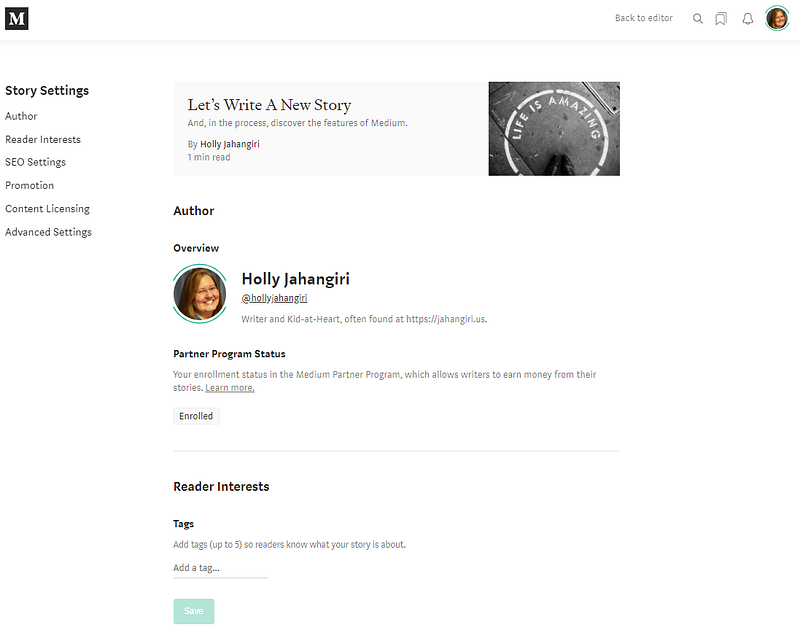
Tags
There are several opportunities to set your Tags, and no matter which options you use, the last ones will be the ones associated with your Story. You get five tags, total — don’t be greedy! Choose wisely. Tags, on Medium, are more like categories. Tags should be relevant to your Story, first and foremost. At least one or two should match one of the pre-defined Medium Topics. As with your title, don’t be greedy and do deliver on your promises — if you use Poetry as one of your tags, then write a poem or a serious discussion of poetry. No one exploring the Poetry topic wants to read about how to change the oil in their car, unless it’s written in sonnet form.
Do it. I dare you.
Scrolling to the next section, you see SEO Settings:
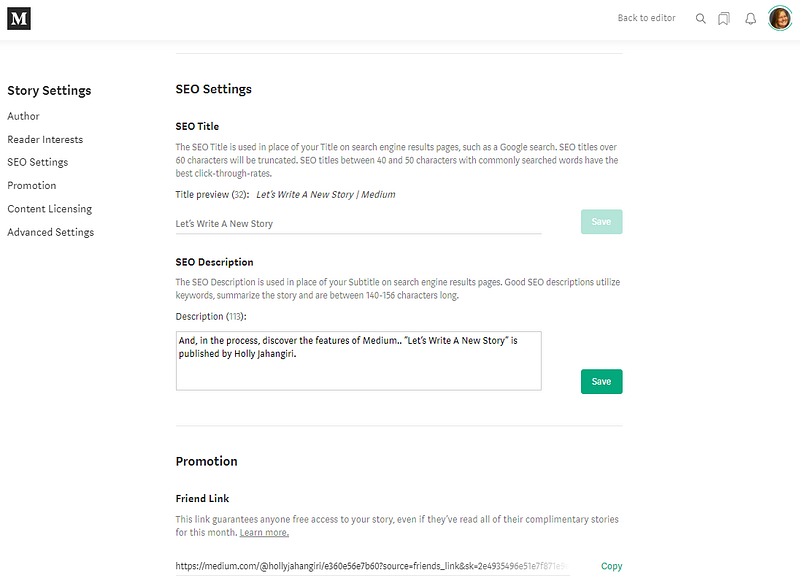
The important one, here, is your SEO Description. If you don’t fill this in, your description may default to the first few words of your Story. Or it may show up somewhere looking like “Medium. Where words matter.” This is your description — own it. Don’t let Medium’s tagline be the one readers see, if you can help it! Take a minute to fill this out, and make it work at least as hard as your title and subtitle.
Remember: You can certainly just copy your subtitle here and call it a day. But your subtitle can be longer than the SEO description that’s likely to be displayed in search engines. I say “likely” because it’s actually a bit of a crapshoot what they’ll pick from among the many meta-tags available to them. For example, if I search site:medium.com holly jahangiri, and locate the listing for my story:
Google uses the carefully-crafted SEO Description.

Bing
Bing, of course, ignores it. Bing pulls from the fourth paragraph — who knows why? Who dares to question the Great and Powerful Microsoft?

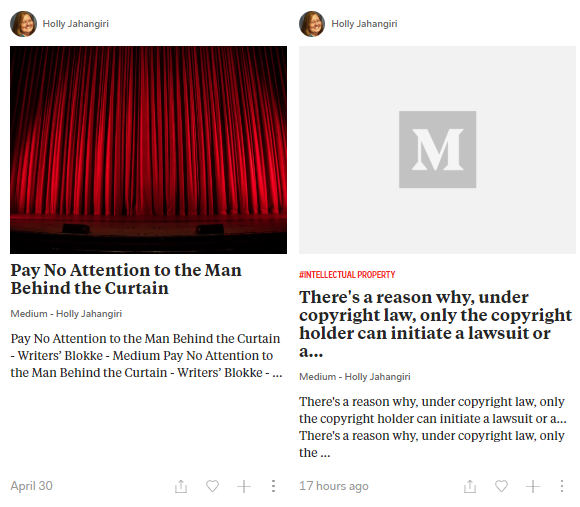
You just never know what you’re going to get with Flipboard. Notice in the image below that an actual story has the title and the publication name repeated twice (at least) and would probably just go on and on and on like that. But a mere comment — and this is why I say you should treat your comments as if they were the Stories Medium wants them to be — gets the full and proper SEO treatment without my even having to work at it. Not just that, but Flipboard’s own algorithms saw fit to sort my lowly comment under its #INTELLECTUAL PROPERTY tag, again, without human intervention!
But we do what we can, right? We can’t worry about what’s not under our control, but we can do our best with what is. My suggestion would be to include keywords in your SEO Description as long as you’re not just stuffing them in there because they’re keywords. Think about your human readers and let the search engines do whatever search engines do.
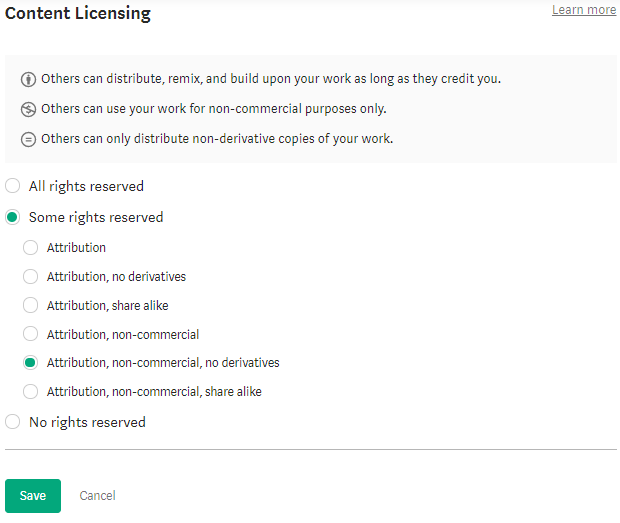
Next up, Content Licensing and Advanced Settings:
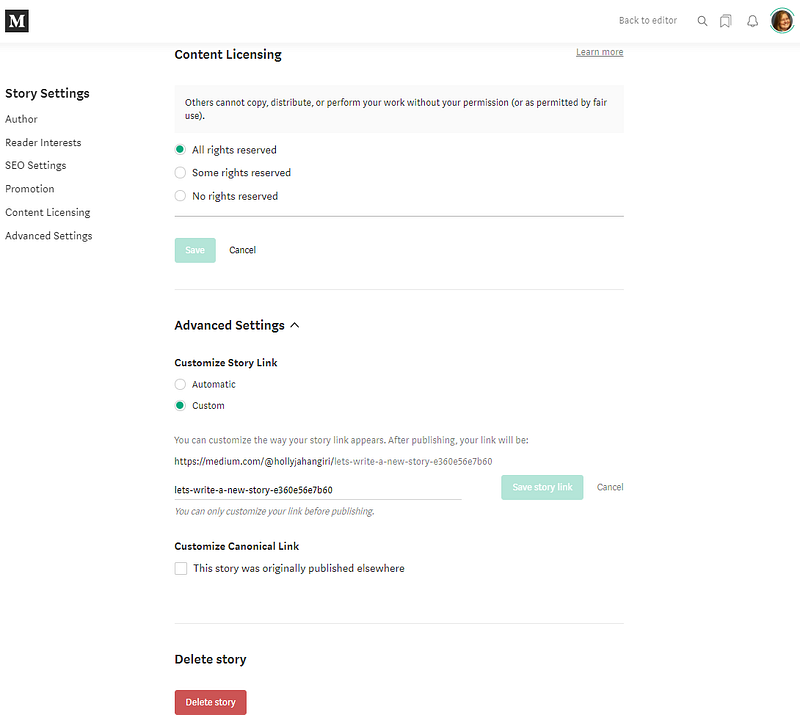
All rights reserved (you retain copyright and only grant Medium the license it requires to display and allow promotion of your work) is the default. It’s helpful that Medium includes explanatory notes, should you want to choose Some rights reserved. Some rights reserved breaks down the various options under Creative Commons licensing; No rights reserved puts your work into the public domain.
The only time you might need to concern yourself with Customize Story Link is if you are importing or copying a post or article you own all rights to, but that is published elsewhere on the web (such as on your own blog). In this case, you should put the original link here, so that search engines will treat that as “canonical” and not penalize you or Medium for “duplicate content.” One or two posts probably won’t hurt, but Medium warns against making a habit of it — that could result in a suspension.
Now, enough with Advanced Settings — let’s go back to our Story!
Featured Image, Photo Credit, and Caption
The caption, “Prepare to be Amazed,” may be overselling it, up there on my featured image. But there are no stock images on Unsplash for “blargity blarg,” and everyone here uses paper, pens, and books, so I went with “amazing” instead. You can try to use operators in your search, and it may add emphasis. See this result for strawberry AND pen:
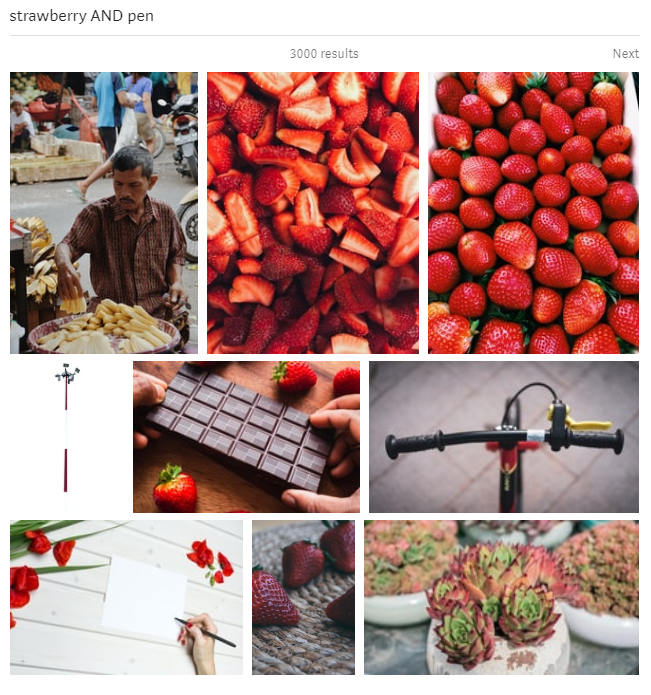
Obviously, they don’t all contain both strawberry and pen. But my guess is, those images that do show up higher than they might have, otherwise, out of 3000 results.
The first image I insert into my Story will be my “featured image,” by default — the one that captures readers’ attention, along with my title and (maybe, if I’m really lucky) my subtitle or SEO Description or a few random words from somewhere in the middle of the document. The featured image adds visual appeal and hints at what’s inside.
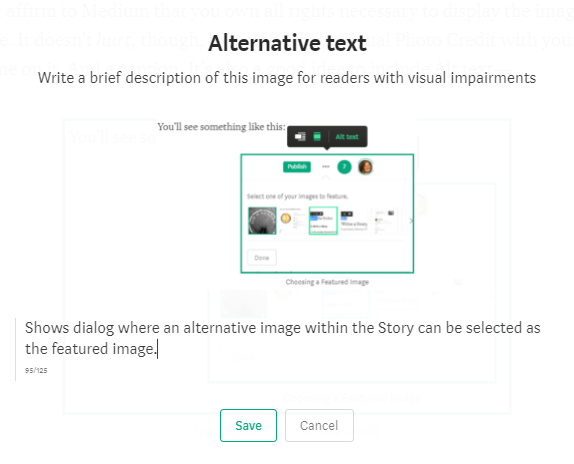
If your Story has a whole bunch of images and you want the fifth one down to be the “featured image,” Medium isn’t going to stop you! Just go up there to the overflow menu (remember, that’s the one that looks like an ellipsis, just to the right of the green Publish button) and choose Change featured image. You’ll see something like this:
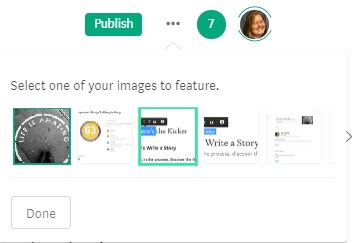
Just click the one you want to feature, then click Done.
Photo Credit & Caption
If you use free stock photos from Unsplash, the Photo Credit is added for you, automatically. Leave it alone. Leave it exactly as it is. You may put your cursor in front of it and add a few words, like my “Prepare to Be Amazed” but do not alter the Photo Credit!
If you are a photographer and upload your own images and screenshots, then you affirm to Medium that you own all rights necessary to display the images here. It doesn’t hurt, though, to include the optional Photo Credit with your name on it. And a caption. It’s also a good idea to include Alt text —
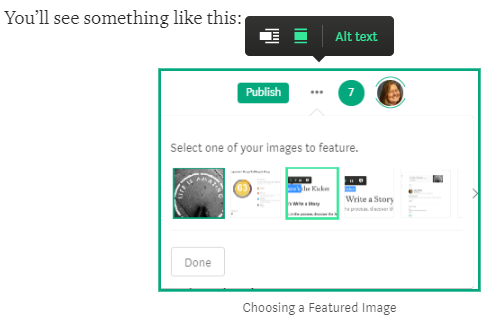
Alt text makes your images accessible to people who are visually impaired and using a screen reader. Your alt text should describe the purpose of the image and any important information that’s displayed visually in it.
Type up to 125 characters describing the image in words, then click Save. Don’t just write “screenshot” — that’s stupid. If the image is purely decorative (pretty, but unimportant to understanding the Story) then you don’t need alt text at all. You might consider whether the image is pretty enough, and decorative enough, to be taking up any space at all in your Story.
Can I Just Write My Story Now?
Oh! Story — we haven’t written the Story?! That’s the meat and potatoes! How could we forget the meat and potatoes?
If you forget everything else you’ve just read, don’t skimp on the Story. This is where you shine. Content is still king, even if marketing is the queen. You can write good content all day long, but you do have to help readers to find it. Once they find it, it’s all on your story to grab their attention and hold it from start to finish.
Still with me? (We’ll see — stats don’t lie!)
There’s a reason your “posts” and “articles” and “fiction” and “poetry” are called “Stories” on Medium. People like to read stories. This one’s a little short on story, to be honest — “how to” pieces usually are. It’s liberating to write instructions from me to you, without having to use that buttoned-down, up-tight, accentless corporate house style technical writers usually use. After thirty years of brevity and usefulness, this is fun.
I hope you’re enjoying it, at least a little.
Write the story. Use your own voice. If your story’s not original, and your idea’s been shared by a million writers before you, that’s okay — but you have to tell it in your own, original way. How many times has the “Cinderella story” been told? By some estimates, 150–300 versions exist. But that’s just retellings of the original. Remember the movie “Pretty Woman”? Cinderella story. Give your story an original, personal, relatable twist, and no one will care that they’ve heard it a million times before.
Is your Story blatantly derivative and bland? Here. Here’s a shovel. Bury it. Start over.
Publish It!
No, no — wait! Wait, stop. Do you want to include your work in a publication? Don’t publish it yet, then. Some publications will take your Story even if it’s been “previously published” umpteen times. Others will require all submissions to be in Draft status — and it’s not that they’re trying to be all elitist and exclusive about it: It’s so that your hard work won’t be buried on page 20 before the editors have time to review it and add to the publication.
Patience is the key.
Once you hit Publish, the current date and time are set in stone. You can keep editing your story, but the publication date won’t change even if you unpublish it, withdraw it from a publication, and wait to resubmit it tomorrow. So by tomorrow, it’s old news.
Does that mean you should let your Story languish in a publication that receives more submissions than its editorial staff can handle in a week or a month? NO. Absolutely not. But do your homework: With every writer able to create their own publications, some are more active than others. Some are open to new writers. Some are not. As with traditional periodicals, one of the best ways to get a feel for whether a publication looks like a good fit for your work is to read it for a while first. Do they publish a variety of authors in topics you like to write about? Is the “latest” work fresh? Talk to some of the writers. Be sure to read the submissions guidelines (and if a publication doesn’t have any, let that be a red flag — either they don’t want any, or they’re not very active and thoughtful).
One of the first publications I wrote for, on Medium, was ILLUMINATION. It is a fast-growing publication that has an inclusive, helpful community of writers who are becoming friends, mentors, cheerleaders, and collaborators:
And Writers’ Blokke is small, but welcoming:
As is Rogues Gallery:
Of course, with over 15,000 publications to choose from, you will find a few you enjoy and feel comfortable approaching.
Once you’ve determined and done what you need to do to become a Writer (or Editor) of one of the many publications on Medium, you’ll see a menu like this, under Add to publication:
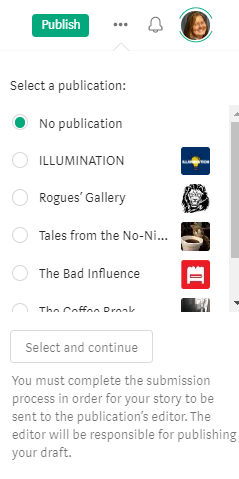
Click the one you want to submit to, then click Select and continue. For some reason, Select and continue appears to be grayed out (or just very faint) no matter what you do, but click it anyway or your article will not be submitted to any publication. Your Publish button should change to Submit:
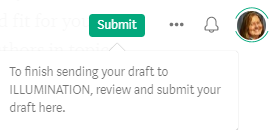
Ready, now? Click Submit. Or Publish. You don’t have to submit it to a publication, but I wanted to be sure you knew how, before you got too excited, hit Publish, and your Story started to…age. Like fine wine, only in a bottle that accidentally got knocked to the floor and rolled behind a couple of old wooden casks, to languish in the dark with the spiders. Publications help you gain visibility faster. They’re not the only way to promote your work!
Have fun, and feel free to share a link in comments — I’d love to see your Stories, too.


