
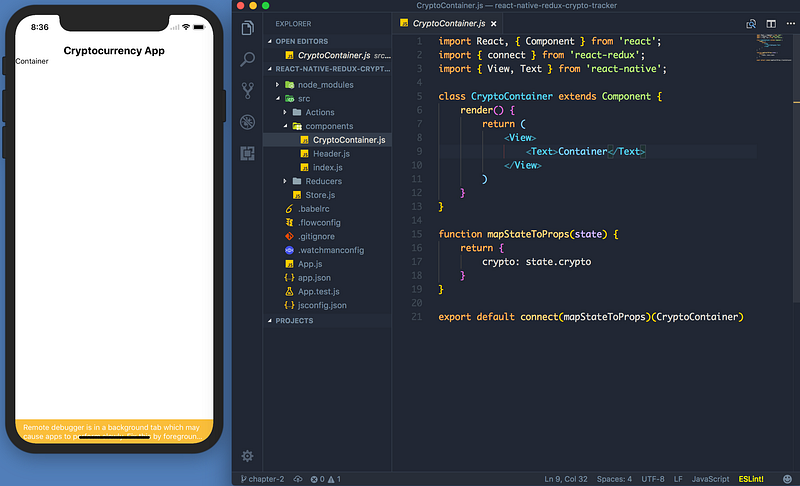
Let’s Build: Cryptocurrency Native Mobile App With React Native + Redux — Chapter III
Welcome back to developing native apps with React Native and Redux like a boss! Glad to have you here! ❤
This is a pre-sequel to chapter II.
Fetching The Data With Redux and Redux Thunk
We’re finally ready to fetch our data. We’re going to use the coinmarketcap public API. If you find a better crypto API — please let me know!
Make a src/Utils/Constants.js file and add our API base URL there.
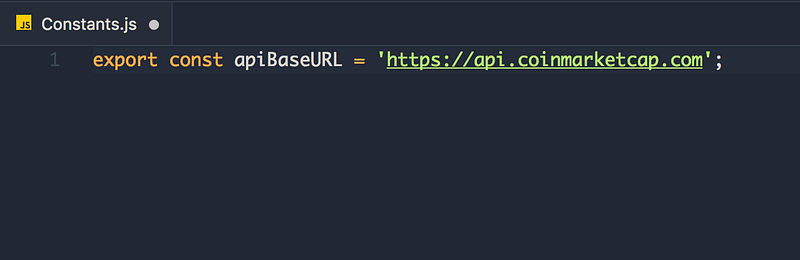
Why? If the API URL ever changes — we only need to change it in one place, neato! 👍
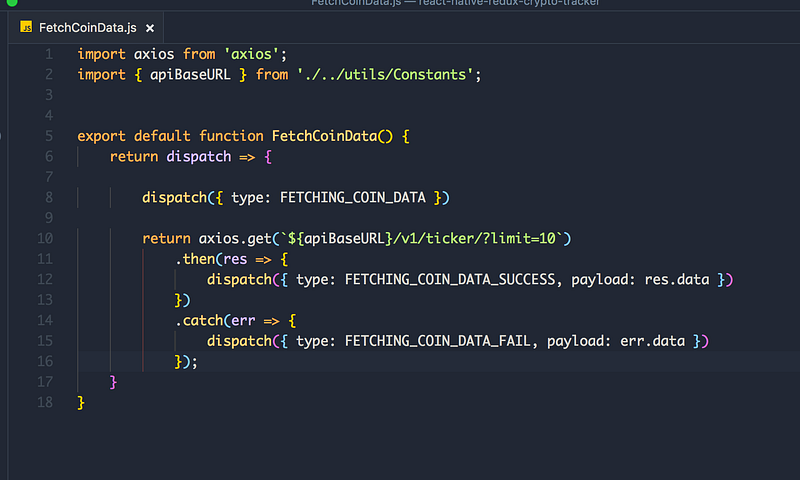
Next— head over to src/Actions and make a file called FetchCoinData.js — here we will be fetching our cryptocurrency coin data. We’re going to use axios (yes I’m aware of the native fetch API) — I still very much prefer axios.
Quick google search shows why (more options, better API, better error handling).
npm i --save axios

Import axios and the apiBaseURL from Constants.js — also, add the boilerplate for the action. Try to implement this on your own. Remember, an action is just a function which gets exported.
Ready?
Creating Actions

Next, we return a thunk action. Thunk actions are functions. Why Thunk? More control. I will show you exactly what I mean.
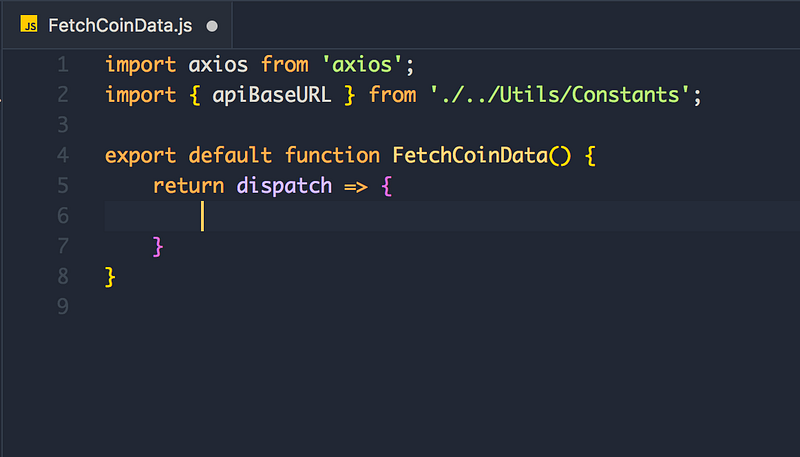
This might seem a bit confusing. We have a function, which returns a function? Yep. This is Thunk doing its magic.
Think about this for a second. When requesting data, there are 3 states.
- Requesting the data.
- Data Requesting Successful
(200 — got the data!) - Data Requesting Fail
This makes perfect sense. Think it of as a promise, there’s calling the Promise, resolving the promise and ejecting the promise.
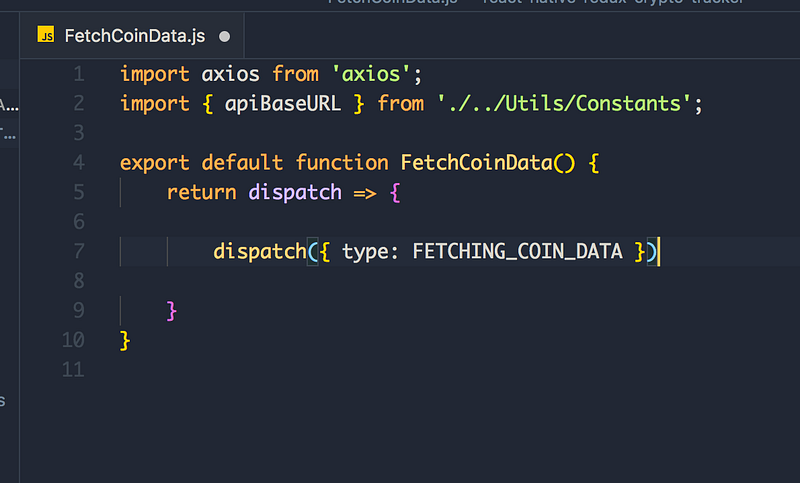
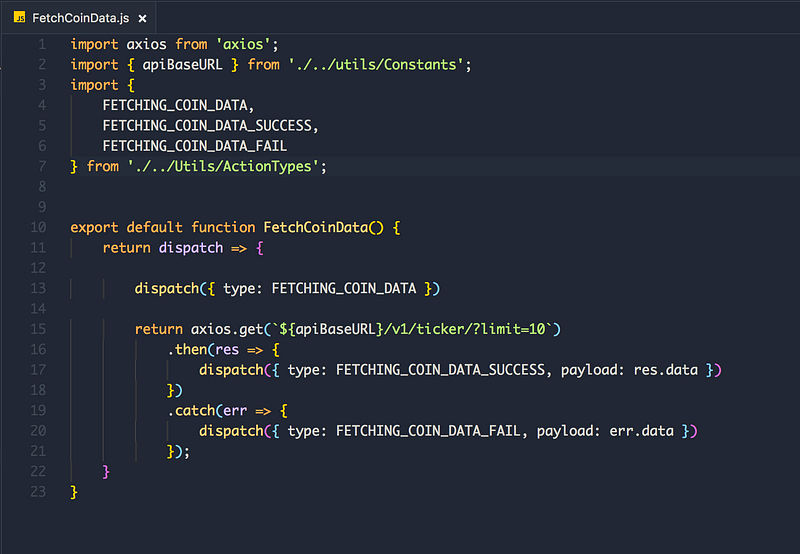
Let’s finish implementing the rest of the thunk action. Try to implement fetching the data.
Cool! This is one way how to fetch data with Redux and Redux Thunk. I like the error handling. Also, it’s possible to use async and await here as well.
Notice the beautiful error handling — this is the biggest reason we are using a Thunk action here.
Next up — creating our action types. Start by creating a file in src/Utils called ActionTypes.js
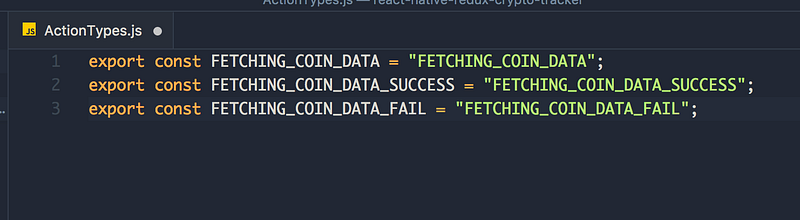
Import the action types to our action.
Well done! Our action for fetching the data is complete! We need to pass our payload to the reducer and also map the action to our component.
Implementing The Reducers
Imagine our payload of something like this:
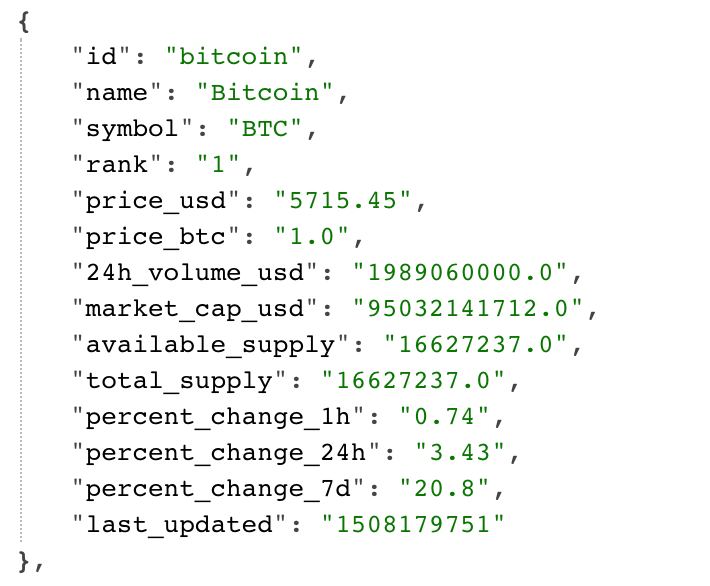
It’s just raw data. We need to pass this data to our reducer.
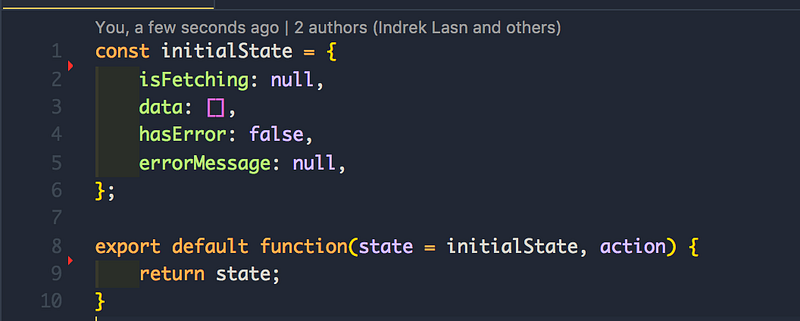
Open our CryptoReducer.js and define our initialState
We need:
- State for data being fetched so we can show a spinner.
- The state that holds the actual data from the request.
- Error handling — do we have an error and if so what does it say?
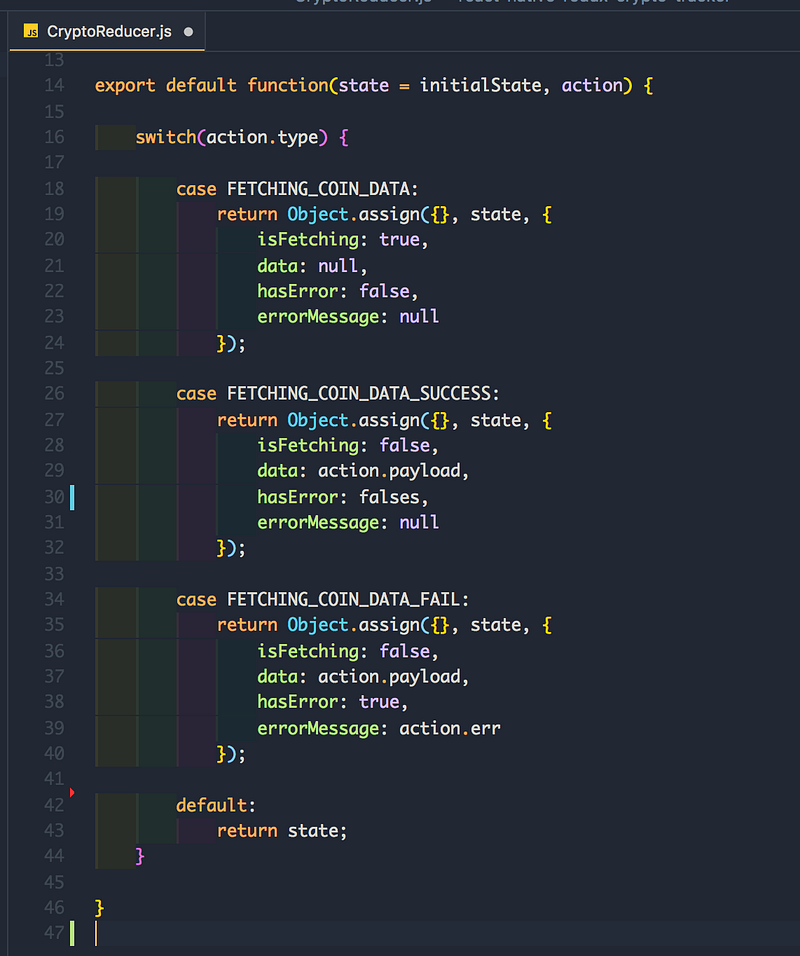
Next up — implementing the switch() conditional and importing the action types.

I’m using the Object.assign() method for creating new objects. You’re free to use object spread as well.
What’s the point of writing code like this? Easy one — maintainability! Yes, it’s quite a lot of boiler code for fetching data — but it’s the right way!
case FETCHING_COIN_DATA — is for when we are fetching the data and showing the spinner. React handles all the vDOM updates, we just need to pass our state.
Try to implement the cases for FETCHING_COIN_DATA_SUCCESS and FETCHING_COIN_DATA_FAILURE
Solution down below:
Now the only thing to left for us is to call the FetchCoinData action!
Calling FetchCoinData action!
Try to implement it. Here are the steps.
- Import the action to
CryptoContainer.js - Map the
FetchCoinDatainside connect argument. - call
this.props.FetchCoinData()insidecomponentDidMount()
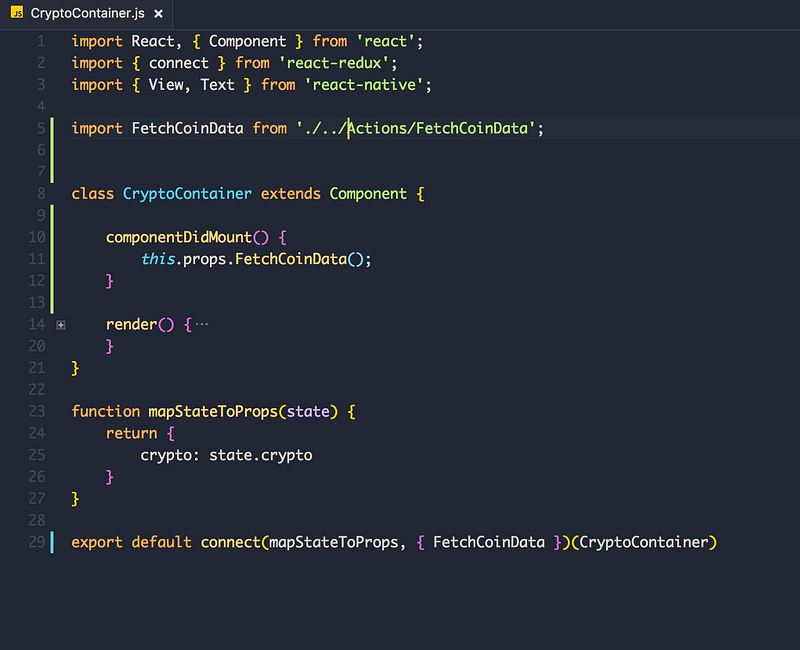
And that’s it!
Refresh the simulator (mac: cmd + R, Windows: Ctrl + R), open Redux Devtools and you should see the data under crypto state.

We have our data mapped under this.props.crypto — perfect! Let’s implement the views in the next chapter!
Thanks for making it this far, you truly are a warrior and you have what it takes to come a React + Redux pro. Consistency, learning every day, never giving up are the traits you possess! Well done!
Seeya in the next and final chapter!