
Tutorial | Python | Discord.py
Join a Python Discord Bot to a Server
Adding a Discord bot to a server doesn’t require any code!

So you have a Discord bot written in Discord.py and you are ready to test it or add the finished bot to your server. Looking at the Discord.py GitHub page, none of the examples have any code that adds them to the server, so how do you do it? Don’t worry, it doesn’t take any code, and is super easy to do!
Don’t have a Discord.py bot written yet? Check out my tutorial to get started with a simple bot!
Create a Discord Application
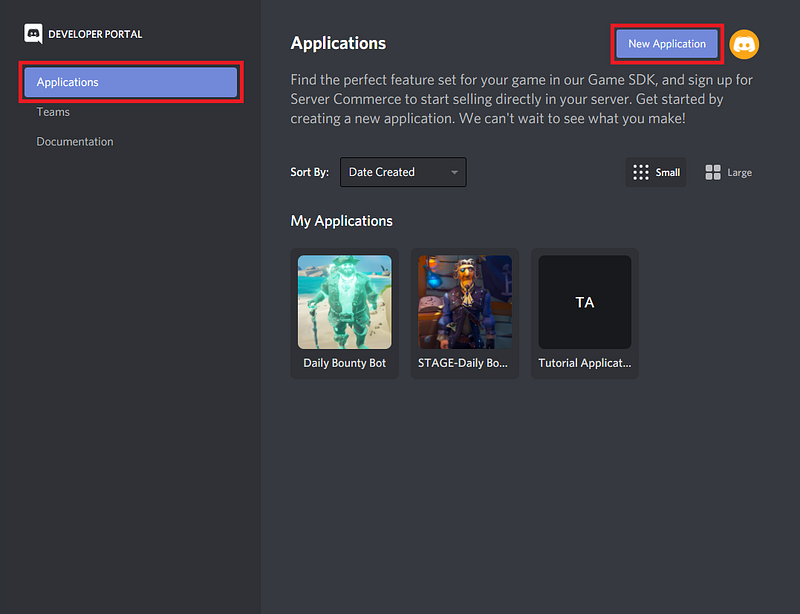
Open up the Discord Developer Portal in your browser. On the applications tab you’ll click on New Application in the top right corner.
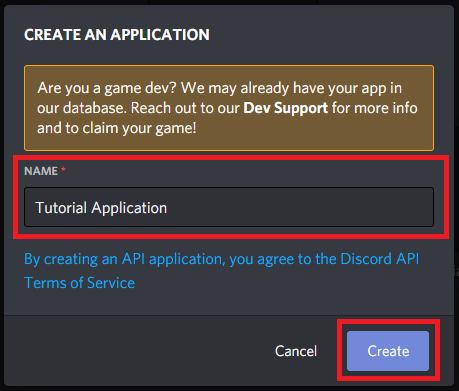
On the Create An Application popup, we’ll give our application a name. In this example it will be named Tutorial Application. Click Create to create the bot.
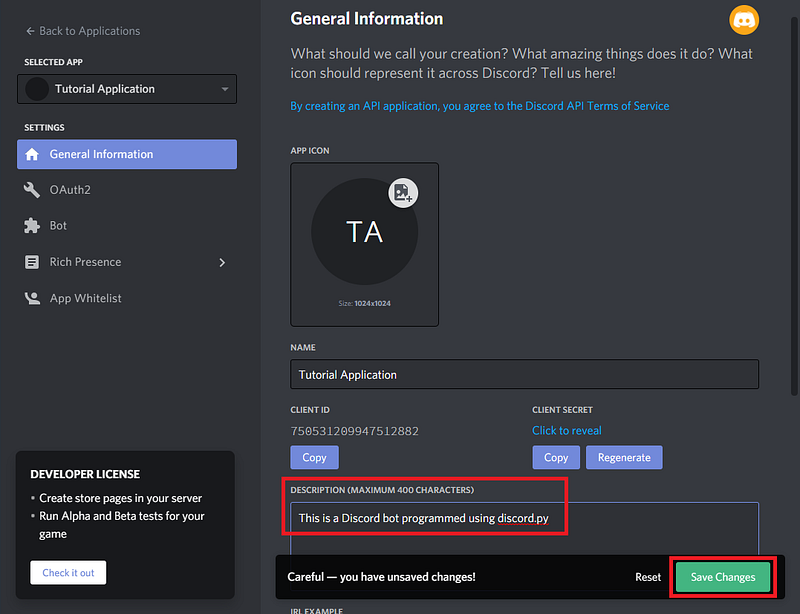
The next page is General Information about the bot you have created. Make sure to add a description to your bot. This isn’t strictly necessary, but will help in identifying it later when you are a Discord.py wizard and have many applications. Be sure to click Save Changes when you are done.
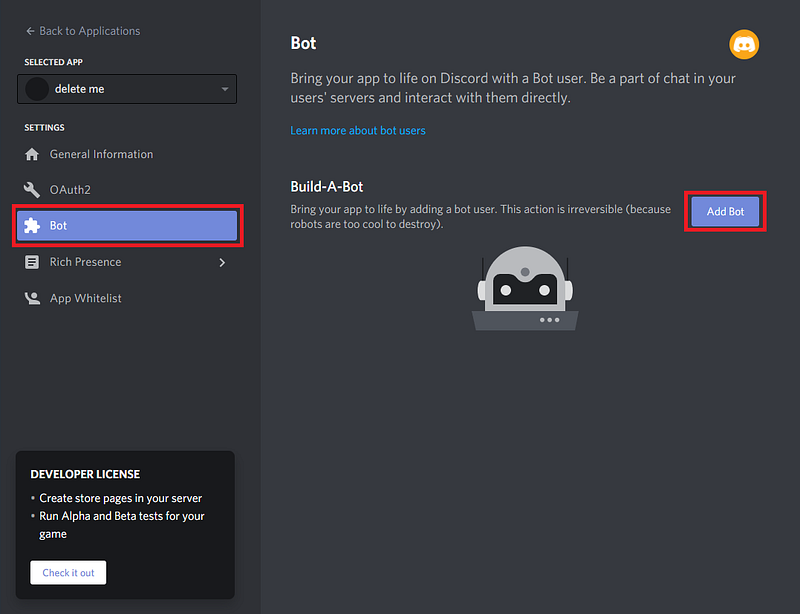
On the bot page, click Add Bot. Bots create a way for the code you wrote to interface with your Discord server. Adding a bot will make your app visible in Discord, so just confirm that when asked by clicking Yes, do it!
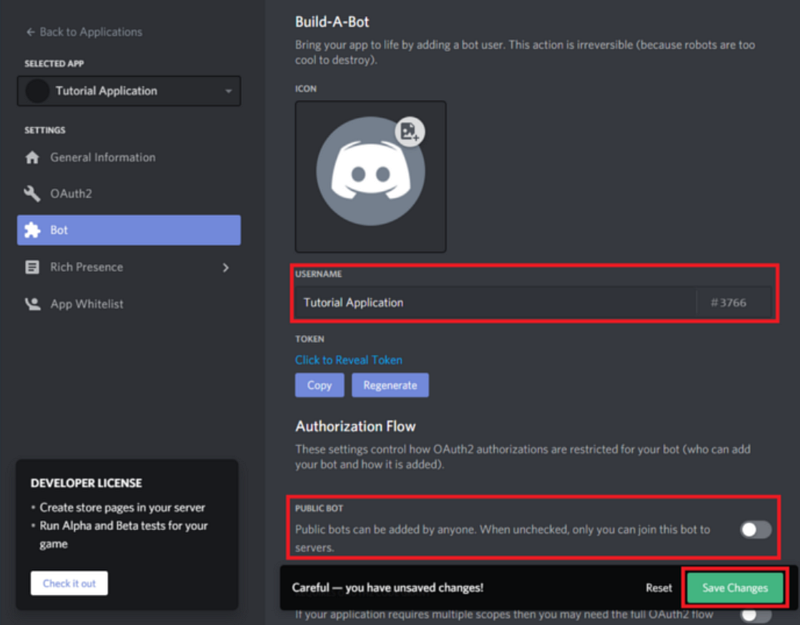
Let’s give our bot a name, in my case I’ll call it Tutorial Application. We can also un-check the public bot option. This will make it so that only you can add this bot to servers. We wouldn’t want someone stressing our poor bot out while we are still working out the kinks. Click Save Changes.
Add the Bot to a Server
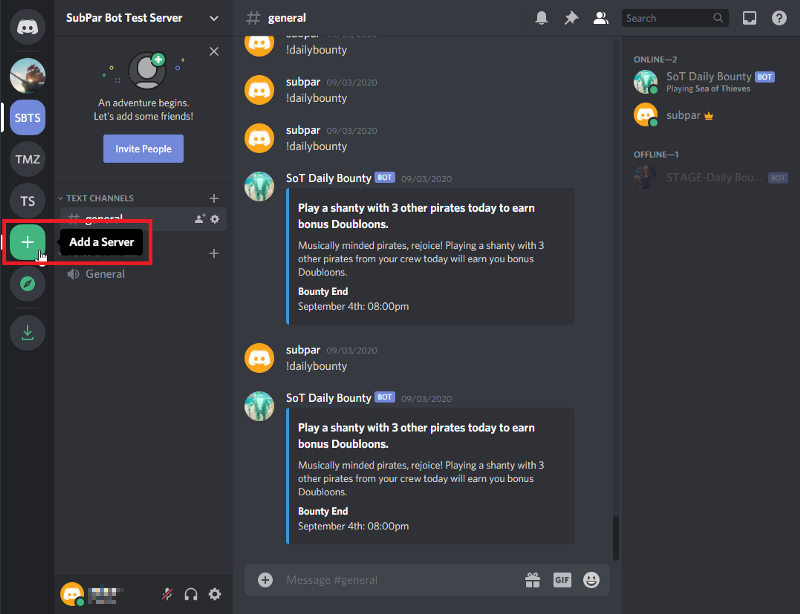
If you don’t already have a server with a channel that you can add the bot to, go ahead and make one. In the Discord app, click the plus button on the left side to add a server.
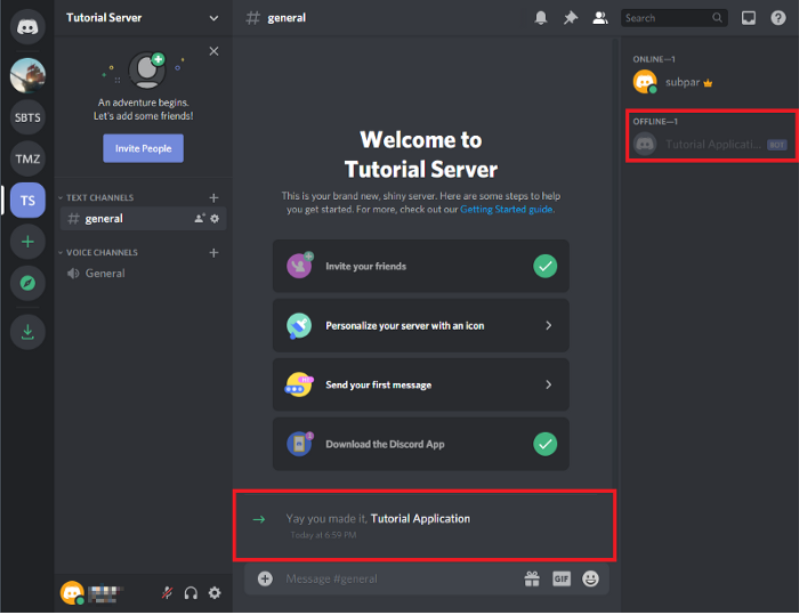
Click the option to Create a server. You will need to give your server a name, in this case Tutorial Server will work. Click Create to finish the process. If it asks you to invite friends to your server, just close that window, we aren’t ready for them quite yet.
To add our bot to the server, we head back to the developer portal. Open the application for your bot and in the left pane, click on the OAuth2 option .
In the Scopes section, we want to give our bot the bot scope.
In the Bot Permissions section, select the Administrator permission. This will make sure you don’t have any issues while testing your bot due to incorrect permissions.
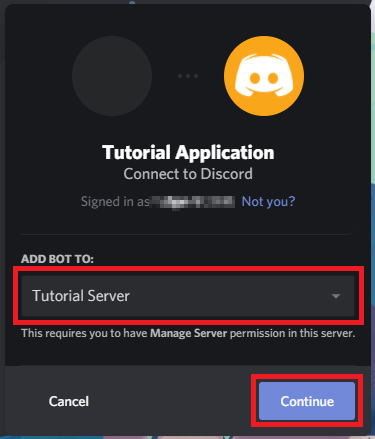
You’ll see a URL has been generated in the Scopes section. Copy this and open it in your browser. You will be asked where you want to add the bot. Select the server you want from the drop down menu and click Continue.
Discord will confirm that you want to give the bot the permissions we defined earlier.
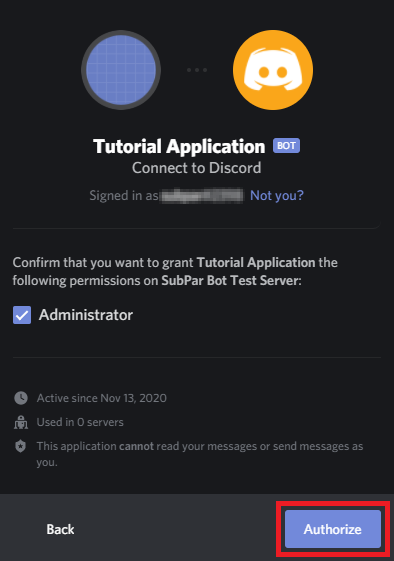
Discord will likely ask you to confirm that you are not a bot and then add the application to your server. Back on your server you will see that our bot has joined the server and we can see that it is offline in the right pane.
Bot Access Token
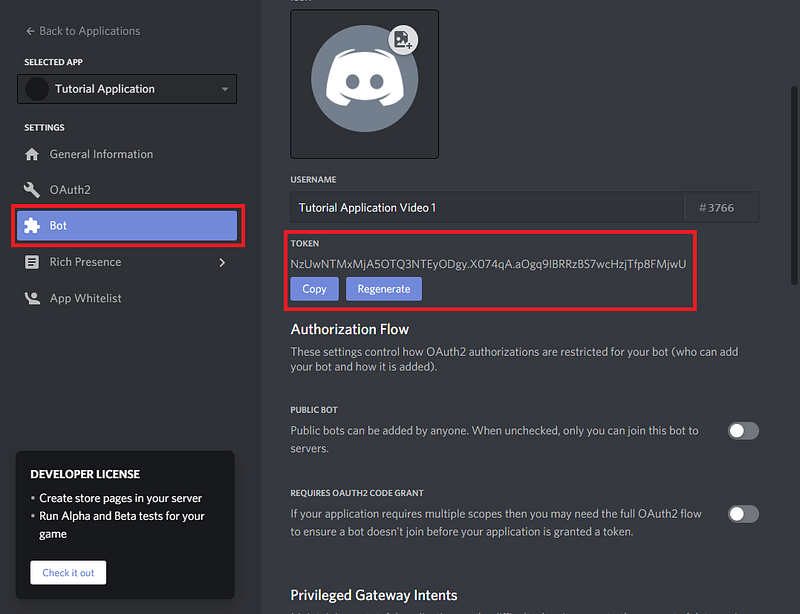
The final step is adding the token to your bot script. This token token will authorize your code to work with Discord and tell it which bot you want to interact with. Your token will be found on the Bot page. It is hidden by default. This is sensitive information and sharing it with anyone will allow them full access to your bot until you regenerate your token.
This token gets added to the client.run() function in your code. It should look like this (I know I said there wasn’t any code involved, but if you just grab one of the examples you can just paste your token in):
Closing Remarks
That’s all there is to it! You can always refer to the official Discord.py documentation for more help. Don’t want to leave your bot token exposed in your code? Want to learn how to change the bot’s status? Check out my other tutorials below:


