JayThree Balancing Car Project — Part 2/5
A Awesome project based on Your Arduino Balancing Robot (YABR) by Joop Brokking.
Hi, Hobbyists, We’re back! (needs Part 3?)
In this post I we continue walking towards a balancing, two-wheeled car that balances itself! JayThree Balancing Car Project!
Objective:
We will connect several components. And make two working codes.
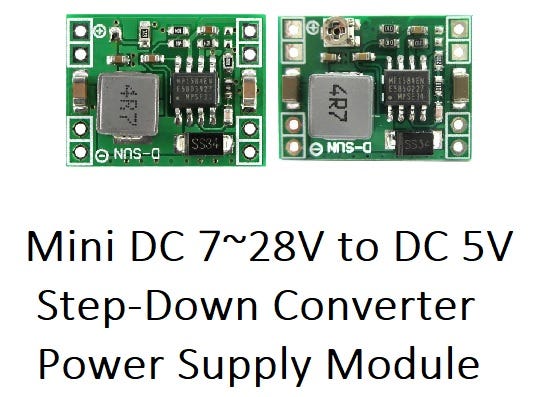
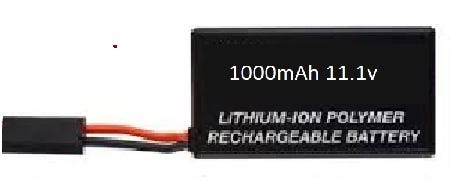
Deal with 11v1 battery. And manage for use Mini DC 7~28V to DC 5V Step-Down Converter Power.You’ll need:
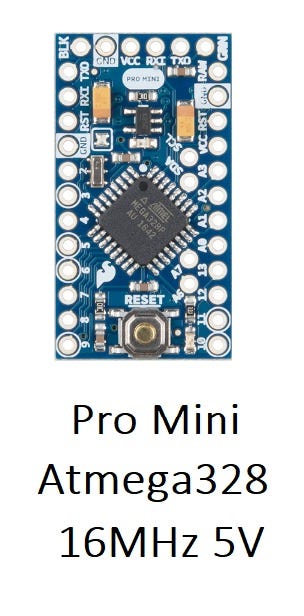
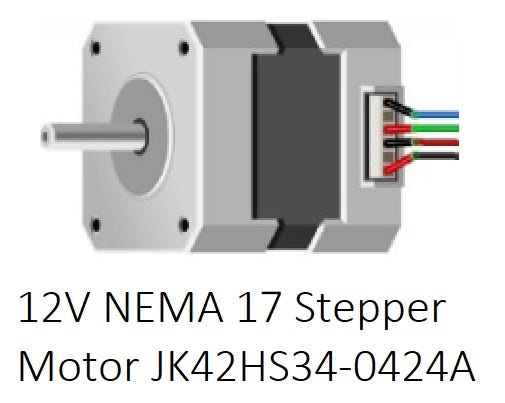
1 x Arduino UNO (optional) 1 x Pro Mini Atmega328 16MHz 5V Compatível com Arduino 1 x Mini DC 7~28V to DC 5V Step-Down Converter Power Supply Module 1 x 12V NEMA 17 Stepper Motor JK42HS34–0424A 1 x TTL to USB Serial Converter — TTL-232R — FTDI Chip 1 x DRV8825 Stepper Motor Driver 1 x TTL to USB Serial Converter (UartSBee v5 or similar) 1 x 11.1 volt battery 1 x 2k2 Resistor 1 x 3k3 resistor 1 x 100uF capacitor
The series of several text and codes are based on the work of Joop Brokking who published an Awesome project name ‘Your Arduino Balancing Robot (YABR)’ .
This is a small, very small board, but powerful!
Follow these steps so you do not waste time:
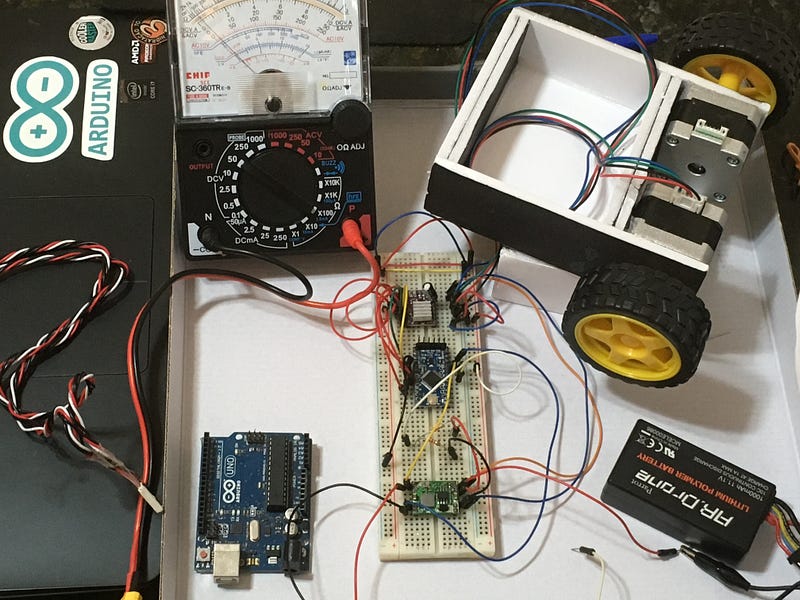
- This is optional, I started using Arduino UNO. Here’s the setup photo:
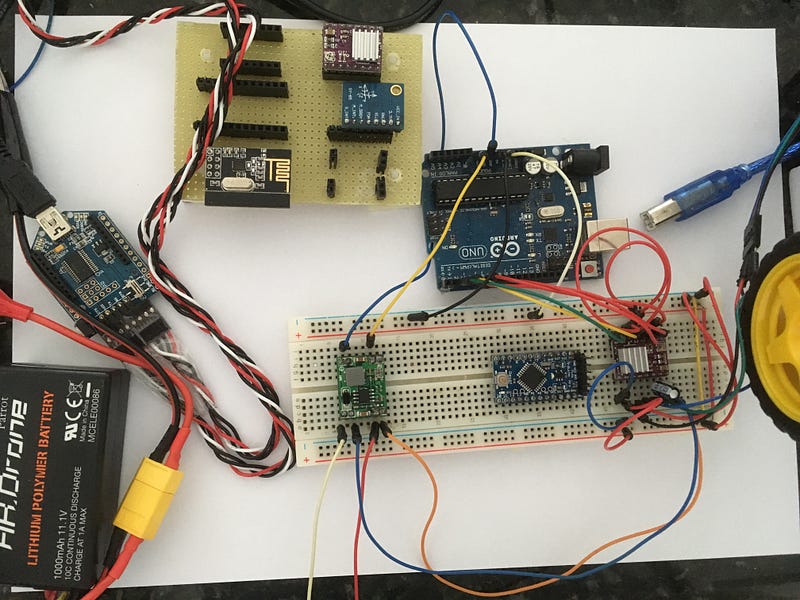
2) Now, transfer wires for Arduino Pro Mini. Follow schematic below:
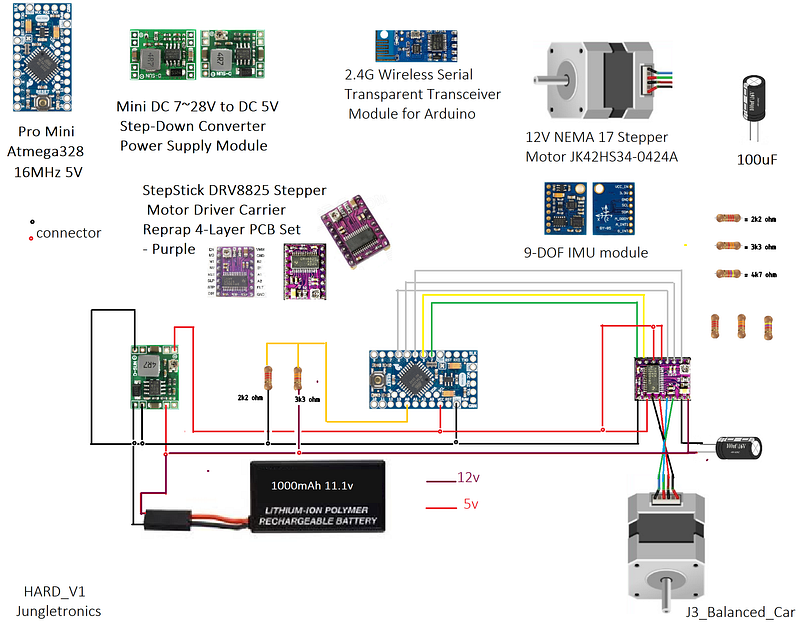
Take care especially of the power connections: there are two power buses, one of 12v and another of 5v.
Be careful! Do not load the arduino with 12 volts! remember, 12v only on the motor!
3) Conected the Mini DC 7~28V to DC 5V Step-Down Converter Power Supply Module . There’s no secrets at all!
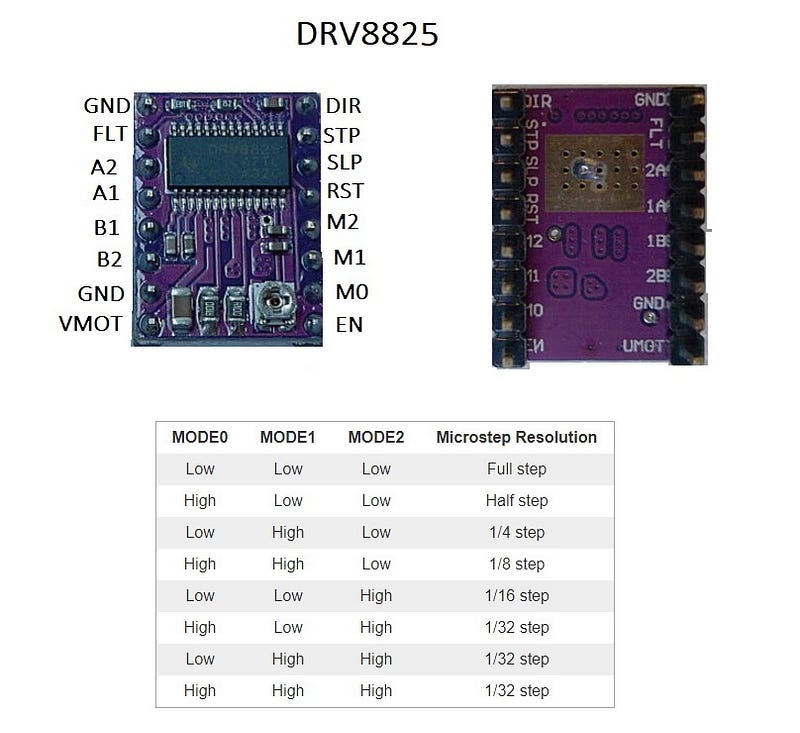
4) Connect StepStick DRV8825 Stepper Motor Driver Carrier Reprap 4-Layer PCB Set (Purple).
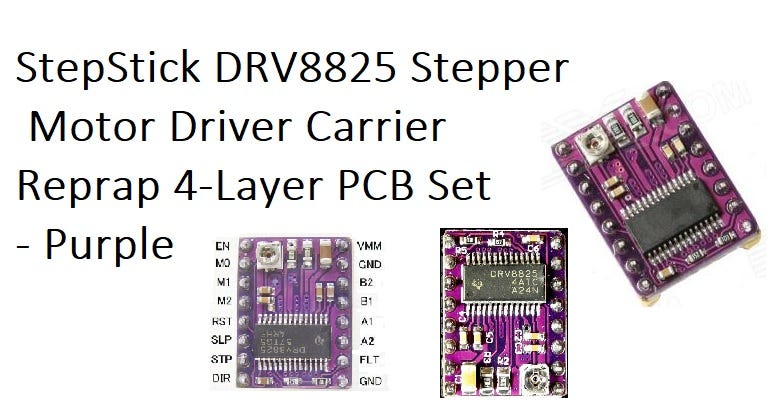
This is where we have to be patient, because the most important connections are in this component. Follow the illustration and check it twice.
Download the schematic on my Google Drive.
5) Connect the 12V NEMA 17 Stepper Motor JK42HS34–0424A. Follow the colors. Here is trial and error procedure. Go experimenting until the engine runs smoothly and quietly (not as much:)
6) To upload to your Arduino Pro Mini use a TTL to USB Serial Converter — TTL-232R — FTDI Chip. This allows the user to communicate with the USB interface via a standard PC serial emulation port (for example TTY).

7) Connect your 11.1 volt battery poles.
8) Run this code:
9) And finally run this one:
Pay special attention to the part of the code that determines the voltage of the battery.
void setup(){...
if (debug) {Serial.begin(9600);
Serial.println( “BATT Test: Stop Range level 8v < → 10v5” );
Serial.println( “BATT Output Must be above > 1050” );...
void loop()
{
battery_voltage = analogRead(A0) * (1250 / 1023.);if (debug) {
Serial.println(battery_voltage);
delay(2000);
}if (battery_voltage < 1050 && battery_voltage > 800) {
digitalWrite(13, HIGH);
low_bat = 1;
}This part serves to close the motor when the load is between 8v-10.5v. It warns the user that the battery is discharged by lighting the LED 13.
See too this part of the calculation code:
battery_voltage = analogRead(A0) * (1250 / 1023.);
                = 1023 * 1250/ 1023
                = 1250
Here if we eliminate 1023 in the equation (assuming analogRead returns 1023) we end up with an integer representing the higher current voltage 1250, that is igual to 12v5.
For your batt test, put debug as true (in the header of this code) and the serial port will send the voltage to the TTL to USB Serial Converter. To test, turn off the engine. Then, test done, just put debug to false and that’s it, the code will run fine!
See this video!
In the next post we will deal with:
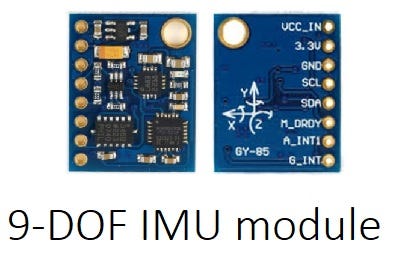
9-DOF IMU module
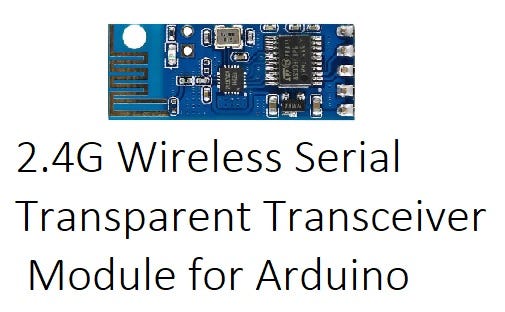
and 2.4G Wireless Serial Transparent Transceiver Module for Arduino
We are close to our goal, are not we?
Till There!
See you around! Thanks!
Download All Files for This Project
References & Credits
Part 1 — — Part 2 — — Part3 — Part 4 — -Part5
drv8825 stepper driver arduino
Centralina irrigazione arduino aggiungi i pulsanti
DRV8825 Stepper Motor Controller IC
DRV8825 Stepper Motor Driver Carrier, High Current
Stepper Motor NEMA 17 Datasheet