
Installing MySQL and MySQL workbench
Easily in you Mac machine
MySQL is one of the most popular open-source relational database management systems in the world. It allows you to store, manage, and retrieve data in a secure and efficient manner.
MySQL Workbench, on the other hand, is a powerful graphical user interface that allows you to design, develop, and administer MySQL databases.
If you’re a Mac user and want to install MySQL and MySQL Workbench, you’ve come to the right place! :D
This article will guide you through the process of downloading, installing, and configuring MySQL and MySQL Workbench on your macOS machine.
If you have a Windows, I recommned you following this article.
So let’s discover together how to install both MySQL and MySQL Workbench on macOS 👇🏻
MySQL — Installation process
To install MySQL, I used the homebrew Package Manager. It is a popular open-source software package manager for macOS. It allows users to easily install, update, and manage various software packages and dependencies on their Mac machines.
If you do not have homebrew installed in your Mac, it is as wasy as running the following command into your terminal:
/bin/bash -c "$(curl -fsSL https://raw.githubusercontent.com/Homebrew/install/HEAD/install.sh)"Now, we have everything prepared to start our installation following three simple steps:
#1. Now simply run the below command in your terminal
brew install mysql

#2. Set root MySQL password
mysqladmin -u root password 'secretpassword'#3. Access MySQL using the terminal
If we execute MySQL will ask the password you just set in the previous step.
mysql -u root -pHowever, we will use MySQL Workbench to allow us work with MySQL in a more intuitive environment. So, let’s install the second tool.
MySQL WorkBench — Installation process
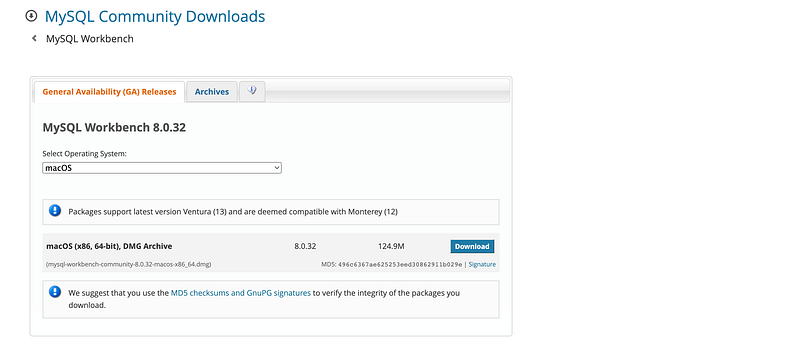
#1. Download it from the official website
First we will go to the MySQL website download page. Select the version of your system and click on the download button.
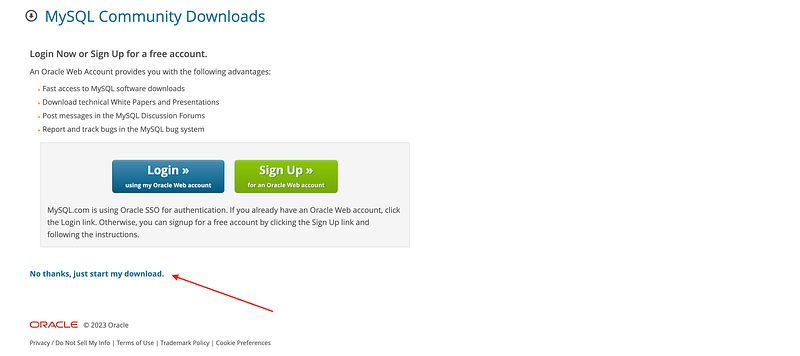
⚠️ If it prompts you to create an Oracle account, just click on No thanks, just start my download. There is no need to sign up!
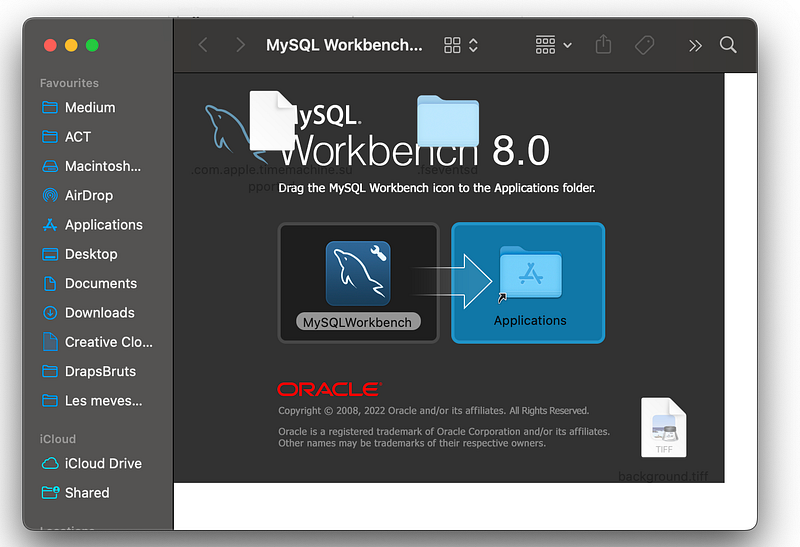
#2. Move the application into the applications folder
Once the download has been completed, you will move the application to the applications folder.
#3. Open up MySQL workbench
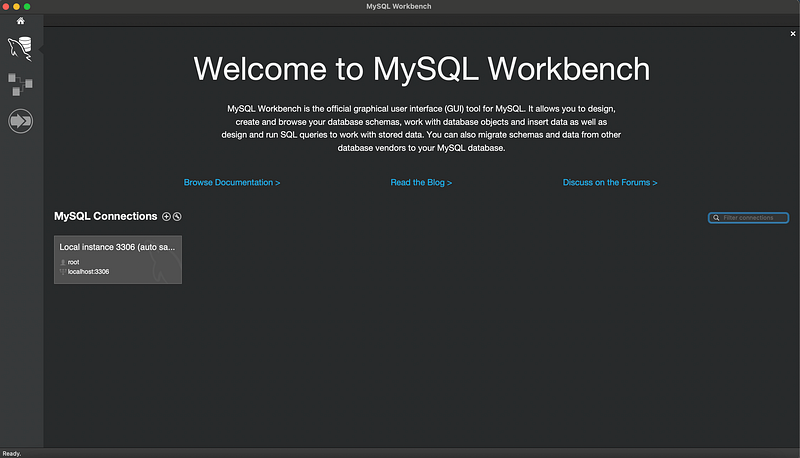
Once the installation is complete, you can click on your finder and go to Applications.
Right-click on the MySQL workbench and click on open from the shortcut menu. A popup will appear and you will click on open again. You should see a screen like this once you have completed.
#4. Setting our password
As we already got MySQL in our machine, a local MySQL connection will be detected. So we can directly connect our MySQL to MySQL Workbench!
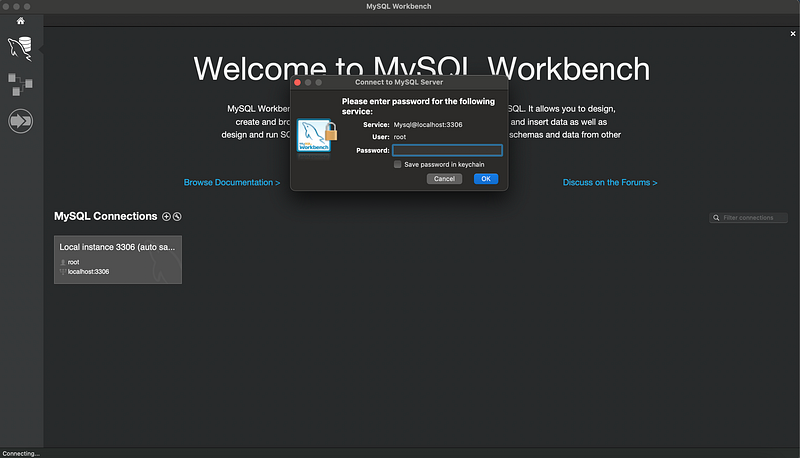
If we try to open the local connection, MySQL will ask for our root password, that if you remember, we set it up in the step #2 of our previous installation.
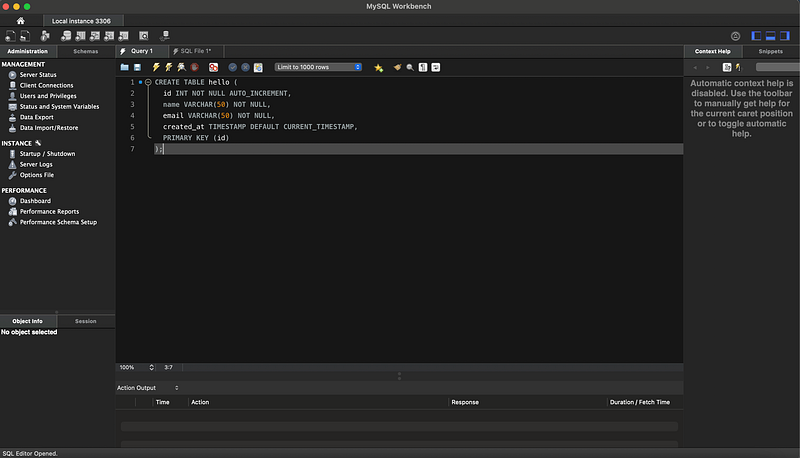
And that’s it! We already got everything we needed to install MySQL on our system. Hope you find this article useful! :)
Data always has a better idea — trust it.
You can suscribe to my Medium Newsletter to stay tuned and receive my content. I promise it will be unique!
If you are not a full Medium member yet, just check it out here to support me and many other writers. It really helps :D


