
Flutter
How to Use Provider in Flutter
The easiest way to manage the global state in a flutter app
Whether you develop a native app or hybrid app, state management is a common issue to address. To manage a global state in a flutter app, Provider is one of the most popular libraries.
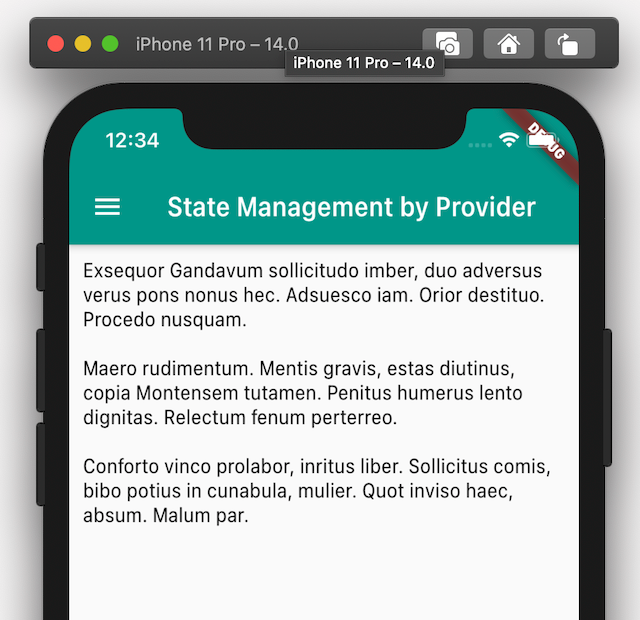
In this tutorial, I will guide you, how to use the provider in a flutter app. We will build the following application with 3 screens:
- Home
- About
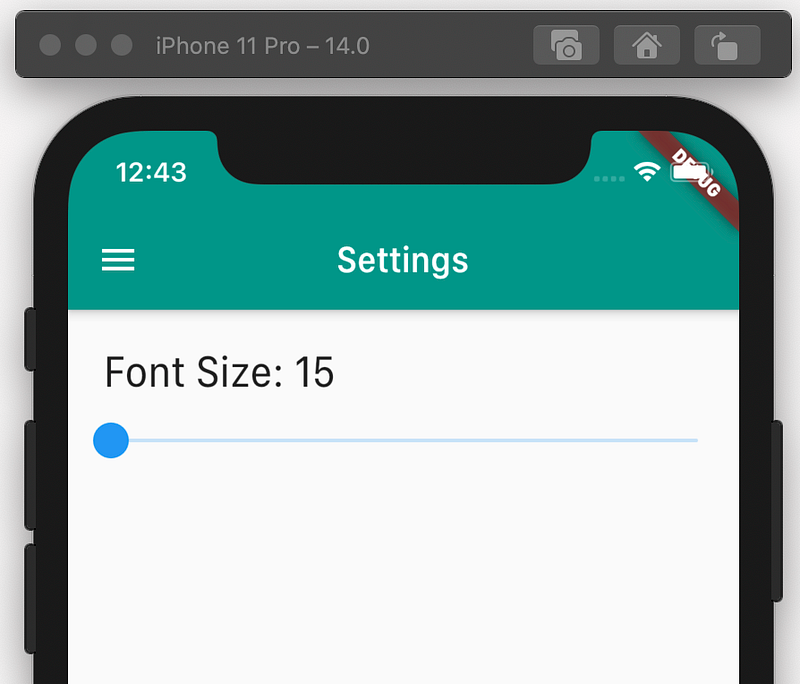
- Settings
From the settings screen, a user can change the font size, which will affect the home and about the screen. And we will implement this feature using the Provider state management library.
I assume you have a basic understanding of the Flutter framework.
Source Code:
1. Global state concept
If you already use a stateful widget, you know what is state and how to use local state within a Flutter app. But we want to use a global state so that any screen or widget can access the data.
So visually it will look like this.
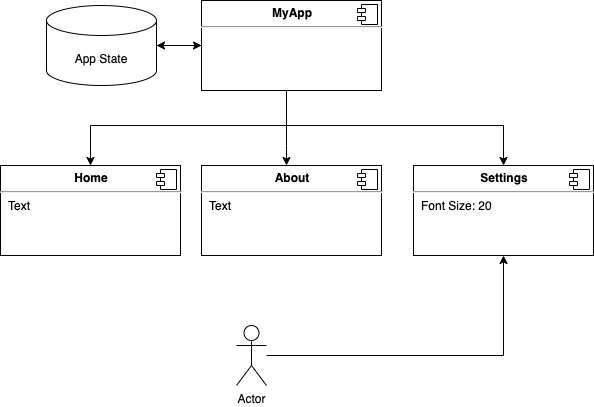
MyAppis the main widget or root widget where we will bind theApp stateor you can say a global state.- All other screens are children of this
MyAppwidget - But as we have a global state, we can access it from anywhere easily.
2. Create the app
I use android studio to create flutter apps. But it is optional. You can use visual studio code editor as well.
2.1 Create a new Flutter Project in Android Studio
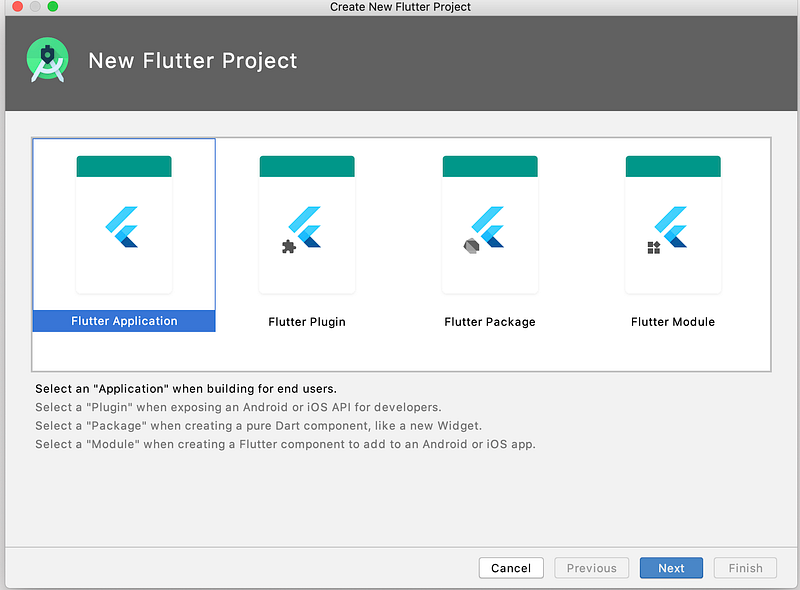
Select New Flutter Project from the File — New menu.

You will see the following screen. Now select Flutter Application and click Next.
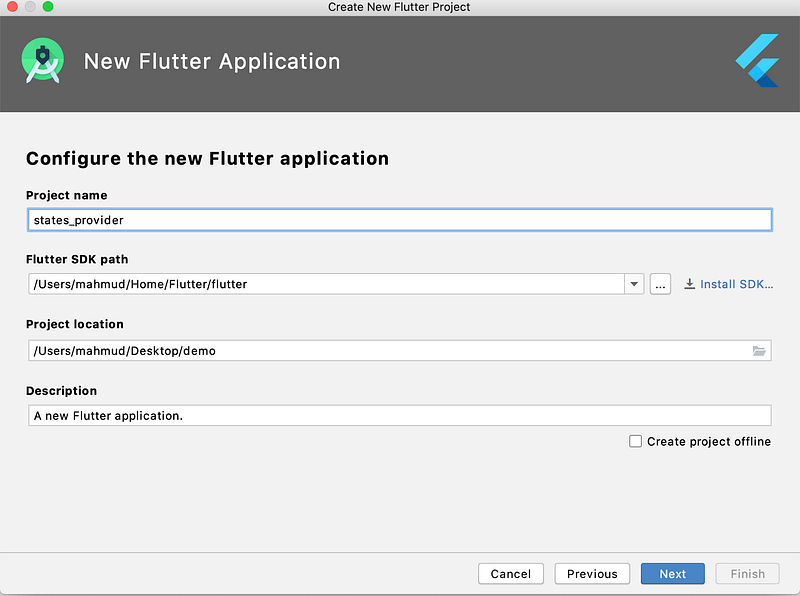
Now write a project name, select the Flutter SDK path, set the project location, and click Next.
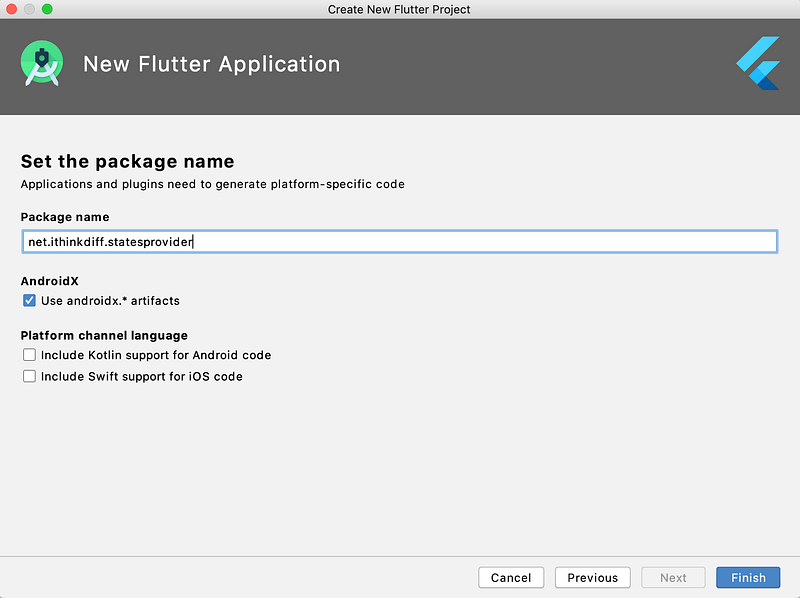
Now write a package name if you want another name, and click Finish.
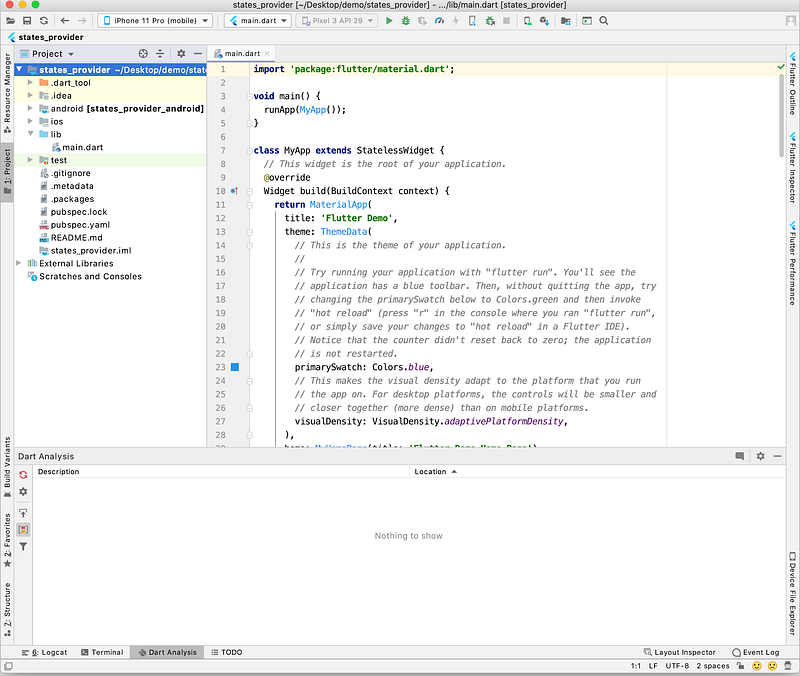
Now you will see the following screen:
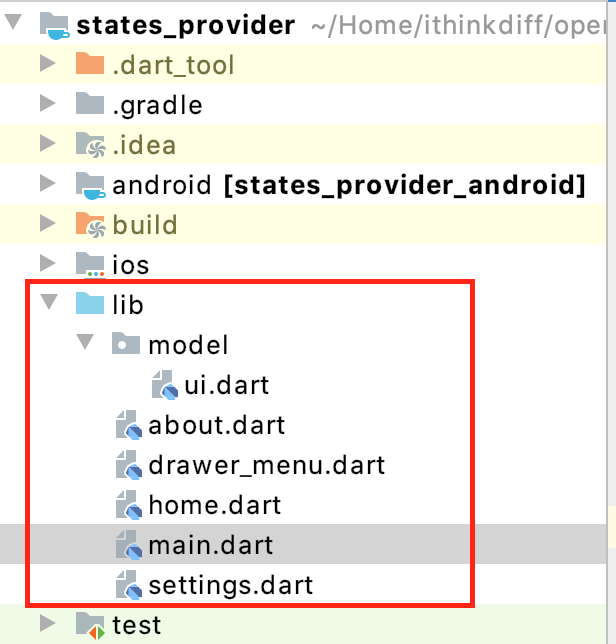
2.2 Create a few files and a directory
Create a directory name model within the lib directory. Now create 5 files with the .dart extension.
model/ui.dartabout.dartdrawer_menu.darthome.dartsettings.dart
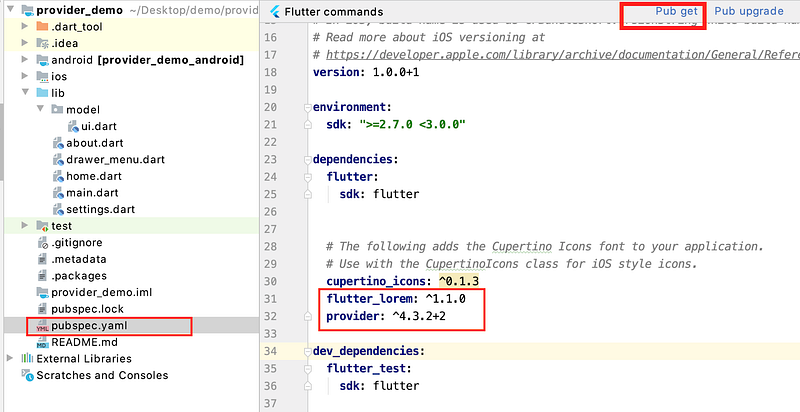
3. Install provider
Now open the pubspec.yaml file and type flutter_lorem: ^1.1.0 and provider: ^4.3.2+2 just under cupertino_icons: ^1.0.0 and click Pub get to install the libraries.
We need flutter_lorem to show random text.
4. Important concept
Before digging further, let's know about some concepts. To use a global state by Provider we have to understand 3 classes:
ChangeNotifierChangeNotifierProviderConsumer
ChangeNotifier.notifyListeners is called, it rebuilds its dependents.
The build implementation to builder.
4. Creating a model
Now open the model/ui.dart file, and write the following code:
Here we created a class UI which implemented the ChangeNotifier. We defined a private variable fontSize and some methods to access or modify the value.
Within the set fontSize(newValue) method, you see there is a notifyListerns() method at the end. If the fontSize value is changed, it notifies its listeners. If you don’t use this method, nothing will work, so it is very important.
Another thing is, the slider value for font size is ranged from 0.0 to 1.0. But we want a human-readable font size. That’s why we multiply 30 with the _fontSize value.
double get fontSize => _fontSize * 30;
4. Main.dart modification
Open themain.dart file and remove all the code. Now paste the following code there.
Here we import our own custom widgets and most importantly provider package by import ‘package:provider/provider.dart’;
MyApp is the main widget and using the main() function we create an instance of it.
Within MyApp we create a MultiProvider widget, where in the providers list we pass ChangeNotifierProvider(create: (_) => UI()) . UI is our data model class, and using ChangeNotifierProvider we create an instance of it.
In the child section, we use the MaterialApp widget with a configured routing.
In your app, if you want to use many providers, just add additional ChangeNotifierProvider(create: (_) => YOUR_DATA_MODEL()) within the providers list.
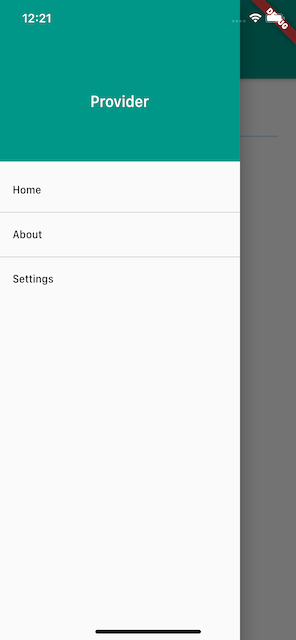
5. Create a drawer menu
We need 3 menu items. Home, About, and Settings. Using the drawer menu system, we can easily do that.
Open the drawer_menu.dart file and paste the following code.
The code is self-explanatory. Basically, it creates the menus, and if the user taps a menu item, it will show that widget as a screen.
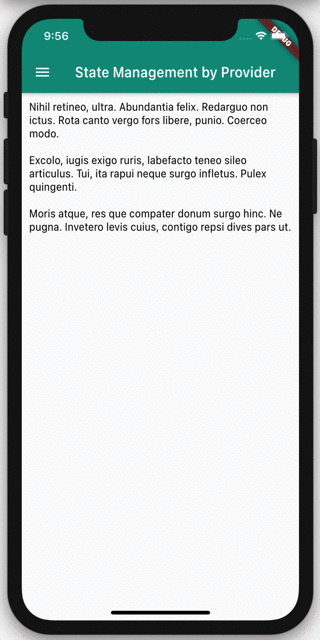
6. Home screen
Now we have to create the home screen where we will show some random text.
So open the home.dart file, copy the following code, and paste on there.
The code is easy to understand. Only take note that we use a Consumer<UI> widget at the line number 23. It means, we want to access the UI data model here, which is bound at the top-level root widget MyApp via the provider.
Within it at line number 24, we pass a builder function which receives 3 arguments, and we can access them via the names of: context, ui, and child. ui is the instance of UI class which is technically instantiated and binded with our main widget MyApp.
Now in the builder function, we put the widget where we want to access the font data.
If in your application you use multiple data model, just mention the model name within the Consumer widget
So if the fontSize is updated, it will use that updated data.
7. About screen
Similar to the home screen, open the about.dart file and copy-paste the following code.
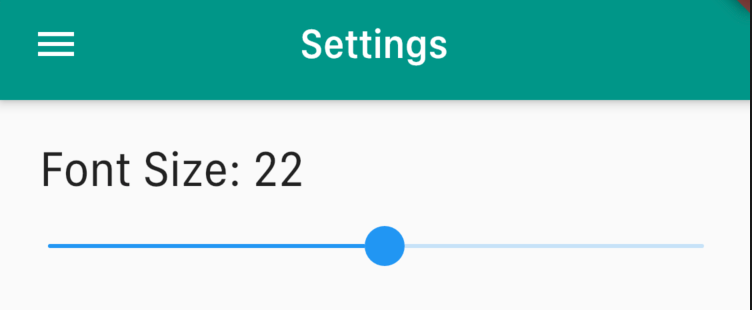
8. Settings screen
This is the screen where the user will see a slider and can change the font size.
Now open the settings.dart file and copy-paste the following code
This portion is similar to home.dart. But the only difference is, this widget can both access and update the font data. Within the Slider widget at line number 27, you will see at line number 30–32, we update the font size via ui.fontSize = newValue. So all other screens when will appear, will show the updated font size.
That’s it. Now you have a global state in your app.
Conclusion
I like the Provider library for its simplicity to use. Unless your team prefers other state management library, just use it.
If you want to see more features or you have any questions, let me know in the comments.