
How to Set Up GitHub Actions to Publish a Monorepo to NPM
In my last post, I showed you how to create, test, and build a monorepo repository. In this article, I will show you how to automate the publishing of your monorepo to NPM using GitHub Actions.
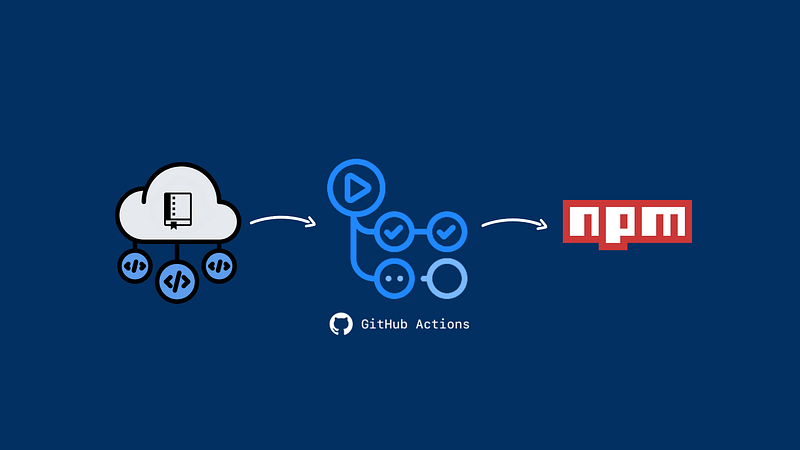
What are GitHub Actions?
GitHub Actions allow for automating workflows based on repository events such as push, issue creation, or the creation of a new release.
Workflows are composed of jobs, which run concurrently by default. Each job should represent a separate part of your workflow described using steps.
For the propose of this article, we will have one job that will describe what steps must be followed to publish our package.
Config
You need to set the NPM_AUTH_TOKEN in your repo settings. This is the token the action will use to authenticate to NPM. You need to generate one in NPM, then you can add it to your secrets (settings -> secrets) so that it can be passed to the step.
Pro tip: DO NOT put the token directly in your workflow file.
Creating Our Workflow File
We will define our workflow by creating a YAML file.
You can create this file directly on your GitHub repository page. You will just have to click on the “Actions” tab and then on “set up a workflow yourself”. You can delete all the generated code and rename the workflow file.
Or you can create this file on your project directory. At the root of your repository, create a directory named .github/workflows to store your workflow files. In .github/worflows, add a .yml or .yaml file for your workflow. For example, .github/workflows/npm-publish.yml.
With our workflow file created, we can start editing it. First, we define when the workflow will be triggered. For example, this workflow is triggered when changes are pushed to the master branch or when a pull request is created.
Job and Machine
Now it’s time to create our “Publish” job and its steps.
First, we will define a name and the type of machine to run our job. You can set any name you like. In that case, I’ll call it “Publish”. The machine can be either a GitHub-hosted runner or a self-hosted runner.
Steps
To publish our package on NPM, we will have the following steps:
- Checkout: Checks-out our repository, so our workflow can access it.
- Cache node_modules: Caches dependencies and build outputs to improve workflow execution time.
- Git Identity: Grants access to GitHub Actions to modify our repository files.
- Install: Installs the project dependencies.
- Build: Builds our project.
- Set up Node: Sets up the Node version and the repository URL.
- Publish: Publishes our package on NPM.
Conclusion
That is our final workflow file. You can improve this workflow by adding more jobs and steps. For example, test your code or run the project in other environments.


