How to Install TensorFlow on Mac M1 & M2 (Easy)
Introduction
In 2020, Apple launched the game-changing M1 Chip, creating quite a buzz in the tech world. My chance to experience it came when I started my current job and received a Macbook Pro featuring the Apple M1 Pro chip. This was a significant upgrade from my old Macbook Pro (2017) with a 3.5 GHz Dual-Core Intel Core i7, and it was a relief to be free from the notorious butterfly keys.
As a Data Scientist, I frequently use libraries like TensorFlow. While installing Scikit-Learn and PyTorch was a breeze, installing TensorFlow on my new Macbook Pro M1 proved to be a head-scratcher. After hours of troubleshooting with my team, we managed to find a workaround.
However, we discovered two key challenges:
- There was no official method for installing TensorFlow on a Macbook Pro M1/M2.
- TensorFlow lacked official GPU support for MacOS.
Determined to assist others in the same predicament, I decided to share my experience and guide on how to successfully install TensorFlow on an Apple M1 or M2-powered Macbook. In this blog post, I’ll simplify the process and help you get TensorFlow running on your Macbook with ease.
How to Install TensorFlow
- Install XCode Command Line Tools
- Install Miniconda
- Create a virtual environment
- Install TensorFlow
- Install Jupyter Notebook and Pandas
- Check the Installation
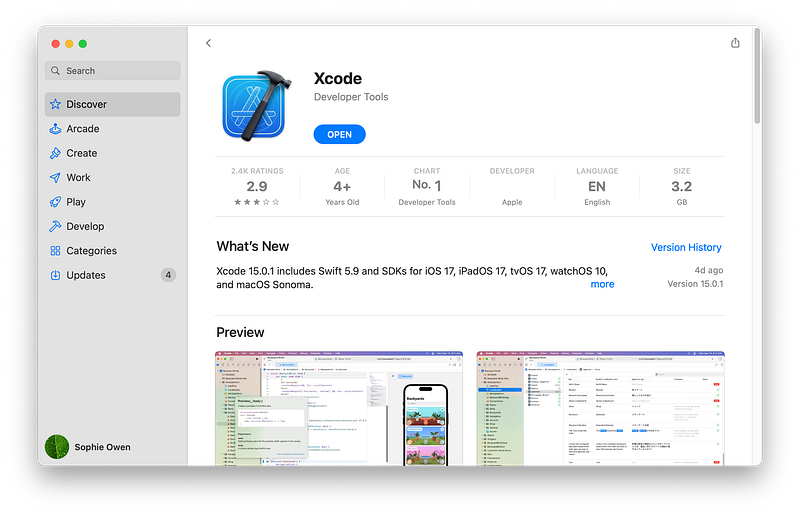
Step 1: Install Xcode Command Line Tools
This is essential in some guides except I managed to do it (although somehow I got away with not having to do this). You can do this easily from the Appstore, or through terminal:
xcode-select --install
Step 2: Install Miniconda
If you’re not already familiar with creating a conda environment, I recommend checking out my previous article on this topic before proceeding to step 3. This will ensure that you have the necessary foundation in place before diving into the next part of the process.
Step 3: Create a virtual environment
Once you have Anaconda or Miniconda up and running, you can move on to the next steps.
To create and activate your virtual environment, follow these commands:
Start by creating your virtual environment. In my case, I named it tf-env and specified python=3.8.
conda create --name tf-env python=3.8
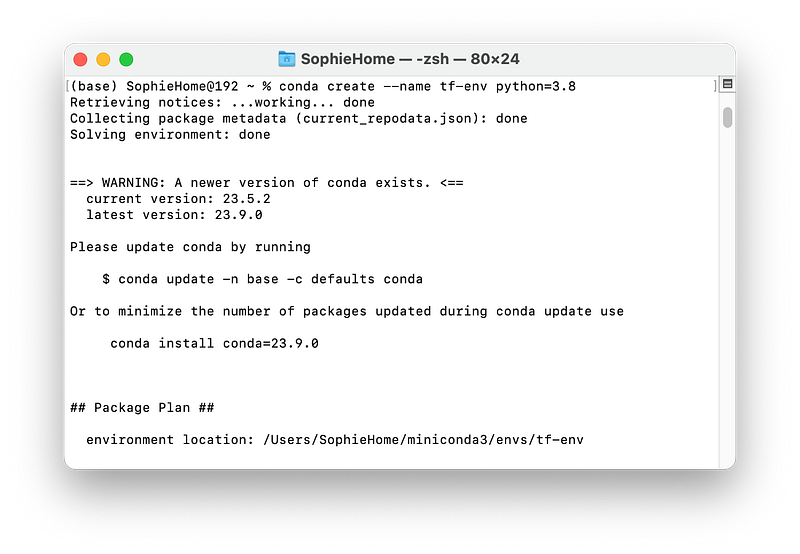
Then you need to activate the environment:
conda activate tf-env
You can see at the top of the terminal below that (base) changes to (tf-env) once it’s activated.
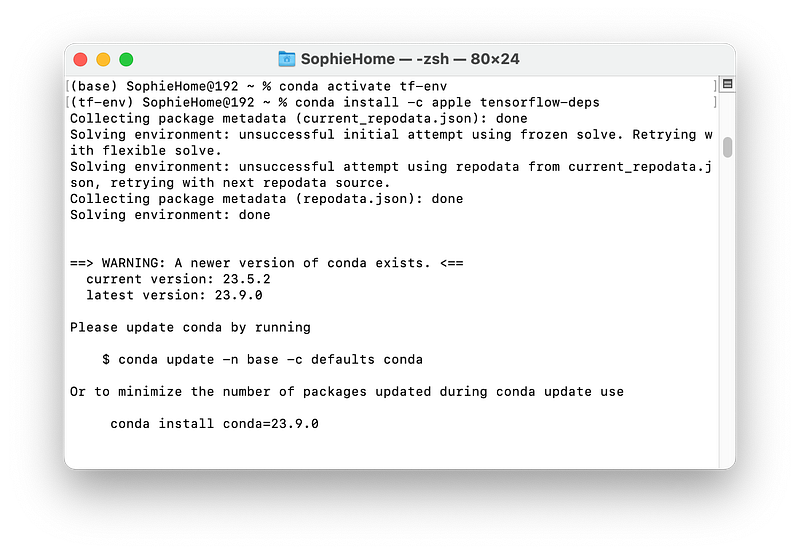
Step 4: Installing Tensorflow-MacOS
So far, the process has been quite straightforward, hasn’t it? You can breathe easy because it only gets simpler from here.
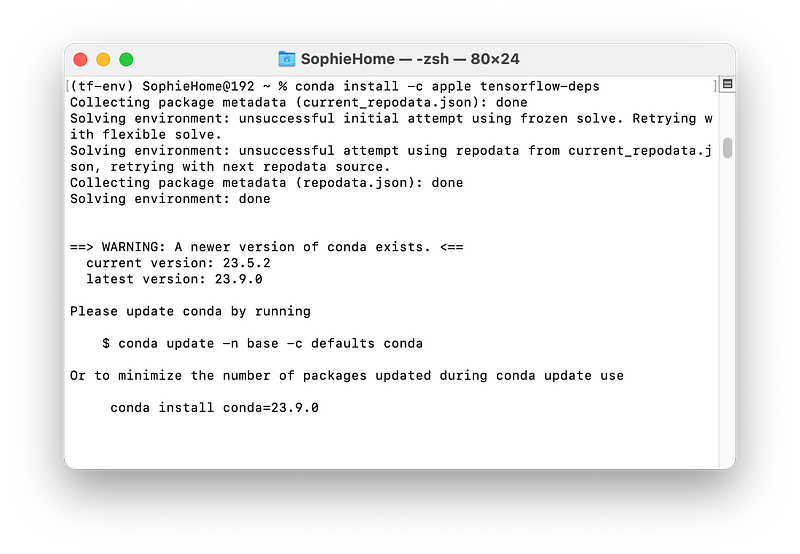
TensorFlow dependencies, or “tensorflow deps,” are the necessary components and libraries required to ensure that TensorFlow operates smoothly on your system. These dependencies play a crucial role in the proper functioning of TensorFlow. Before moving forward, it’s essential to address these dependencies to make the TensorFlow installation seamless.
To kickstart our TensorFlow installation, execute the following commands:
conda install -c apple tensorflow-deps
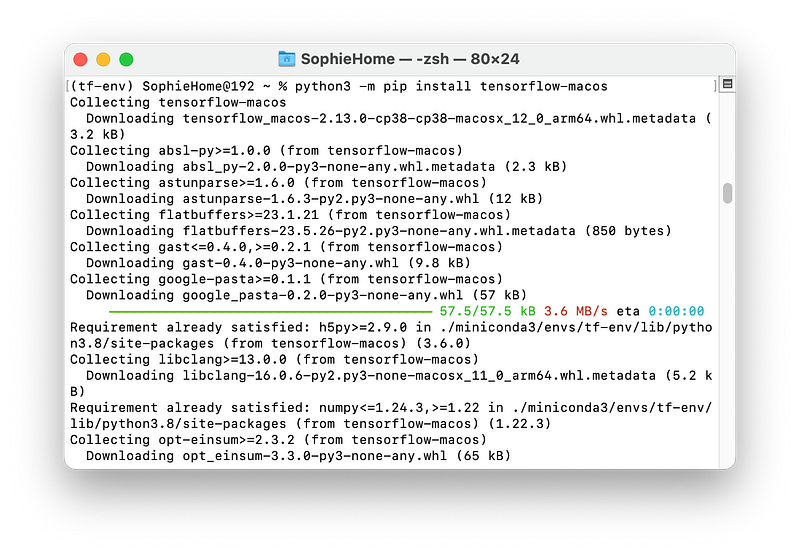
“TensorFlow-macos” refers to a specialized version of the TensorFlow deep learning framework designed to run on macOS-based systems, particularly those equipped with Apple’s M1 or M2 chips. This version of TensorFlow is optimized to take full advantage of the unique architecture and capabilities of Apple’s custom silicon.
We install this with the following command:
python3 -m pip install tensorflow-macos
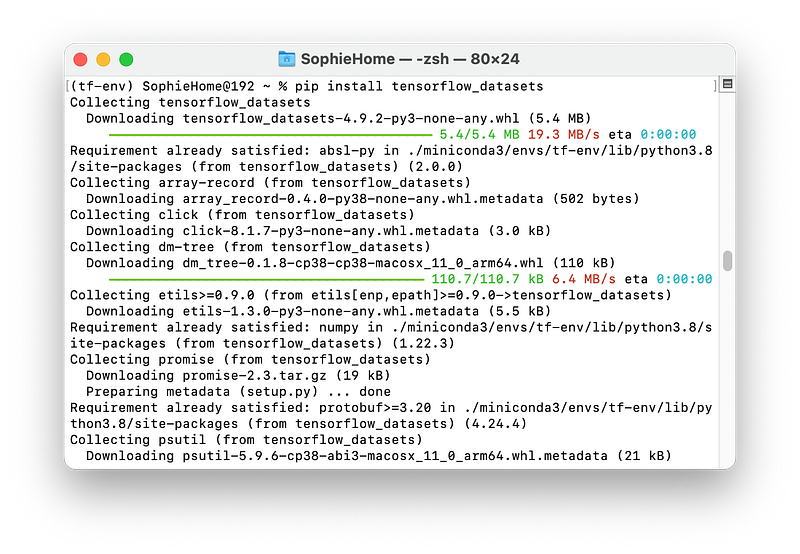
And finally we install tensorflow_datasets. This is not essential but is a great way to get started with your TensorFlow projects.
pip install tensorflow_datasets
From here, you’re ready to get started and everything else is optional!
Step 5: Install Jupyter Notebook & Pandas
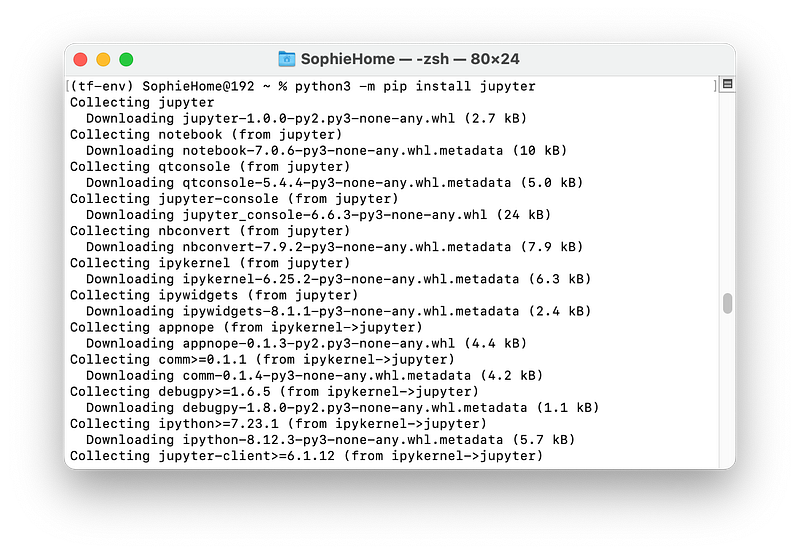
This is so that we can start building projects in our virtual environment. To install Jupyter Notebook and Pandas we run the following commands:
python3 -m pip install jupyter
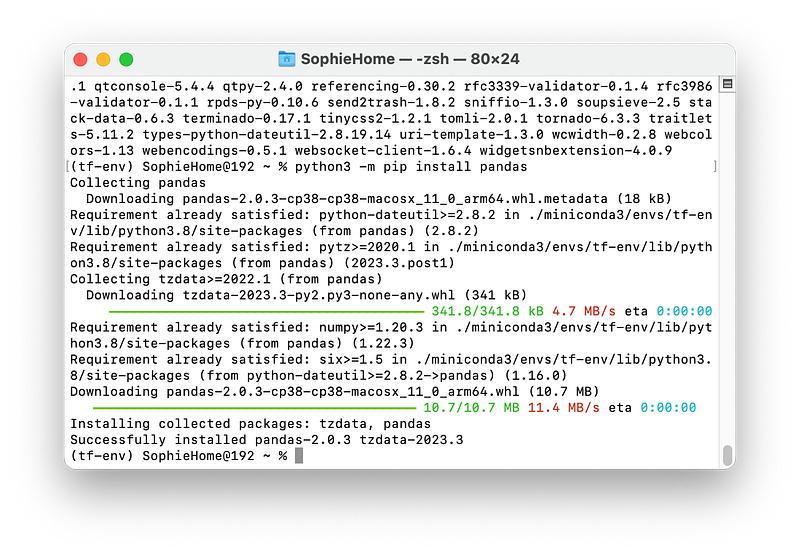
python3 -m pip install pandas
Step 6: Check the installation
Finally let’s test everything installed properly.
First we need to activate our python environment within terminal:
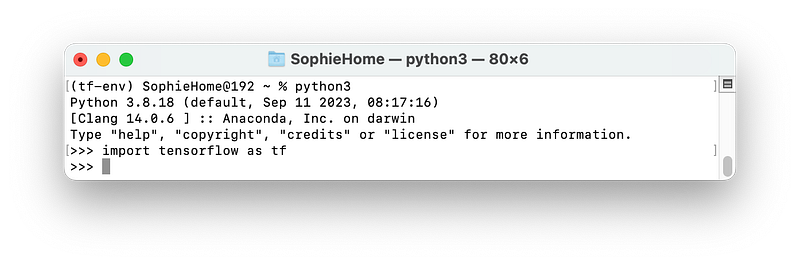
python3
Now you can type in python commands to the terminal. Let’s test TensorFlow installed properly by importing it. It will take a while to import if this is the first time you’re running it, so give it a few minutes to load.
import tensorflow as tfIf you don’t get any error and it goes straight to the next line, displaying >>> then congratulations! You’ve installed TensorFlow!
Let’s have a go at importing TensorFlow datasets.
import tensorflow_datasets as tfds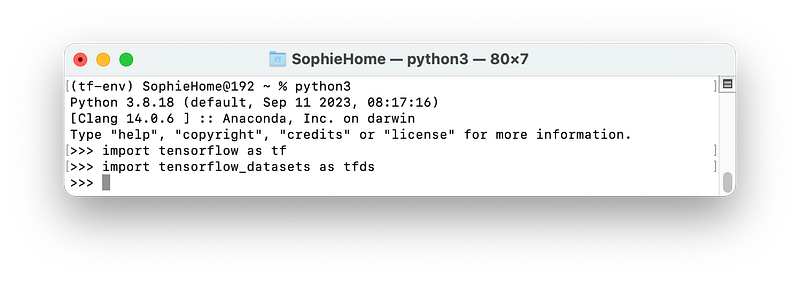
I hope you found this article helpful, if so please like or comment and subscribe for more content!


