
How to Install SSL Certificate For Beginners
SSL is so important for all website owners. This is your step-by-step fast and easy on how the installation works even if you have no knowledge about it.
Please follow along with all the images that I marked in Pink as the point of interest.
I recently open a new WordPress site knowing that I do not own my articles in medium or any other site aside from having it on my own domain. So I sign up back to WordPress once again. I am not new to WordPress. I somehow know how to deal with it and quite knowledgeable when comes to setting up a new WordPress site.
Imagine your blog post can disappear at any time because you have no control over it. Think about it with so many negative posts here on medium. Think about running a WordPress site too.
I do not mean you move from medium to WordPress. Please stay here on Medium as this is the best place to learn how to become the best writer.
Let us begin
I assume you have just purchased a domain and hosting plan with Bluehost. If you haven’t done so, you may need to do it first then come back later. I have this affiliate link you can use. I may get a small commission if you use that link and I am so thankful.
Why do I recommend Bluehost?
This is the Domain and hosting provider which is much affordable.
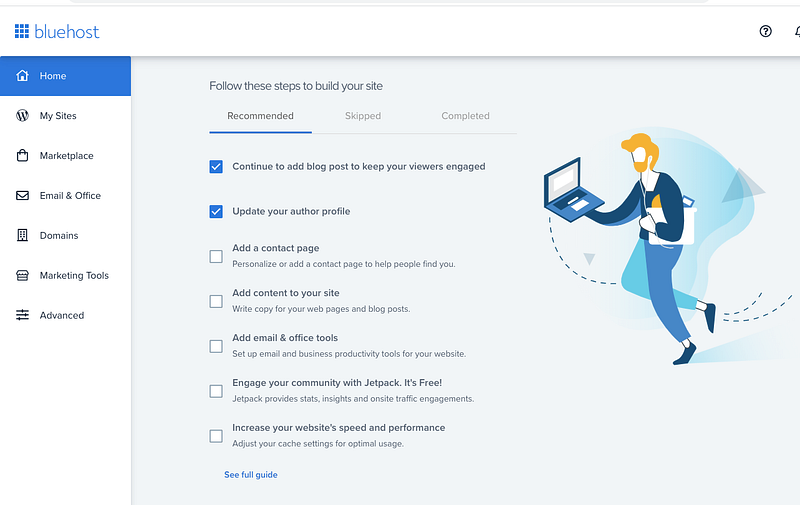
You log in to your newly created account. The above image is an example of the dashboard.
You can run or publish your WordPress site first, post some article from any other site you were posting. I can help you with this too if you need it.
You will need this as we go along.
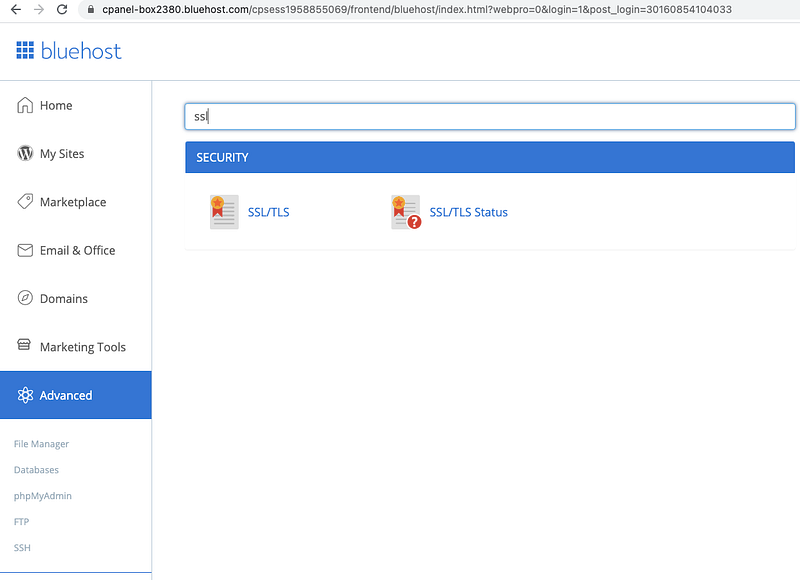
At Your Bluehost Dashboard
You will go to “Advance” on your Bluehost dashboard. Enter on the search bar the word “SSL”. Image below. Click on the “SSL/TLS”

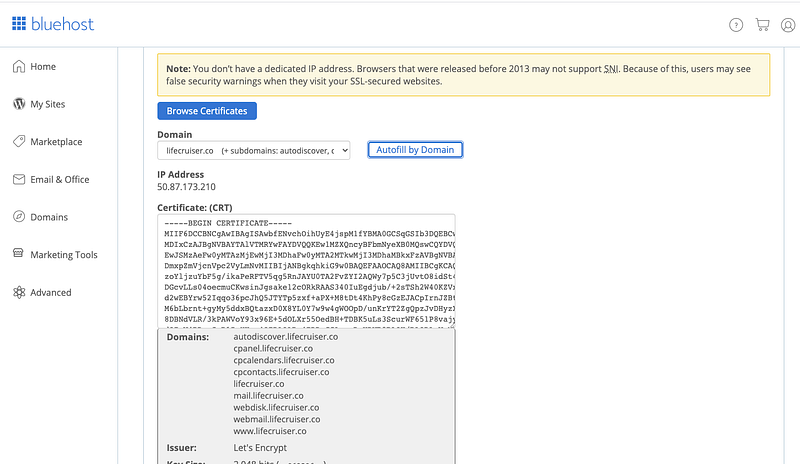
Scroll down to see the “Install and Manage SSL for your site”. (Image above for your reference).

You then select your “domain name”. (image sample above).
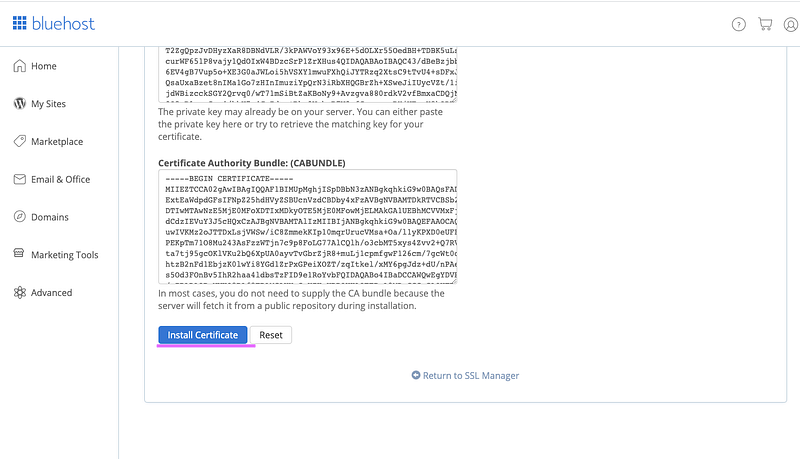
You will then check on Browse Certificate and scroll down all the way until you see the “Install Certificate” Click on it. (Image show you below).
Go To Your WordPress Dashboard
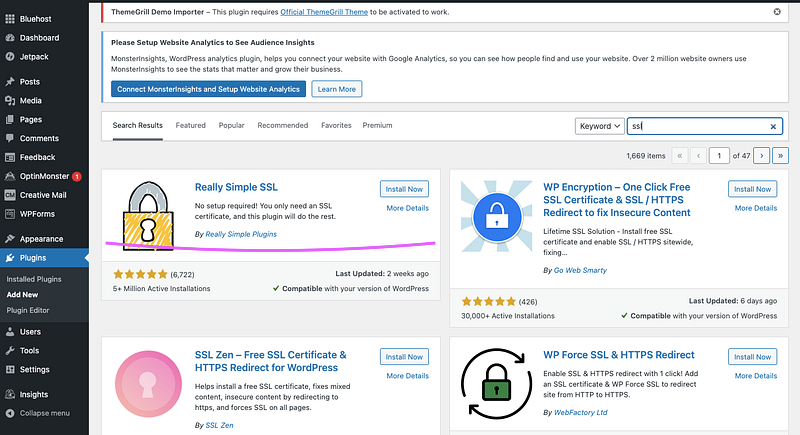
You are now going to your WordPress dashboard and go to “Plugin” and install a “new plugin”. Go to the search bar and search for SSL.
You will see the “Realy Simple SSL. This is what I use and it is free. You can upgrade on Pro if you have the money. You will “install and activate”. See the image below for your reference.
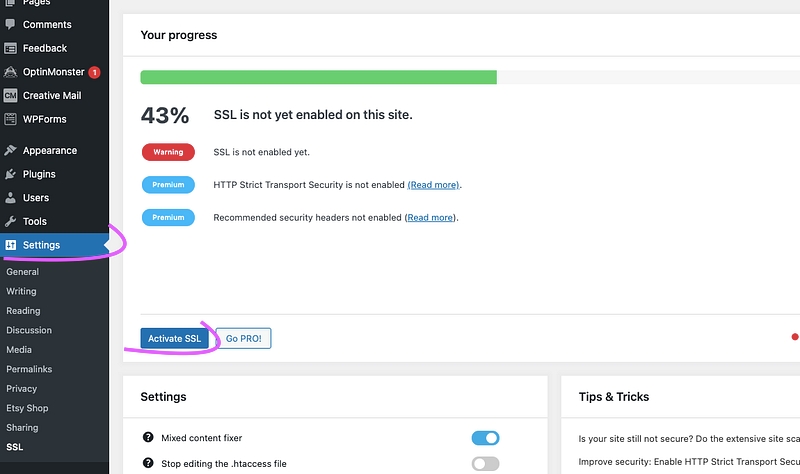
You will then go to your WordPress “Settings” — click on “Activate SSL”. Image below.
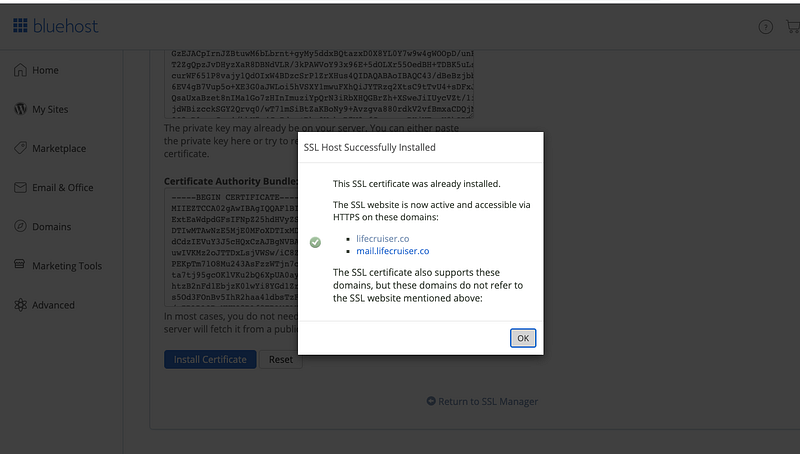
When you are done clicking (Activate SSL), a window will pop-up. See the image below. Just click ok.
You will once again go to your “Settings” and click on “Permalinks”. Image below.
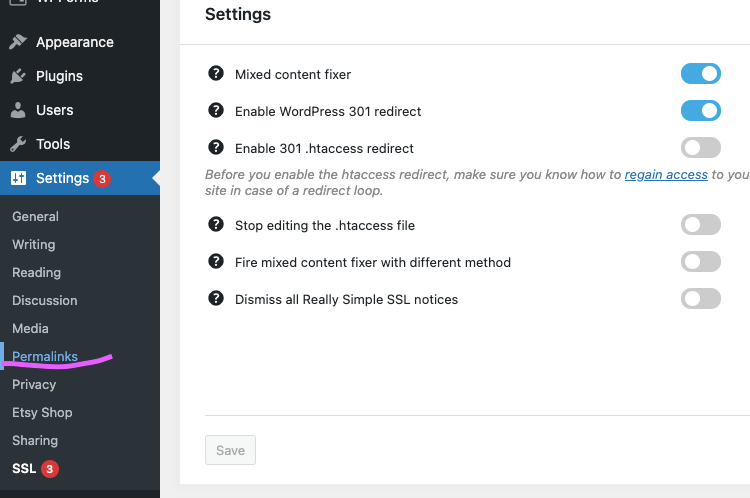
You need to check and enable “301.hitaccess redirect”. Scroll down and click on Save.

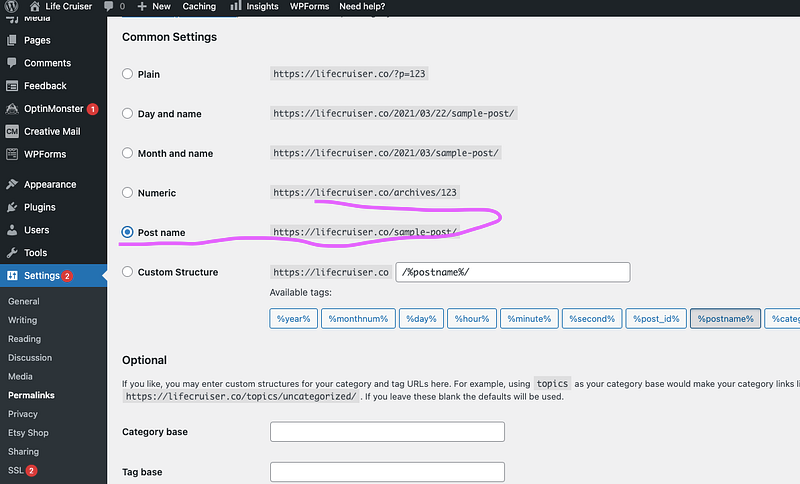
Go back again to “Settings” and be sure that the “post name” is check or anabled. See the image below, please.
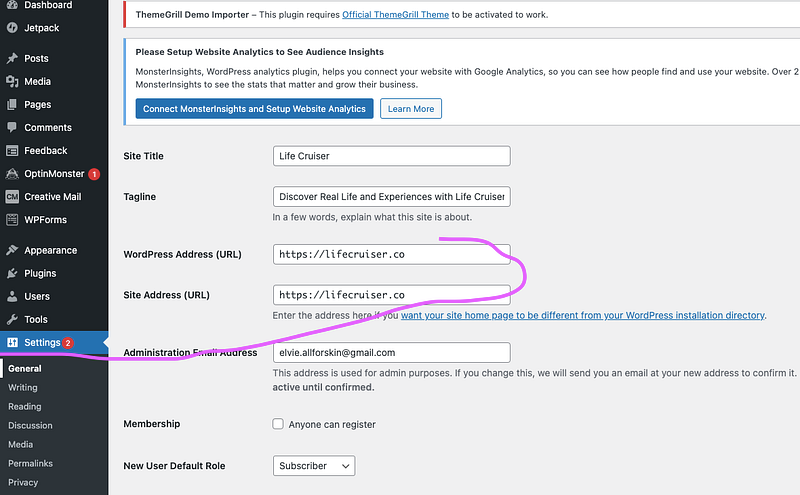
Go to “Settings” once more and check on your website URL if it is with HTTPS. See image below.
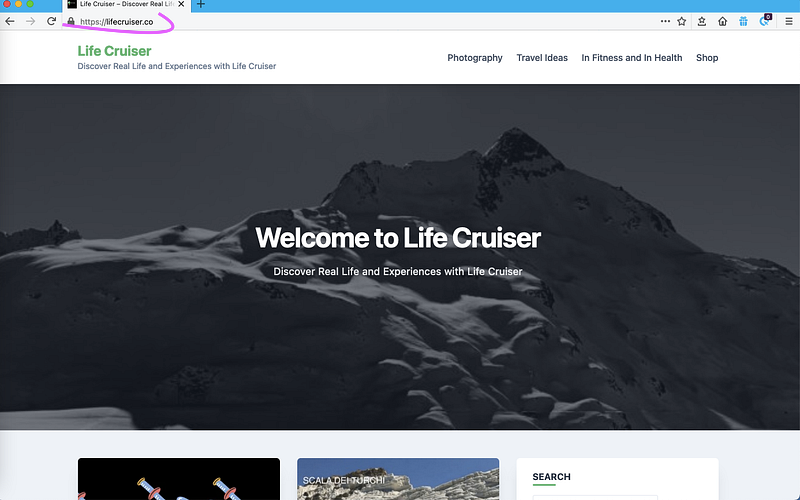
Go and double-check on another browser if your website link is with Padlock. that key lock sign? If you see that

When you see HTTPS on the address bar, your website is now with an SSL certificate that when people clicking your site, they feel secure. The worldwide web will not show “NOT SECURE” when a person goes to your website. You must do this for your own benefit and security.
I hope it helps you. If you do, please leave a comment to show your appreciation.
If you need to create a WordPress Blog site: I have this affiliate link below and I can get a small commission: Please click here
If you need help on the installation of your WordPress blog or transferring all your posts from Medium to WordPress. I can help you with this with fees. Please do contact me to discuss.
Thanks for reading and if you like to read more: