
How to draw hands- Digital Art- IbisPaintX
In this article, I will show you how I draw hands
I made other tutorials of how to make digital art and how to draw eyes. So, why shouldn’t I show you how to draw hands? Hands, are mostly hard to draw and make them perfectly. Of course, I know how to draw hands but I can’t do them perfectly. I mean, I’m not a starter at all. I’ve been practicing on drawing hands in digital art for some years, but I am happy with my results. I hope that I can practice more in the future. I am not sure if drawing on a paper could be easier, but for me it is easier on a paper than on a phone/tab. Subscribe .
Soo, let’s start!
Step 1
First, we start with the sketch. Maybe your asking ‘Why do I always need to start with a sketch?’ well, you don’t need to start with a sketch, it is just for a test. Because, (for me) the first drawing looks bad, but after I remake the drawing then it would look better than the first drawing/ sketch.
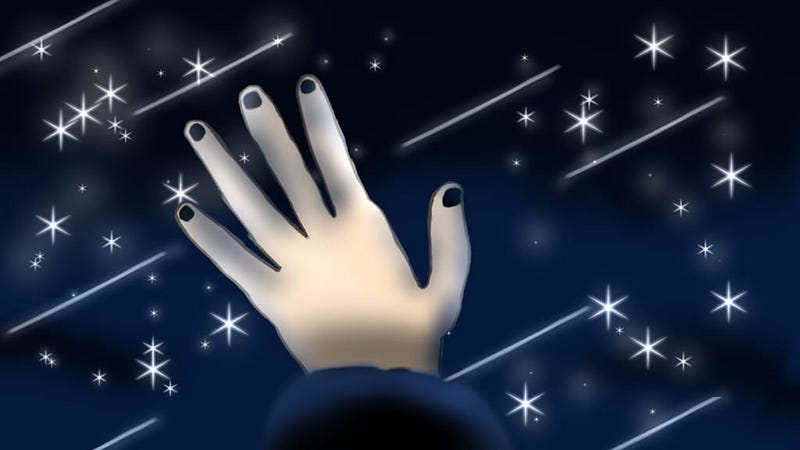
Firstly, you do a big circle, but on the middle of the page. Then, do mini circles. You need to do 5 mini circles. It should look like this for now.
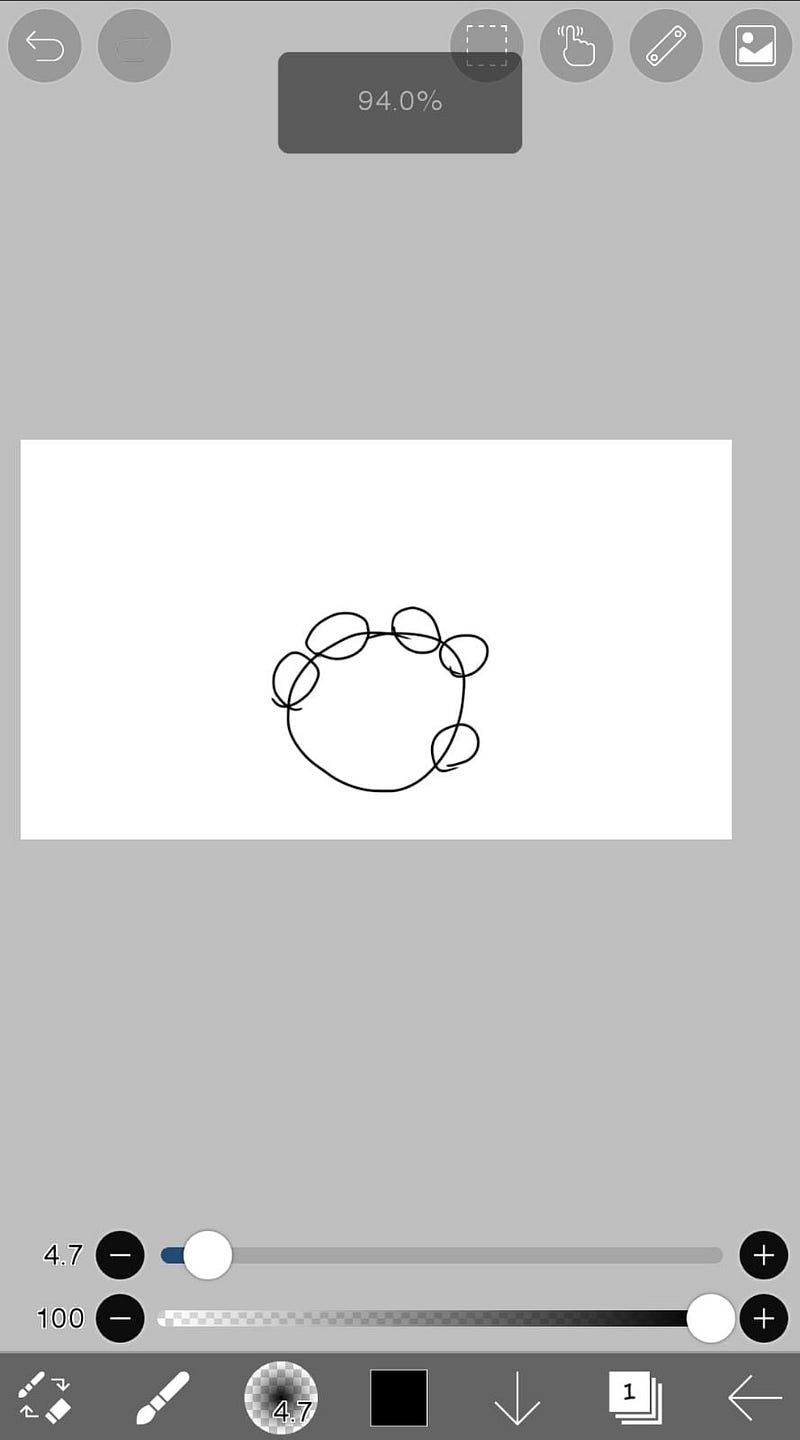
Then, you will need to do 2 lines on each circle. After you made that, at the end of the lines, do another circle, but 5 circles. Like this. Remember, it is a sketch. It will not look as how you expect.
This is how the sketch should look like.
Step 2
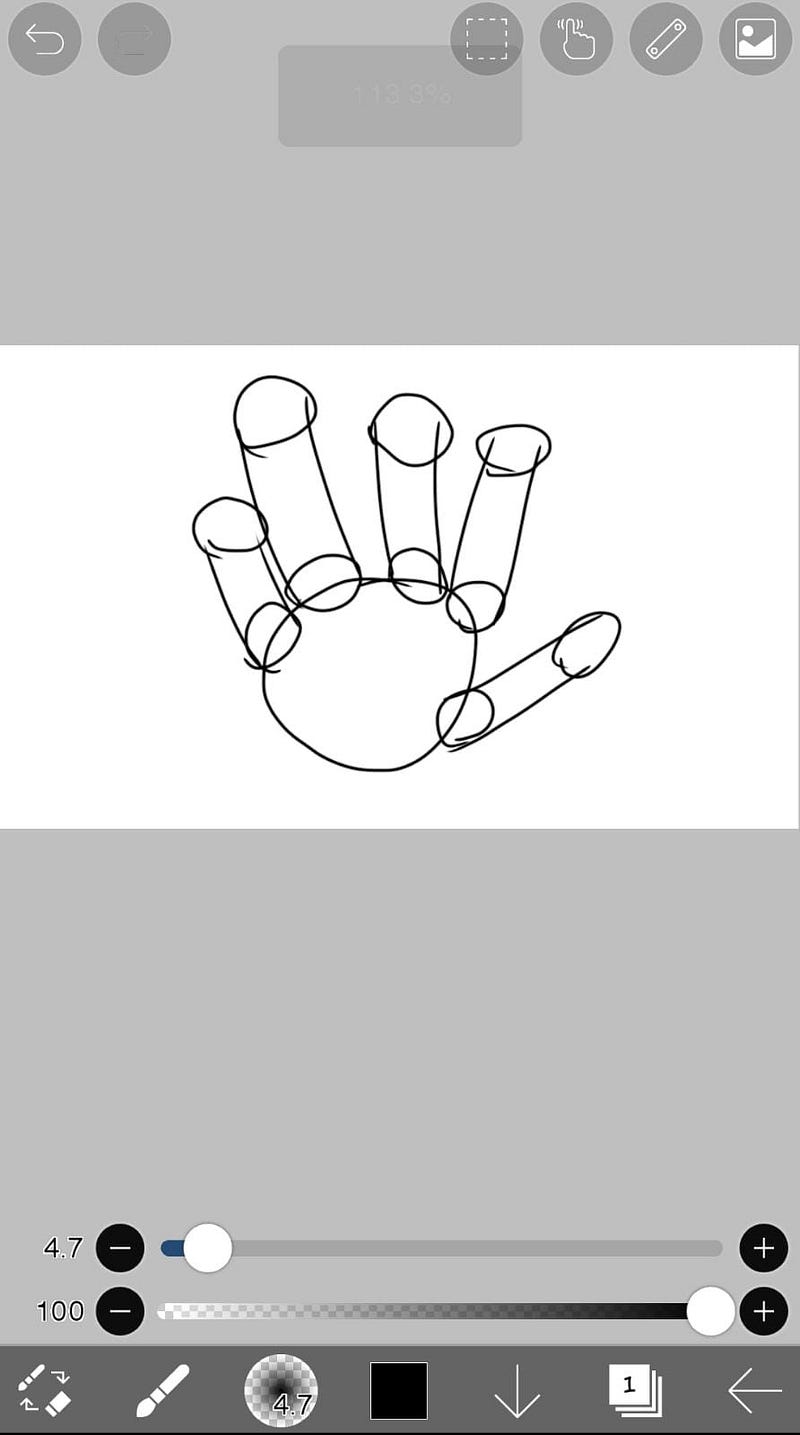
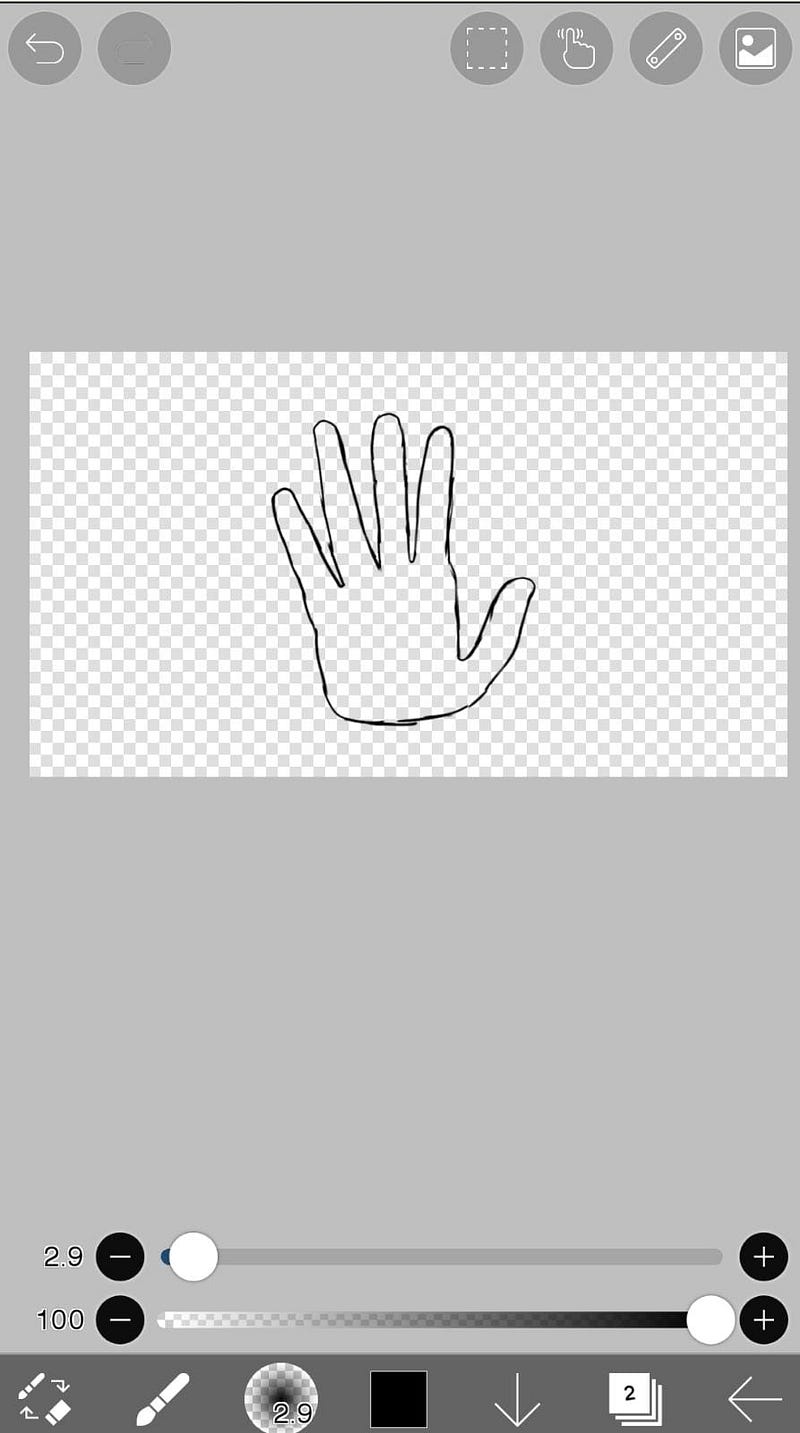
After you’ve done the sketch, lower the opacity of it then add another layer and remake it, but better and without the circles. Mine still looks a bit bad, but I will make some changes, don’t worry.
If you’re wondering what brush I use, it is this one called Dip Pen (Soft)

Step 3
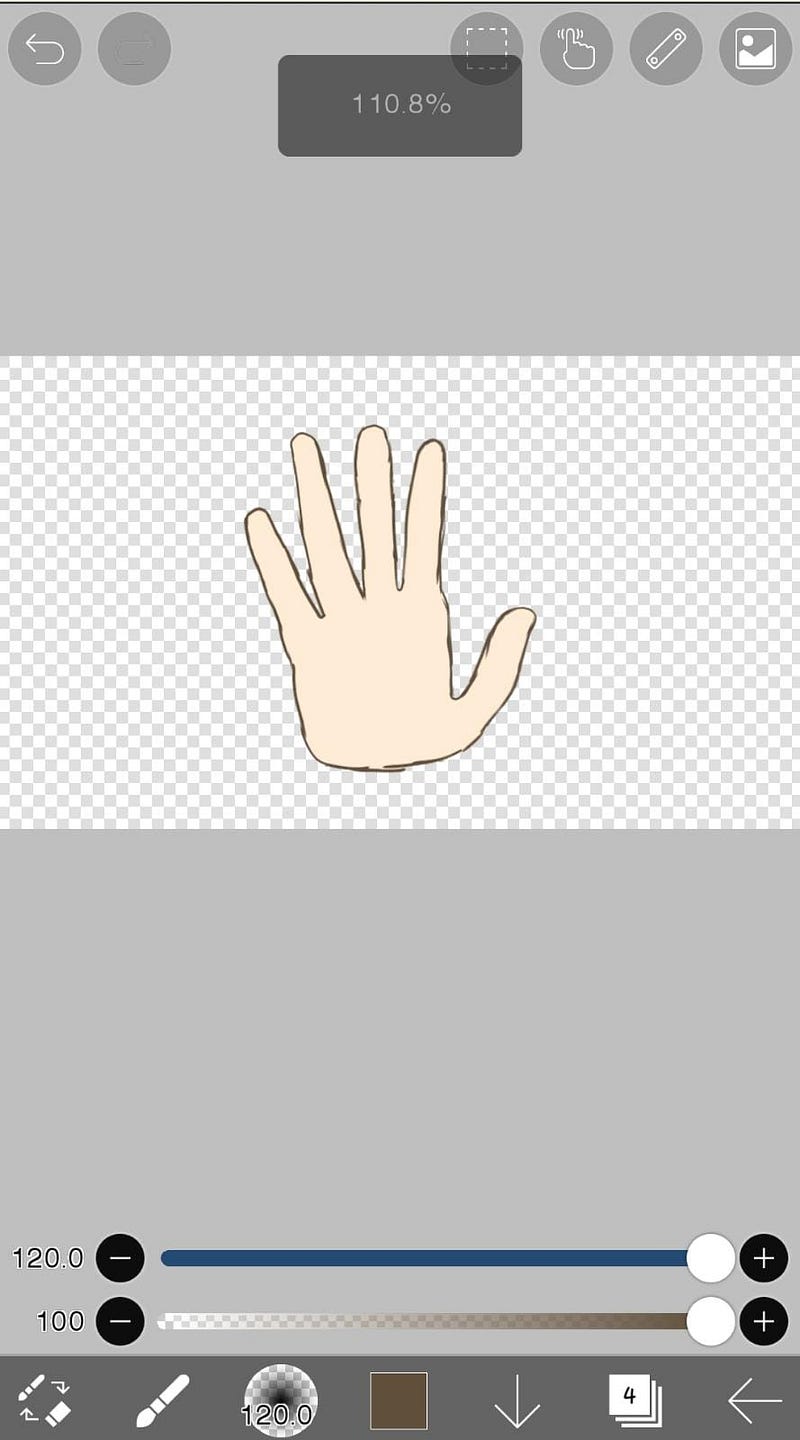
Here, I colored the hand. I explained here which one is better for me and how to use them.
‘Why do I think that ‘Bucket’ is better for me? Well, you can just press the part you want it to be colored, and it will color. I know, it might leave some parts uncolored, but it’s still better for me. I can explain the ‘Magic Wand’ one too. You can color with this one too, but accidentally you click another part and it gets annoying when you just can’t select the part you want. But, of course I haven’t forgot that you can go to the ‘Selection Layer’ and just do that part with the brush… But that’s my opinion! You can choose any of those. I’m explaining these because I don’t want you to do all of the coloring with the brush…. It takes a long time.’
I used ‘Bucket’ to color it.
Then, I went to the sketch drawing and press another layer then I clipped it so I chosen brown to color the outline. I did the nails too, but in black because I thought it would fit the background too (you will see the background soon).
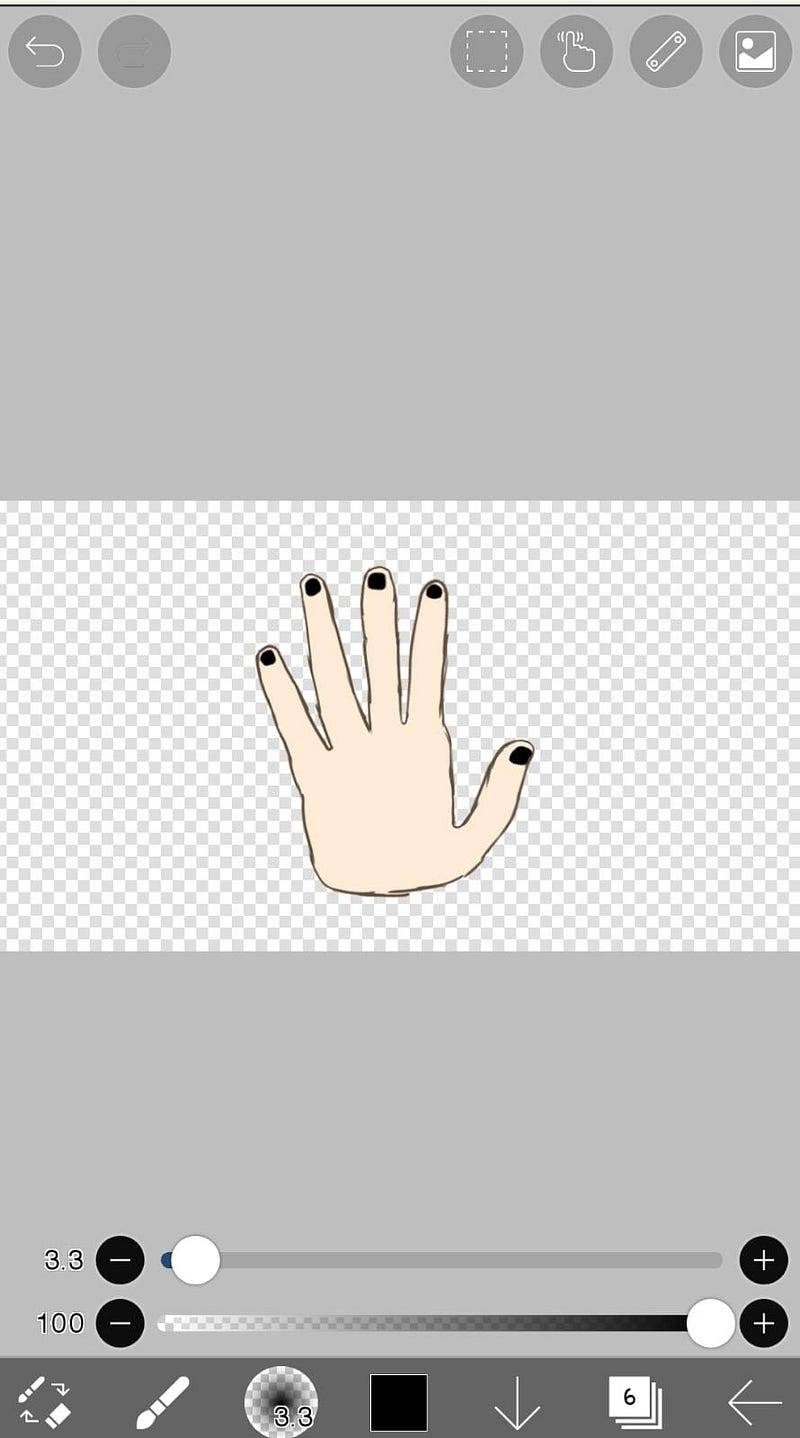
Oh and I made a sleeve too.
Step 4
Here, I made the background. I chosen a night model. With starts too. I mean, I made it myself. I just filled a layer with dark blue and then with black a bit of it. I smudged the black. After that, I watched an add to unlock some brushes to make the stars. I chosen this brush.
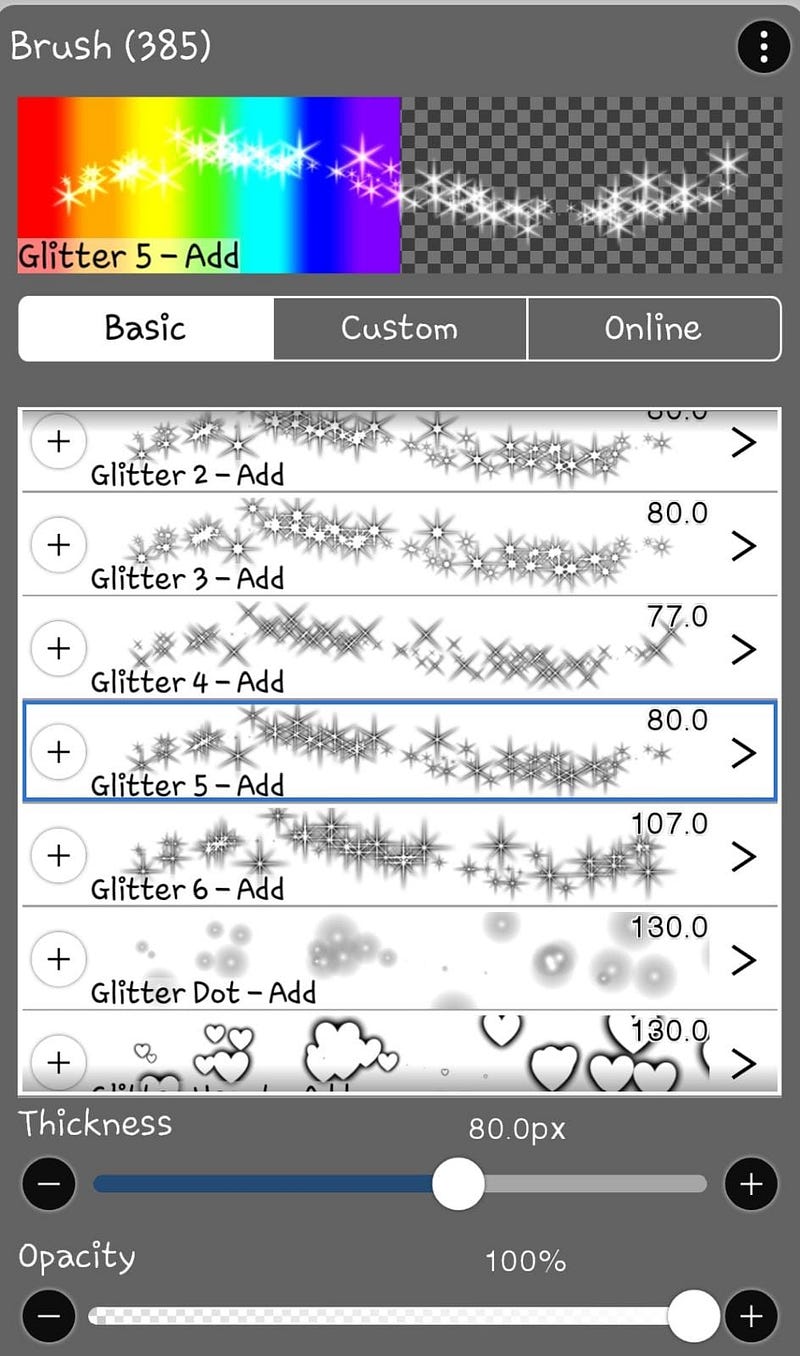
I did the stars with white, then I made them ‘Add’.
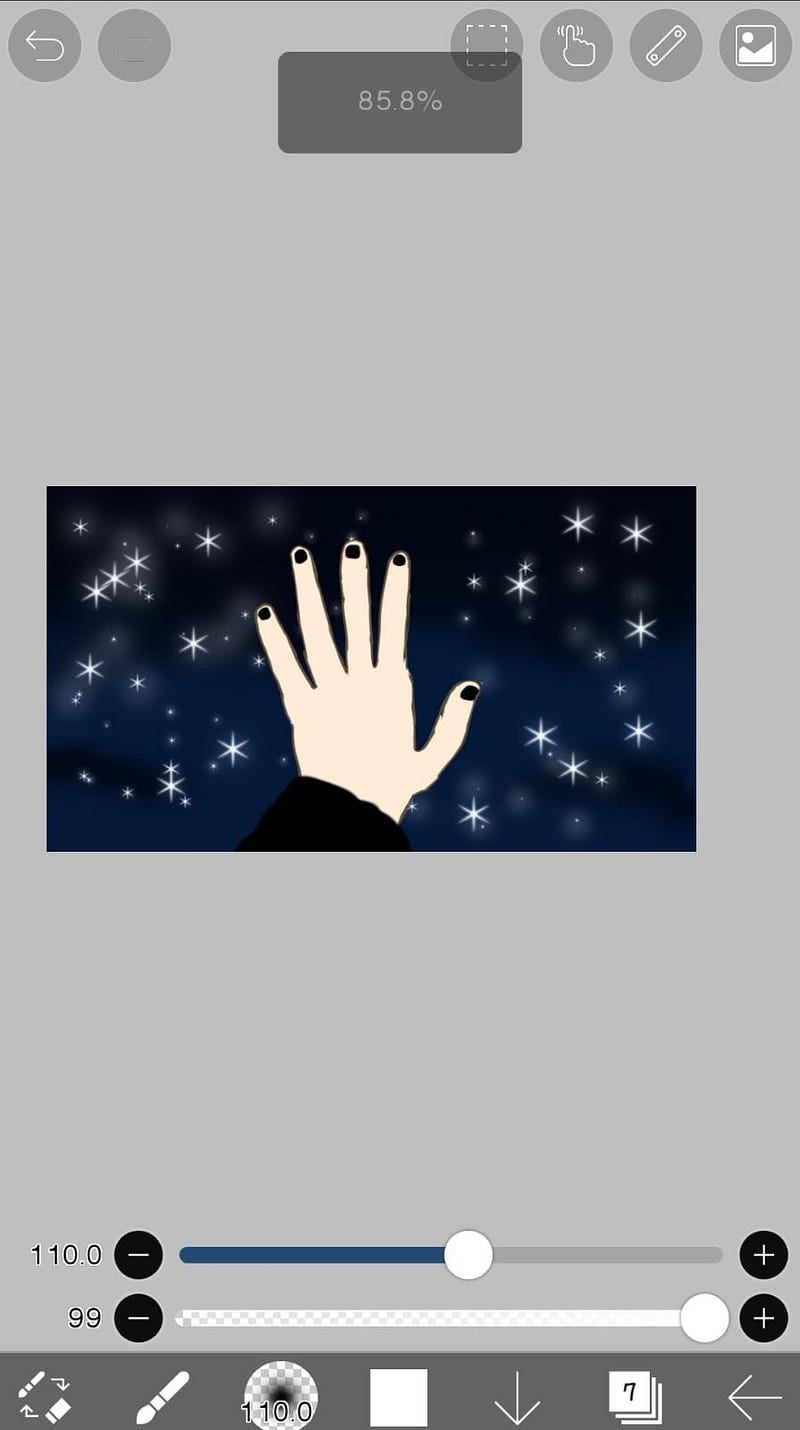
This is how it looks!
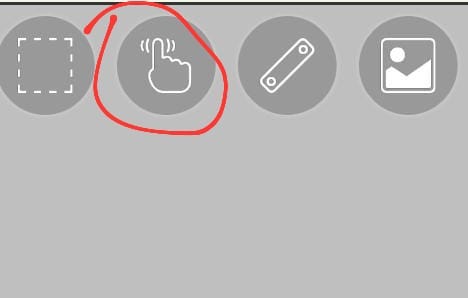
I thought of adding some shooting stars too. I just went to that finger and I pressed at the ‘Stabilizer’, the button.
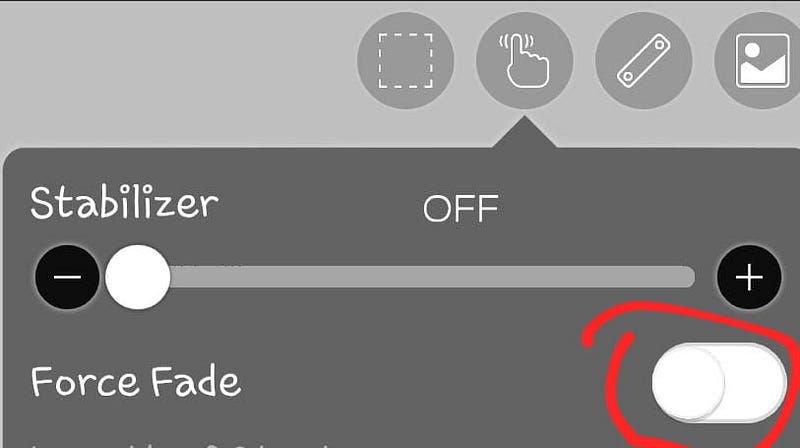
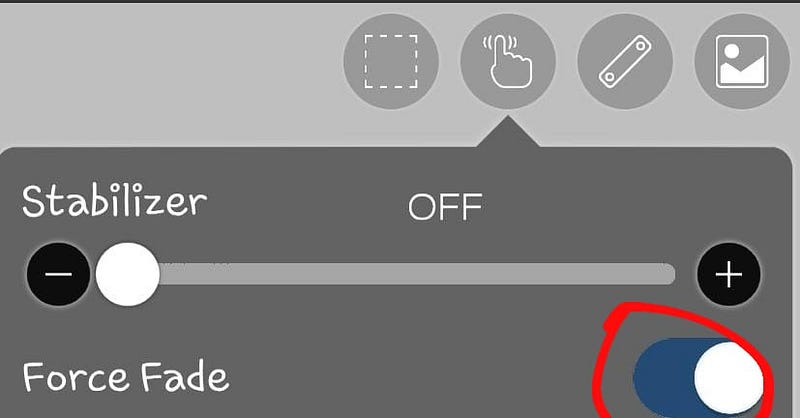
And I made some lines around.

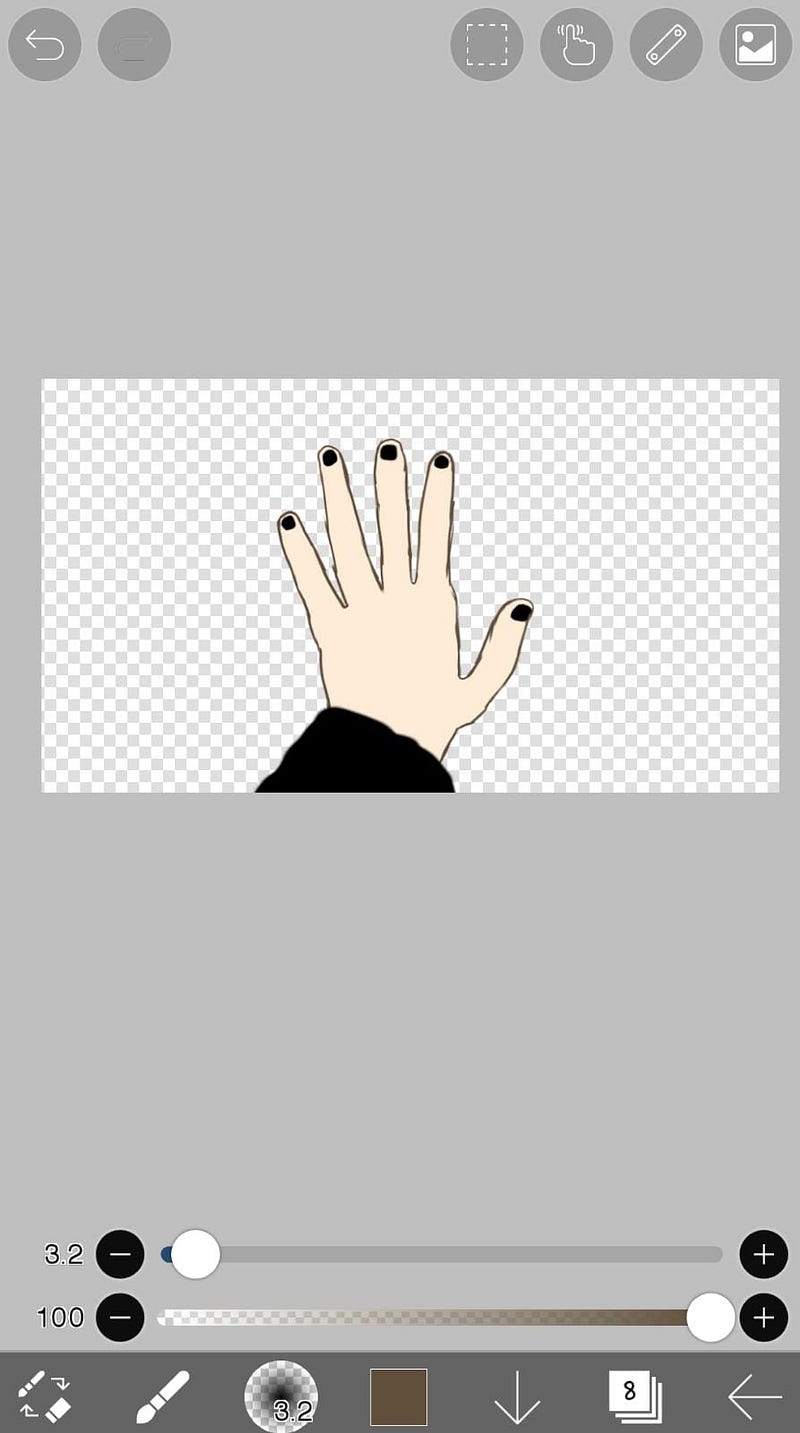
Oh and I moved the hand too, because I wanted it to look better in this way.
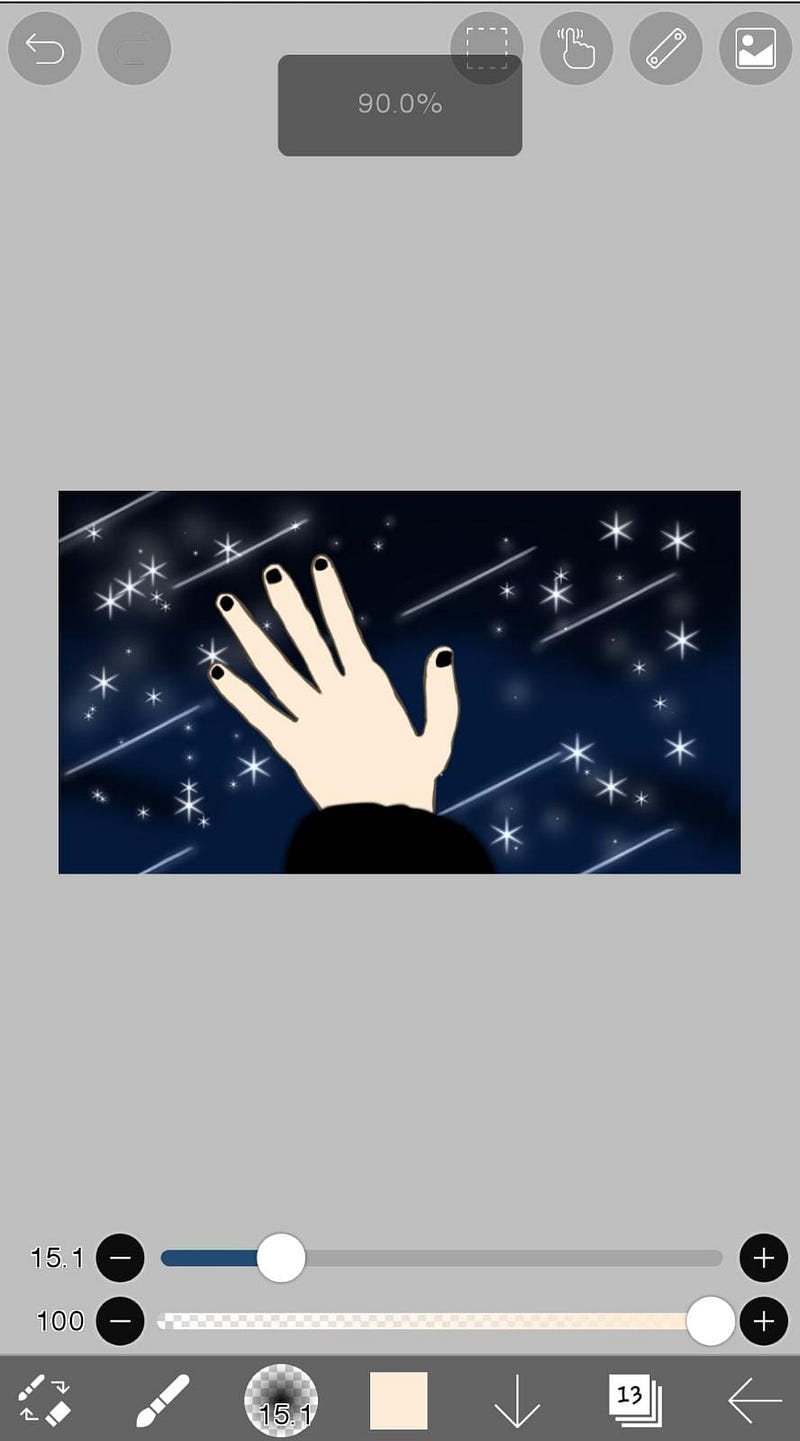
Step 5
Here, I am gonna shade. I added some white too, because of the stars.
That’s it! I hope this article was helpful:)
Follow, comment and clap for more! Thank you for reading. I’ll follow you back to contribute to the growth of the community. I appreciate your views and suggestions, and I hope you do as well. Subscribe to my posts.


