
Digital art in IbisPaintX
In this article, I can try to explain how I make digital art
So, first I recommend you to use a good app to draw. I have some examples of apps, like IbisPaintX, Procreate (it’s with money), Sketchbook, and lots more.
Today I will use IbisPaintX. It’s a good app to draw and make edits for a photo.
Digital art it isn’t easy as how you think. If you are a good artist, then it is much easier for you. But at first, it actually looks hard but if you practice more, you will think it is more easier than doing on a paper.
So, let’s start!
This is the result of what I’ve made. I will explain the steps.
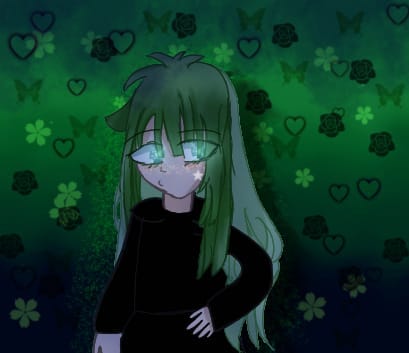
Here. So, this is an art I made some months ago. I am proud of it… But, let’s start.
Step 1
In this step, you will need to do the sketch of the character you want. You could take from google some poses/references, but you will need to give credit. In the picture, I made the pose without references.
Or just go to IbisPaint and click the photo picture, then press ‘Tracing Sketeches’ and you have many poses there.
I usually do a fast sketch, then re-draw it to look better and not get confused when I color it.
I used this brush if you ask
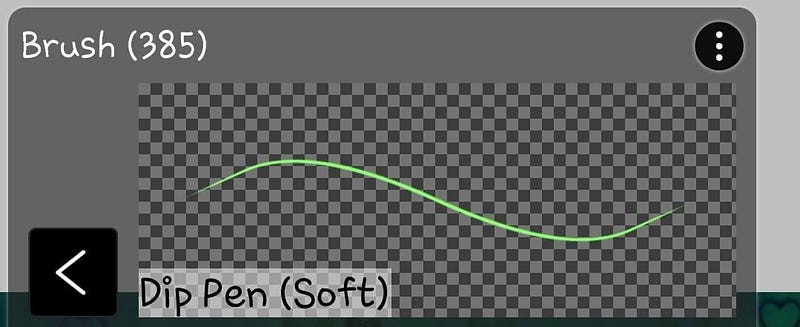
I used this brush to do the hair, the clothes, the face and the accessories. I don’t have a photo of the sketch because I merged all layers down and I can’t undo… But I think you can do the hair too!
If you don’t know how to draw hair or anything else, you could use a photo and put it next to your drawing so you can get a bit inspired than tracing.
I use black when I do the sketch. Other people use red for hair, or any other colors for them to be easy. But I got used to black sketch and it is okay for me. You can do how you think it is better.
If you actually don’t know how to draw, you can trace a drawing, but don’t claim as the idea or the drawing being yours, yes you made the ‘remake’ of it but it’s still they’re idea. :)
Okay, I think we’re done with the first step.
Step 2
In this step, you need to color the drawing. Before I used to draw everything by my hand and taking a long time but now I draw with a tool. Actually I use 2, but the better one for me it is ‘Bucket’. The other one is called ‘Magic Wand’.
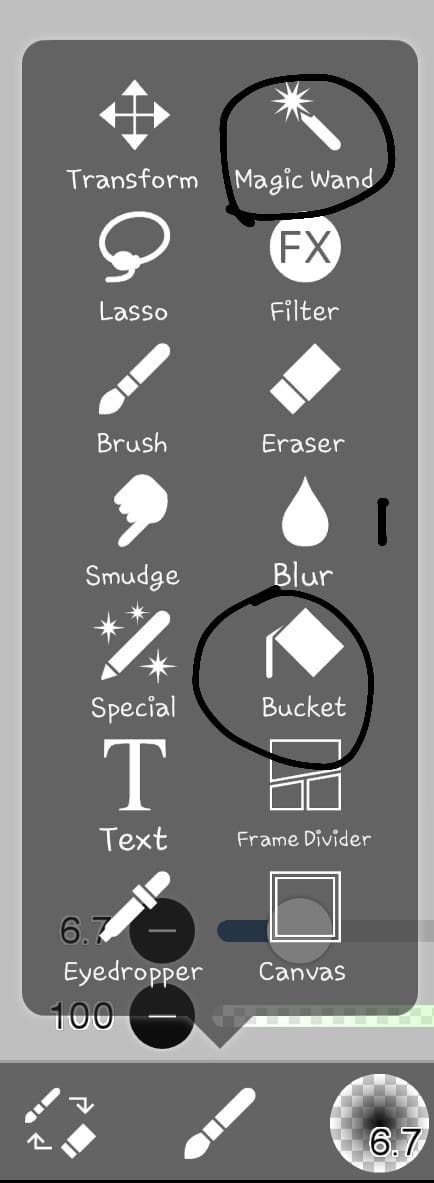
Why do I think that ‘Bucket’ is better for me? Well, you can just press the part you want it to be colored, and it will color. I know, it might leave some parts uncolored, but it’s still better for me. I can explain the ‘Magic Wand’ one too. You can color with this one too, but accidentally you click another part and it gets annoying when you just can’t select the part you want. But, of course I haven’t forgot that you can go to the ‘Selection Layer’ and just do that part with the brush… But that’s my opinion! You can choose any of those. I’m explaining these because I don’t want you to do all of the coloring with the brush…. It takes a long time.
Step 3
Here I will explain 2 things. The shading and how to make the outlines (or the sketch) to be another color.
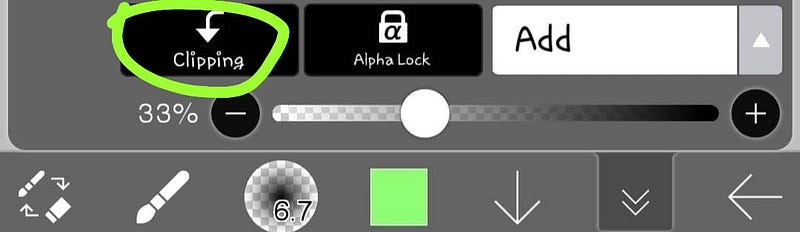
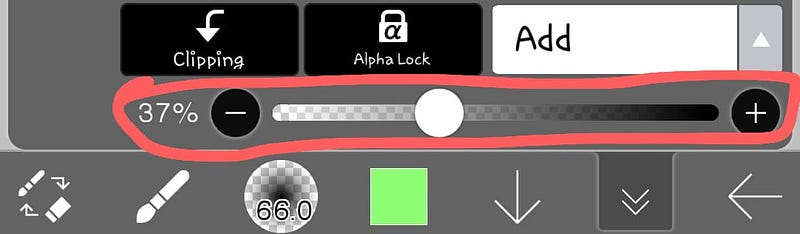
Shading- So, after you’re done coloring it, I think you should shade the art. You might think that it is hard to shade, but actually it isn’t. First, you have to go press another layer and then click ‘Clipping’.
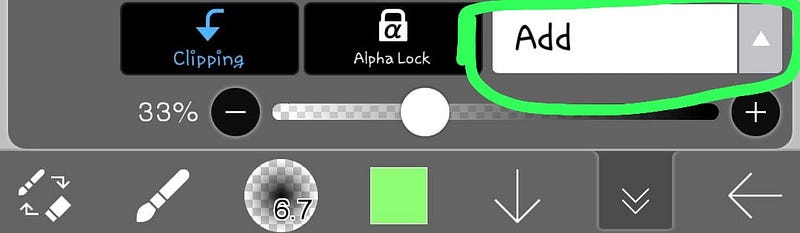
After you pressed it, go to that white line that it says ‘Add’
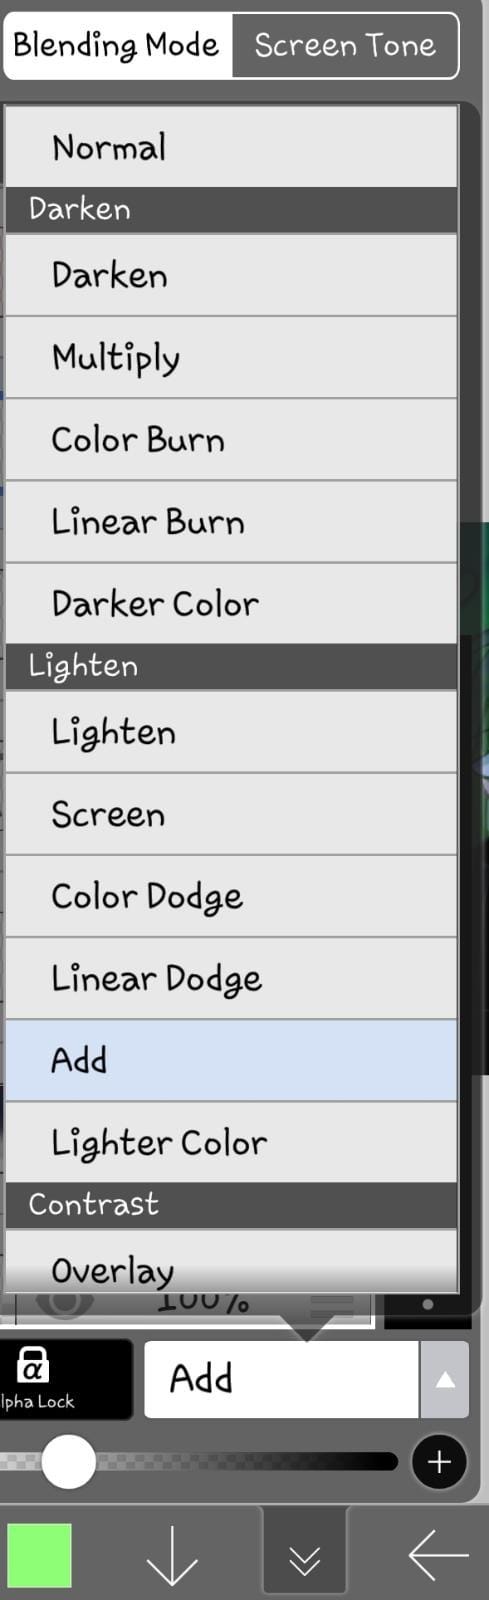
Here, you can change the color to be lighter, darker, and more options. I use ‘Darker Color’ for shading darker. After you choose something, go back and with your brush you start shading. I mean, if you want to shade the head, just go under the hair and make a big line. That is like shading. I hope you understood how to shade. If you want, you could use ‘Smudge’ too. It will make the shading looking smoother.
Outlines changing color- I think, changing color of the outlines is better than keeping the black. You still don’t understand what I mean? Here:

The color of the outlines, you just need to go to the sketch you made. I mean, go to the layer that contains the sketch and add another layer then press ‘Clipping’. Now, you can do like the shading too, like choosing the ‘Darker Color’ option, or just change the color to a darker one. After choosing the darker/lighter one, you color the parts you want with that color.
Step 4
Here, I will show you how to do the background. The background is the most important to a drawing. It needs to fit the drawing you made. It doesn’t need to be worked very much on it. You could take one from IbisPaint by pressing the Photo Icon, or from internet… I usually make myself backgrounds.
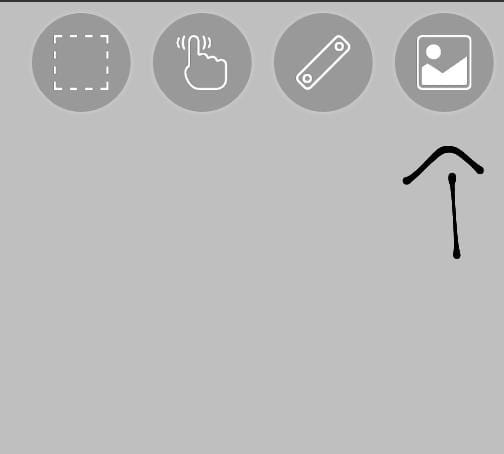
I choose a color then fill it behind the character. Like, green. Then I chose a darker and lighter color to put it down and up. I chose ‘Smudge’ so it would look better and smooth. Do you want to have that mini drawings in the background? Well you go and chose another brush. Go up, then press it. I know it is locked and needs to be bought, but you can just watch an add and it will let you all the brushes to be free for 18 hours. For me, it works. Here are some of those brushes.
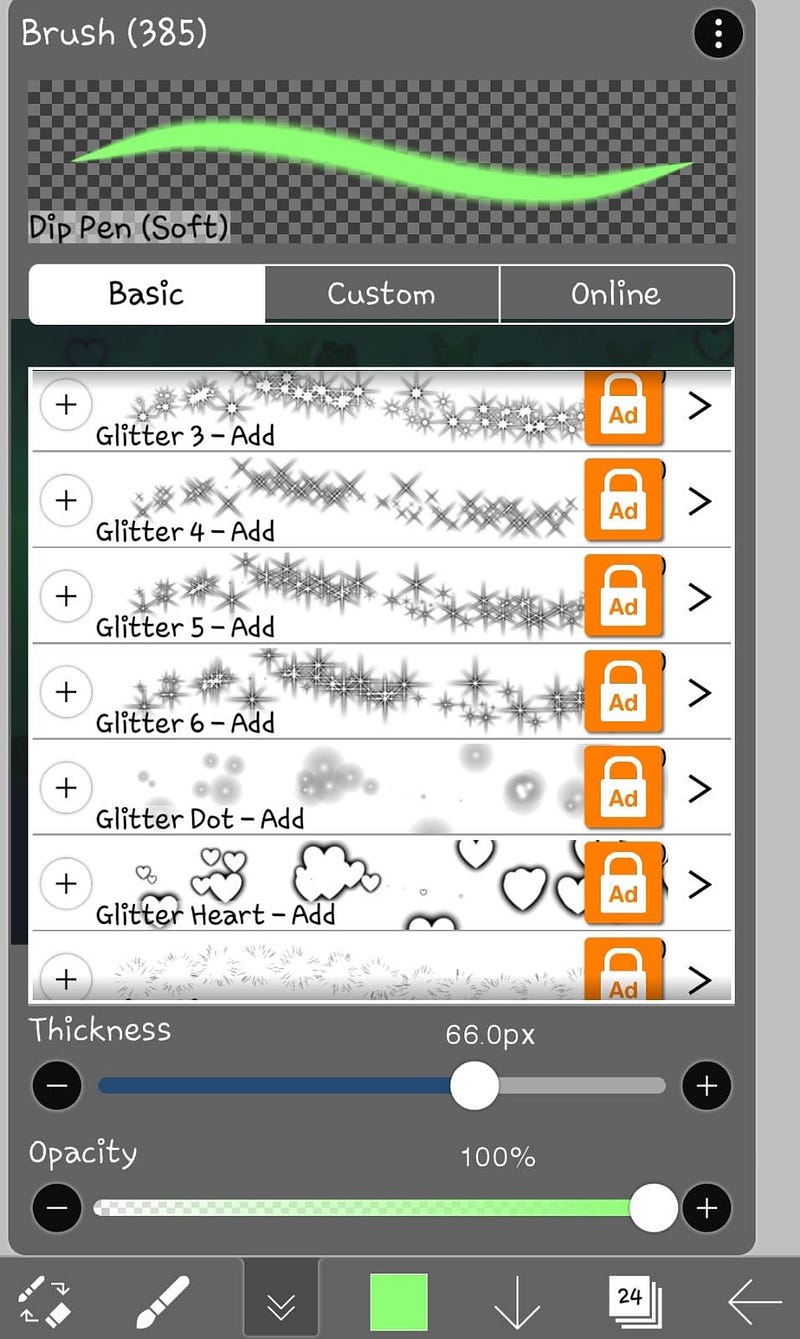
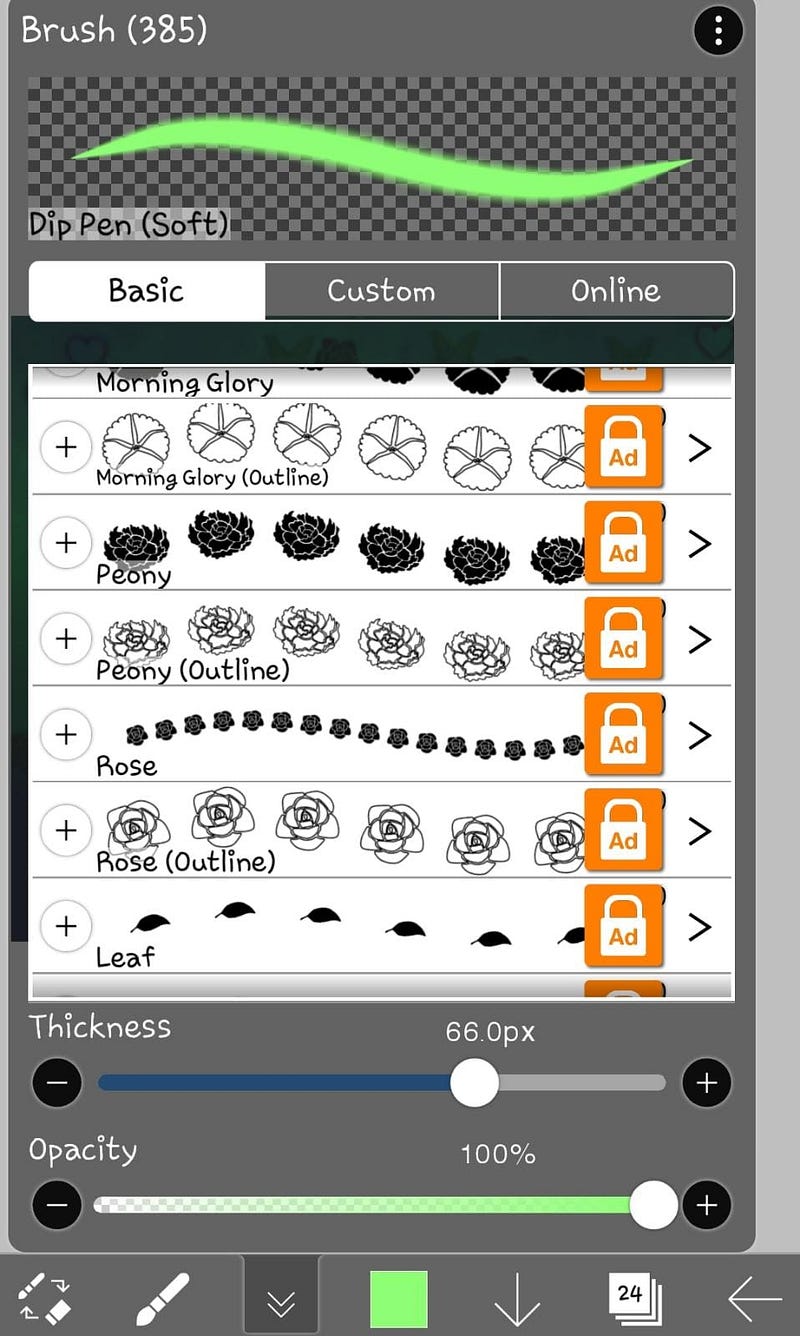
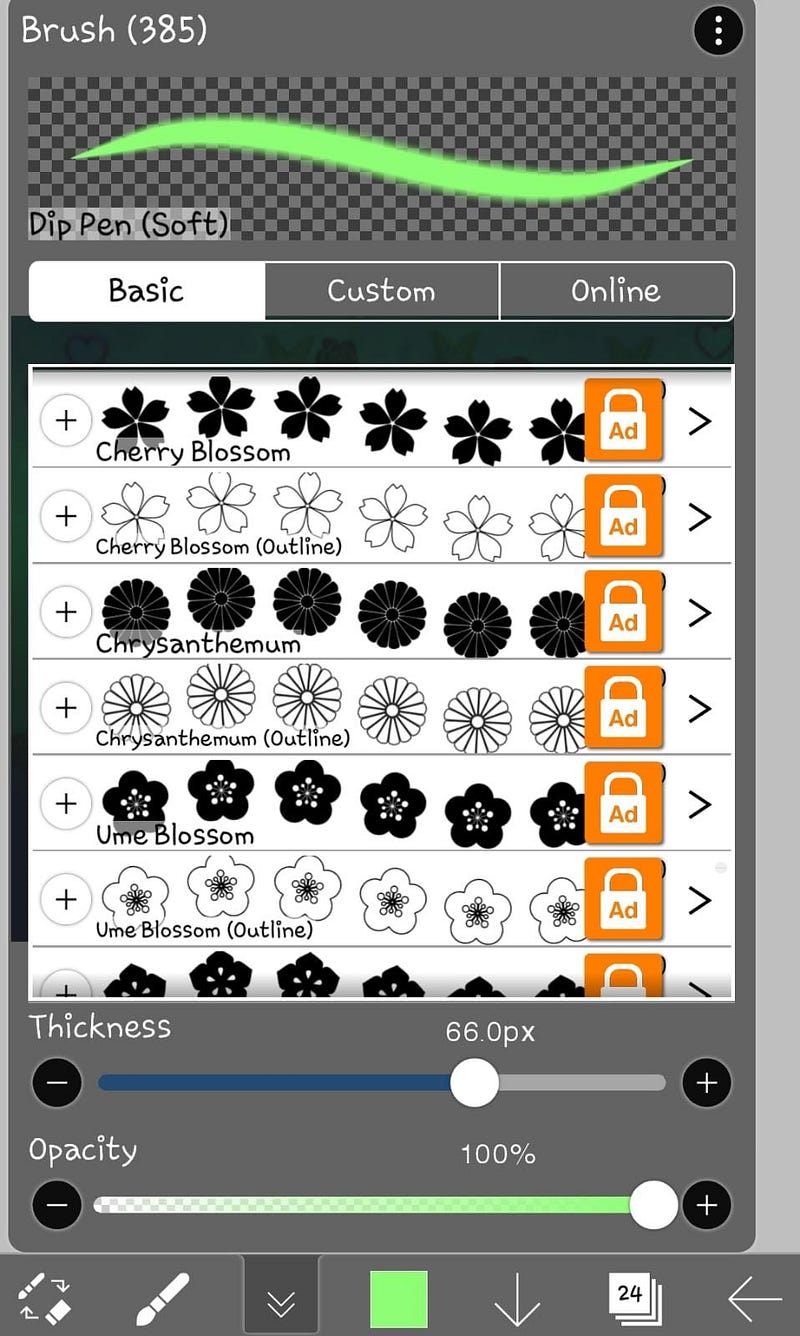
Those look cool, right? And then, just click where you want those to be.
If you want the drawing to looks more darker or lighter, just add another layer then color all of it with the color you want and then lower the opacity.
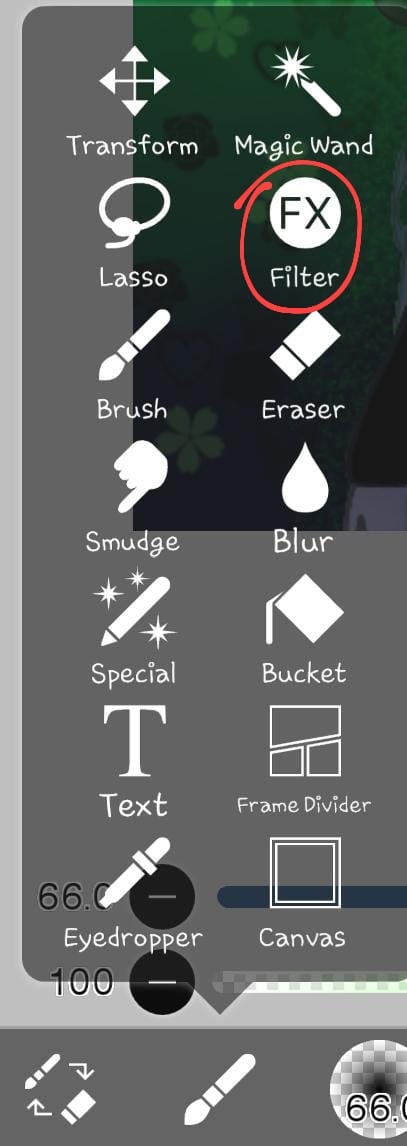
And, that’s it! You can add more effects by going to ‘Filter’.
I think the drawing you made looks amazing!
This is all. I hope you understood!
Thank you for reading. Please follow, comment and clap for more!


