
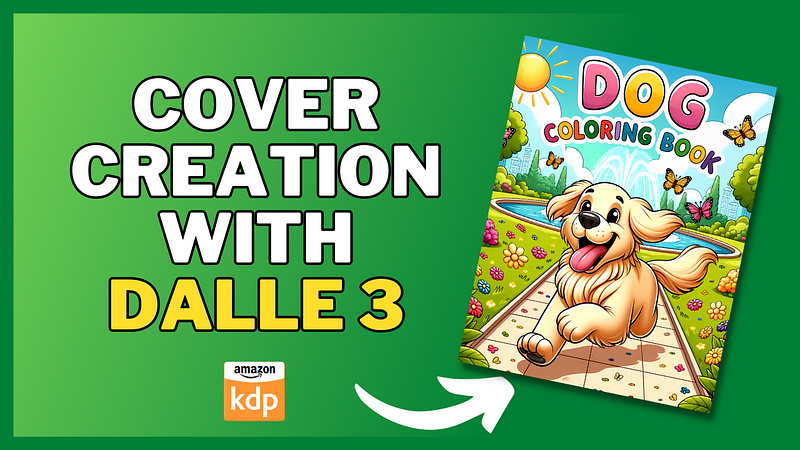
How to Create Stunning Book Covers with Dall-E 3
One of the most challenging areas of self-publishing is creating attractive covers.
You can spend hours doing research and producing outstanding content within the book but without a cover that attracts your target customer to your book, your book will struggle to succeed.
The introduction of Dall-E 3, and the ability to add text to images is the perfect solution for book cover creations.
Whether you’re a writer or simply someone looking to design a unique cover, here’s how you can do it with ease using Dall-E 3.
Step 1: Set Up and Choose Dall-E 3
Firstly, if you’re not familiar with the basics of Dall-E 3 and ChatGPT, read my article below as a guide to understanding its features.
Once you’re in ChatGPT, ensure you select the Dall-E 3 option.
Step 2: Determine the Size
While Dall-E 3 can create various dimensions, it’s suggested to go with a square resolution for better text consistency. Later, you can resize the square image using a design tool to fit your book cover dimensions.
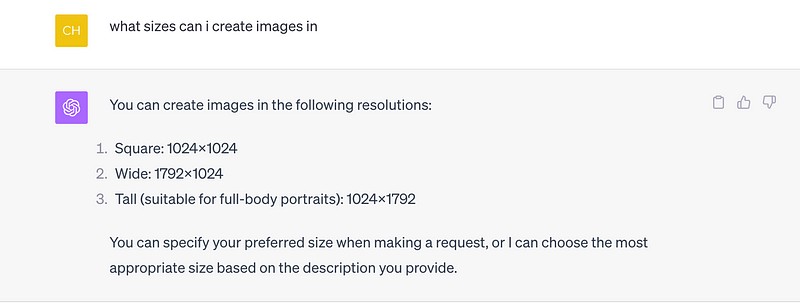
Just add the size you want for your image in at the start of the prompt eg, square size, wide size, tall size to get images in your chosen size.
Step 3: Craft Your Prompt
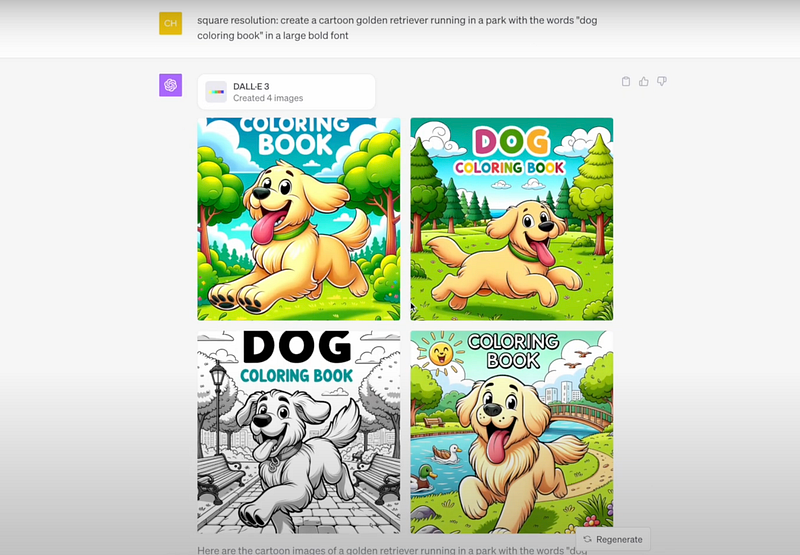
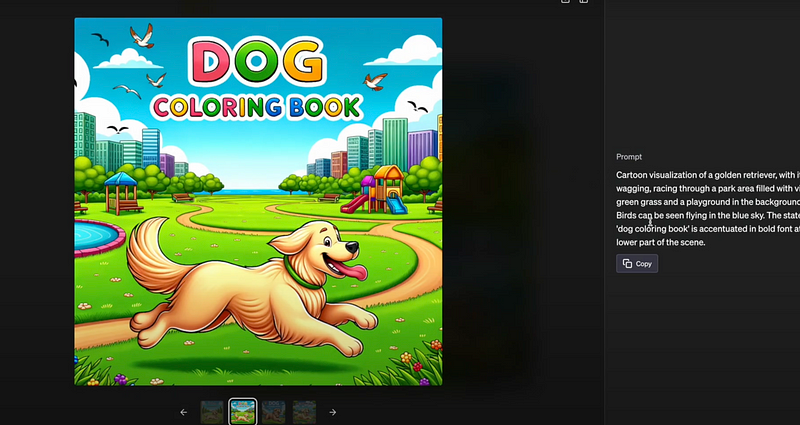
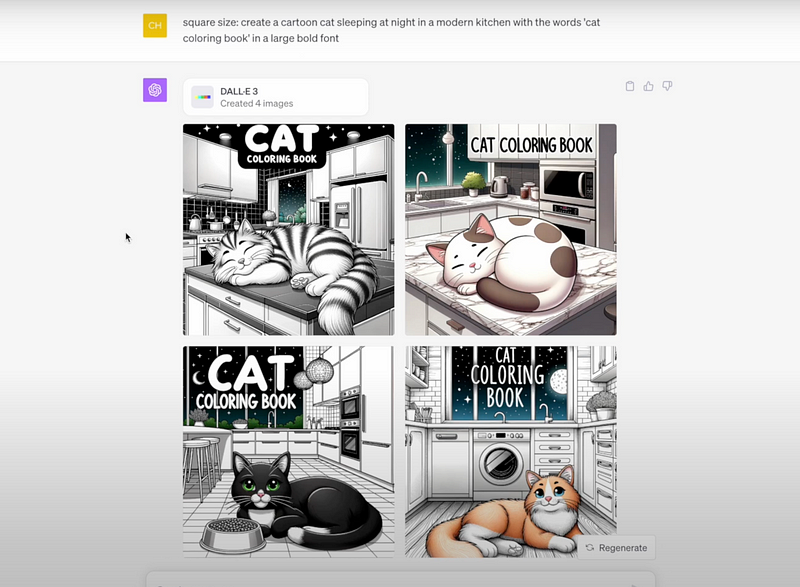
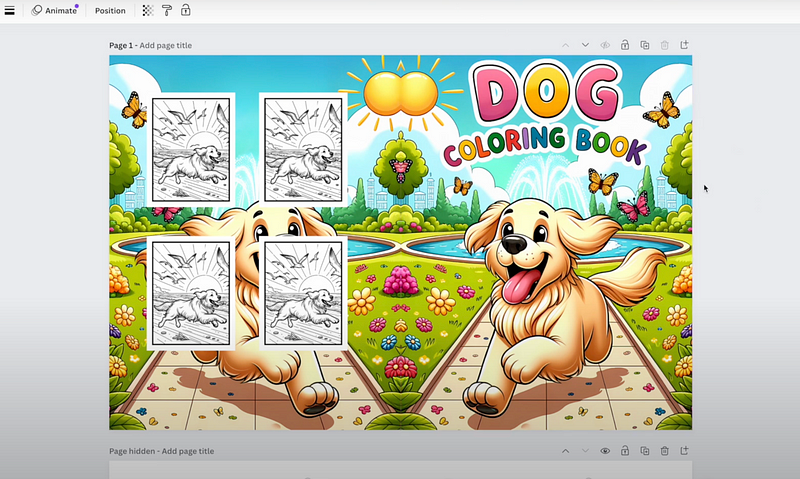
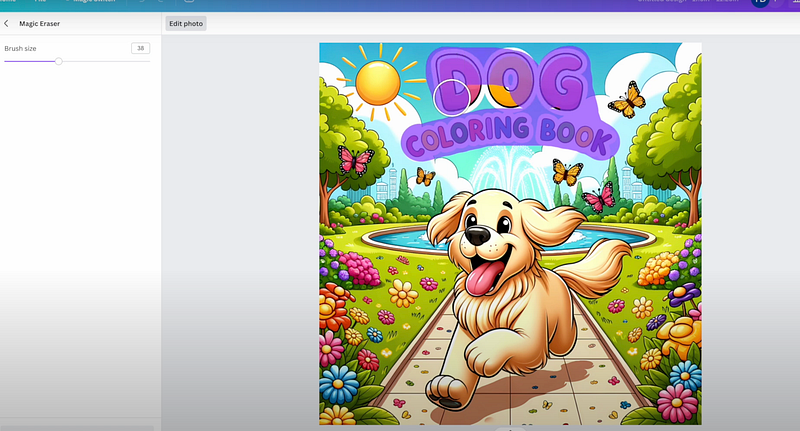
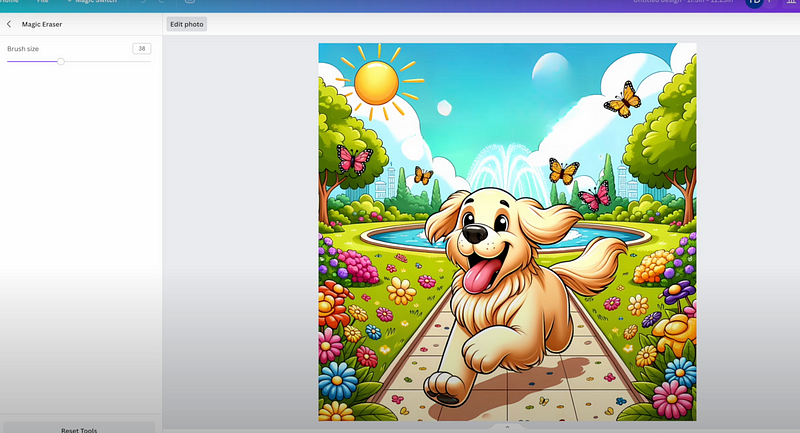
Dall-E 3 operates on your prompts. For instance, you can say, “Create a cartoon golden retriever running in the park with the word ‘dog coloring book’ in a large bold font.” Remember to use quotation marks if you want to add specific text to the image.
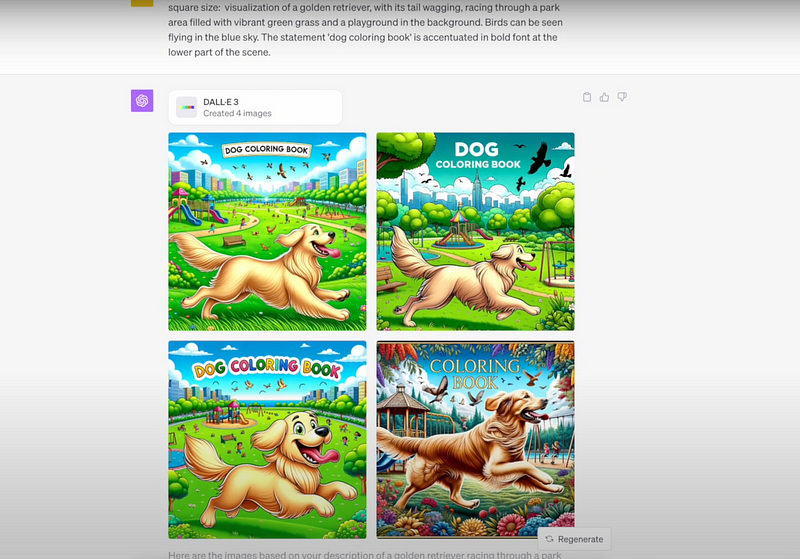
Step 4: Review Generated Images
After inputting your prompt, Dall-E 3 will present you with a range of images. It’s essential to inspect each image, focusing on factors like text consistency, design aesthetics, and alignment with your original prompt.
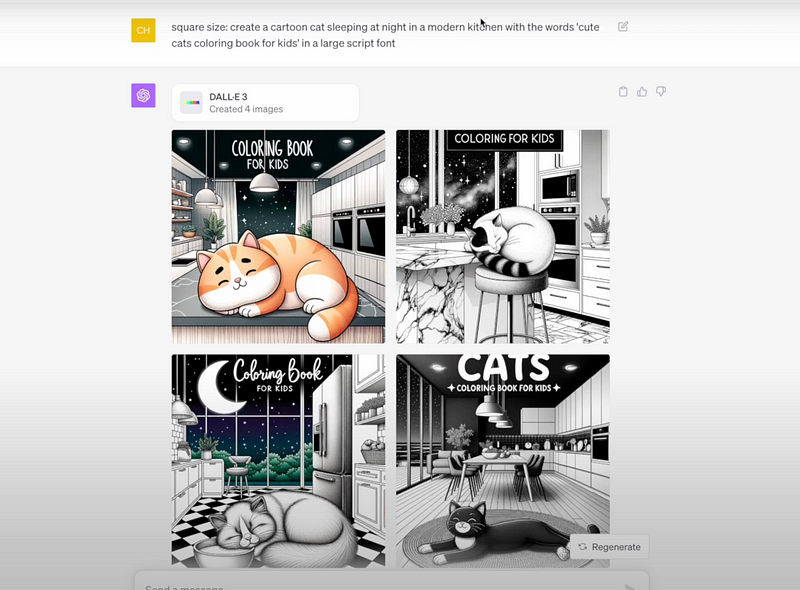
The top left image is labelled 1, top right 2, bottom left is 3 and bottom right is 4.
Step 5: Adjust and Modify
If you’re unsatisfied with the first batch of images, don’t worry! You can:
- Regenerate images, by clicking on the regenerate button in the right-hand bottom corner. This will create a brand new set of 4 images.
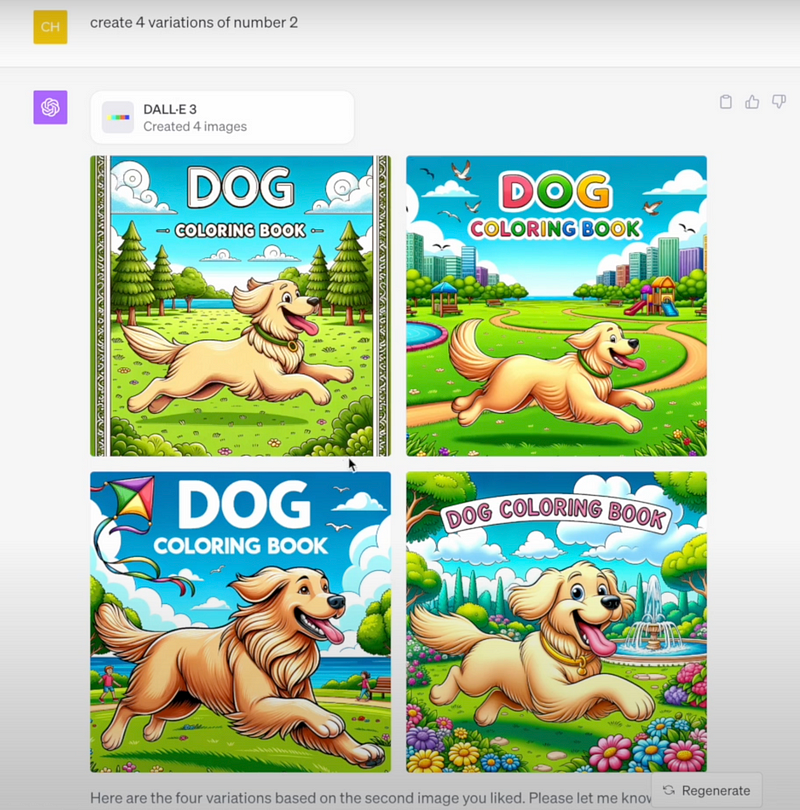
- Ask Dall-E 3 to provide you with a variation of your preferred image, to create a new set of similar images.
- Dall E 3 provides you with prompts for each image you generate. Use the prompt provided by clicking on a preferred image then copying and pasting the prompt to recreate or modify an image.
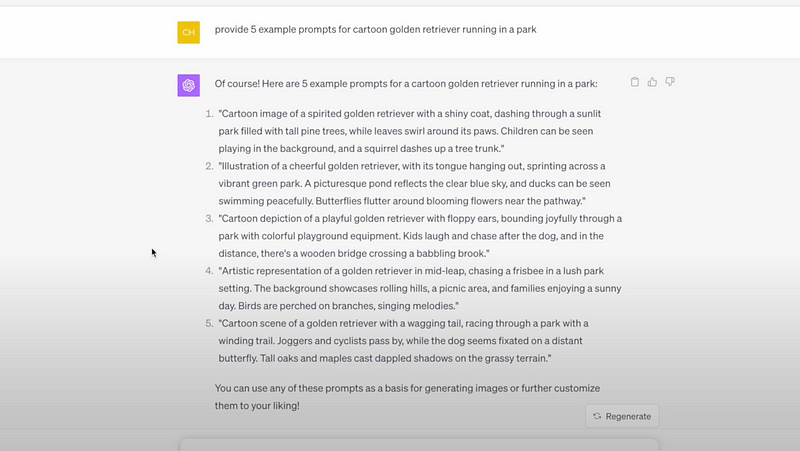
If you struggle with prompting you can ask for some example prompts based on a short description. You can copy and paste any prompt provided or modify it.
I found most success sticking to square-size images, when I tried to create images with a tall size (portrait) there were too many errors with the text in every image. However, the text were always more consistent with the square size.
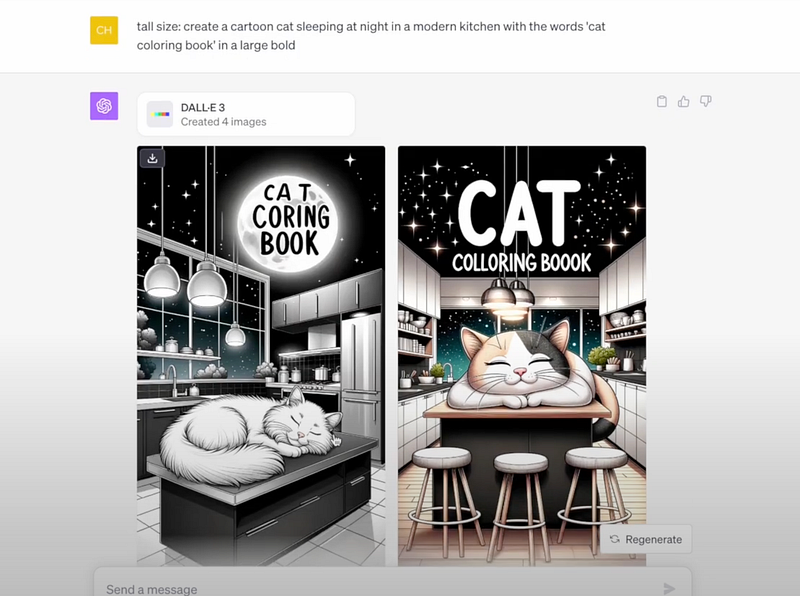
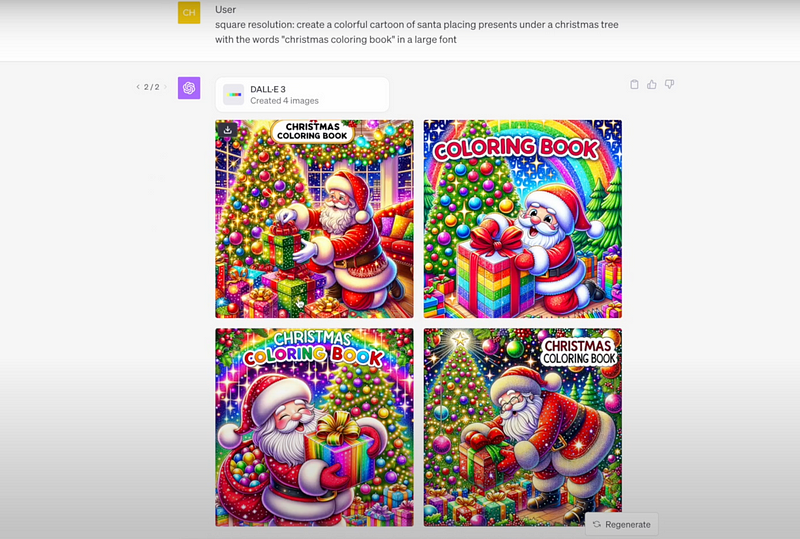
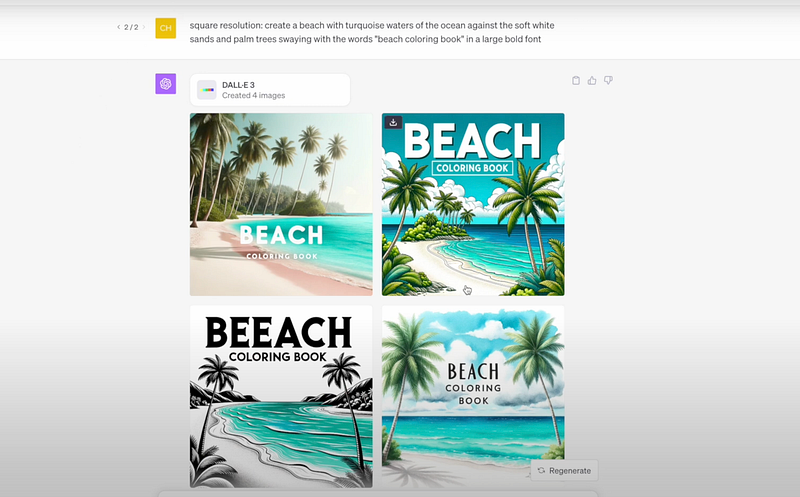
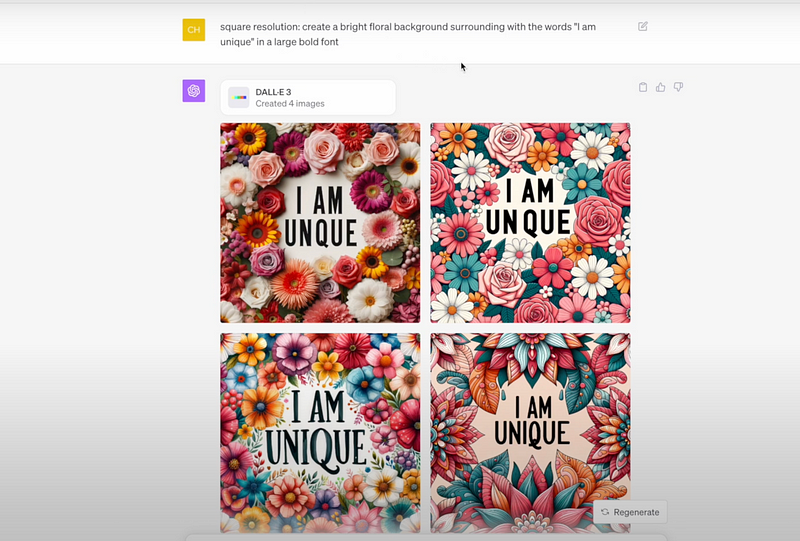
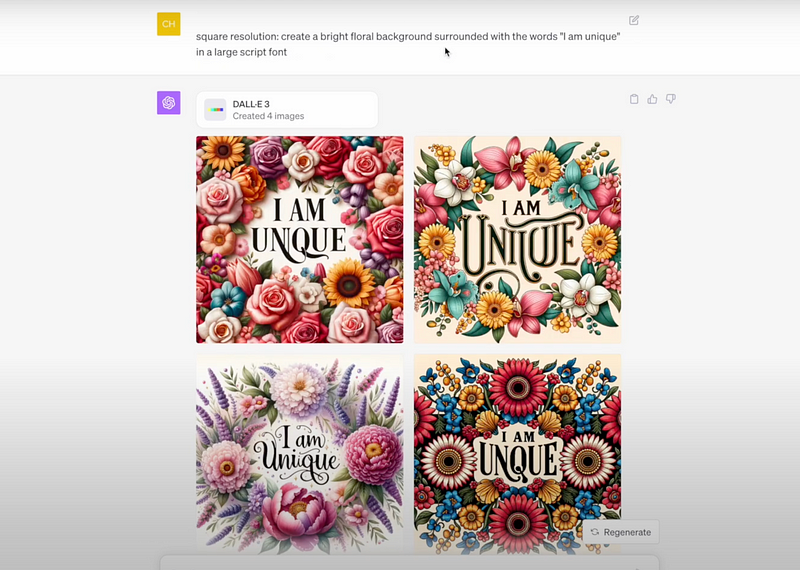
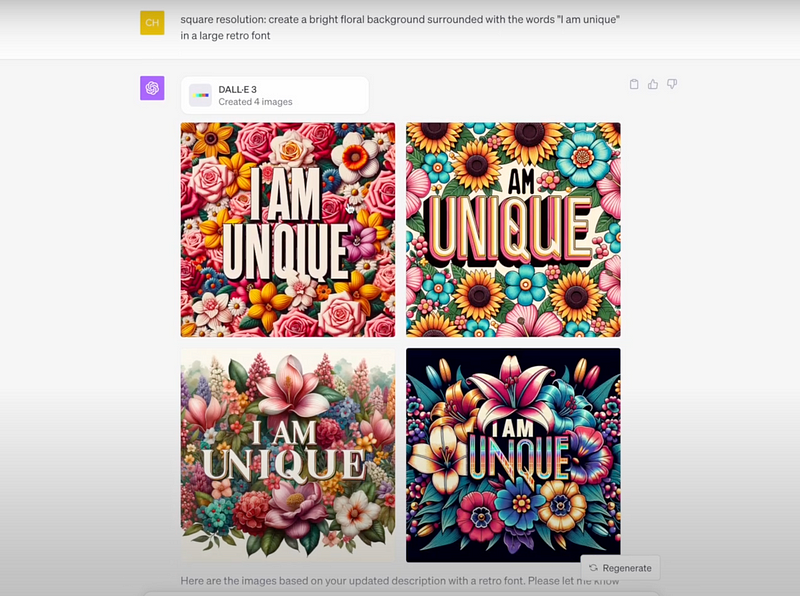
Here are some fun images I created with Dall E 3:
It’s also perfect for quote coloring book covers.
Step 6: Play with Font Styles
Besides the general prompts, you can specify font styles like “large script font” or “large retro font.”
However, to ensure accurate text representation, it’s recommended to stick to three to four words maximum in your prompts.
Step 7: Finalize and Download
Once you’ve landed on a design you love, hover over the image and click “download.”
Step 8: Refine with Design Tools
You can further refine your downloaded image using tools like Canva. For instance:
- Align the image for the front cover.
- Replicate for the back cover, removing any text.
- Add any other desired elements, like interior coloring page images on the back cover.
For those using Canva Pro, the ‘Magic Eraser’ tool is handy to eliminate text. Click on your image, opt for ‘edit photo,’ and find ‘Magic Eraser’ next to the ‘BG remover.’ Adjust the brush size and remove the undesired parts.
Final Thoughts
Dall-E 3 is a game-changer in the design world, making book cover creation a breeze. Although it might have occasional errors, this tool has only recently been released and it’s frightening to think how much better this tool will be in a few months.


