How to Create a web app with Reactjs, Mongodb, Flask and Fasttext
In our daily busy life, we need to create wonders and make miracles. One day when I was reading news an idea stuck. Why shouldn’t we gather finance and its related section articles from all top newspapers and place under one platform that to with a finite section tagging from diverse sections. With live updated news. Then the app got evolved. Which will be helpful and save so much time for new investors.
In this article, we will discuss the creation of a web app using Reactjs, Flask API, MongoDB, and Fasttext, which will display the information of news articles from various sources.
React is an open-source, reusable component-based, front-end JavaScript library used for building interactive UIs.
React uses a declarative approach which makes the code more predictable and easier to debug.
JSX(JavaScript Syntax Extension) JSX is a syntax extension to JavaScript. In React, it is used to describe how the UI should look like. With the help of JSX, we can write HTML code in the same file that contains JavaScript code.
Component A Component is considered as the core building block of a React application. It makes the task of building UIs much easier. Each component exists in the same space, but they work independently from one another and merge all in a parent component, which will be the final UI of your application.
There are two types of components: Class component, Functional component
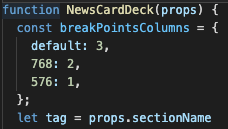
Mainly we use functional components in building our web app. Functional components are a way to write components that only contain a render method and don’t have their own state. They are simply JavaScript functions that may or may not receive data as parameters. We can create a function that takes props(properties) as input and returns what should be rendered.
Use State React components has a built-in state object. The state object is where we store property values that belong to the component. When the state object changes, the component re-renders. To use this, we need to import useState() from react in a particular component and write the variable, callable to change state as below.

by default, loadingnew is true to change it. We need to call setLoadingNew(false), so the value in the loadingnew will change.
Props Props stand for Properties. It is an object which stores the value of attributes of a tag and works similarly to the HTML attributes. It gives a way to pass data from one component to other components. It is similar to function arguments.
We can use {props.parentsvariable} to get the data from the parent and use it in the child component. Example in below pic
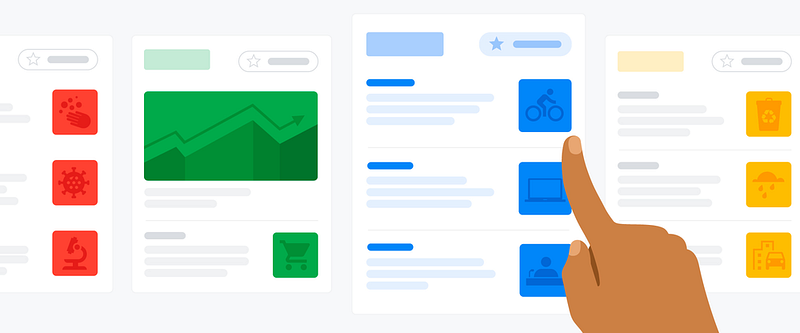
In our web app, we used 4 components: header, list of categories, news deck, news card section.

Installation of react can be followed from this link. curl -o- https://raw.githubusercontent.com/nvm-sh/nvm/v0.39.0/install.sh | bash
Now let’s discuss about the backend. I used MongoDB to store the data. Initially while installing mongodb I faced various issues. Later I deployed through docker with hassle-free solution. For more details on how to pull and use mongodb with docker, you can refer to this documentation.
One more issue I faced. When I was trying to connect with existing db in my local system to the docker image. I wasn’t able to use the latest version image, later I used 4.2 version. It worked perfectly.
$ docker run --name some-mongo -v /my/own/datadir:/data/db -d mongoNow the database is up and running! what about the data? The extraction of articles is done through scraping from diverse online sources. For scraping, we are going to use the Beautifulsoup module with python programming. Which collects data and at the same time it stores in the database real-time.
Now let’s understand how to Scrape an article. You can refer to my previous post. In that until extraction part is required. The extraction pattern/code may varies from website to website it mainly depends on the structure of the design. We need to extract the title, description, total content, keywords, and time stamp.
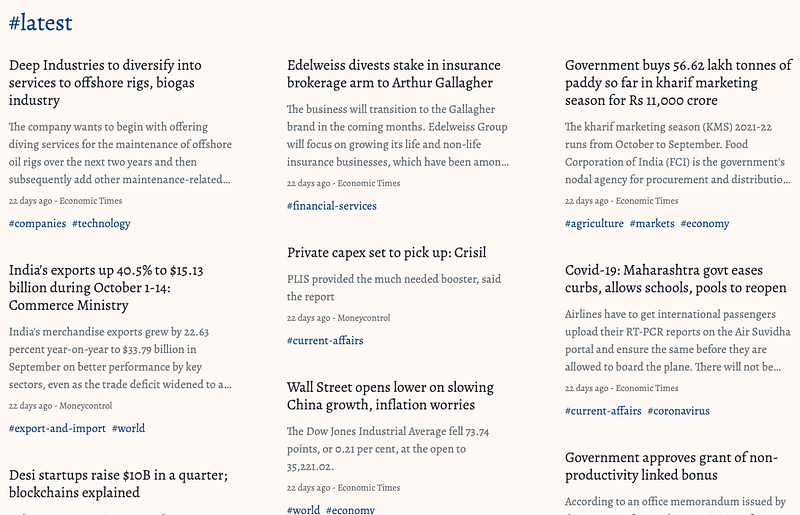
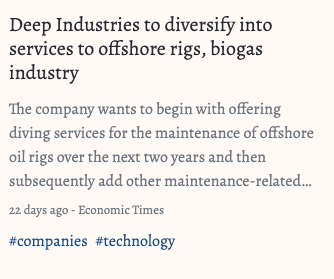
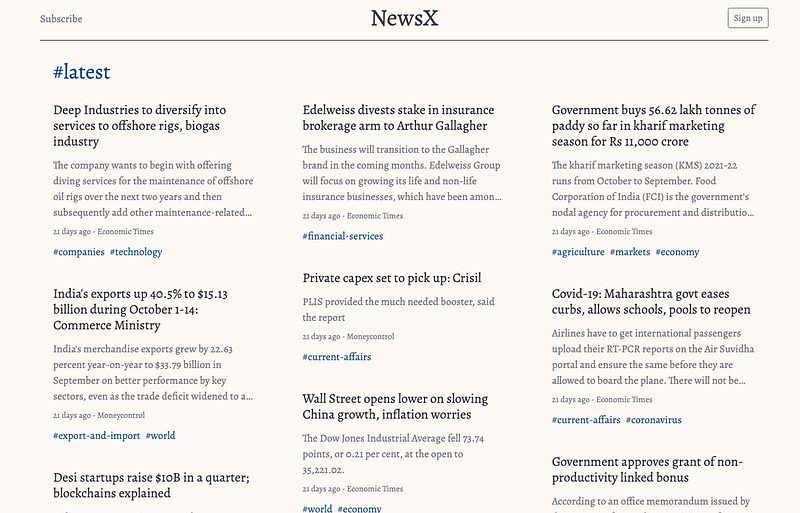
To present the articles in an Aesthetic view under categories and latest section. Which makes the user feel a good experience over the web page. Based on enumerous keywords, let us make them into finite categories. Now let’s use machine learning here, fasttext. We Created a model which predicts with a decent accuracy of 0.8 AUC. Trained it with closely 100Gb of articles. To give rough stats about data. We classified 700 keywords to 53 classes. Used fasttext model regarding training and updating tags. For more info on fasttext check this tutorial.
Flask API services let you interact with the database by simply doing HTTP requests. In our application, it will pick up the articles and reflect them on the frontend page according to the category filter.
Now we can run the application that we have designed. We can see our app, through devices(computer,mobile) which are connected to same network by searching with our system IP address and port number. Where as devices from different networks can’t see the app. Here comes reverse tunneling topic.
To do reverse tunneling I decided to create a free instance in GCP with free credits. After creating an instance, now generate ssh key on the local system. Copy the public key and paste it into the ssh key section of the instance.
ssh-keygen -t rsa -b 4096 -C myfirstprojectuser #in localsystem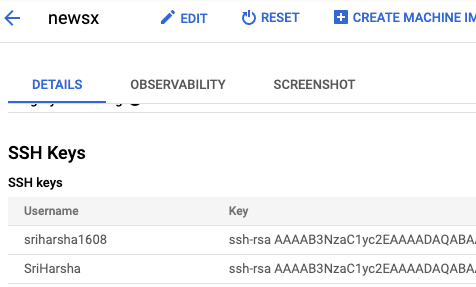
So you can login to the remote from the local one. Next, go to the elastic IP and make the present IP address a fixed one. Next, follow the below steps for more analysis.
#!/bin/bash# it’s usually a good idea to exit upon error
set -e# your connection parameters
user=rrehm
server=example.org
remotePort=1234
localPort=80# some stuff autossh needs to know
AUTOSSH_SERVER_ALIVE_INTERVAL=30
AUTOSSH_SERVER_ALIVE_COUNT=2
export AUTOSSH_POLL=30
export AUTOSSH_GATETIME=0
export AUTOSSH_LOGFILE=”/tmp/autossh.log”# clean up log file on start
touch “${AUTOSSH_LOGFILE}”
rm “${AUTOSSH_LOGFILE}” || trueautossh -f -M 0 \
-o “ExitOnForwardFailure yes” \
-o “ServerAliveInterval ${AUTOSSH_SERVER_ALIVE_INTERVAL}” \
-o “ServerAliveCountMax ${AUTOSSH_SERVER_ALIVE_COUNT}” \
-A ${user}@${server} \
-R ${remotePort}:localhost:${localPort}Create a file in local system with this code and change the parameters according to yours and run the file. It will auto reconnect the tunnel. In the other terminal window log in to the remote computer and check with command curl localhost whether the code of local system localhost HTML code is reflecting or not.
Next, let’s make the remote localhost:3000 to reflect for 8080 port. Follow below steps:
sudo apt-get install nginx
sudo rm /etc/nginx/sites-enabled/default
sudo nano /etc/nginx/sites-available/node
server {
    listen 80;
    server_name example.com;
location / {
proxy_set_header X-Forwarded-For $remote_addr;
proxy_set_header Host $http_host;
proxy_pass "http://127.0.0.1:1337";
}
}sudo ln -s /etc/nginx/sites-available/node /etc/nginx/sites-enabled/nodesudo service nginx restartNow let’s get the certificate to our IP address through certbot with python. Let’s follow the steps from a resource. If we have a domain DNS, we can link it with our remote fixed IP. Make sure the firewall is not blocking the request on port 80. So the page can be viewed by everyone.
On top of this, I added some more features to my web app like dark mode with the help of CSS and js and useState(). When clicking on the button it needs to change the state and with the class theme ternary operator. It needs to reflect, its CSS properties and display the page, and with the js set the value to local storage. It is used when a refresh occurs by mistake it needs to reflect the previous state based on user preference mode whether dark or light. One more feature search bar to search for a particular tag and go directly to that news. With the help of route and params and usehistory().
Next to the make web app as a progressive web app, we require some more additional touch-ups to it. Like manifest.json and worker.js etc.., with the help of the google chrome lighthouse option. We can see what are other requirements are required. By visiting pwa.builder.com and entering our website address we can get missing and required code for making a perfect progress web app. At last with adding all required things, relaunch app and check with the lighthouse whether it meets all the properties of pwa. Now we can download our app.


