
How To Build and Publish an Angular Component Library
Writing a library, using it in local, publishing and use it in the apps

Sometimes you need to extend the Angular functionality by creating Angular libraries. There are so many reasons for doing this: You have so many apps and you need to implement the same functionality in each app and these apps are separately maintained and deployed, Another reason would be you are a third-party vendor and you want to expose your product to the public, etc. A simple example might be a button that sends users to your company website, that would be included in all apps that your company builds.
The entire guide is already well documented on the Angular site here. What I would like to demonstrate here is the entire process with example projects. First, we create a simple library and see all the necessary steps, and then, we will see how to publish, versioning, and import in different apps.
- What are we building?
- Example Projects
- Creating a Library
- How To Use In Local Environment
- Important things to consider
- Publishing a Library
- Versioning
- Import and use it
- Summary
- Conclusion
What are we building?
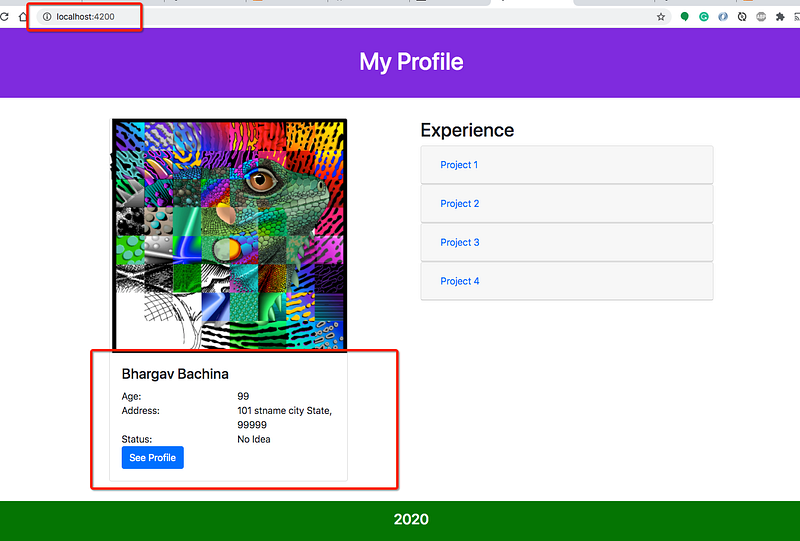
Let’s see what exactly we are building as a component library. We have two portfolio sites called My Profile and Your Profile and each site is using a profile card as a component library.
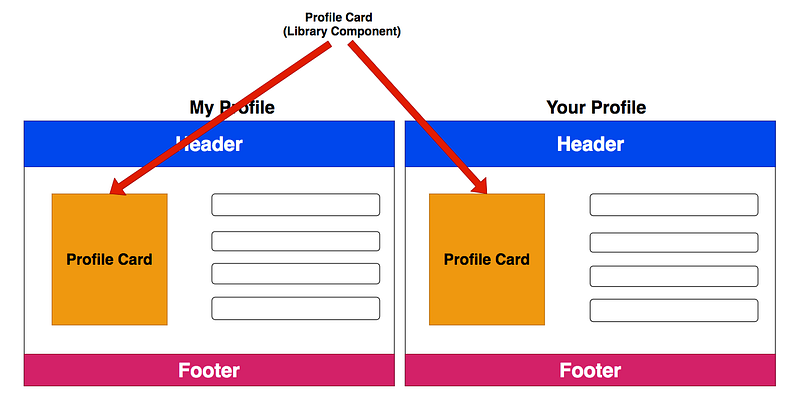
So, we are building a Profile Card as a component library. First, we go through the process of building a component library, using it in each app in the local environment, publishing it, and use the published one in the apps.
Example Projects
Here is the Github link for all the projects. The component library profile-card is under the lib-workspace. The my-profile and your-profile are actual Angular applications that consume and use the component library profile-card.
// clone the project
git clone https://github.com/bbachi/ng-component-lib-projects.git
// Run the my-profile app
cd my-profile
npm install
npm start// Run the your-profile app
cd your-profile
npm install
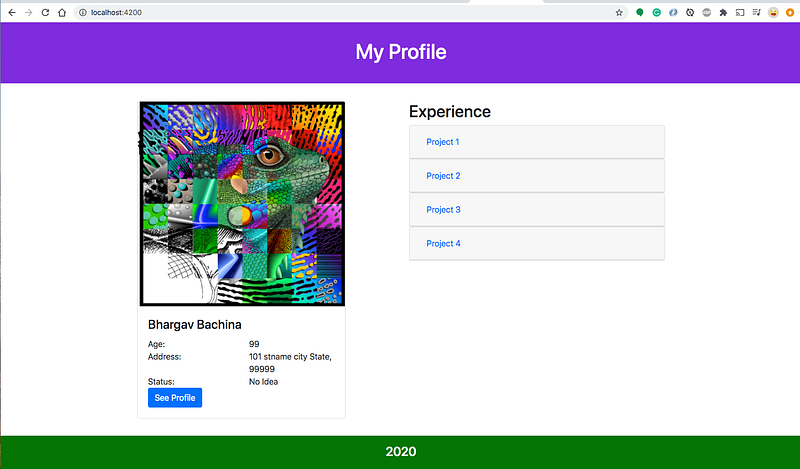
npm startThis is the my-profile app that runs on the port 4200.
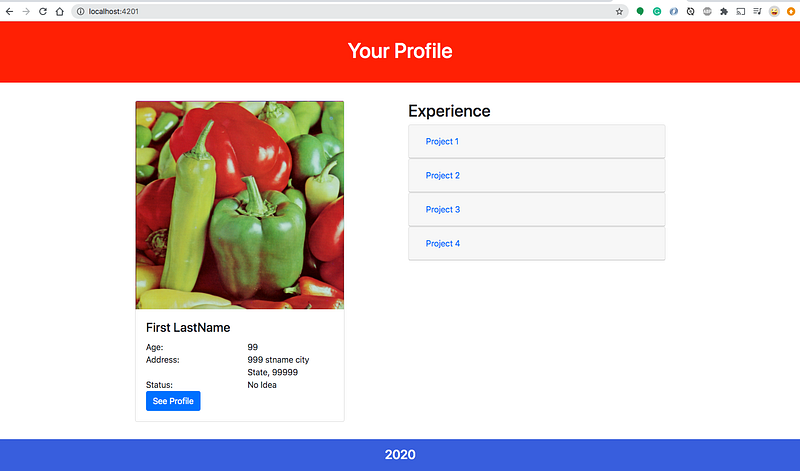
This is the your-profile app that runs on the port 4201.
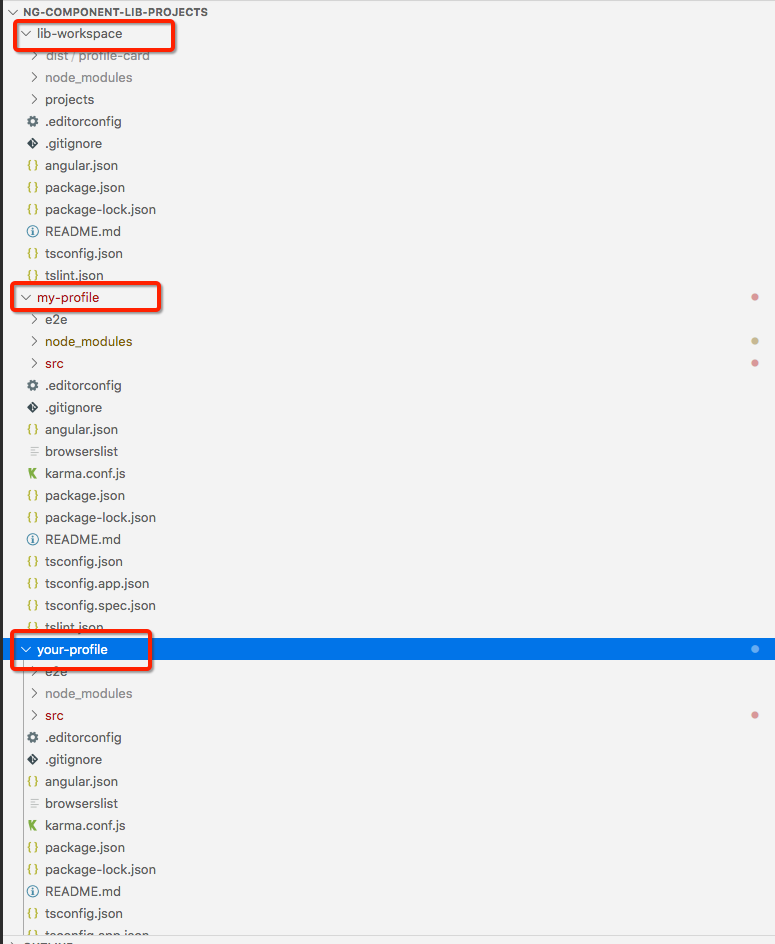
Here is the project structure with the component library and both apps working together.
Creating a Library
Creating an Angular library is pretty easy and all you need to follow the steps here on this page.
Here are the commands to create a component library for this project.
ng new lib-workspace --create-application=false
cd lib-workspace
ng generate library profile-card
Here is the profile-card library project structure
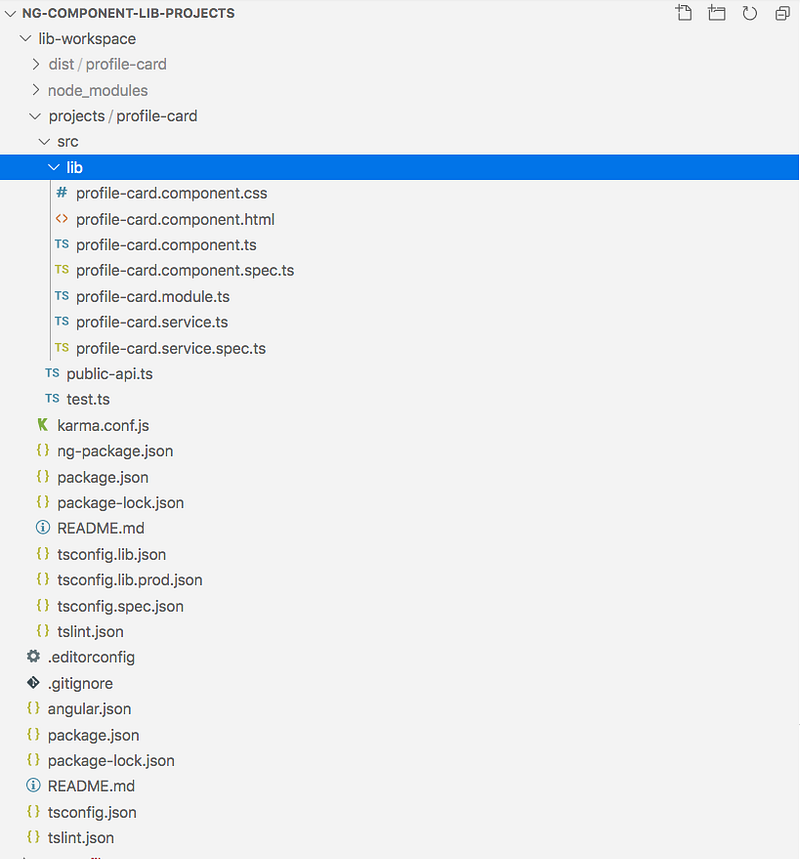
To make library code reusable you must define a public API for it. The public API for your library is maintained in the public-api.ts file in your library folder. Anything exported from this file is made public when your library is imported into an application. Use a NgModule to expose services and components.
Let’s go through the actual code for this library. This is a simple bootstrap card that takes several properties as an input such as image URL, name, address, name, etc.
You can create additional components and services depending on your functionality. Use the Angular CLI and the npm package manager to build and publish your library as an npm package. Make sure you build it using the flag--prod which will use the older compiler and runtime known as View Engine instead of Ivy.
// go to the projects folder
cd lib-workspace/projects/profile-card
// build the library
ng build profile-card --prod
How To Use In Local Environment
You have created a library and built it. Let’s see how we can use this library in our apps without publishing it. When you build a library all the built code will be put into this folder lib-workspace/dist/profile-card.
We have two apps my-profile and your-profile in the above example cloned project from the Github. Let’s see the example of using the library in one of the apps. We need to use npm link to use the library without publishing it. Go through this link if you are not familiar with it.
npm link in a package folder will create a symlink in the global folder {prefix}/lib/node_modules/<package> that links to the package where the npm link command was executed.
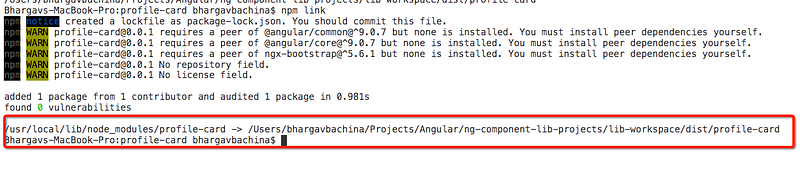
You need to do in two places one in the library and another in the app. First, you need to go to the library folder lib-workspace/dist/profile-card and do npm link, it creates a symbolic link.
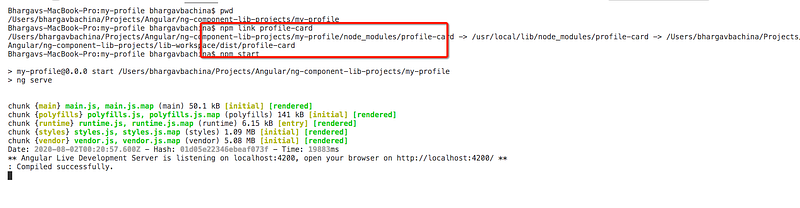
In the app, you have to install the library with this command npm link profile-card and start the application.
Once you do the above command you can import the library as you are importing from the published library. Here is the App module file where this library is imported (line 9).
Once it is imported in the app module file you can use directly in the app component. Here is the app.component.html file (line 5).
Here is the app running in the browser.
Important things to consider
It is not recommended to publish Ivy libraries to NPM because Ivy generated code is not backward compatible with View Engine. Please go through this link to know more in detail.
For that, you have to do two things. First one is use --prod flag when building a library.
ng build profile-card --prodThe second thing is that you have to put this option enableIvy: falsein the tsconfig.json file of the apps (my-profile and your-profile).
Publishing a Library
We have seen how the library works in the apps locally. It’s time to publish this library into the npm registry. You need to create an npm account if you don’t have one. Here is the link to login or create an npm account.
It seems there is already an npm library called profile-card so I changed the name from profile-card to bachina-profile-card. You can change that in the package.json file of the library.
// go to library and build
cd lib-workspace/projects/profile-card
ng build profile-card --prod
// go to dist folder and publish
cd lib-workspace/dist/profile-card
npm publish
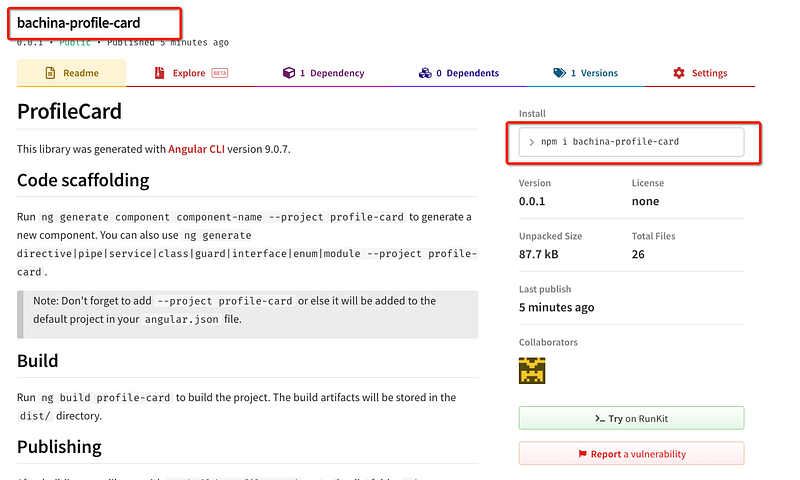
Here are the link and the page of the npm registry for this library.
https://www.npmjs.com/package/bachina-profile-card
Versioning
Now it is published to the npm registry with version 0.0.1. Every time you change anything you should publish changes with a new version. Go through this link if you are not familiar.
If you notice that see Profile button on the card is blue color and I want to change this color to red. Let’s change and publish with a new version.
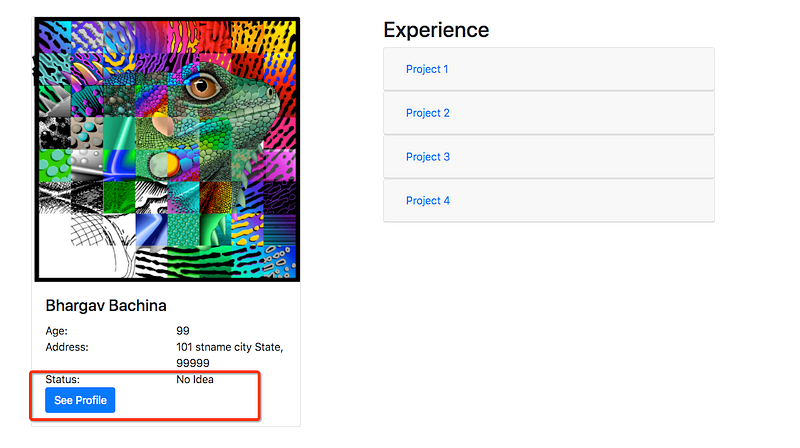
I have changed the button color in the profile-card.component.html of the library.
Let’s build the library again with a new version and publish it again.
// go to the projects directorycd lib-workspace/projects/profile-card
npm version major // change the version
ng build profile-card --prod //build the library// go to dist folder and publish
cd lib-workspace/dist/profile-card
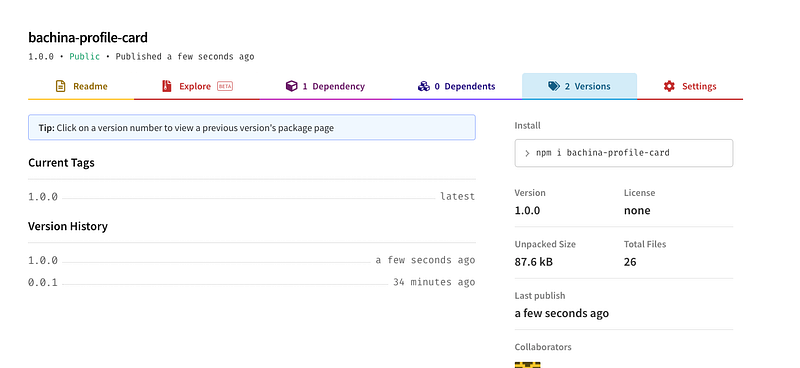
npm publishNow, you can see two versions of this library.
Import and use it
We have published three versions of the library and its time to install with the command npm install. Let’s import the version 1.0.0 in the my-profile app and import the version 1.0.1 in the your-profile app.
my-profile app
Let’s install the version 1.0.0 in the my-profile app with this command npm i [email protected]
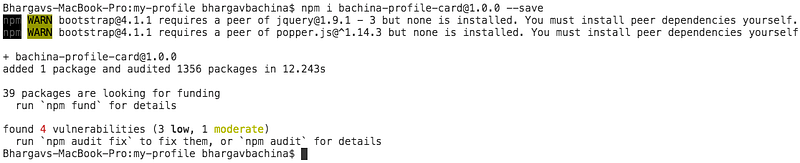
Once installed, you can see the following entry in the package.json and you can import that in the App module.
// package.json
"bachina-profile-card": "^1.0.0",
// App Moduleimport { ProfileCardModule } from 'bachina-profile-card';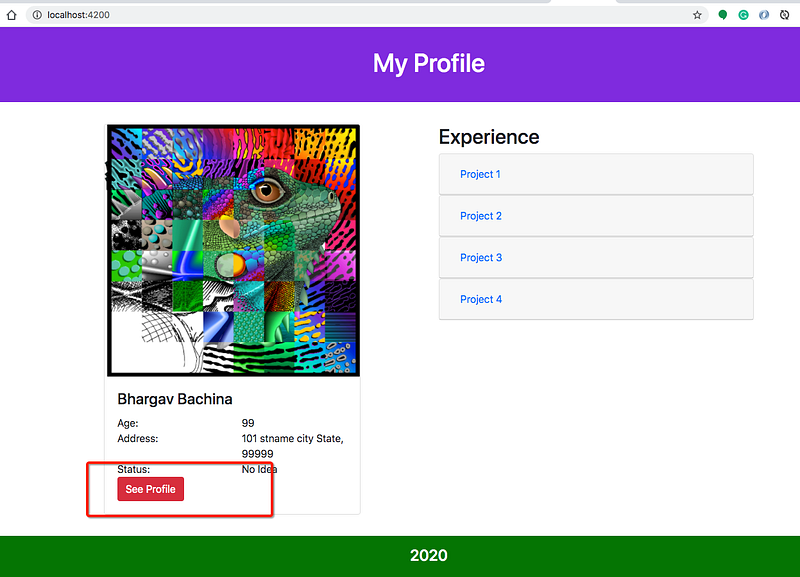
your-profile app
Let’s install the version 1.0.1 in the your-profile app with this command npm i [email protected]
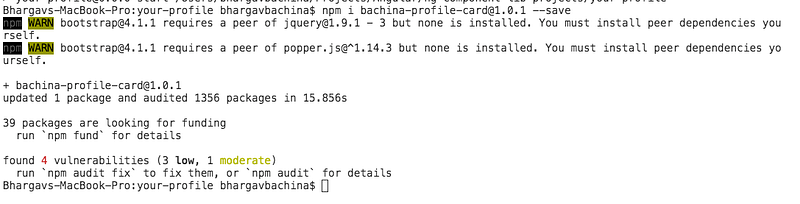
Once installed, you can see the following entry in the package.json and you can import that in the App module.
// package.json
"bachina-profile-card": "1.0.1"
// App Moduleimport { ProfileCardModule } from 'bachina-profile-card';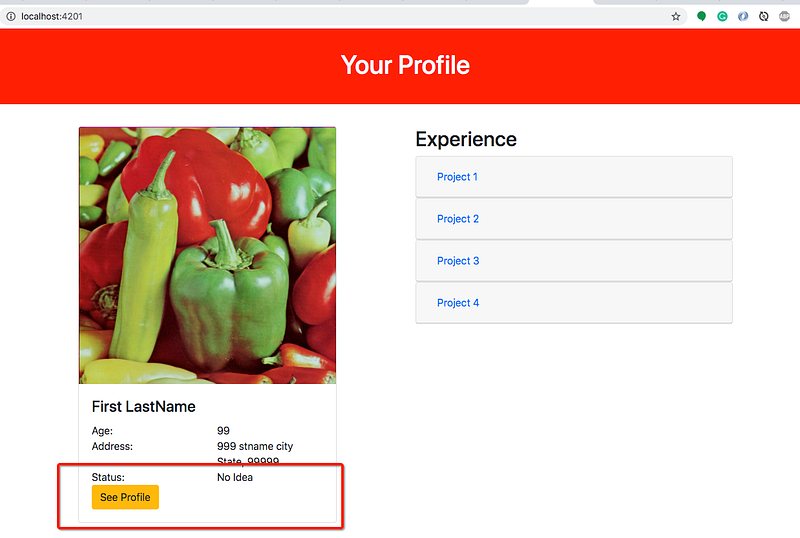
Summary
- Sometimes you need to extend the Angular functionality by creating Angular libraries.
- We built a Profile Card as a component library and went through the process of building a component library, using it in each app in the local environment, publishing it, and use the published one in the apps.
- Creating an Angular library is pretty easy and all you need to follow the steps here on this page.
- To make library code reusable you must define a public API for it. The public API for your library is maintained in the
public-api.tsfile in your library folder. Anything exported from this file is made public when your library is imported into an application. Use a NgModule to expose services and components. - Make sure you build it using the flag
--prodwhich will use the older compiler and runtime known as View Engine instead of Ivy. Libraries don’t support the Ivy engine right now. - In the local development, you can use the npm link.
npm linkin a package folder will create a symlink in the global folder{prefix}/lib/node_modules/<package>that links to the package where thenpm linkcommand was executed. - Use
enableIvy: falsein the tsconfig.json file of the apps to disable the Ivy engine. - You need to create an npm account if you don’t have one. Here is the link to login or create an npm account.
- Every time you change anything you should publish changes with a new version. Go through this link if you are not familiar.
- Once it is published, you can install any version with @ symbol like
npm install [email protected]
Conclusion
It’s quite common to extend the Angular by writing Angular libraries and it’s very important to understand how to write these libraries, how to use these in the local environment while developing, publishing it to the npm registry and finally how to use published libraries in the app with the versioning.