Django and Stripe subscriptions— Part 1
So you want to build a membership site or charge for your digital product/downloads and don’t know what tool to use? Use Django.
You can, of course, use Wordpress and one of the many e-commerce plugins, but many of them require payment of an annual or monthly fees. Sure they might be easier and faster but why spend when you can build your own?
Building it with Python and Django is free, except payment for the VPS hosting the site and perhaps a small fee for the payment integrator (which you would also pay going with Wordpress).
Given that, let’s learn how we can build our membership site and start selling our digital (or even physical) products.
1) Starting our Django project
I assume that you know how to install Python and Django and have already experience with both, the focus is not on a step by step tutorial for installation.
So let’s begin…
We start our project with the classic Django project start:
django-admin startproject cloudhomelab
We navigate to our home directory (were manage.py is located) and we run our project with:
python manage.py runserver
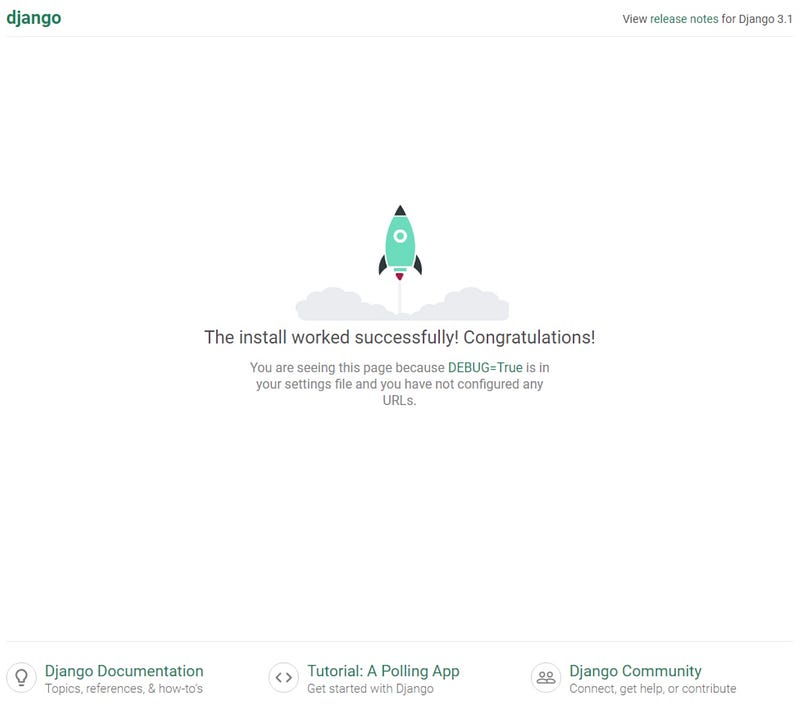
And if all went successfully we can open our browser on:
We should see the Django default page:
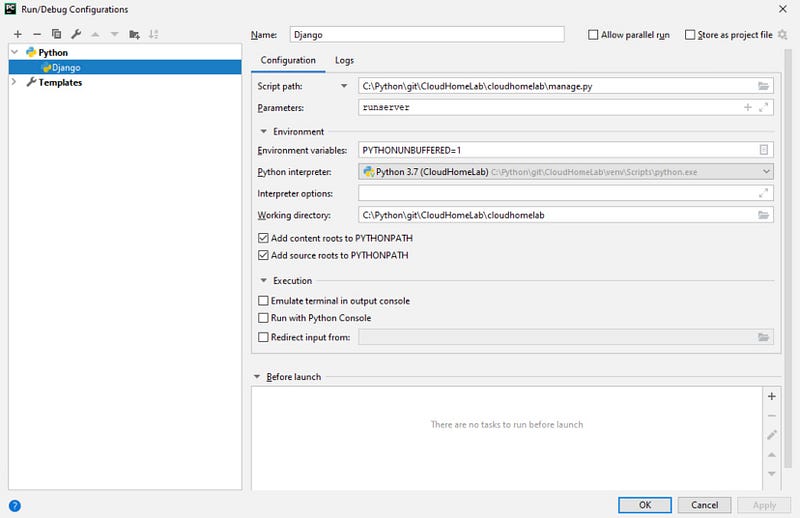
If using PyCharm we can also create a run configuration like this:
2) Create our membership application
Now that we have our project up and running, we create our membership application (on our manage.py directory):
python manage.py startapp membership
Having created our aplicattion, let’s write our first view in ‘membership/views.py’:
We also need to map our urls in the ‘membership/urls.py’ (create file if necessary):
And add it also to our main ‘cloudhomelab/urls.py’:
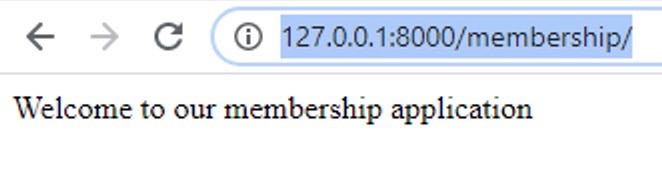
We run our server and navigate to http://127.0.0.1:8000/membership/:
3) Access the admin interface
Django has built-in user authentication system and also a fully functional back-office for administrating not just users but also other site configurations and/or data.
First we need to have access to a database, by default Django comes installed with a SQLite interface. We will use that for our local database and we prepared the database with:
python manage.py migrate
Before using the admin interface we need to create a user (or superuser) to access it:
python manage.py createsuperuser
Just follow the prompts and create your user details login credentials. This user will have access to manage the admin website.
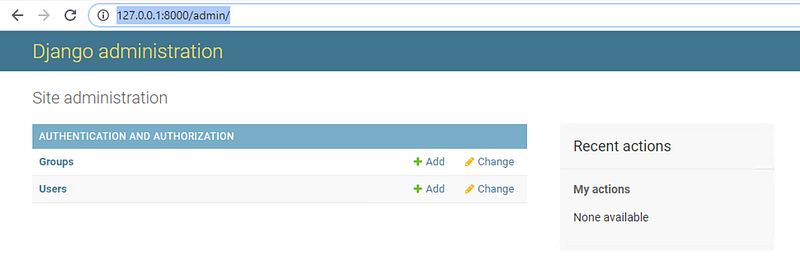
Running the server and accessing the admin website at http://127.0.0.1:8000/admin/, we can authenticate with the created user:
4) Authentication with the default Django plugin
Before using the built-in authentication system, we need to register our new app in the ‘cloudhomelab/settings.py’:
We need to include the default authentication urls from the Django plugin, so we add the following to our ‘cloudhomelab/urls.py’:
In our case we are also going to customize our signup form, so we create a custom form by adding it to ‘membership/forms.py’ (create file if needed):
Now that we have the urls and the form setup, we need to configure the views that will load for each page, so we add the views definition to ‘membership/views.py’:
In the signup, we validate the form, create the user and login that same user. After logged in, the user is redirect to the homepage.
As you can see we are refering to some html templates in our view definition, so we need to create these files so that they can the loaded, for that we add our registration templates to ‘membership/templates/registration/’ folder:
These templates refer to a base template that includes common functionality, so we also need to create it and our home page.
Our base templates are going to be created in the ‘membership/templates/membership’ folder:
We now have all the urls, form, views and templates setup, next step is to ensure that the login and logout redirects point correctly to our pages, so we need to edit our ‘cloudhomelab/settings.py’ (adding at the end of the file):
This redirects the user to the home page after logging in and out and when accessing a page that requires login, the user will be redirected to the default login page from the Django plugin.
If we now run our server, we can perform the following functionalities:
- Login
- Logout
- Signup
In addition, if we try to access http://127.0.0.1:8000/auth/settings without being logged in, we will be redirect to the login page because of the login_required in the membership/views.py.
This concludes Part 1 of our tutorial series. In this part we perform the following:
- Started our Django project and membership application
- Created and setup access to the Admin interface on Django
- Authentication with the default Django plugin
Now that we have the basis of controlling access to our website, on the next part we will learn how to create the memberships itself.
You can check out my GitHub at https://github.com/nunombispo
Or check my website at https://developer-service.io
Check out part 2:
If you enjoyed reading this article and found it usefull, you can support me by signing up for a Medium membership (if you are not a member). It will only cost you $5 a month — this will give you access to all stories on Medium! (and I will receive a small commission)
Besides that, if you want to stay updated when I post a new story, you can signup for my free newsletter!