
How I use Readwise Reader across Mac, iPad and iPhone
Readwise (www.readwise.io) has long been at the heart of my data capture workflow. However, last year the Readwise development team released an additional service called “Reader” which has been tagged as a Read-it-Later app.
Having tried the likes of Pocket and Instapaper, I’ve typically been reluctant to pay for such a service. However, Reader is so much more than either of those apps offering an RSS service and AI capabilities (known as Ghostreader) to provide summaries or engaging questions from content uploaded into the app.
Reader is technically still in Beta, so is provided for “free” as part of a Readwise Pro subscription. I have been using it for over six months now, to the extent that Reader is now as important to me as the core Readwise app.
Let me explain how I use it so hopefully you can understand why this has become such an important app for me.
What is Readwise Reader?
As mentioned above, to classify Readwise Reader as a Read-it-Later service is doing it a mis-service. The typical Read-it-Later app (such as Pocket or Instapaper) will store an article you’ve found online and allow you to read it and categorise it at a later date, even if you’re offline.
Reader takes the same premise but extends it out across pretty much every media type you’ll find online. Aside from just taking in standard HTML, Reader will also collect and process Tweets, PDF files, and ePubs as well as transcribing YouTube videos when subtitles are available.
The application is, unsurprisingly, tightly integrated with the main Readwise service. As such, any quotes or passages in your media that resonate with you can be highlighted, tagged and stored instantly. They can then be served up as part of Readwise’s spaced repetition system either by email or in-app.
Stage one: Content collection
While browsing the internet, if I come across something that I think I might be interested in I’ll save it to Reader. I can do that on the Mac via a dedicated browser plugin or through the share menu if I’m browsing on an iPhone or iPad.
It’s worth noting that at this stage, I don’t know whether the content will be useful to me or not. I might just be intrigued by a headline or an interesting first paragraph. The point is that I may not have the time to properly assess the content there and then, so I’m simply saving it for when I do have time rather than lose it entirely.
Also stage one: Receiving content
Readwise Reader can also handle RSS feeds and newsletters. In both of these instances, I don’t go looking for content – it is sent directly to my app . Once I’ve set up access to a website’s RSS feed, any future blog posts will show up within Reader.
Equally, all Reader subscribers are given a unique email address that they can use to sign up for newsletters. This is a huge plus for me as it keeps newsletters out of my email inbox and ensures that they are put in the same place as the rest of my third party content.
Not only is all that content stored within Reader, but the app also allows you to categorise your emails and newsletters into various “Views” which are essentially filters.
For example, you can have an “App News” view for articles from your favourite tech websites while filtering all of your “Health” articles and newsletters into a separate view.
It makes things much easier to categorise and find useful articles at a later date.
Stage two: Evaluation
With all of my potentially interesting contenting in one place, I can then start to evaluate what I want to keep and what I want to get rid of. Ideally, each evening I’ll dig out some time to work through my Readwise inbox on my iPad.
What I’m looking to determine is whether the content is as interesting as I thought it might be. To do that, I’ll probably read through the article in its entirety. If I want to keep the article I’ll move it into my “Later” folder within Reader.
If the content doesn’t offer anything new or isn’t what I hoped it might be, then I’ll just delete it there and then.
Stage three: Highlighting and archiving
Once a week, I’ll process my “Later” folder. These are the articles that I know I’m interested in so I’ll read through them again, this time with more focus. I’ll highlight parts of the content that resonate with me and tag each highlight based on associated themes or life roles Cvcv. The document will also get tagged up with a general theme.
With that all done, I’ll then move the file into my Archive to keep it for the long term.
As an aside (and one of the coolest things in the app!), any highlights that you make to a web article within the app will also show up on the live web page in your browser the next time that you visit it.
Stage 4: Output
Once you’ve archived the documents that you want to keep, make sure that they don’t get forgotten about. Any highlights you’ve made will be pushed to the main Readwise service, which in turn will output your highlights through any integrations that you’ve set up.
As such your highlights can go from Reader to your PKM (think Notion, Obsidian, Tana etc.) without you needing to do anything.
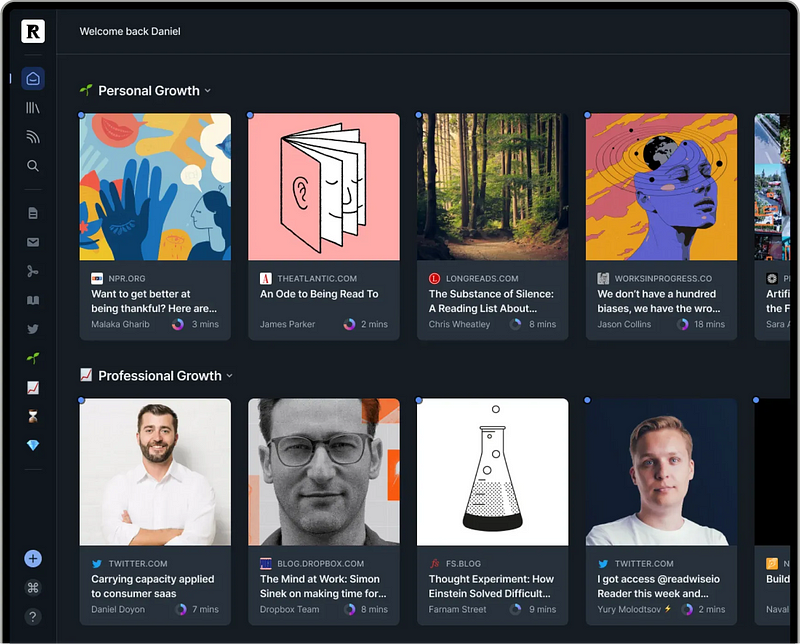
One other way to ensure that archived files don’t get forgotten about is to configure the home page of the Reader App. You can decide how your articles are displayed on the app either by selecting specific views to be displayed or building queries based on various metadata metrics such as Date Saved, Reading Time and Date Last Read.
By following the above, I can make sure that I don’t forget any useful digital information that I come across – regardless of whether thats an online article, an ebook or a YouTube video.
All I need to do is highlight the areas that are of particular relevance to me, tag it up properly and Readwise Reader will archive the content, while the core Readwise service will push the information directly into my PKM where I can link it to other notes.
It’s quick easy and is a process that happens with me only needing to commit time to reading/watching content that I believe might be useful anyway.
It has been of huge use to me both personally and professionally as it means that I can instantly find relevant information, stats or background details for my writing.
For more information and to kick off a free sixty-day trial (as opposed to the standard thirty-day trial), head on over to the Readwise website using this link.
One last thing …
Thank you very much for taking the time to read the article above — I hope you found it useful. If you did, then you might be pleased to know that I’ve finally got myself sorted out, socially. You can now find me on Bluesky and Mastodon.
If that’s not up your street, then feel free to follow me here or hit the clapping hands so that other people like you will find the article. Hopefully, they’ll find it useful too!


