
How I Published a Book in 30 Days. Is it Worth It for Passive Income?
Step-by-Step Amazon KDP Self-Publishing Guide for First-Time Authors
I’m super thrilled to share that I was able to accomplish my 30-day passive income challenge for September. In fact, I wrote my 4th self-published book in around 3 weeks!
Today I’ll explain why and how you can do the same and earn a little passive income on the side.
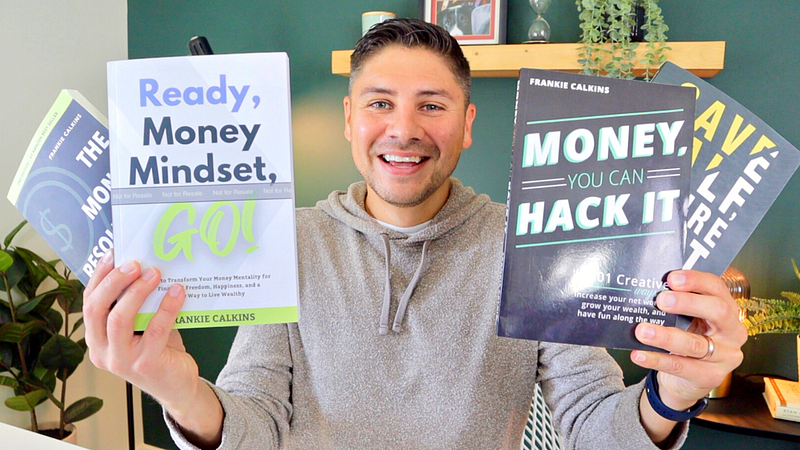
READY, MONEY MINDSET, GO!
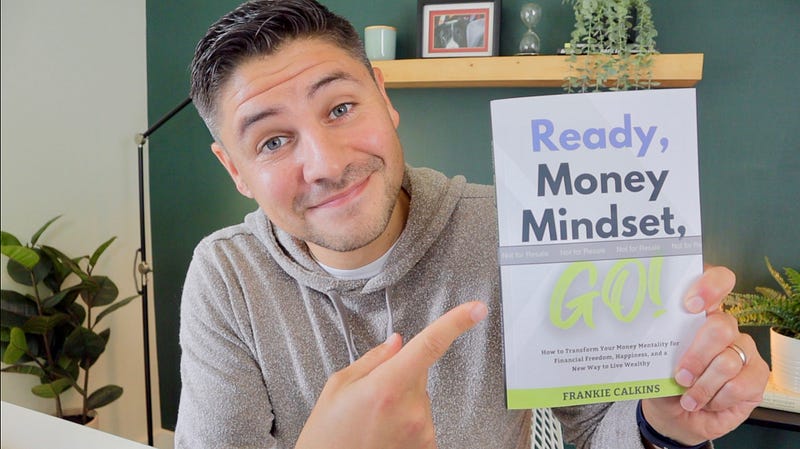
But first, let me quickly tell you about my new book I’m super proud of and excited about. It’s called “Ready, Money Mindset, GO!”
It’s about how to develop a strong money mindset foundation to help you earn the financially free life you deserve. It is packed with critical lessons and tons of motivation and inspiration. At its core, it’s really a book about how to discover more happiness in your everyday life, using money as a tool to get there.
The ebook and paperback are available for preorder now. It releases on December 1st.
I think you are going to love it and it will be tremendously helpful in your financial journey. Check it out if you’re interested. I would really appreciate your support so thank you for considering.
PROJECT BACKGROUND
How did I write a 215-page book from concept to chapters, to book cover to editing to formatting in less than a month without any help from other humans or any AI tools?
I’m covering everything you need to know with full transparency. Speaking of, I need to come clean… I didn’t technically write this book in a month. I technically wrote this book in about a year. Let me explain…
Two years ago I published my 3rd book “Save Half, Retire Fast”. Immediately after I knew the concept of my 4th book would be focused on developing a strong money mindset. Since I was making content weekly-ish for YouTube on my main channel “The Money Resolution” I committed to making videos about money mindset throughout 2022.
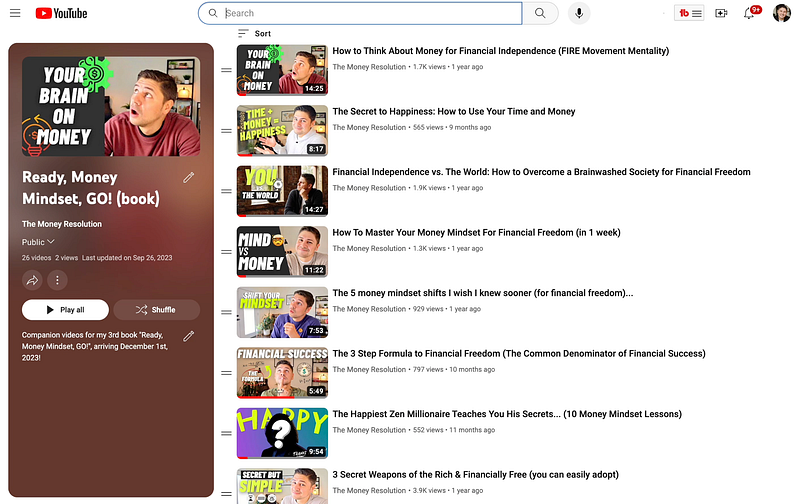
I repurposed those videos and turned them into articles you can find here on Medium. In September 2023, I returned to those articles and created a book out of them.
The hardest part was done; all the content was written. Now it was a matter of finding the best content from my 50 or so articles and putting them together in an order that makes sense and pulls the reader along a journey.
SELF-PUBLISHING GUIDE
There were 7 critical steps (or tasks) I knew I needed to accomplish to create the book:
- Create a compelling book title and subtitle.
- Outline and create the content.
- Organize the content to ensure it flows
- Edit, edit, and edit some more!
- Format and export the needed files
- Create a book cover and write the book description
- Upload to Amazon KDP in formats of choice
For the most part, I completed these steps in order but there’s certainly a lot of overlap and back and forth. You could certainly do these steps in a different order but this was my order.
These steps are universal, regardless of how or how quickly you’re trying to publish your book
Step 1. Create a compelling book title and subtitle
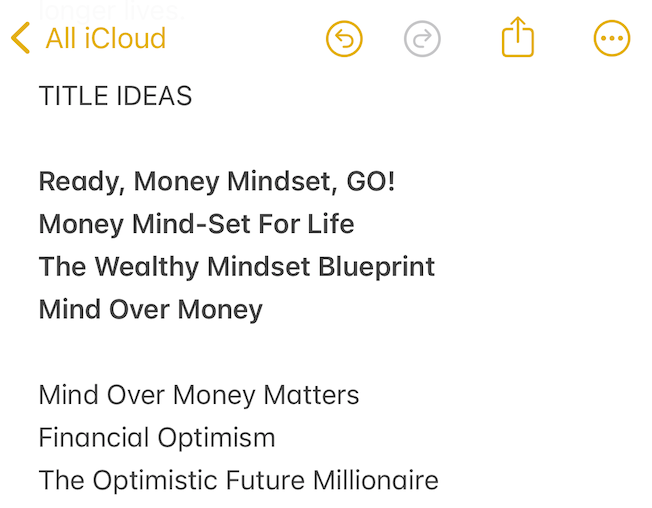
While making my money mindset videos and articles throughout 2022 I had a note in my phone called Book 4: Money Mindset. In it, I jotted down ideas and quotes that came to me randomly but I also wrote down title ideas. I reflected on those titles before I did anything else. I knew a good title could excite me to really dive into the project.
I added a handful of new concepts. I also tried to leverage Chat GPT but… it wasn’t helpful. “The Positive Money Paradigm: Elevate Your Prosperity Consciousness” just wasn’t it.
What was helpful was reading the title ideas out loud to my wife. She hardly had to give feedback or react. Almost instantly I knew which to cut and which were the finalists. Minutes later I knew my title. It was in my gut all along but saying them aloud and bouncing it off of somebody was super helpful. I also wrote a dozen subtitles but put a pin in that until later.
Step 2: Outline and create the content
This part was fun, but time-consuming, even though I didn’t have to write each chapter from scratch. I created a spreadsheet and wrote down the Medium articles on the topic and I added a link to each article so I could access each quickly.
Then I painstakingly read all 44 of them, many of them twice, over the course of a week. I scored them out of 10 on a very subjective personal scale and added comments about how they would or wouldn’t fit.
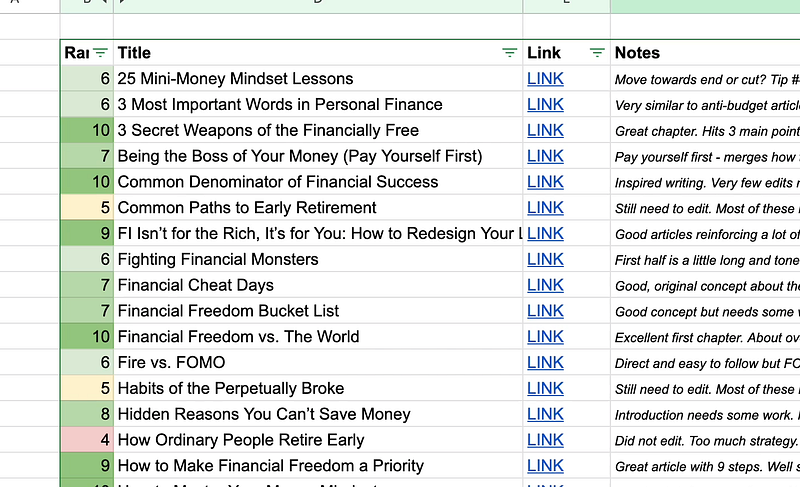
If you want access to this document so you can see behind the scenes, you get it if you sign up for my Patron for super cheap. It has all my detailed notes for all of my passive income projects for the year so far.
Step 3: Organize the content to ensure it flows
This was an exciting step because it was the moment the book started to come together. I sorted the content scores from best to worst. I ignored anything that was a 5 or less.
Next, I grouped them together via themes that would make up the different parts of the book. Within those parts, I organized the articles (AKA chapters) in an order that I felt flowed best. This took a few hours but, once done, I committed to it. I didn’t want to continue to waver on what to include or not include or agonize over the order.
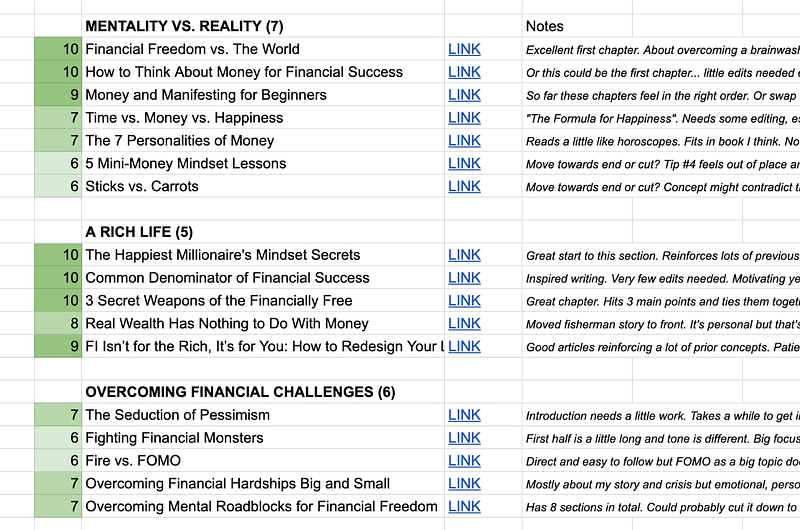
“Don’t be afraid to kill your darlings.” I wanted to include every article. They’re all my babies but I made a rule to cut out roughly half. It was a hell yes, or it was a no. I even cut 3 articles I rated a 7!
Step 4: Edit, edit, edit
This is the least fun part of the process. If you spend money on anything it should be hiring an editor. I found editors via Craigslist ads in the past. You can hire on Fiverr. You can enlist family and friends.
I’ve done all of that but I was determined to create this book 100% on my own so I took on the editing. Luckily, I spent a ton of time editing when I turned my videos into articles so edits were relatively minimal.
I’m sure my book has mistakes but that’s human. Plus, I can always fix them later. You could use Chat GPT to clean up your chapters — there’s no shame in that — but it can strip out human personality and voice. My voice in my books is extremely important to me.
Step 5: Format and export needed files
This step is pretty technical but I recommend you do your own formatting, even though it can be frustrating. The reason? It’s far more frustrating to rely on somebody else and it can be pricey.
I paid someone to format my first book and it took weeks and dozens of rounds of editing. I learned to format for my second book and now I have the skill so I can adjust issues easily and save money while I’m at it.
I use the program Scrivener to format my books. For exporting, I focused on creating my ebook first which requires an ePub file. I use a free Kindle Previewer app to review the file. Then I exported a PDF version for the paperback.
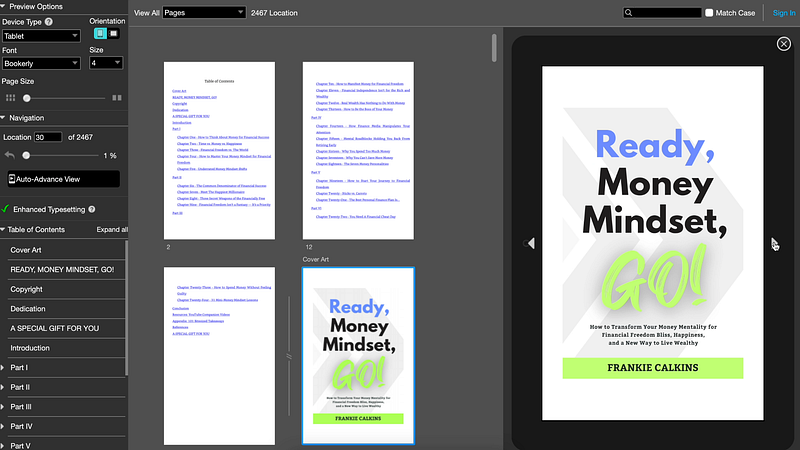
It takes a lot of tinkering with export settings to get everything just right but it feels amazing when you finally see your book live (digitally) and get to find out how many pages it’s going to be.
Step 6: Create a book cover and book description
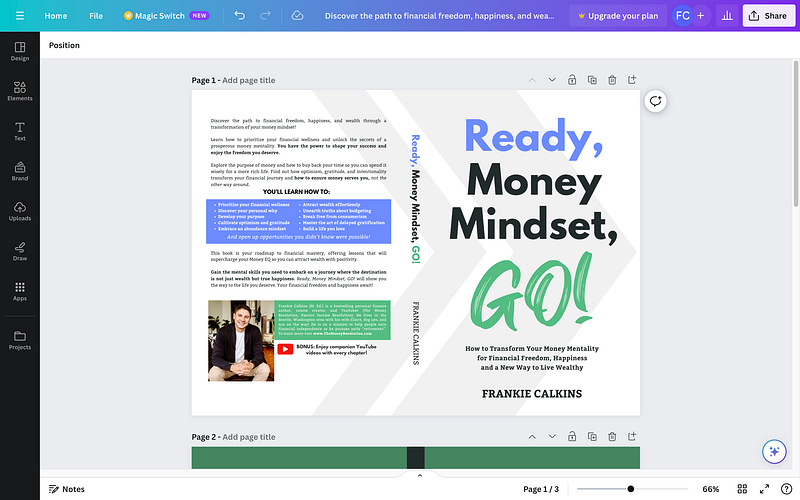
This is also the first time I decided to take on the book cover design. The main reason was timing. Typically, the back-and-forth process with a designer can take a couple of months or more. I was on a self-imposed 30-day deadline so I went for it. It helps that I had experience making covers via Canva from my month of making low-content books recently.
I’ve made some changes since I ordered my author copy. Below is how the cover now looks in Canva. It’s more minimal and I also updated it to a glossy finish. I took about an hour to write and edit the book description, leveraging past templates from my previous books. I used a slightly longer version of this description for my Amazon description.
Step 7: Upload to Amazon KDP
This step can be an hour or less if you have done it before but might take a few hours or days if you’re uploading a book for the first time.
Essentially, you enter the book details, upload the content and approve it, and then set your pricing. But you’ll need to make key decisions along the way such as your book categories, book keywords, whether to make it exclusive to Amazon, whether to use your own ISBN, and so on.
Years ago I made a step-by-step tutorial you can watch here:
SUMMARY
That all probably sounds like a lot, especially in 30 days, especially if you have a full-time job as I do. But, as I said, the hard part (writing all the chapters) was done a year ago.
You can do it the way I did it by writing articles and turning those into chapters OR you can do it the way I did it for my first and second books: Outline the book, outline the chapters, then write a chapter at a time.
THEN, if you want, you could turn those chapters into YouTube videos and articles to repurpose content the other way around…
10 QUICK TIPS FOR NEW AUTHORS
This is what any first-time author needs to know — some of which I’ll double down on from earlier:
1. Learn how to format yourself. Trust me. It’s a great skill to have if you intend to write more than one book. It’ll save you time and money.
2. Pay for an editor or editors. If you spend money on anything, spend it on editing. Be prepared to spend anywhere from $500 to several thousands.
3. Kill your darlings. If you aren’t sure if something belongs in the book, it probably doesn’t. Get a second opinion if you need to since you’re so close to the project.
4. Publish with Amazon KDP only. Make it exclusive for marketing benefits like promotions. I tried Ingram Spark for my second book and it was a failure.
5. Don’t sweat the small stuff. It’s easy to overthink everything but done is better than perfect. People who are stressed about being perfect never finish their book.
6. Hold yourself accountable. Create goals and deadlines. Map out your timeline because procrastination is your enemy. If you stop making progress it’s easy to give up. That said, don’t be in a hurry. It’s a marathon, not a sprint. You could burn out if you sprint.
7. I didn’t use Chat GPT but there’s no shame in doing so! It can help you with your book description, keywords, editing, or even writing to help you push through writer’s block moments. Don’t become overly reliant on it. People value books written by real people. Plus, you have to indicate if you used AI to write some or all of your book.
8. Spend as much time marketing the book as you can. It won’t sell itself. That’s why I’m putting preorders up now, 2 months before launch. I plan to spend the next 30 days promoting it.
9. Don’t do it for the money. Your book probably won’t hit best-seller lists unless you already have a strong following or you’re an expert in Marketing.
10. If you’re on the fence about writing a book, DO IT! It’s the most satisfying, gratifying, rewarding accomplishment. Seriously. The sense of accomplishment is priceless. 81% of people want to write a book at some point in their life. I’m guessing less than 0.1% actually do. That could be you!
WRAP UP
Let me know what questions you have. I’d also love to hear where you’re at with your writing process if you’re willing to share.
Follow if you want to read more from me about marketing the book and to see how successful or unsuccessful this book goes on to be. Check out my new book if it sounds interesting.
Best of luck if you’re writing a book. Tell your story because someone out there needs to hear it!
This article contains Amazon affiliate links, which means I may earn a commission if you make a purchase using these links.
Wait a second. If you want to start writing on Medium yourself and earn money passively you only need a membership for $5 a month. If you sign up with my link, you support me with a part of your fee without additional costs.
Frankie Calkins (M. Ed) is a Digital Marketing Director by day. On nights and weekends, he’s an author, YouTuber, and course creator. He lives in the Seattle, Washington area. Contact: [email protected]