
Story Formatting
How I Format My Medium Stories Every Time
Consistency is the key to success!
Here is my step-by-step guide to how I format my articles each time I publish one. I follow this checklist each time I submit an article so that my formatting and appearance are consistent throughout my articles. There are 8 steps:
1. Write article in Word or other word processing program 2. Copy and paste article into the Medium editor 3. Start from bottom to top, adding section breaks and removing “TK’s” 4. Format Title, Subtitle and Kicker 5. Add article picture 6. Choose tags 7. Select publication 8. Publish
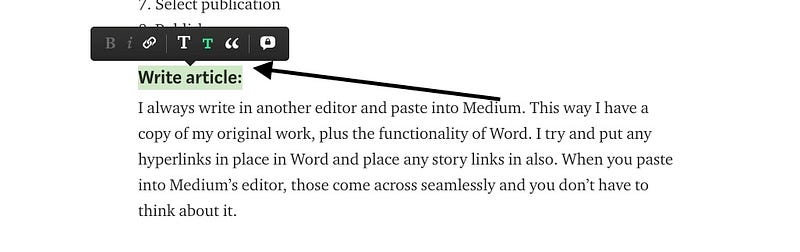
Write article:
I always write in another editor and paste into Medium. This way I have a copy of my original work, plus the functionality of Word. I try and put any hyperlinks in place in Word and place any story links in also. When you paste into Medium’s editor, those come across seamlessly and you don’t have to think about it.
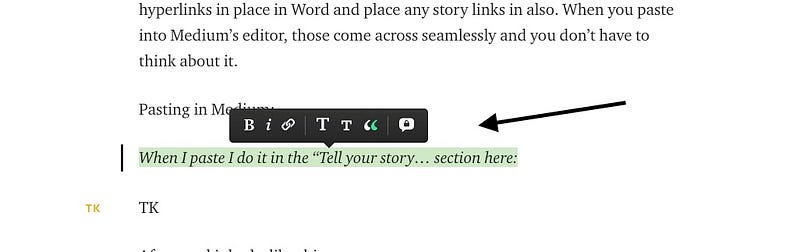
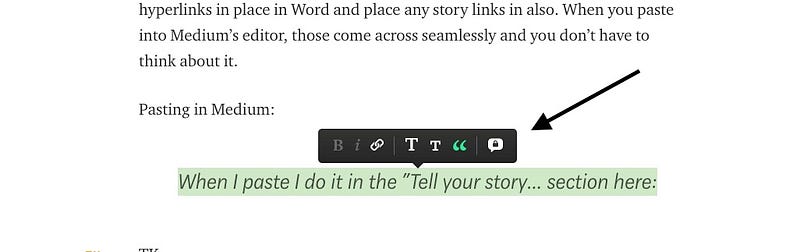
Pasting in Medium:
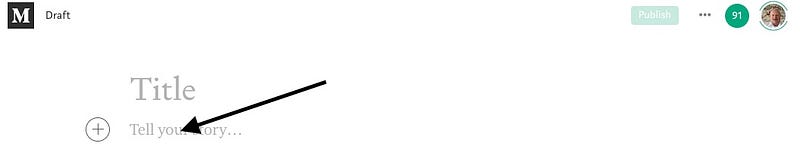
When I paste I do it in the “Tell your story… section here:
Start at bottom:
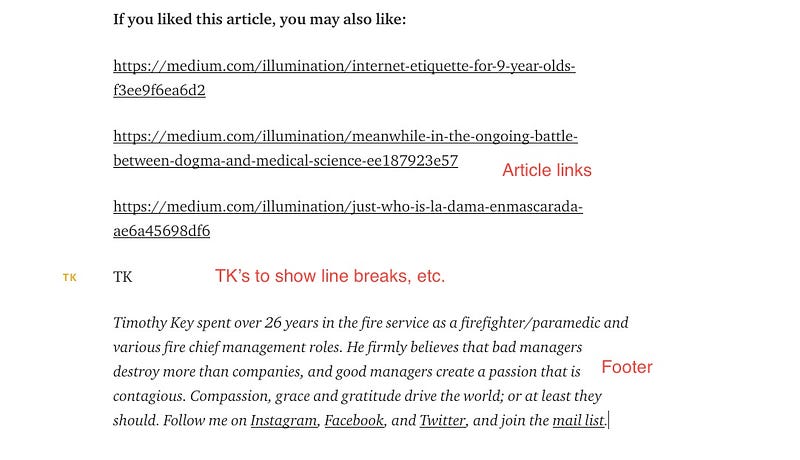
By default, the Medium editor kicks you to the bottom after you paste. I go with it and start from there working up. Typically I have links to other stories and my footer already in my story, so basically that is what I see first:
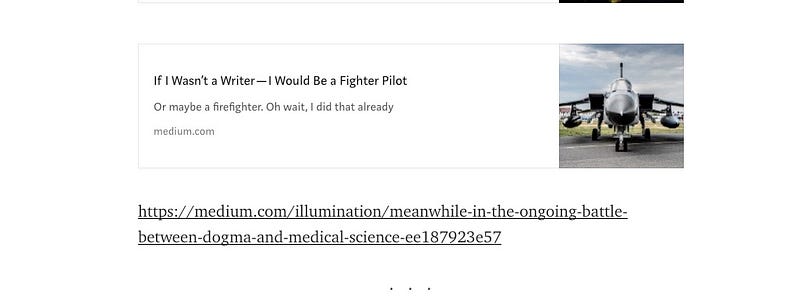
If you place your cursor after your story link and hit

the editor will replace the link with a storyboard like this:
I place line breaks by clicking on the “- -“ button in the editor after I delete the “TK”:

There is a weird quirk where if you try and add a story link (if you didn’t already copy it over from Word) the Medium story editor will shoot your link to the top and place it in the Title spot like this:
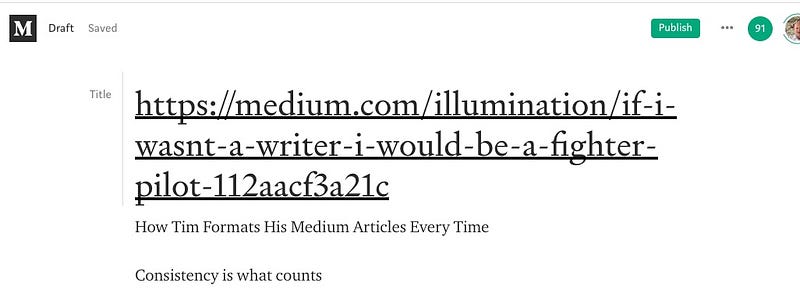
Sort of infuriating. Often if you move to a different spot, like between other links, it seems to cooperate:
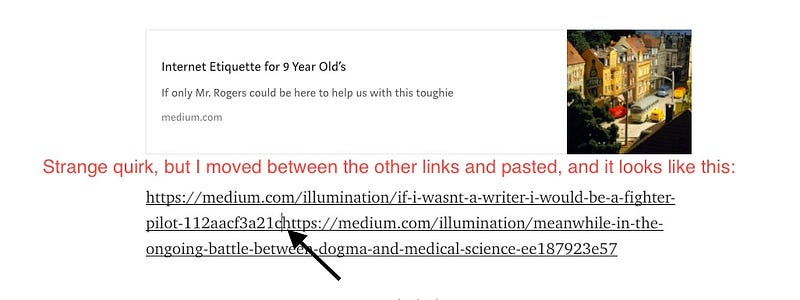
Then this:
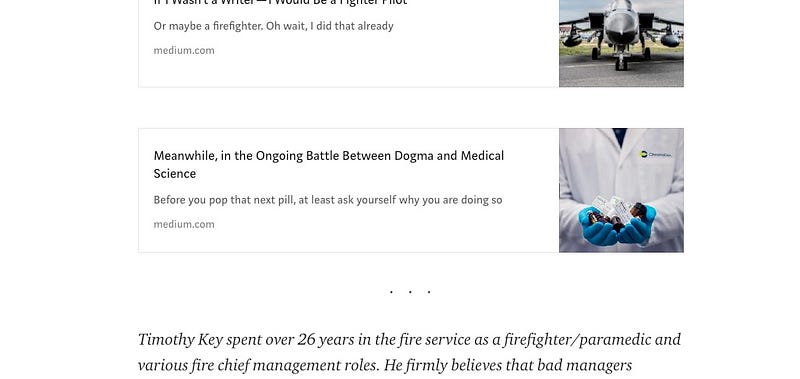
And finally, all is right with the world:
Also, on the way up, I will change section headings to titles using either the big “T” or little “t” icon as appropriate:
And also use the quote marker to make items stand out like this:
Or like this:
Format Title, Subtitle and Kicker:
Now that we have made all our corrections, solidified links, added section breaks and quotes (and done one more spelling edit on the way up), it’s time to format the top section.
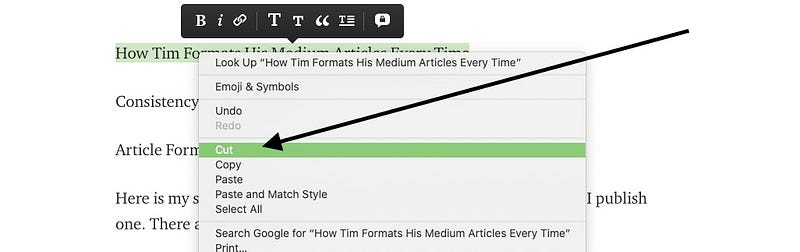
First, highlight and cut the Title. Then move up to where the “Title” section is indicated by the Medium editor and paste your cut text:
Don’t panic if the “Title” banner isn’t there. You can still make it the Title by selecting the big “T” from the editor menu.
Once you paste the Title into its spot, place your cursor in front of the Title and hit enter. A new “+” will appear.

Highlight and cut your kicker text. The Title will jump up and appear right behind your kicker text. Everything will also revert to the regular text size. Don’t panic, first just hit

Highlight the kicker text and select the little “t”. Then highlight the Title and select the big “T”.
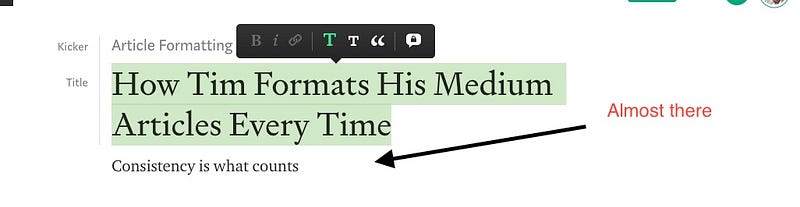
Now just highlight the Subtitle and hit the little “t”. Done. Well, with one caveat.
You can also add a hyperlink to the kicker. This can link back to a publication or section, back to your profile page, or any internet link you like. This can be helpful if you are putting together a series of articles and want them to link to a publication or other article.
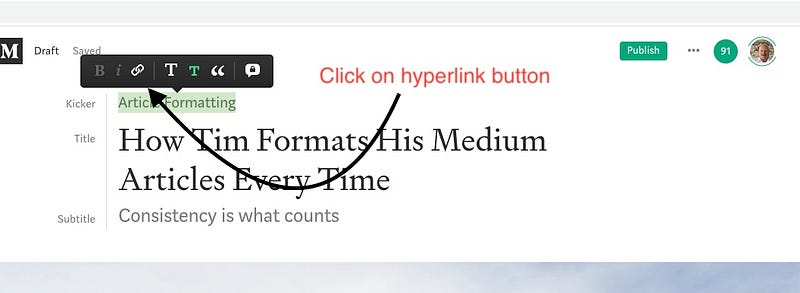
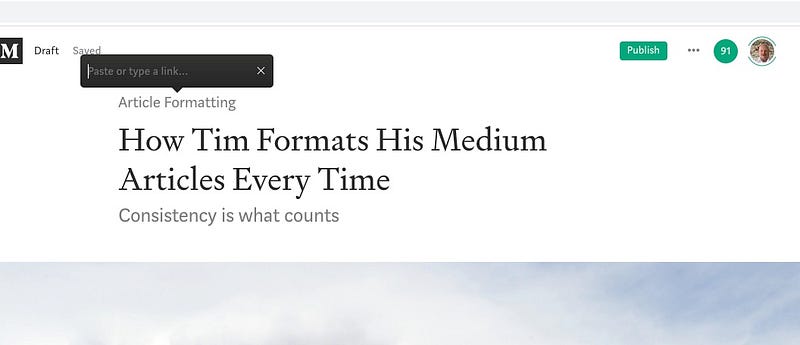
Just highlight the kicker text, click on the hyperlink button and add your link.
Add a picture:
There are three buttons under the “+” menu for adding pictures and video. The first, shaped like a camera, lets you add a picture file from your computer. The magnifying glass goes directly to the free-pic website Unsplash and also automatically captions the photo to credit the artist. The sideways triangle allows you to paste in a video link from Vimeo or Youtube or other sources.

The easiest to use is Unsplash. Click the magnifying glass and a text line appears. Type in the topic and a series of photos will appear. I picked the term “Format” and got this picture on the first page of results.

I always choose the widest screen option for my title picture. That is my preference and I believe it looks best, but size is up to you.
Choose tags:
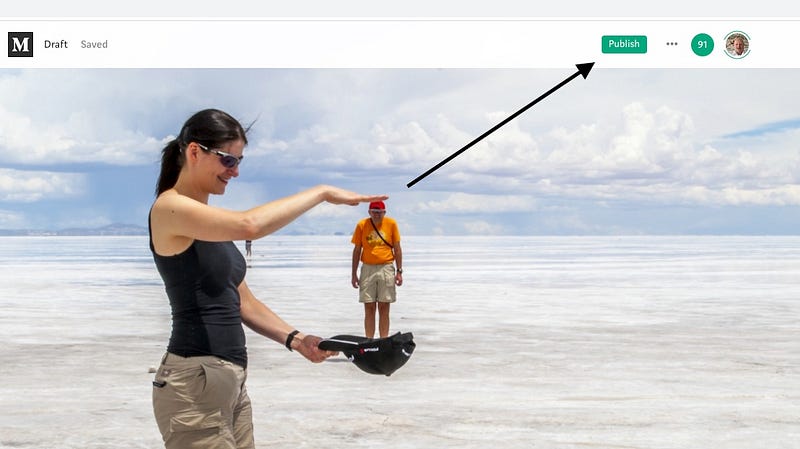
Now we are almost ready to publish, just a few more steps. First, we add tags by hitting the “Publish” button. Don’t worry, nothing will happen yet if you hit “Publish”, this just takes you to a pre-publish screen to pick tags.
I always use all five allotted tags. Which ones to choose is a strategy topic for a different article, for now just pick things that will indicate what your article is about.

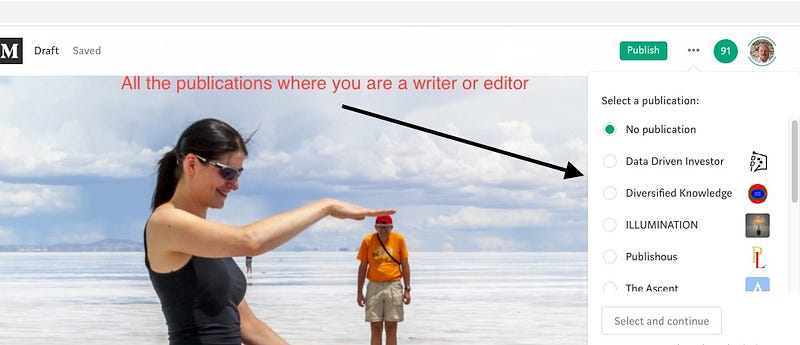
Add article to a publication:
If you want to place your story in a publication, click on the three dots next to the “Publish” button. This will bring down a menu with the “Add to Publication” option. Click on it.
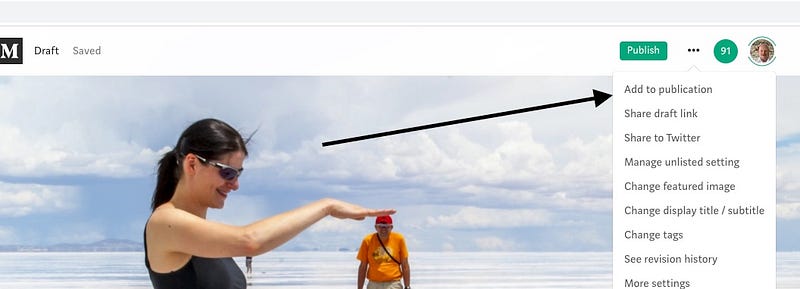
Select the publication where you want to submit your story, then hit the “Select and continue” button. Many publications will accept only unpublished submissions. This is why you want to select the publication before hitting the “Publish Now” button. Check with each particular publication for their rules of submission. If you aren’t a writer for any, you will have to ask them to add you as a writer. As soon as they do, that publication will appear in your list.
Publish:
Okay, you should be ready. I always do one more last and final read through, then hit the “Publish” button. It will take you once again to the pre-publish page. You can check and change your tags if you wish, then it is time to take the plunge. Good luck!
I hope this article outlined my basic process for readying a submission and maybe answered some questions. As I mentioned, I like to have a list of steps to complete so that all my submissions are consistently formatted and look great when they go out.
If you liked this article, you may also like:
Timothy Key spent over 26 years in the fire service as a firefighter/paramedic and various fire chief management roles. He firmly believes that bad managers destroy more than companies, and good managers create a passion that is contagious. Compassion, grace and gratitude drive the world; or at least they should. Follow me on Instagram, Facebook, and Twitter, and join the mail list.


