
Hands On #H Dialogflow Fulfilment firebase inline editor
雖然dialogflow的response在串接其他平台的messenger的功能很完整,但在大部份的情況下,要實現你的設計,都是需要寫程式的。
請先建立Agent代理 參考本文 Hands On #A Dialogflow Intents 建置
dialogflow是將程式的部份放在fulfilment這邊。
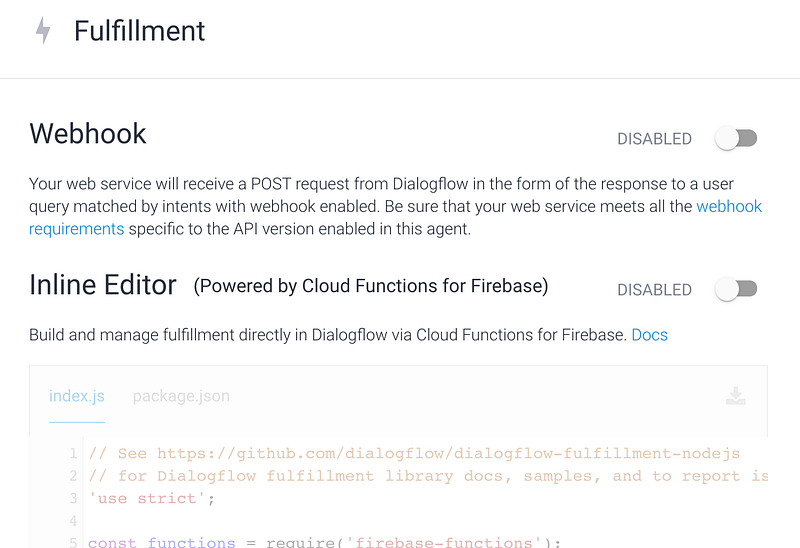
Fulfillment 在Fulfillment下有看到 Webhook 及 Inline Editor兩個實作方式。
- Webhook:你可以將程式呼叫的部份寫在外部伺服器,也可以用serverless 的架構來做,例如gcp cloud function , firebase cloud function AWS lambda 等。
- Inline Editor:內建的Firebase function,建議用這個,99%表現完美,只有一個問題,Firebase function 的 http request 要收費,請斟酌開啟。但如果你要串外部API就一定會用到…
本文先直接以Inline Editor開始,但不做任何的API,只解釋程式架構,故請放心開啟。 Enable吧
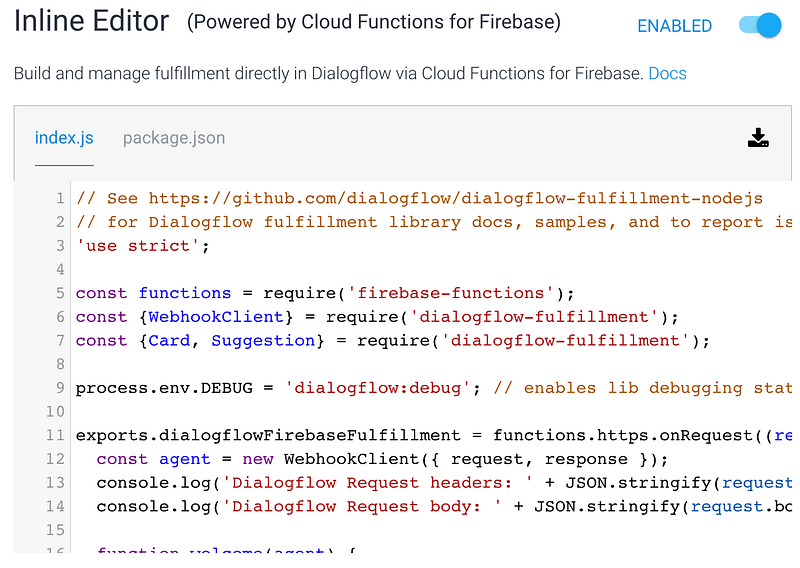
Enable後就會看到下面的對話框可以做填寫了。
firebase是以node.js來做開發;node.js是以javascript程式語言來做撰寫
先看上方有 index.js 及 package.json
package.json:定義這個套件的內容
{
  "name": "dialogflowFirebaseFulfillment",
  "description": "This is the default fulfillment for a Dialogflow agents using Cloud Functions for Firebase",
  "version": "0.0.1",
  "private": true,
  "license": "Apache Version 2.0",
  "author": "Google Inc.",
  "engines": {
    "node": "8"
  },
  "scripts": {
    "start": "firebase serve --only functions:dialogflowFirebaseFulfillment",
    "deploy": "firebase deploy --only functions:dialogflowFirebaseFulfillment"
  },
  "dependencies": {
    "actions-on-google": "^2.2.0",
    "firebase-admin": "^5.13.1",
    "firebase-functions": "^2.0.2",
    "dialogflow": "^0.6.0",
    "dialogflow-fulfillment": "^0.5.0"
  }
}
先看dependencies,指得是會用到的相依套件,可以看到firebase,dialogflow的名稱….,表示這些套件會被用到index.js上
index.js :主程式寫在這裡,反斜線的部份先省略
'use strict';

const functions = require('firebase-functions');
const {WebhookClient} = require('dialogflow-fulfillment');
const {Card, Suggestion} = require('dialogflow-fulfillment');
這部份指的是引用到的套件。
exports.dialogflowFirebaseFulfillment = functions.https.onRequest((request, response) => {
  ...
});
exports.dialogflowFirebaseFulfillment就是firebase inline editor 預設會先呼叫的函式。
const agent = new WebhookClient({ request, response });
...
agent.handleRequest(intentMap);
new一個叫做agent的WebhookClient物件,這個物件用來處理intent map
  function welcome(agent) {
    agent.add(`Welcome to my agent!`);
  }
let intentMap = new Map();
intentMap.set('Default Welcome Intent', welcome);重點是這裡:intentMap 是一個Map物件,用來處理各個intent設定於此。這裡將’Default Welcome Intent’這個Intent用welcome這個函式來處理;而welcome 裡則用 agent.add 定義回應的話 Welcome to my agent!
- 點擊 Deploy


2. 等待deploy 完成
3. 點擊左邊menu => Intents => 最下面的Fulfillment => Enable webhook for this intent
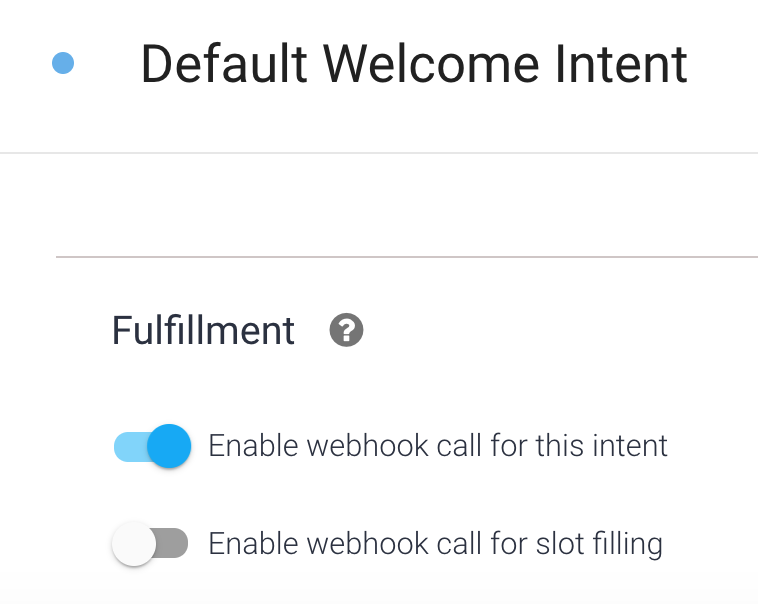
打開後,測試一下
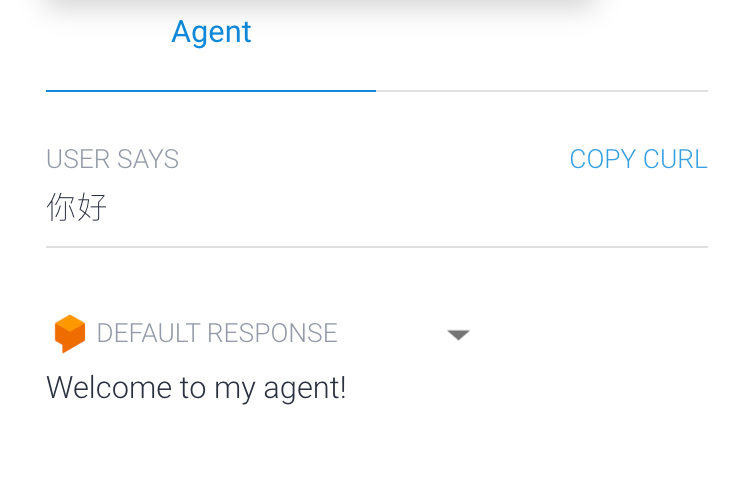
已經不是原本預設的Response內容了。
4. 試著依照相同邏緝將其他intent的response的處理也交至firebase inline editor處理。
例如:Default Fallback Intent 或是自已新增其他的 intent 。
免程式用Dialogflow做LINE Bot及Google語音助理AoG 系列
Story #1 自序 Story #2 回到最初的地方 Story #3 跟隨自己的心
Hands On #A Dialogflow Agnet Intents 建置 Hands On #B Dialogflow X LINE Bot
Hands On #C Dialogflow Enties 設定 Hands On #D Dialogflow 串AoG
Hands On #E Dialogflow Context設定
Hands On #F Dialogflow X LINE 其他設定
Hands On #G Entites with Response 的進階應用
Hands On #H 用firebase 接intent Hands On #I 使用Google Cloud Function 來串接Dialogflow Webhook Hands On #J 用 Google Cloud function 串 API