
Ghidra Tutorial: Introduction

This is a tutorial to get you started with setting up Ghidra and then using it to analyze a simple binary. In later articles, we will go over analyzing programs with more complexity and even finding a vulnerability in a program using Ghidra.
This is part of a series of Ghidra Tutorials:
- Part 1: Ghidra Introduction (this article)
- Part 2: Ghidra Usage
- Part 3: CTF Challenge with Ghidra
What is Ghidra
Ghidra is a reverse engineering tool developed by the National Security Agency. It is now available for free as an open-source software that is used by security researchers. It is a very good alternative to IDA Pro which is another reverse engineering tool available for a price. Ghidra is not as polished as IDA Pro in terms of its UI but it provides almost all of the same major functionalities as IDA Pro. IDA also has a free version, but it has limited functionality and isn’t suited for more complicated reverse engineering projects.
Ghidra, and IDA Pro, can be used to analyze compiled binaries from different programming languages and different processor architectures. The primary use of Ghidra is to analyse a compiled binary and produce an approximate source code for it which can be used by researchers to understand the logic implemented in the binary. This functionality is called decompiling. It is best suited for analyzing binaries into approximate C and C++ code but can also be used to analyze binaries compiled from other languages. It also provides a disassembly from the binary. Disassembly refers to constructing the assembly language code from the machine code which is what the compiled binary contains — the processor runs the machine code.
Ghidra’s capabilities include disassembly, assembly, decompilation, graphing, scripting, and various other features that allow researchers to understand both how a particular piece of software functions and potentially uncover vulnerabilities or malicious behavior. Its interactive and customizable interface provides a robust environment for conducting detailed software analysis, all without requiring source code access.
Installing Ghidra
Install
Installing Ghidra is straightforward. The only thing that may complicate things is installing Java, which is required for Ghidra. The official website for Ghidra provides the installation instructions which are available here.
Once you have Java installed on your system, do the following:
- Download Ghidra from the Github repository, available here.
- Once you have downloaded it, extract it to a location on your system.
- Go to the folder where you extracted it and run Ghidra a. On Linux, from the terminal, run
./ghidraRunb. On Windows, runghidraRun.bat
Initial Setup
When you first run Ghidra, you will see the Ghidra User Agreement. Have a read, and then agree to it to continue.

Next, you will see the Help window for Ghidra. You can use this to see more information about Ghidra’s features and tools.
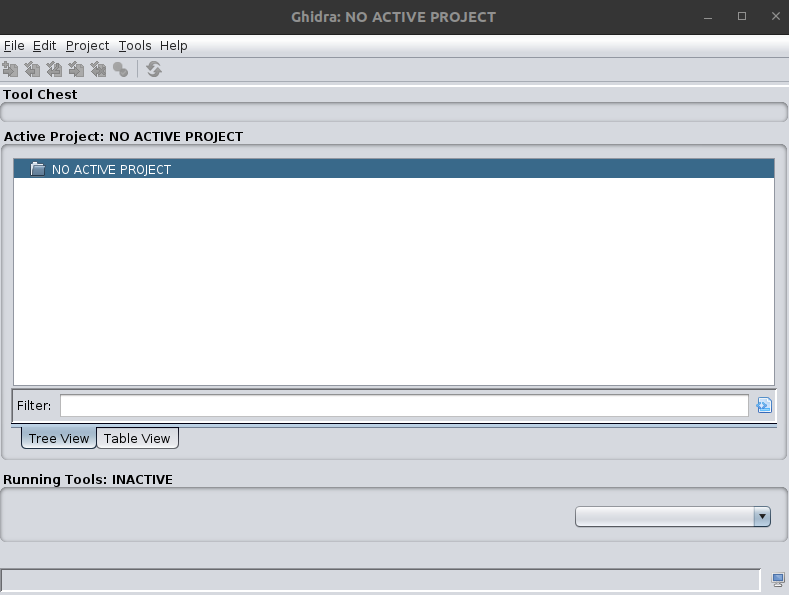
Ghidra will present you with a project window. This window allows you to have multiple files that you can analyze as part of the same project. You can do things like import Java packages and analyze all included files. You can also import individual files into a project and then analyze them separately. Initially, there will be no active projects and you will have to start a new project and then import files to get started.
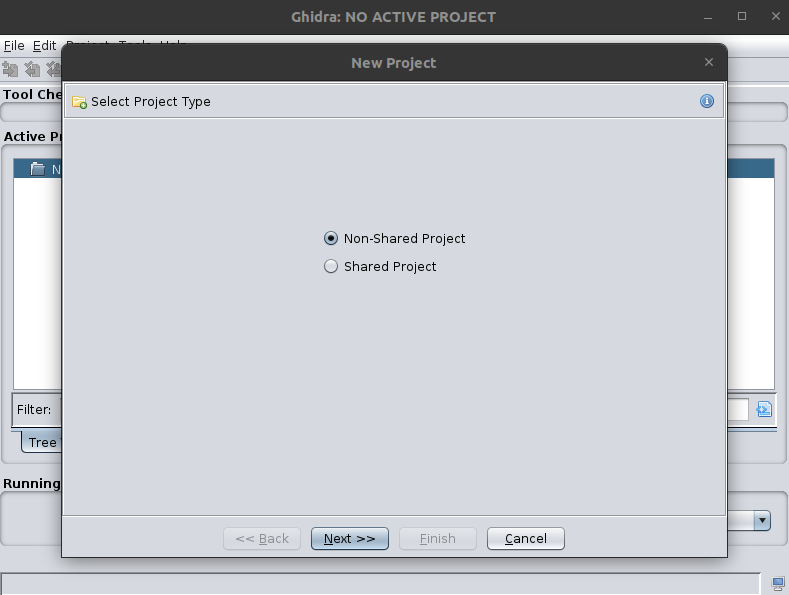
To make a new project, do the following:
- Go to File > New Project
- Select “Non-Shared Project”
- You will be asked to provide a project directory and a project name. Provide the path to the folder where you want to store your project files and the name you want to give to your project.
- Now, you need to import files into your project that you can analyze. For this, go to File > Import File
- Select a file to import into your project. You can also use the example files from later in this tutorial.
- You will next be presented with options to select the format and language for the binary. Ghidra will (most of the time) automatically identify the correct options. Select “OK”.
- It will show some loading screens, after which you will see a summary. Select “OK”.
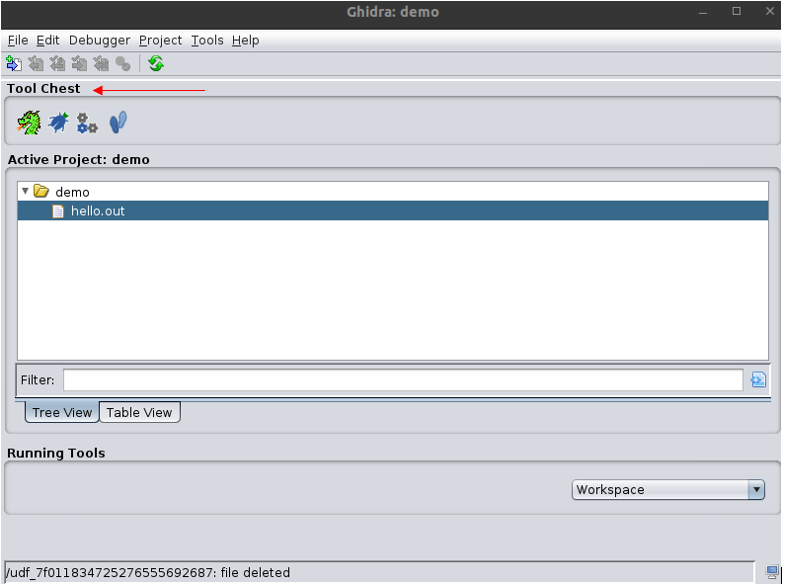
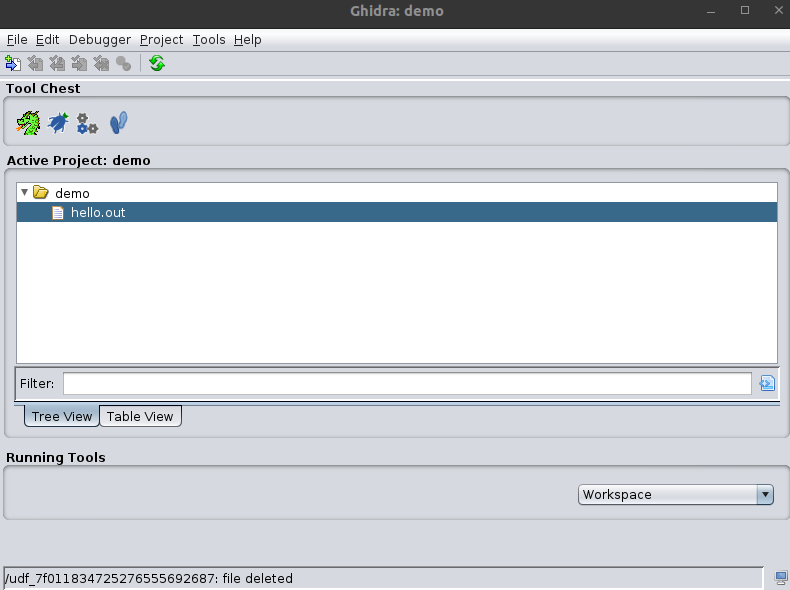
- The file is now imported into the project and it is now ready to be analyzed.
- To open the file, double-click on it or select it and click on the “Code Browser” icon in the Tool Chest.

Using Ghidra
Now that we have Ghdira set up, let’s try and use it. To do this, we will first code a simple program to use in our demo, import it into Ghidra, and then compare the decompiled source code provided by Ghdra with the original source code.
We will go over an example where we analyze a simple Hello World program using Ghidra. This will help you to get an idea of how to use Ghidra. In later articles, we will explore more complicated programs, find a vulnerability using Ghidra, and also solve a CTF challenge using Ghidra.
Hello world
For the first example, the source code is given below. Copy this into a file and save it in a suitable location on your system.
#include<stdio.h>
// Hello World program
int main (int argc, char** argv) {
    printf("Hello World!\n");
}
Next, compile it using gcc by opening a terminal in the location where you saved the source file and use the following command. It will generate an output file called hello.out as an executable binary.
$ gcc hello.c -o hello.out -g -no-pieWhen you run the program, you will see that it simply outputs a string, “Hello World!” and exits.
$ ./hello.out
Hello World!
Import this file into your project in Ghidra using the instructions described earlier. When you open it in the Code Browser, you will be asked if you want to analyze the file. Select “Yes” and click on “Analyze” with the default options on the next window. Wait for it to analyze and press “Ok” for any alerts or warnings. When this is done, you will see the binary analyzed in the Code Browser.

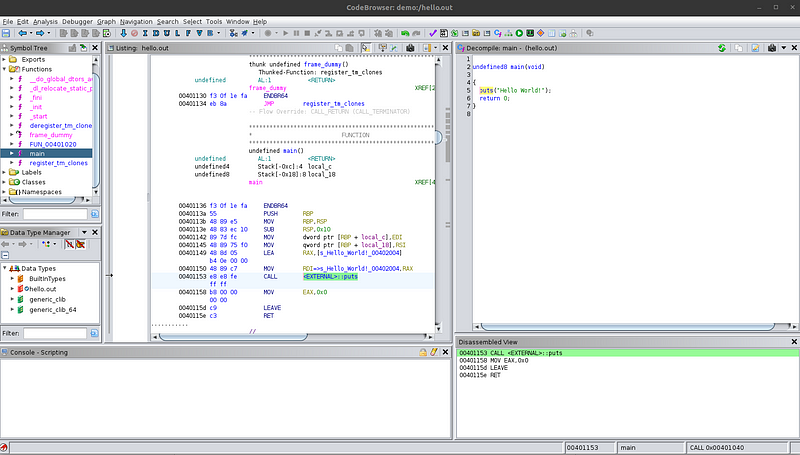
There are a few things that are going to be of use to us for analyzing the binary. The first is the disassembly for the binary shown in the center pane, it should be titled as “Listing: hello.out”. In the right pane, it shows the decompiled view for functions that it detects in the binary. Initially, no function would be selected so it would be empty. On the left is a symbol tree that lists all the detected symbols in the binary; for our purposes, we will only need the “Functions” from the symbol tree.
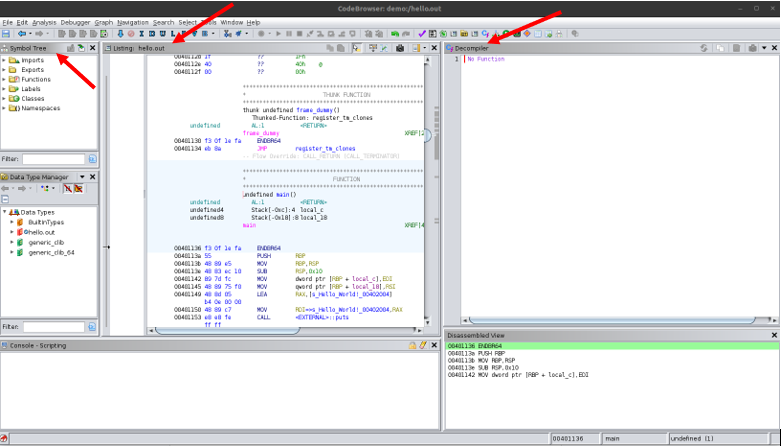
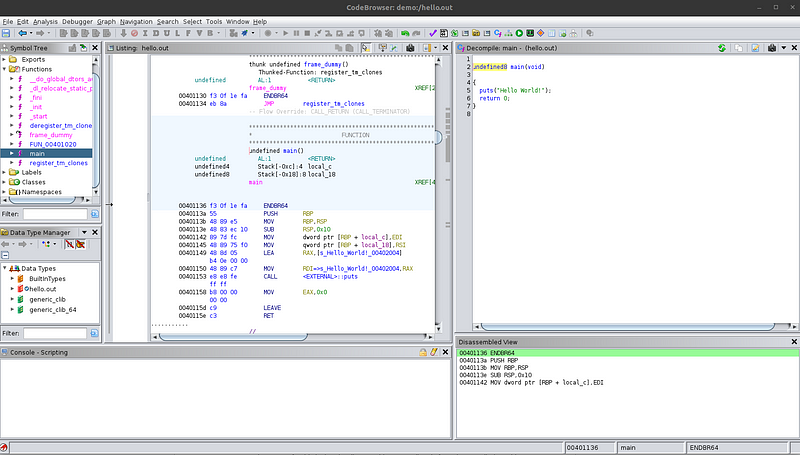
To begin, search for the main function in the symbol tree and select it. This will focus you on the corresponding function in the disassembly and the decompiled view. The function name is available in this binary because when we compiled it, we did not strip these labels from the binary. In most complex programs, the binaries are stripped and the function names are not available like this and instead, Ghidra identifies the functions by their addresses and names them using those addresses. When analyzing such binaries, we would need to search for the functions manually in either the disassembly, by checking each available function, using a debugger, etc.
Let’s take a look at the decompiled view first. There are a few things to notice when we compare the decompiled view with its source code. Firstly, the return type is undefined8 for the main function; second, the arguments argc and argv to main are not shown; third, in the source code, we used the function printf but the decompiled view shows the function puts being used. This change of functions is actually because of the compiler optimizing the program as it compiles it. So, we see that the decompiled view is fairly accurate to the source code.
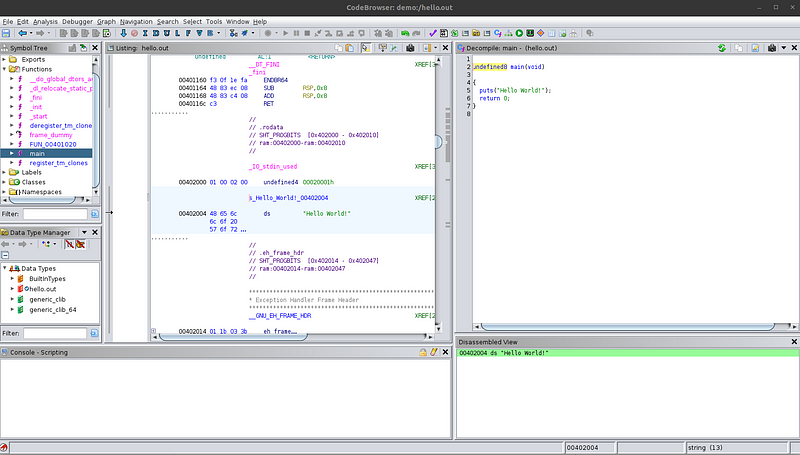
Now, let’s look at the disassembly in the center pane. The highlighted code in the disassembly corresponds to the function selected in the symbol tree — notice the undefined main() in the disassembly view. There are mainly two things that I want to bring to attention. First, notice the “Hello World!” string being loaded in the code. There is a label associated with it called s_Hello_World!_00402004. Double-click on this label to follow where this string is stored in the program. You will see the literal string in the program. You can go back to the previous location by pressing the shortcut Alt+Left arrow.
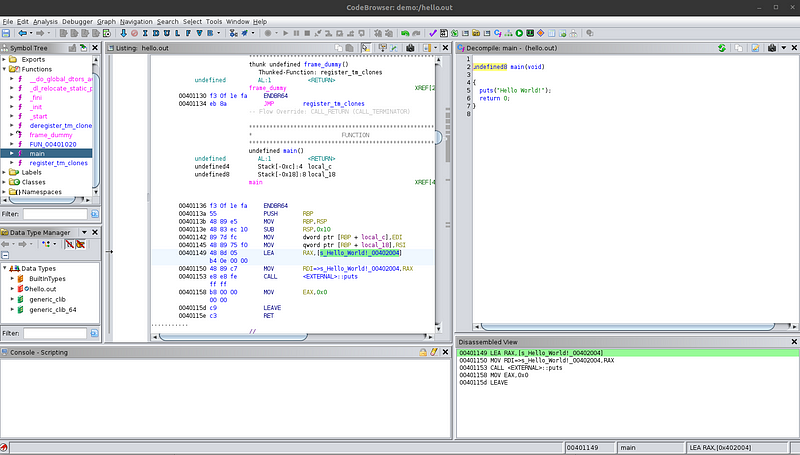
The next thing to notice is that the function used to print the string in the disassembly is also puts. This means that the program is actually using that function and it’s not an analysis mistake made by Ghidra. Ghidra can provide approximate source code in the decompiled view but the disassembly is always accurate. Sometimes, the decompiled view can omit function calls and several lines of code, although this problem usually only happens when dealing with different programming languages such as Rust or Go. The disassembly, however, is always accurate. The reason for this is that the disassembly comes directly from the compiled machine code present in the binary file, whereas the decompiled view is the software attempting to replicate the source code that could have produced that assembly code.
Conclusion
In conclusion, if the source code for this binary was not available to us, we would be able to use Ghidra to completely understand the logic of the program and even rewrite a close approximation of the source code for a simple binary.


