
Film Scanning Digitization Experience Sharing w Epson V700 + SilverFast 9 SE+
Foreword:
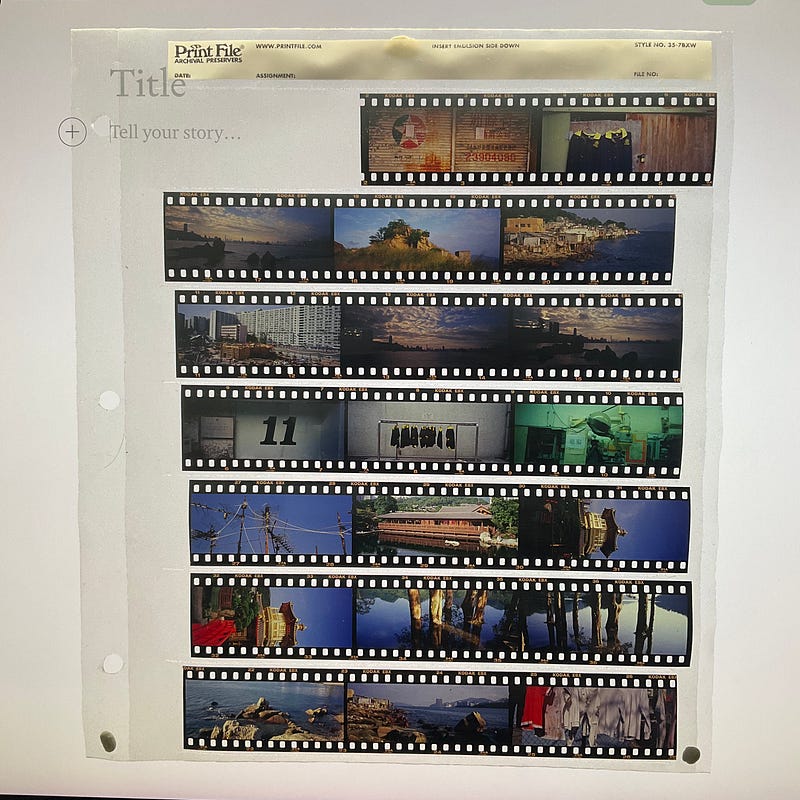
In the past two months, the fifth wave of the epidemic has occurred in Hong Kong, and the number of confirmed cases has exceeded 10,000… For this reason, if possible, stay at home and reduce the time to go out… The best entertainment at home may be to stay at home. I scan old negatives at home, and most of them are positives. There are two large boxes, about 200–300 rolls of 120/135 positives, and the shooting time is about 2007–2012…
Tools commonly used for film scanning
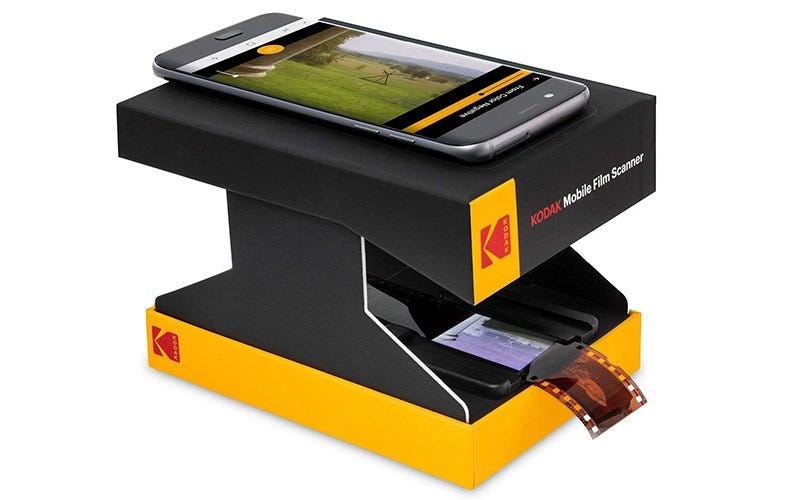
- Now the most accessible negative scanning tool is the lightbox + mobile APP… This is the most accessible and most easy-to-use combination, take the negative and put it on a specific film holder, then shoot on the lightbox, and convert the negative image through the mobile APP. Recording or converting into digital files… The advantage is that it is easy to use and fast. If it is shared on the Internet or forwarded to a circle of friends, it may be enough…

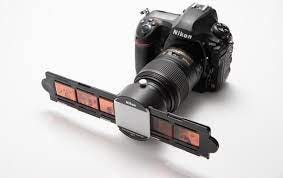
2. lightbox + camera shooting + post-processing software: With the increasingly powerful digital camera shooting function, through the digital phase of the positive film, negative film and quite convenient. Suppose you are using Pentax K1 for those cameras with Pixel Shift function. In that case, you can take multiple photos grouped into one. In recent years, even the most advanced Phaseone camera has a negative duplication service to IQ3/4 duplicate the negative. You can have a 100MP/150MP RAW file, regardless of the shooting speed. Performance is also greatly improved. In addition, is the shooting of Negative film, there is now Negative Lab Pro Plug-in software that can significantly accelerate the time and effect of converting negative film files …

3. Professional Film Scanner
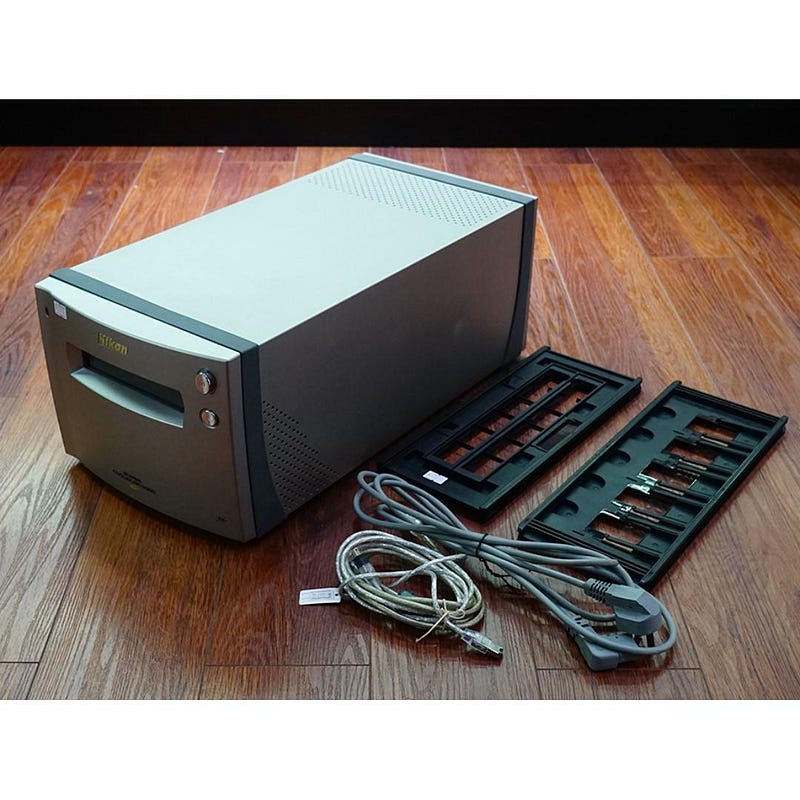

There are two major types of negative scanners: 1. those designed for scanning negatives, such as the discontinued Nikon 5000ED/9000ED, which are designed for scanning negatives only but can only scan negatives and are very expensive for photography enthusiasts and professionals.
The second type is the platform type of negative scanner. The second type of scanner is the flatbed film scanner. If a flatbed scanner is used to scan 120 negatives or larger negatives, the scanning performance can be excellent, and it can also scan documents, photos, etc., which will be more advantageous… But the results of scanning 135 positives or negatives with a flatbed scanner may not be too good, and the accuracy required for scanning 135 negatives needs to be very accurate… So the author still takes most of the 135 negatives out to the shop for scanning, saving time and having better image quality…
There is no such thing as the best, only the tool that best suits your needs at the moment… The final quality of the scanned film depends on the cost of your time and how much you require for the quality…
After all the preamble, the main purpose of today is to share the author’s experience of scanning about 20–30 rolls of 120/135 negatives at home again since February… During that time, I also purchased scanning software and film folders to improve the quality of the scanned negatives…
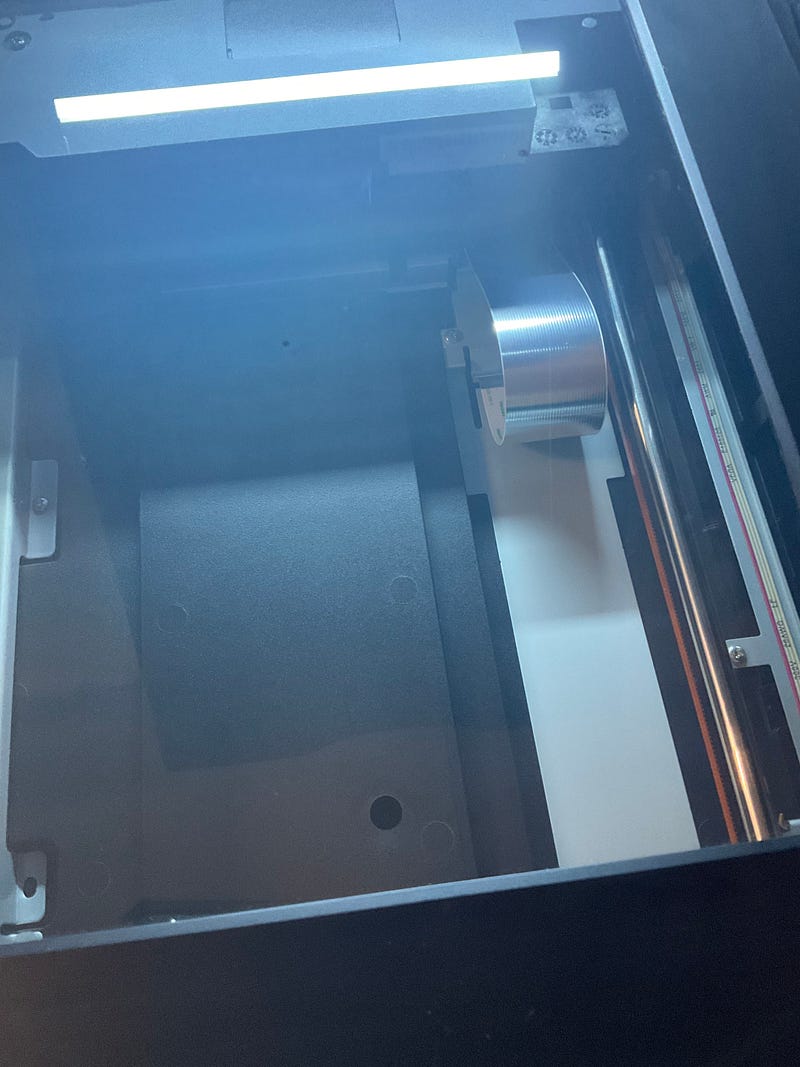
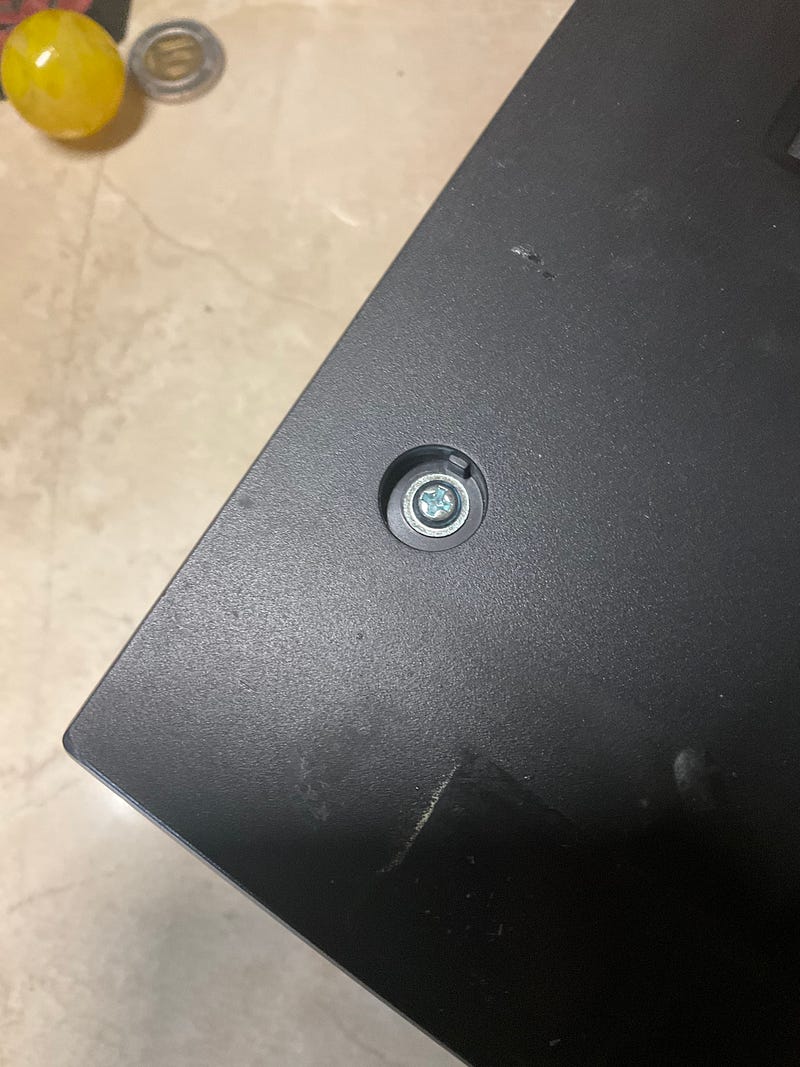
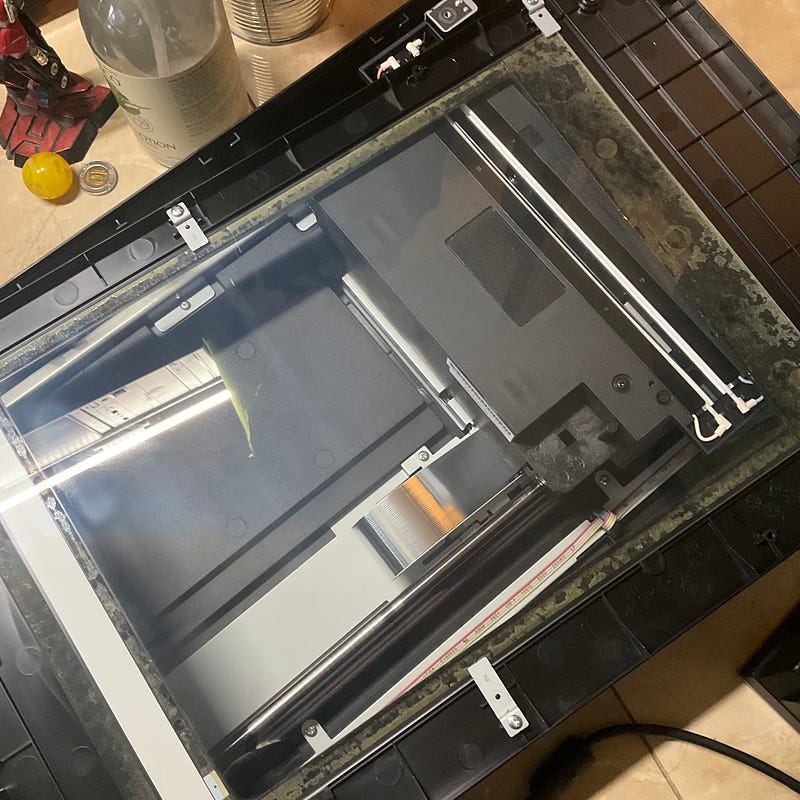
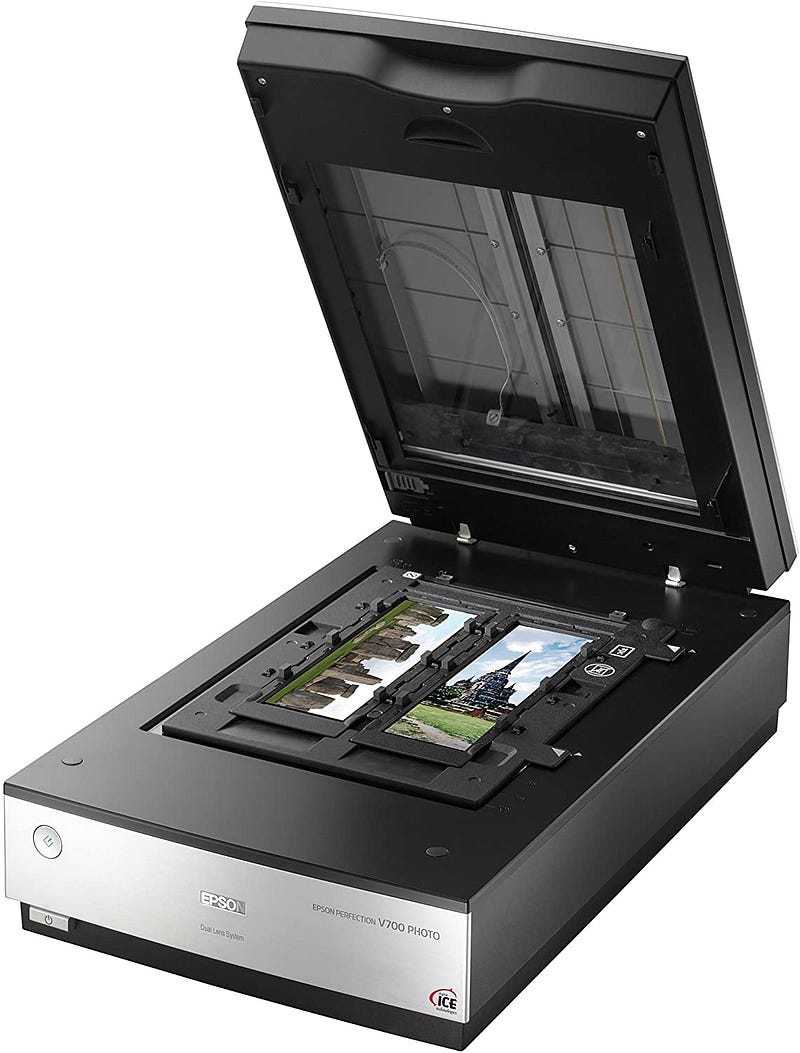
The Epson v700 is a platform type film scanner that can easily become moldy if left unused for a long time. It is a good thing that the glass can be cleaned simply by removing the four rods…
The two most important things about scanning negatives are
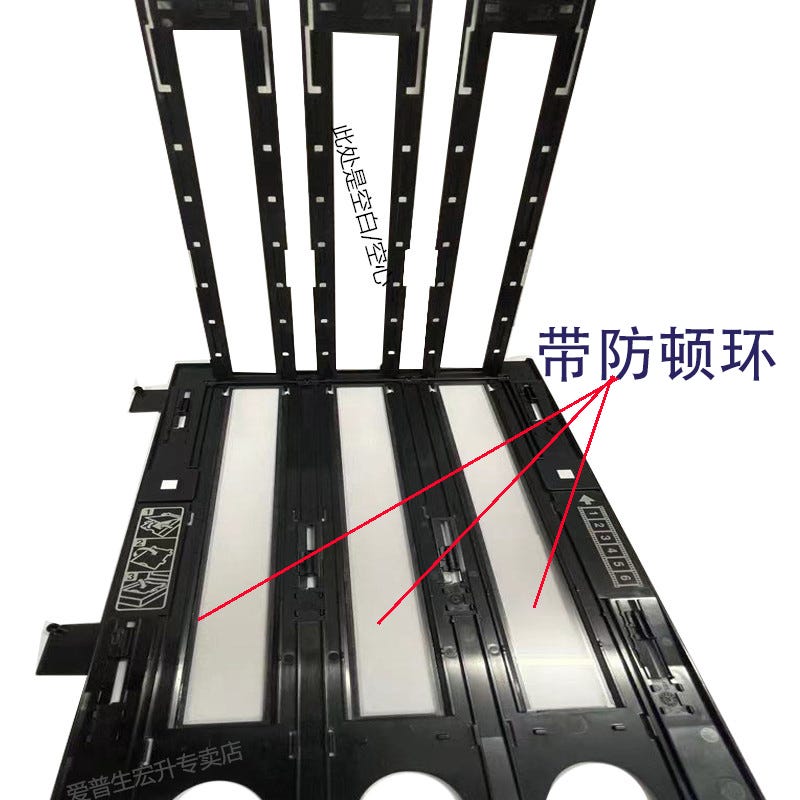
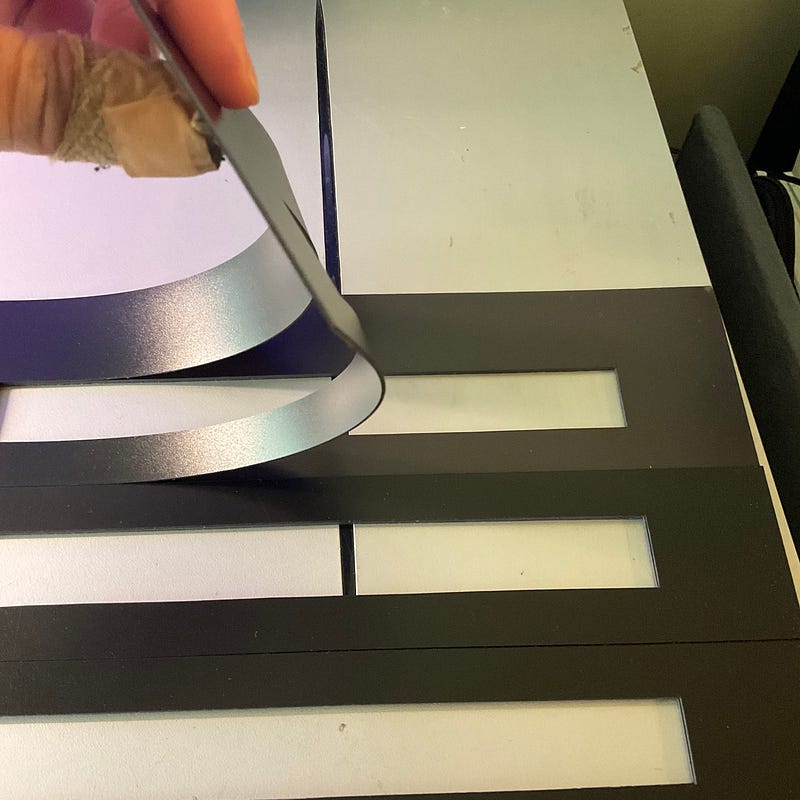
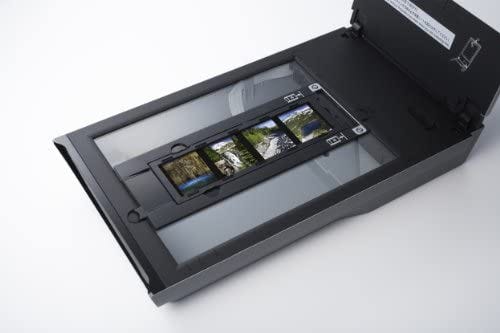
- Flatten the film to the best of your ability. The flatter your film is, the better the image quality you will scan or remake because the best image quality can only be obtained if the film is scanned or remade on the same focal plane …For this reason, I try to use a heavy book for one or two nights before scanning the negatives to flatten the negatives further… At the same time, the author finally bought a magnetic film clip, although this type of film holder can be DIYed The film clip is extremely simple, it can press the negative film a little more flat…
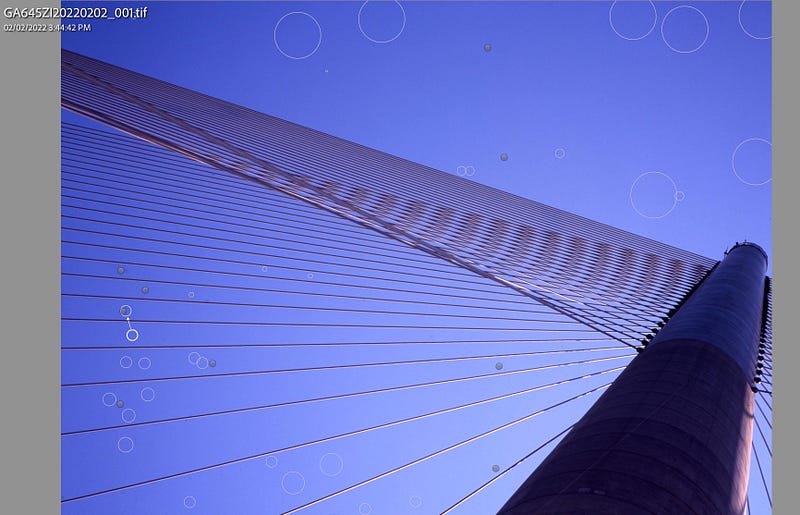
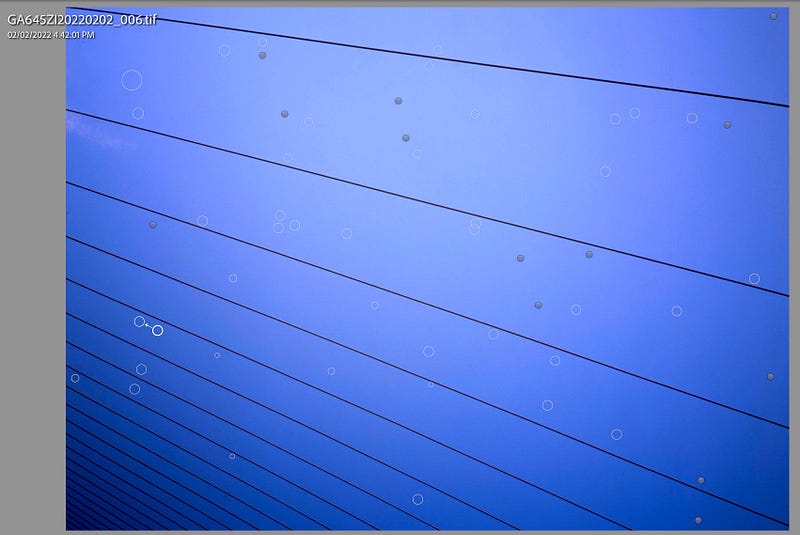
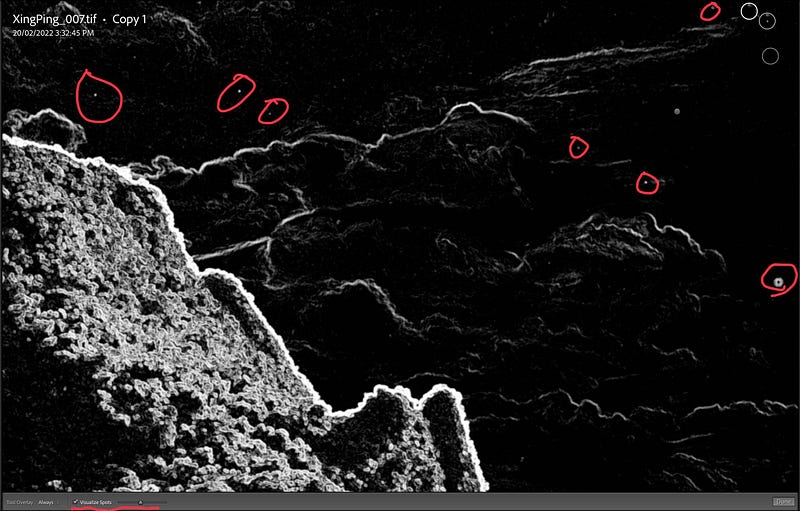
- Before scanning, do everything you can to remove the dust particles from the negative and the scanning platform… The author will first blow the scanner with an air pump, and the dust particles on the negative are also used… The author will not turn on the digital dust removal function on the scanning software, because there is a chance that the software will erase the details by mistake or make the color blocks inaccurate, so manual dust removal becomes extremely important… The better the dust removal is done in the early stage, the less time will be spent on dust removal in the later stage…
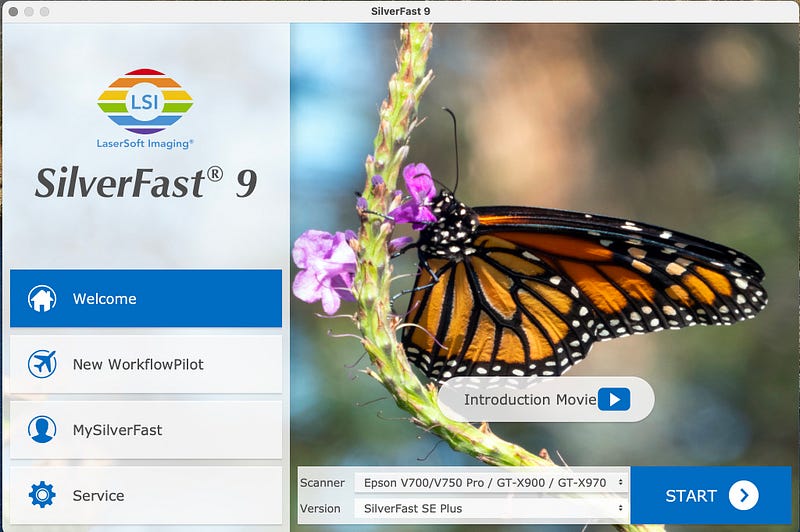
SilverFast — Scanner Software for Mac & Windows
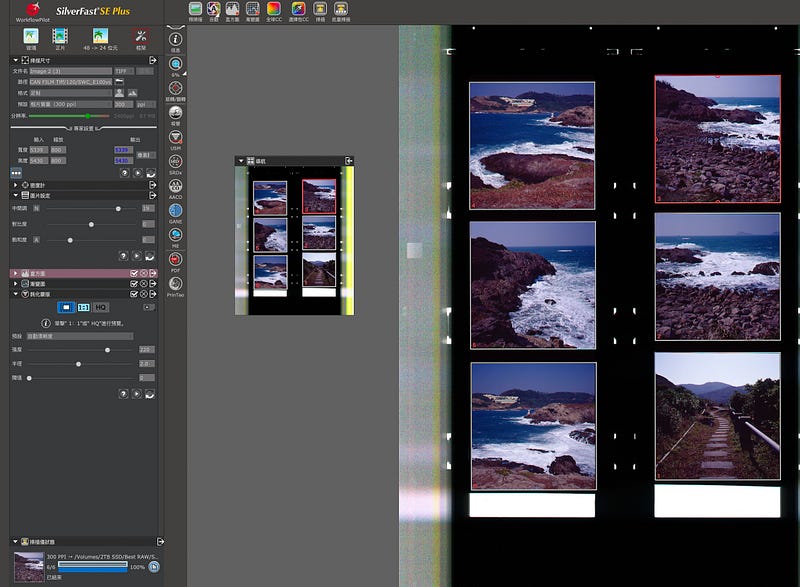
SilverFast 9 SE+, SilverFast is scanning software that most friends who scan negatives will not be unfamiliar with. Its scanning function and picture quality are excellent, but its operation interface has not been improved over the years. Even the author has given up to adapting to the operation of SF9, it would be more convenient and faster to process the photo names in batches on Lightroom in one go… If you have used Silverfast, you will understand the author’s dissatisfaction… I can only say that only German designers can imagine such an impersonal operation interface, the real MIG it …
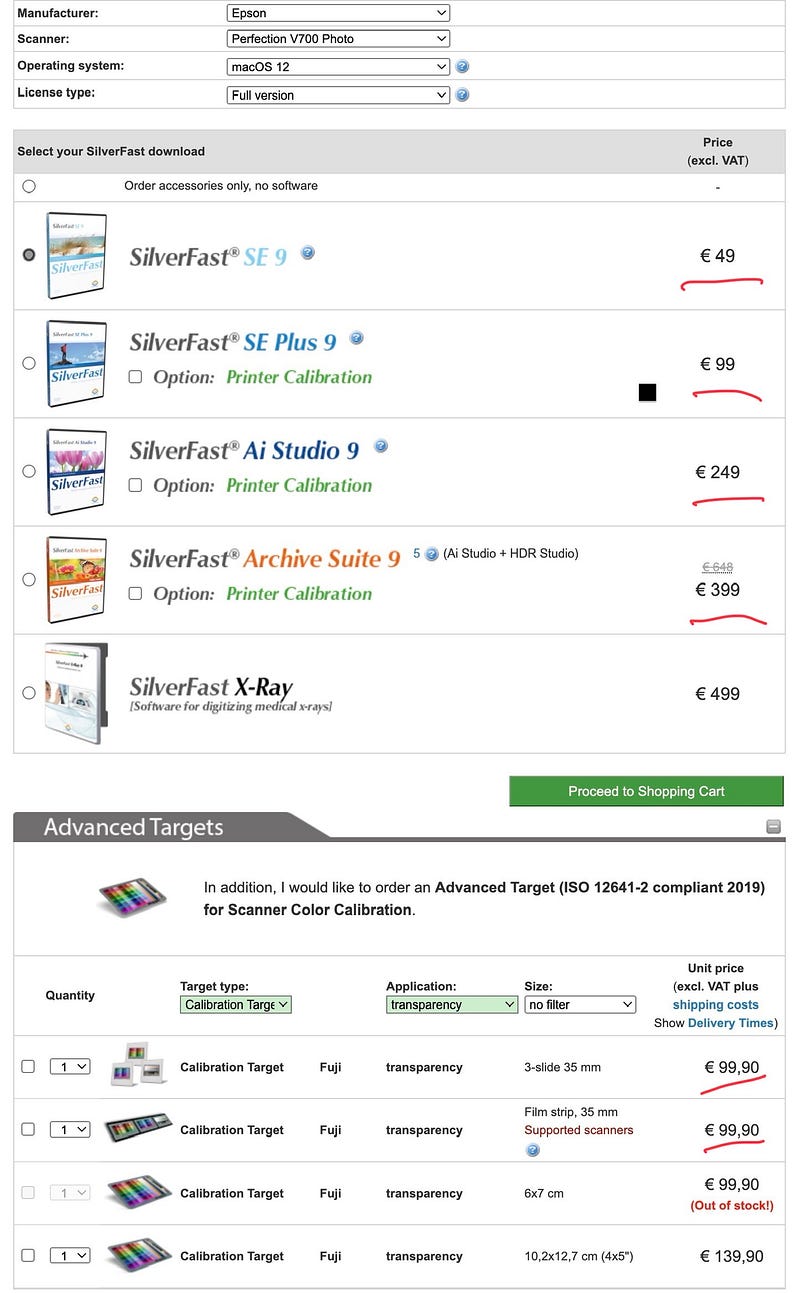
SilverFast9 has different plans, I just chose the SE+ version, more than the most basic version of the multiple exposure function, the price is still acceptable, but really a bit expensive it … but after trying the effect is really better than the Epson Scan 2 on a lot …
VueScan Scanner Software for macOS, Windows 10, and Linux (hamrick.com)
VueScan is also more people will use the advanced scanning software, but the author is not really accustomed to its interface, so I did not seriously learn … but I believe that just familiar with its mode of operation, but also can come up with a good scanning effect …
Thinking about color temperature and color standardization?
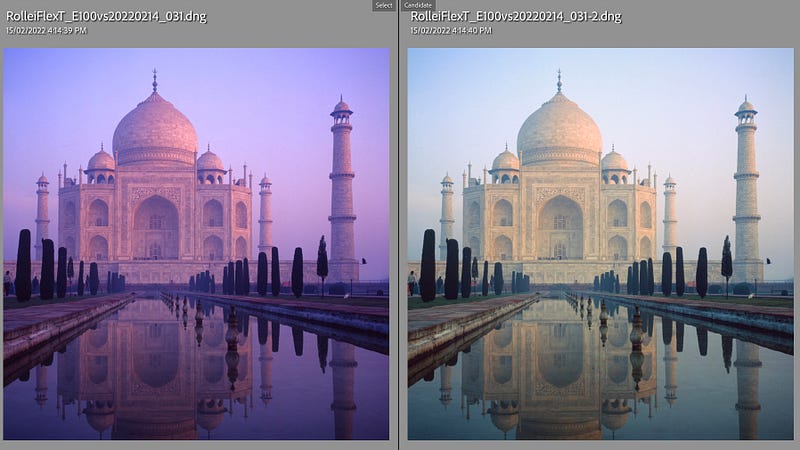
Today, many of our friends who shoot negatives do not use any colour temperature filters when shooting, what 81A, 82B can be said to be very strange accessories for them, even to buy a better quality colour temperature filter, may not be very easy … At the same time, now more use expired negatives to shoot, the negative may also be 4–5 years or longer, the problem of colour bias, reddish, violet, etc. is very common. After scanning, the image correction is based on the colour temperature of the original film? Or is it based on the reality of the scene? Because just as the RDP3 image color temperature is bluish, E100vs is warm, from the very beginning, the choice of negative may not be the same as the field environment color temperature. I think today’s general negative enthusiasts have not cared too much about 100% colour restoration or very fine negative style. Because if you want to be accurate, it may be more convenient and faster to shoot directly with a digital camera. I can only say that the style of photography orientation is related to the times … the author, 10 years ago, the standard of shooting negatives may not be the same as today. Today you use Cinestill 800T is for its cooler, bluer image style …
Scanning procedure:
The purpose of my scanning negatives is to meet the needs of backup purposes that have not been 10 years or more, mostly for viewing on 5–8K LCD… If I really print the photos, I may still Take the original film back to a familiar photoshop or a specialized photo shop for scanning and printing photos…because the processing methods for LCD viewing/printing may be different…the most important thing is to keep the original file or the original film It would be much easier to reprocess it this way…
The author still aims to scan 120 positive films and 135 Xpan positive films. I don’t have much confidence and time to scan ordinary 36-frame 135 positive films. After scanning the 100–200 cylinder 120 positive films and Xpan photos, I will not forget it…

- Pre-flatten the negative in a heavy book for a day or two or more so the negative can be flattened more efficiently…
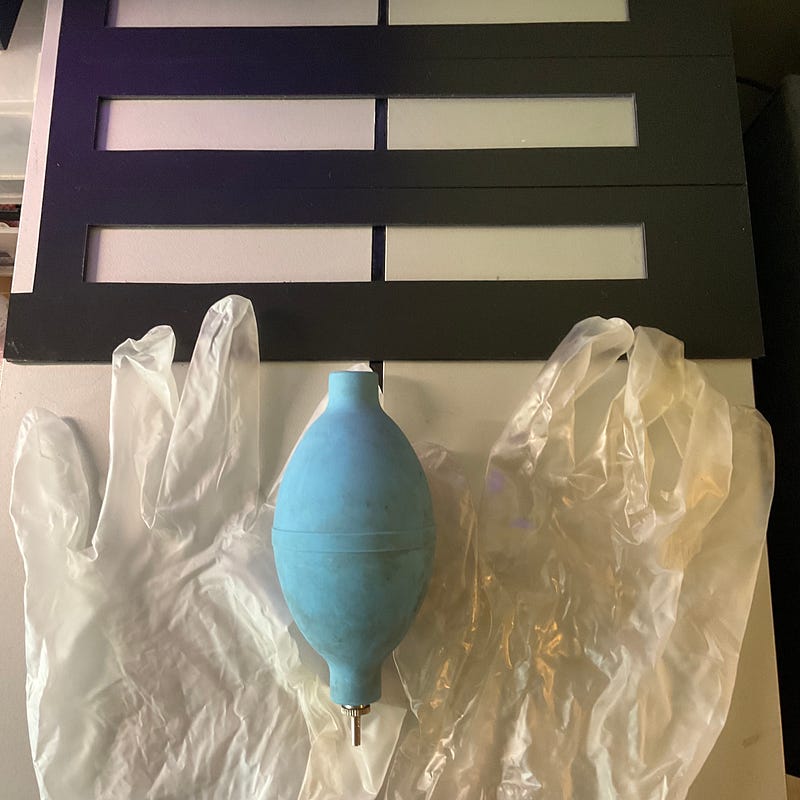
2. Put on rubber gloves, put the film on the film clip, try to put the film on the same focal plane, and remove the dust particles on the film as much as possible…
3. Remove dust particles from the film scanners…
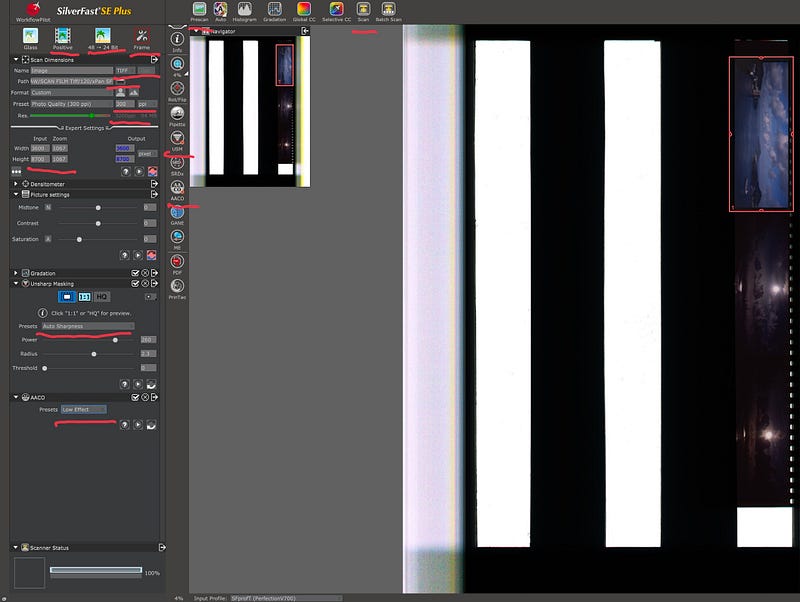
4. Open the scanning software SilverFast 9SE+, open the image preview, and then select the range of the scanned negative…I will only turn on the auto sharpening and light contrast processing functions so that the scanned image retains the most detail and post-processing space…I will set the image size at 2400 DPI, 5000x7000, and use Tiff processing, which is about 100MB per image…
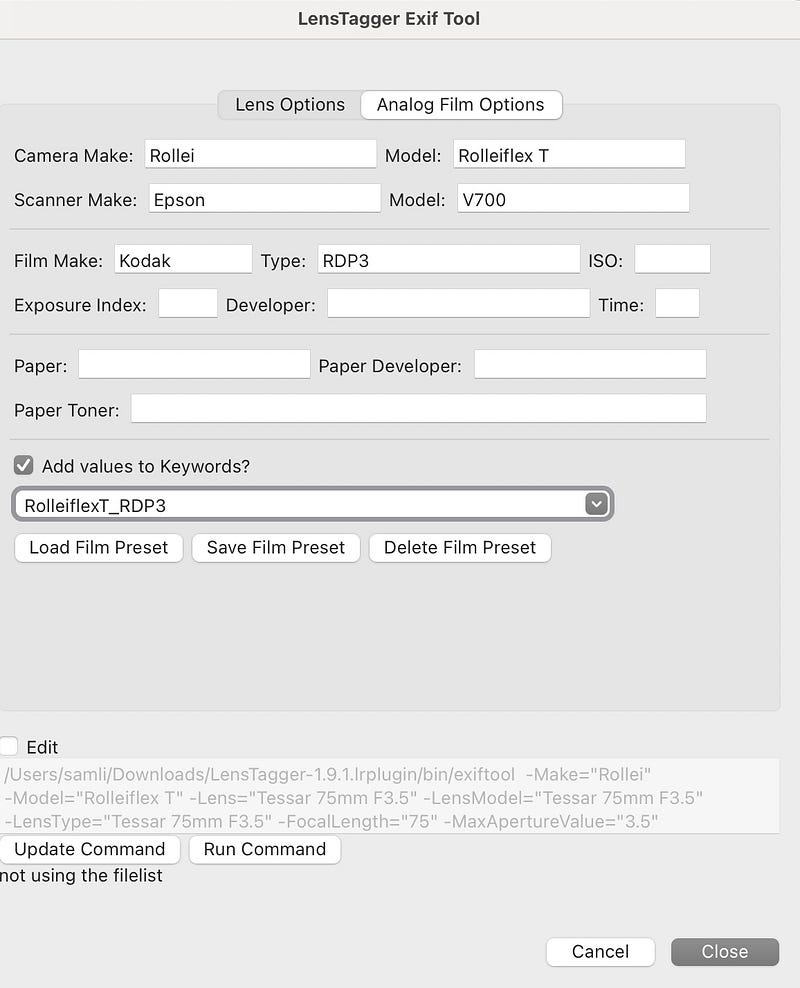
5. The scanned image is imported into Lightroom, first the name is changed in a simple batch, and then the Exif is added to the scanned image with Lens, such as lens information, type of negative used, etc… for easy searching of relevant photos on a daily basis…

6. The author will change the mouse shortcut to the Lightroom Q dusting key and the W key to the white flat key…because the dusting function is the most commonly used key after you scan the negative…of course the level of dusting depends on your own requirements…
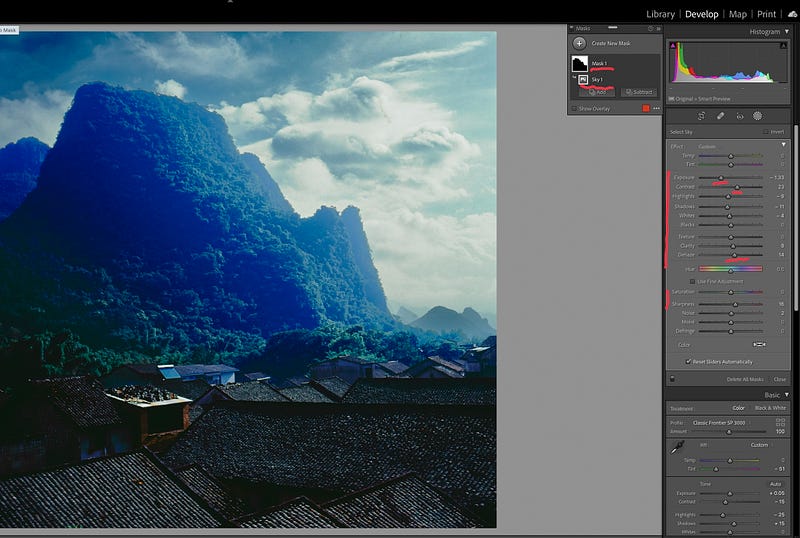
7.After that, the author will make correction adjustments for the image, using the relevant negative style file, may be more quickly, ha … and then adjust the light and dark, contrast, highlights, low light, etc. … If needed, may make local adjustments for the image, now Lightroom has AI mask function, you can quickly find the sky, while you can reverse the search for land, this function is very useful to correct the contrast of the sky, land, light and dark … a volume of 120 6x6 images, although there are 12, but seriously detailed photos may only be 3–4 only, the other is only a simple adjustment even …
8. After the author will add appropriate keywords for the photos to facilitate the daily search or classification of photos … export, DNG as the base, so that you can record all the modification parameters, lens / negative exif, so that the size of the photo will be reduced by about 2/3 size, 100mb Tiff changed to dng words, about only 30–40mb left about …
Scanning a roll of 120 6x6, 12 photos requires two separate scan times, about 30–40 minutes. Post-processing takes about 3–5 minutes per frame of negatives, including dust removal, adjusting color temperature, contrast, light and dark details, etc… The final 12 positives may take 50–60 minutes, which means that if you are serious about processing one roll 120 negatives scanning and post-processing may take 1–1.5 hours or more…scanning 135, 36 sheets will take about 2–3 times as long as scanning and post-processing…Can only say that the negative scanning is the most needed in the end It’s time, time, time, followed by money… How much love do you have for the love and persistence of negatives? There is actually no difference between film photography and digital photography, but the media is different, and the knowledge to be learned is similar and different, but it is indeed necessary to constantly pursue new photography knowledge and skills…
Conclusion: The final image quality of film scanning is actually the most important thing is what means you use to constantly optimize the process and establish your own set of regular standards to process the image, many of the details you can optimize the process by constantly optimizing the flattening of the negative, dust removal, software updates to optimize the process … photography is actually ultimately a science and art combined with aesthetics, only constantly review and optimize the scanning process to have more stable scanning quality … what cell phone photography can be comparable to digital cameras, in fact, a lot of internal image processing and stacking technology to have better image quality, is to improve the quality of technology …
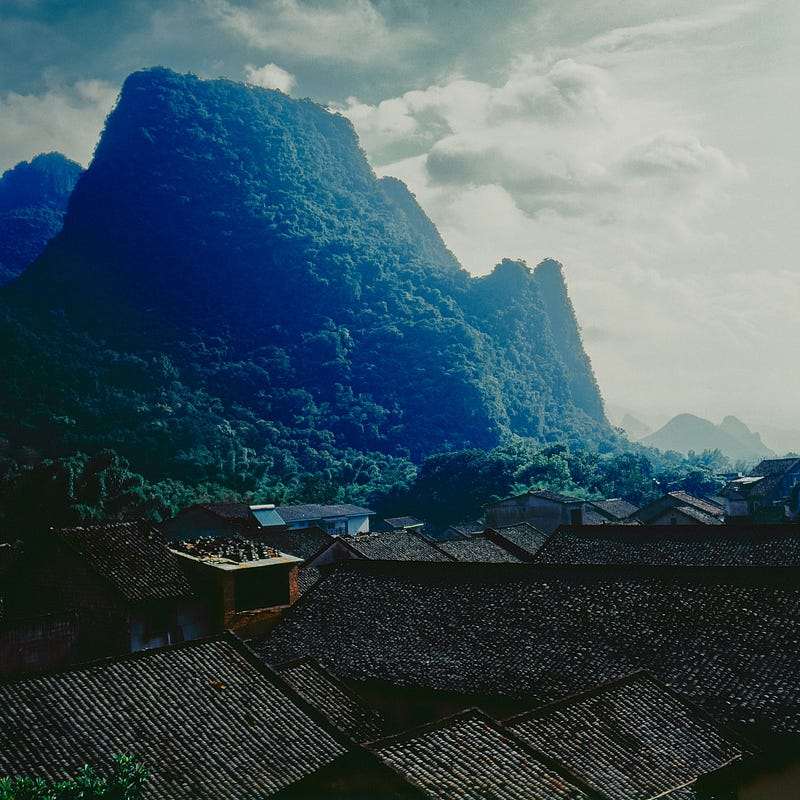
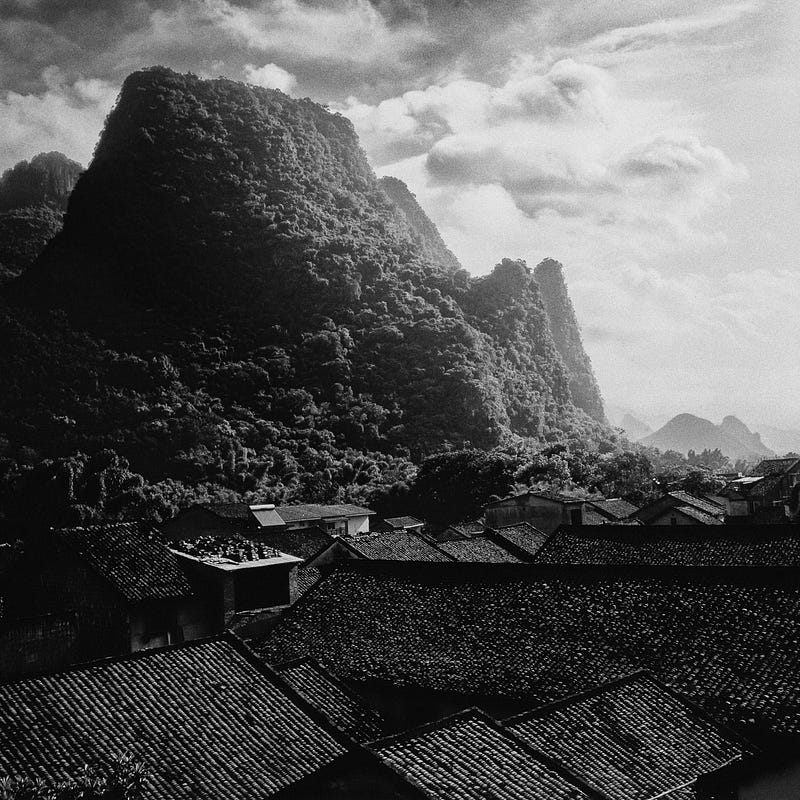
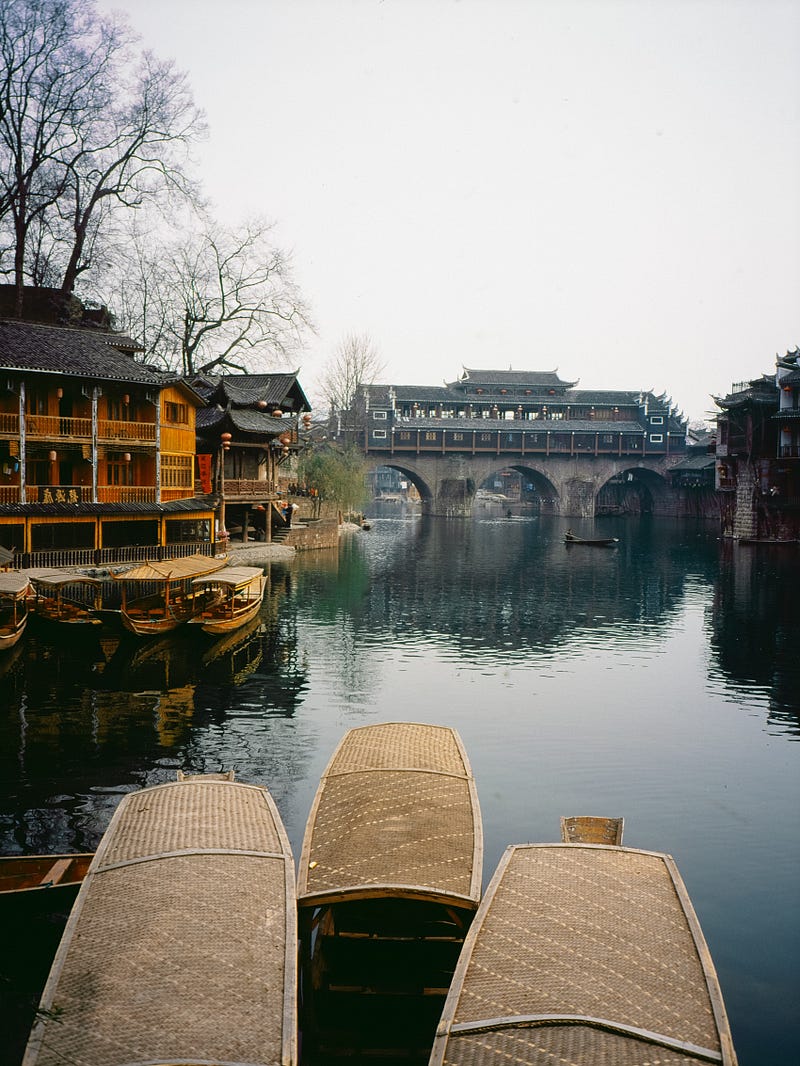
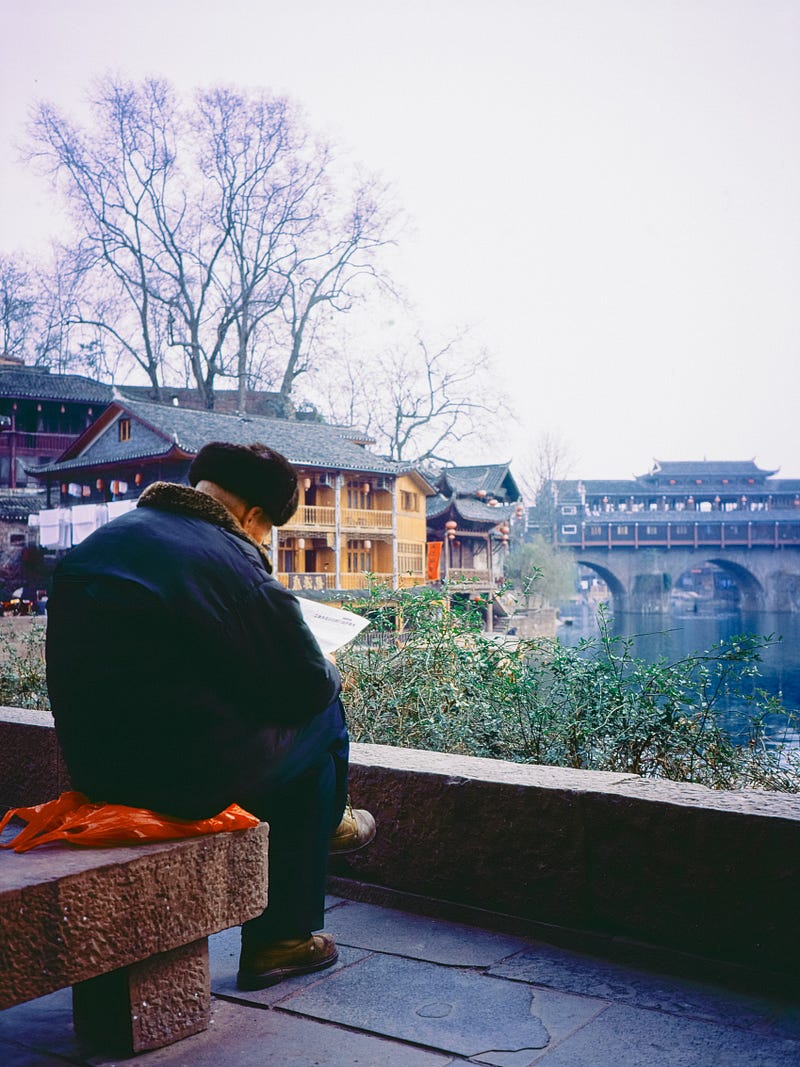
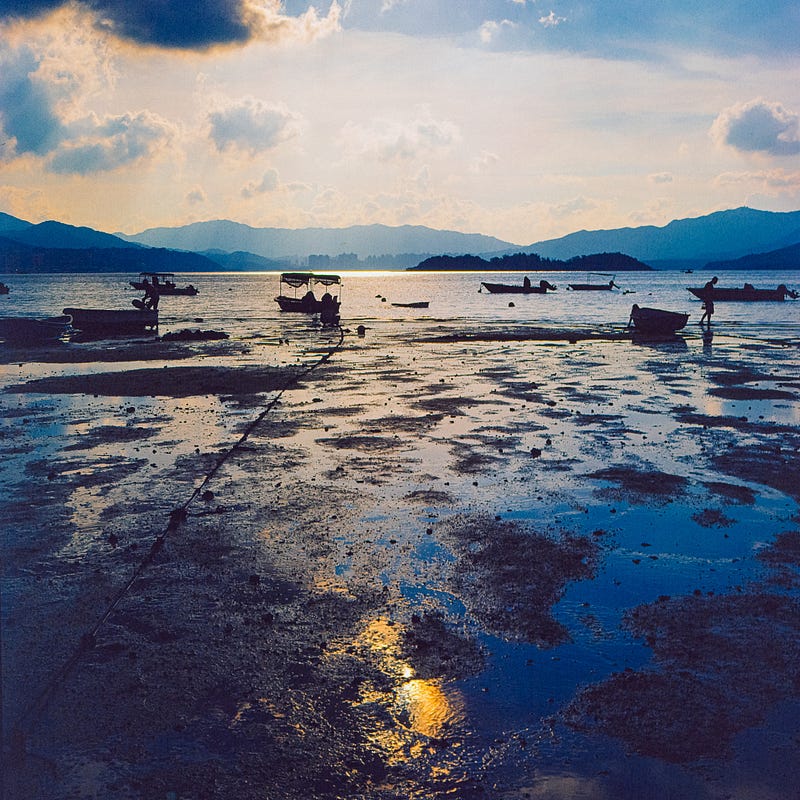
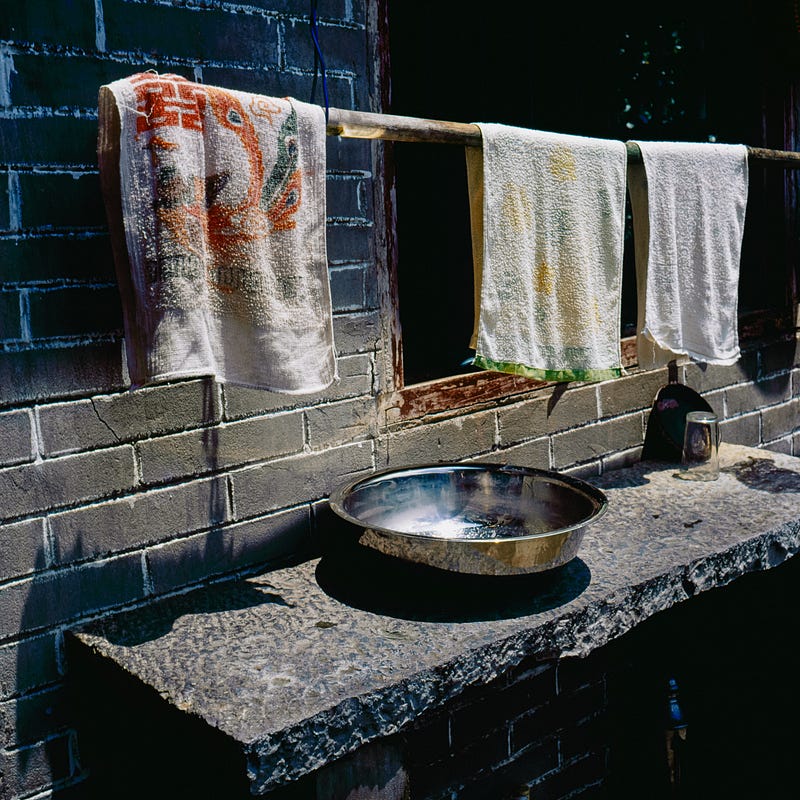
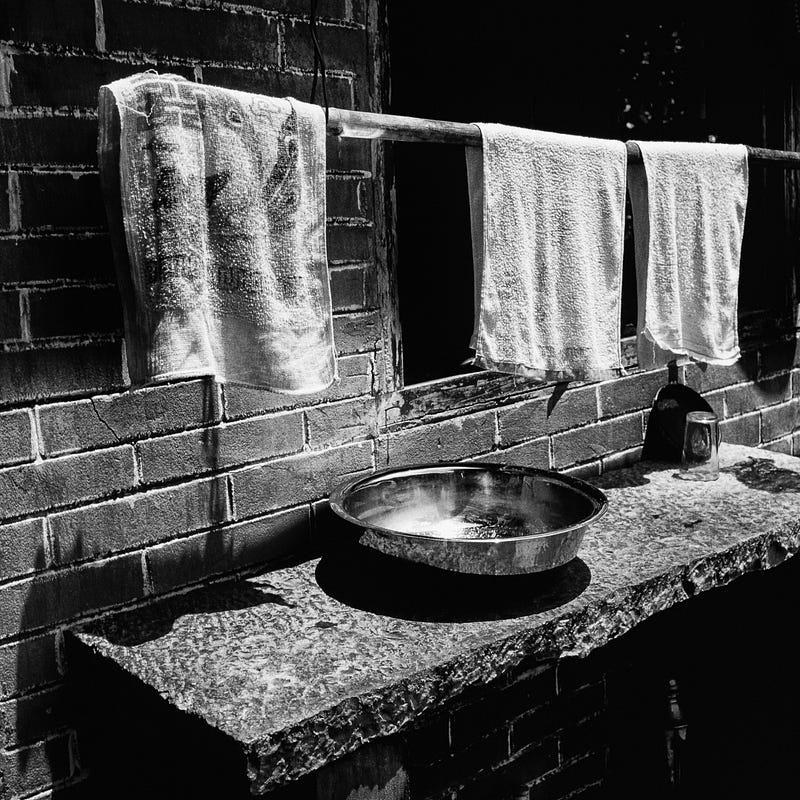
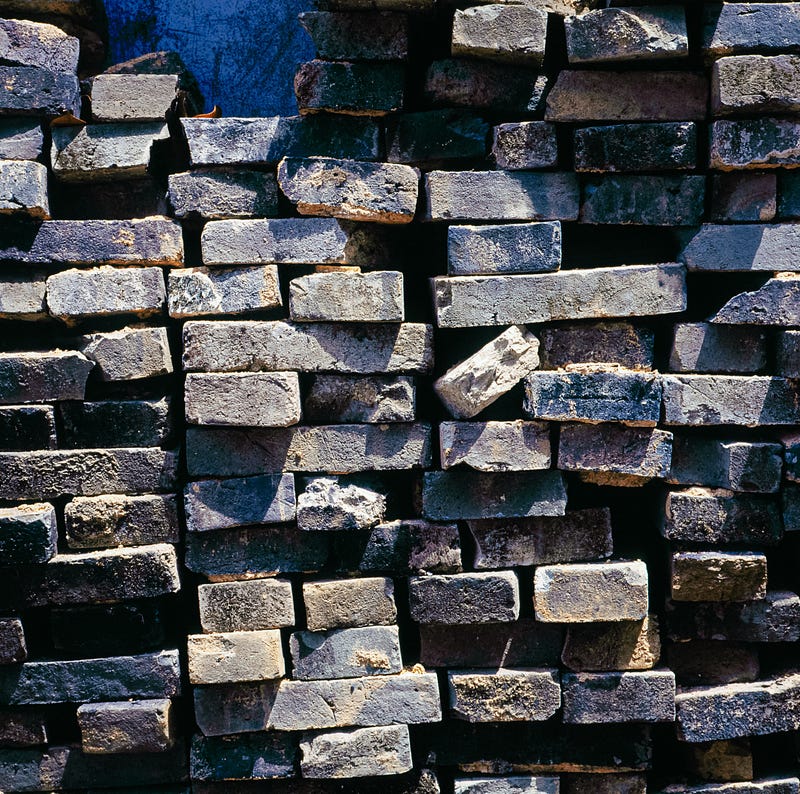
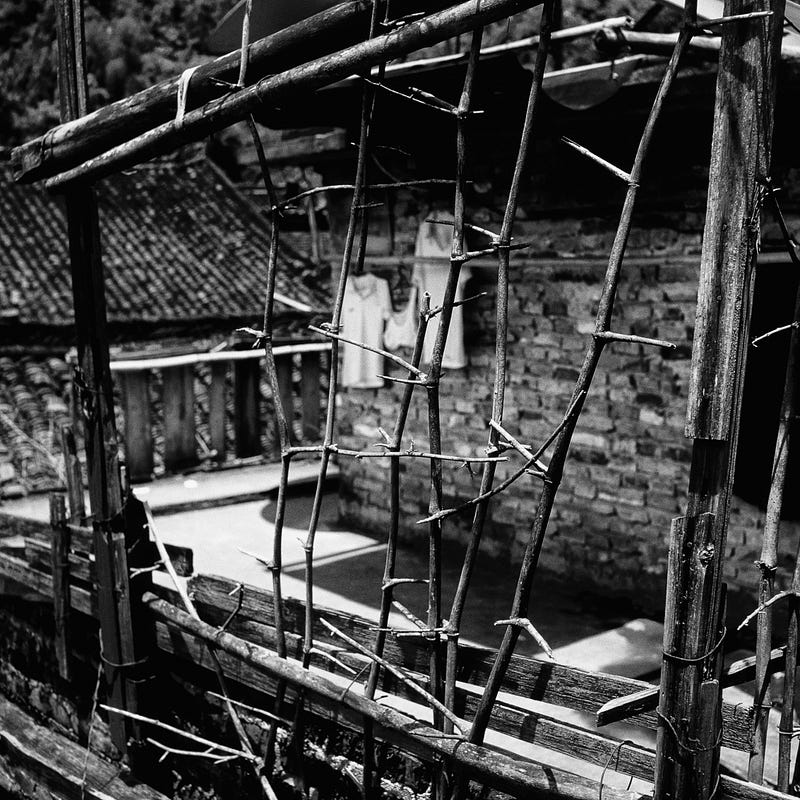
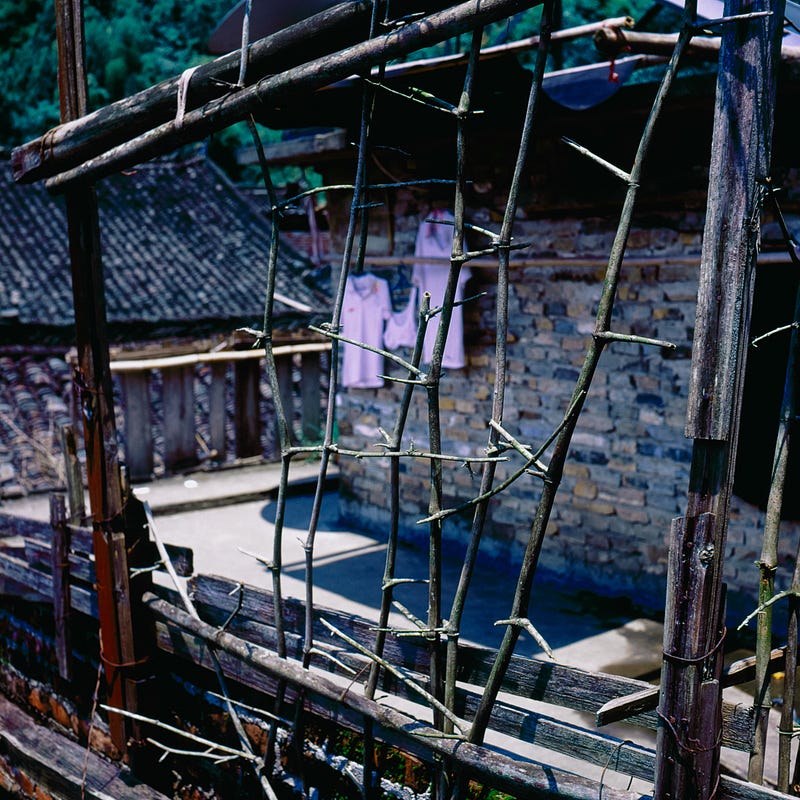
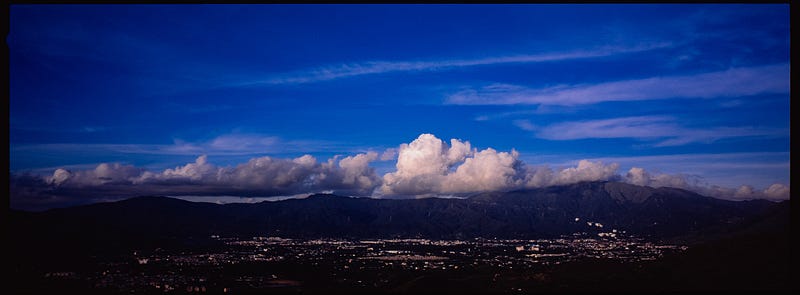
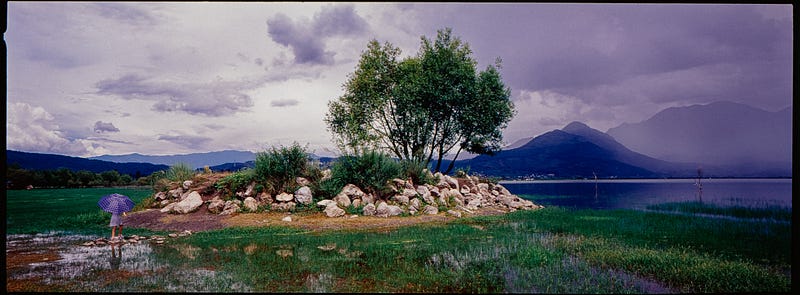
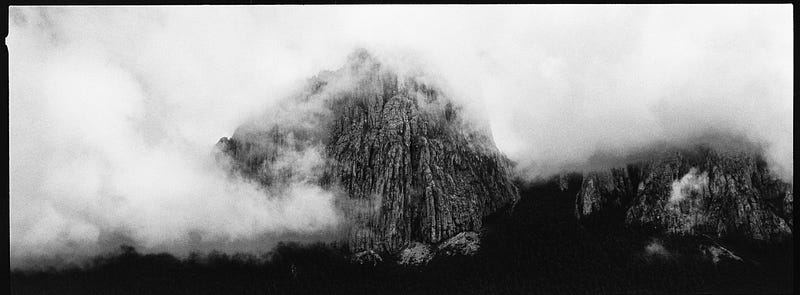
The following photos were taken by the author more than 10 years ago and modified by SF 9 se+ and LRv11.2…


If you like this post, feel free to give me a clap on the back and let me know you like it too XD
Rokkorx’s Blog | Facebook https://www.instagram.com/samlee.hk/ https://www.flickr.com/photos/rokkorx/

If you want to support My work, you can buy a cup of Coffee and support me to continue writing.


Rokkorx’s Blog | Facebook https://www.flickr.com/photos/rokkorx/ https://www.instagram.com/samlee.hk/ https://www.instagram.com/pano.street