
Exploring Google Maps in Flutter
Adding Officially Supported Google Maps in a Flutter app
Google recently published the official Google Maps plugin for Flutter, adding official support for Google Maps into Flutter.
This article will look at how to add Google Maps into a Flutter project and the features and customization available. At the time of writing, this plugin is still in developer preview and may have breaking changes in the future. I will try my best to update the article whenever required.
Note: Since Google Maps relies on an external package and is not inbuilt, I haven’t added this article as part of my Deep Dive series into widgets. Nevertheless, this article will follow a similar pattern.
Setting up our app
Before we start, we need to configure our API keys for our app to work with Google Maps. The general instructions are given here in the package and follow them to set your project up.
In a nutshell:
- Create a Google Maps API key here.
- Add key to the Android
manifest.xml:
<application...
  <meta-data android:name="com.google.android.geo.API_KEY"
      android:value="YOUR API KEY"/>
3. Add key to iOS:
Add the GoogleMaps import to Runner -> AppDelegate.m and add the API Key. Your file should look like this:
#include "AppDelegate.h"
#include "GeneratedPluginRegistrant.h"
#import "GoogleMaps/GoogleMaps.h"

@implementation AppDelegate

- (BOOL)application:(UIApplication *)application
    didFinishLaunchingWithOptions:(NSDictionary *)launchOptions {
    [GMSServices provideAPIKey:@"YOUR API KEY"];
  [GeneratedPluginRegistrant registerWithRegistry:self];
  // Override point for customization after application launch.
  return [super application:application didFinishLaunchingWithOptions:launchOptions];
}

@end
4. Add this to Info.plist
<key>io.flutter.embedded_views_preview</key>
<string>YES</string>
And you’re set!
Adding a Google Map to a screen
To add a Google Map, use a GoogleMap widget in your widget tree. Here is a basic example:
Column(
  children: <Widget>[
    Container(
      height: MediaQuery.of(context).size.height,
      width: MediaQuery.of(context).size.width,
      child: GoogleMap(
        onMapCreated: (GoogleMapController controller) {},
      ),
    ),
  ],
),
This gives us:
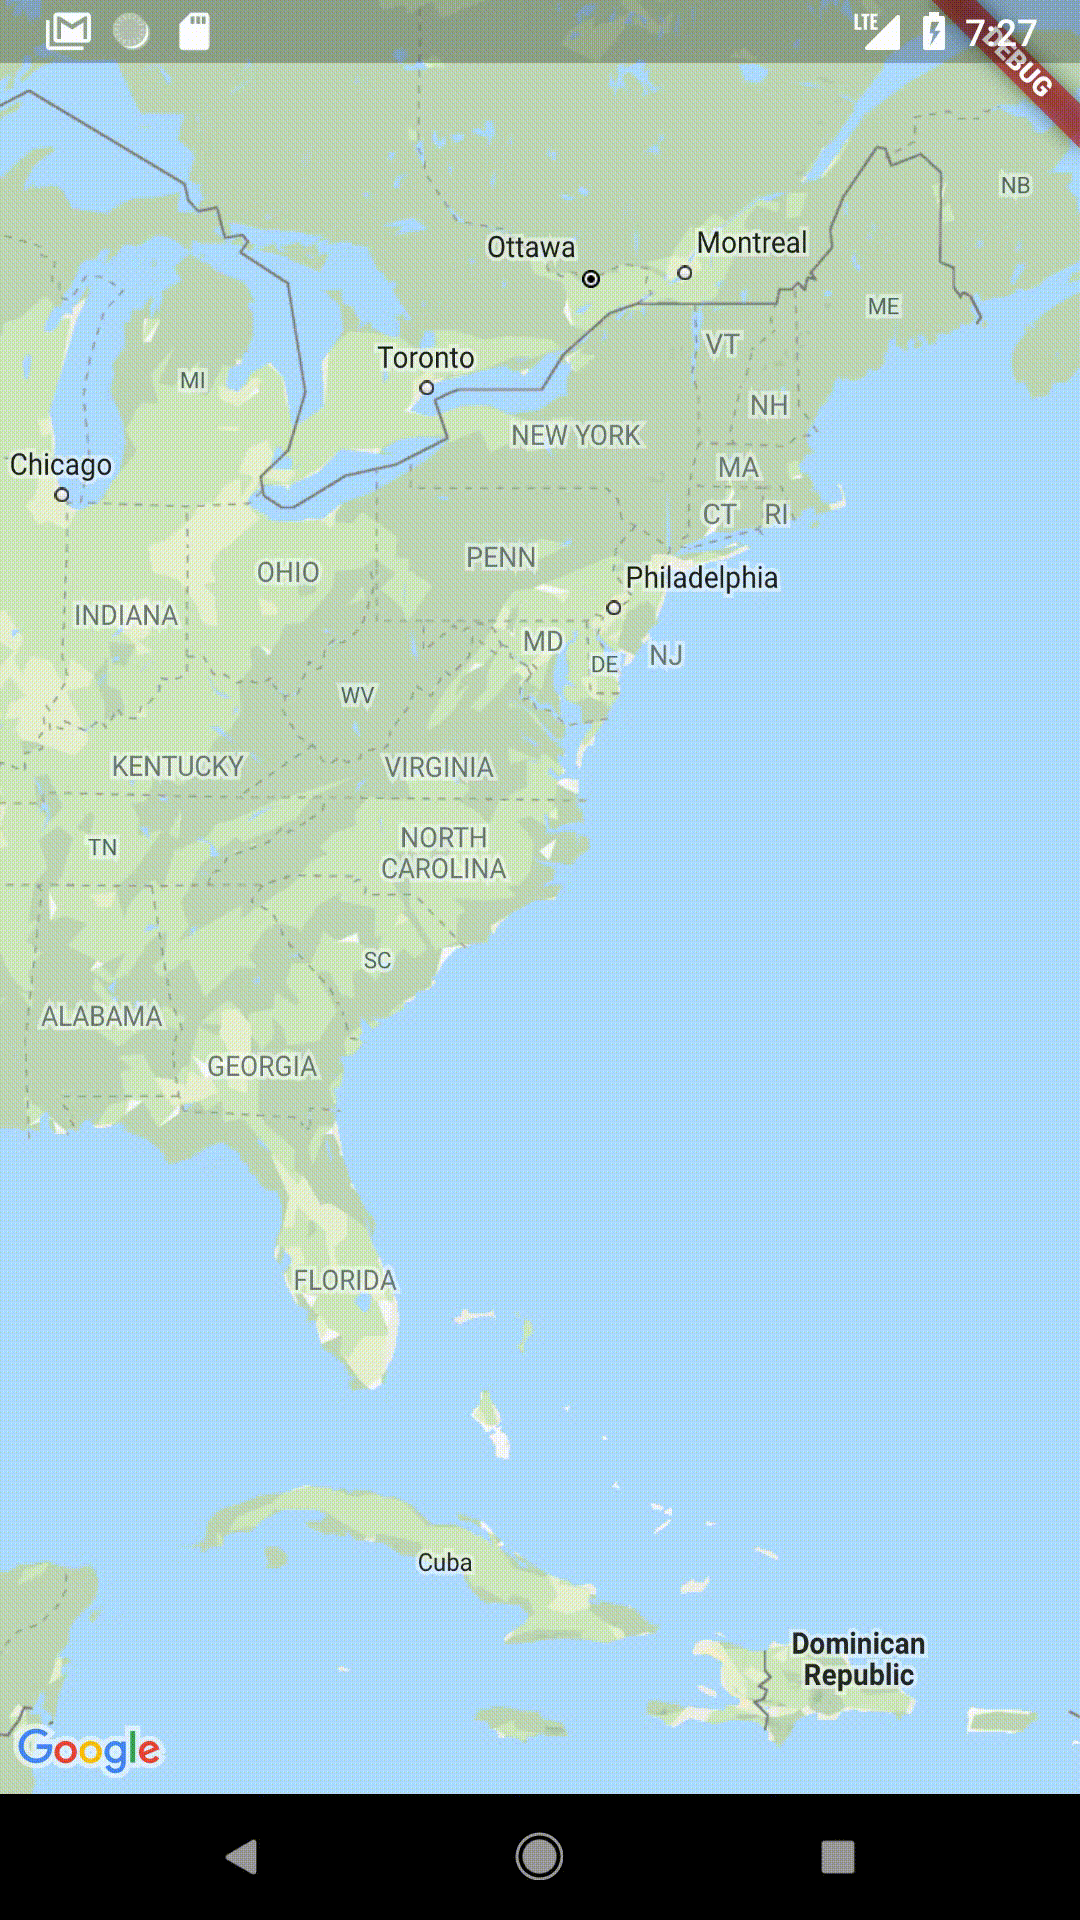
This is pretty good for just a few lines of code. But most times, we don’t want an app to have a random map. So, let’s see now how to customize, control the map, add markers, etc.
Changing Map Options
The options parameter allows us to set some default settings like enabling/disabling gestures or setting the default camera position, etc.
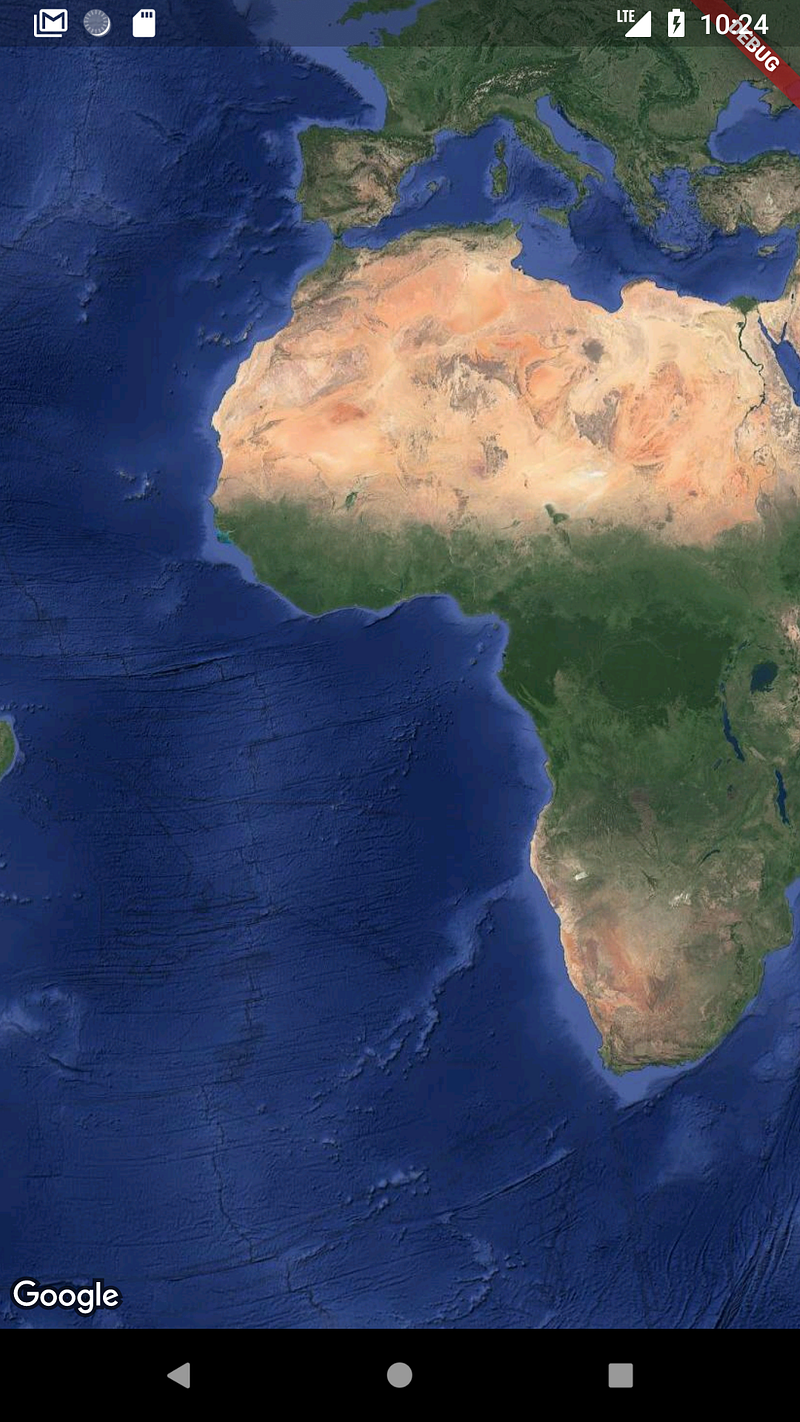
Changing map type
We can set the map type using the mapType parameter in GoogleMapOptions.
This can be set to satellite, hybrid, normal or terrain.
GoogleMap(
  onMapCreated: (GoogleMapController controller) {},
  options: GoogleMapOptions(
    mapType: MapType.satellite,
  ),
),
Set default camera position
Setting the cameraPosition parameter sets the default camera position to a target. We will look at this in detail when we look at CameraPosition in the next section.
options: GoogleMapOptions(
  cameraPosition: CameraPosition(
    target: LatLng(37.4219999, -122.0862462),
  ),
),
Showing user location
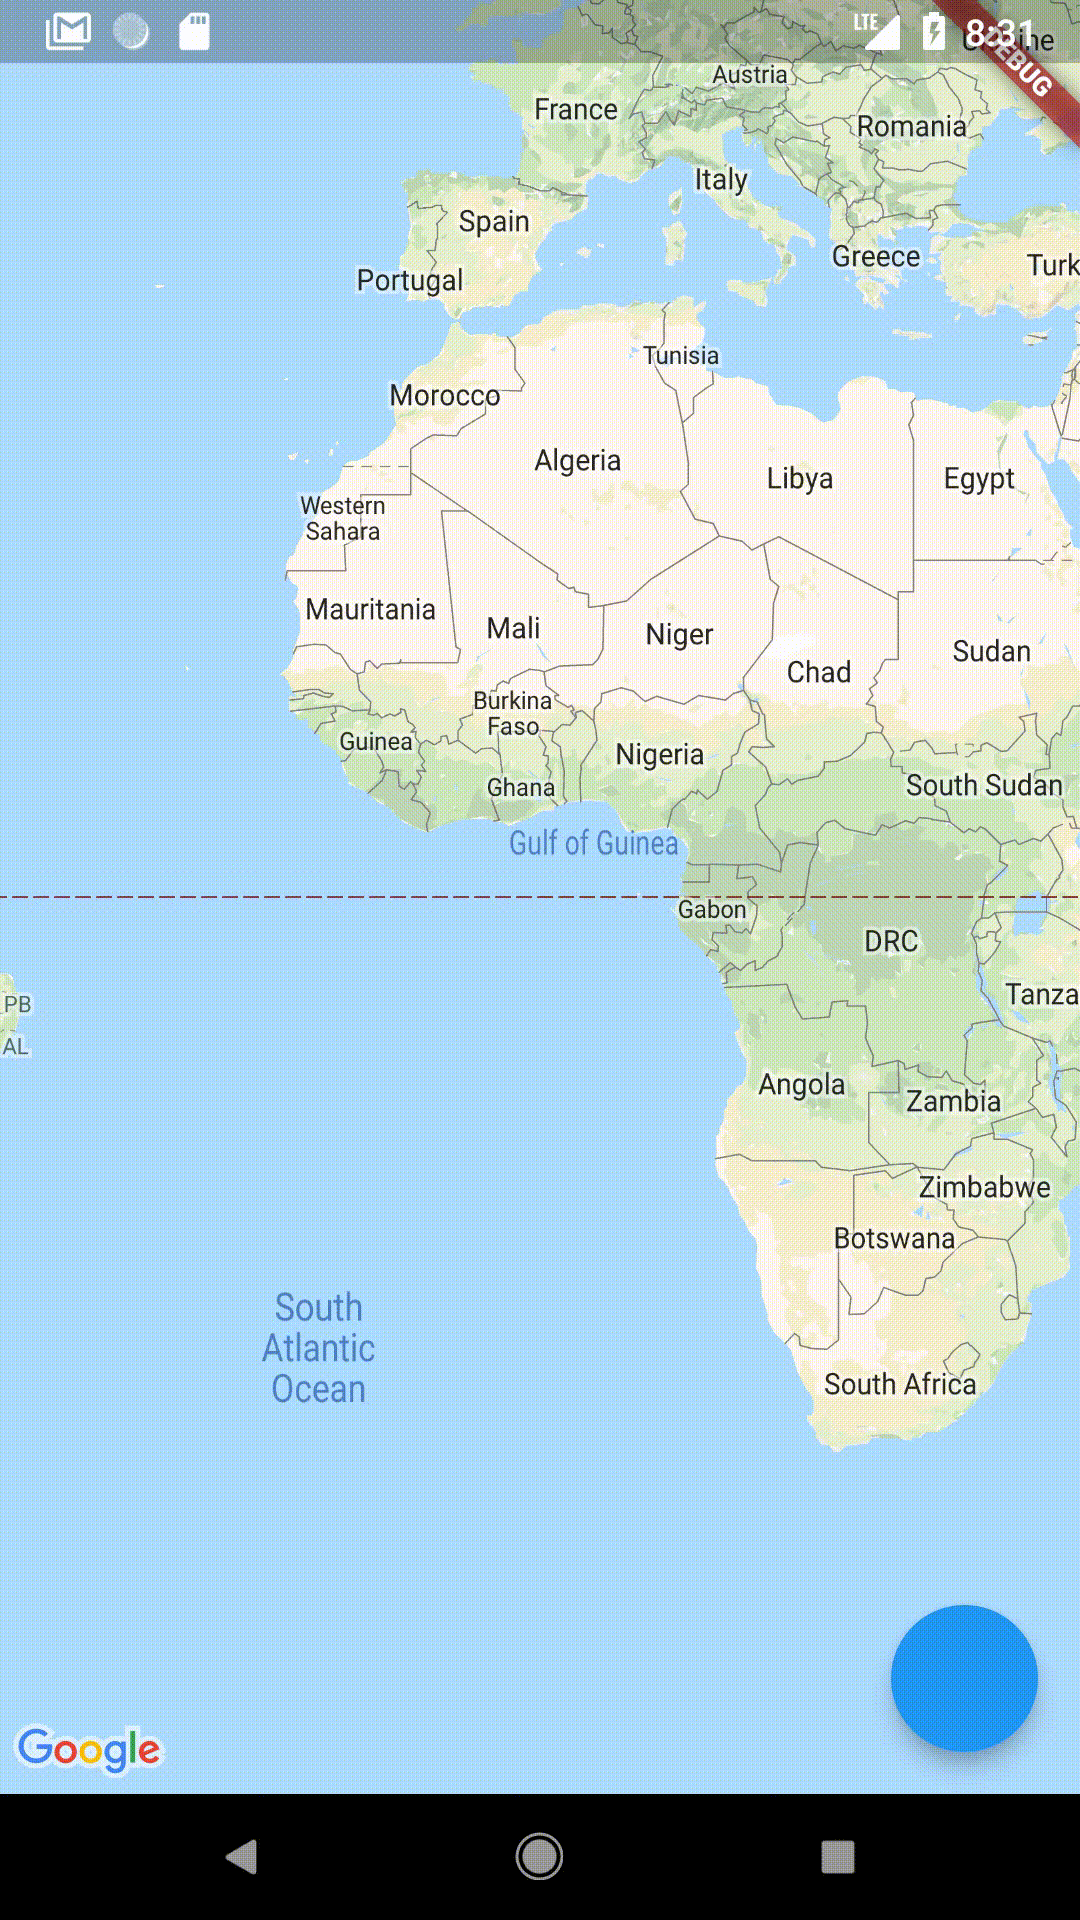
The user’s location can be shown on the map by setting the myLocationEnabled parameter to true. For this to work we must also add the required permissions on both platforms.
On Android:
Add
<uses-permission android:name=”android.permission.ACCESS_FINE_LOCATION” />
or
<uses-permission android:name=”android.permission.ACCESS_COARSE_LOCATION” />
to manifest.xml. We also need to explicitly ask the user for permission.
For this, a package like permission_handler can be used to achieve this.
On iOS:
Add a ‘NSLocationWhenInUseUsageDescription’ key to your ‘Info.plist’ file. This will automatically prompt the user for permissions when the map tries to turn on the My Location layer.

If all goes well, this should be the result.
Enabling/Disabling Gestures
GoogleMapOptions gives us various options to either enable or disable specific types of gestures like tilt, zoom, etc.
options: GoogleMapOptions(
  cameraPosition: CameraPosition(
    target: LatLng(37.4219999, -122.0862462),
  ),
  rotateGesturesEnabled: false,
  scrollGesturesEnabled: false,
  tiltGesturesEnabled: false,
)
This code snippet disables the three gestures mentioned.
Moving the camera around
If you noticed, the onMapCreated method in the GoogleMap gave us a GoogleMapController.
onMapCreated: (GoogleMapController controller) {},We can use this controller to do things like set markers or move the camera around.
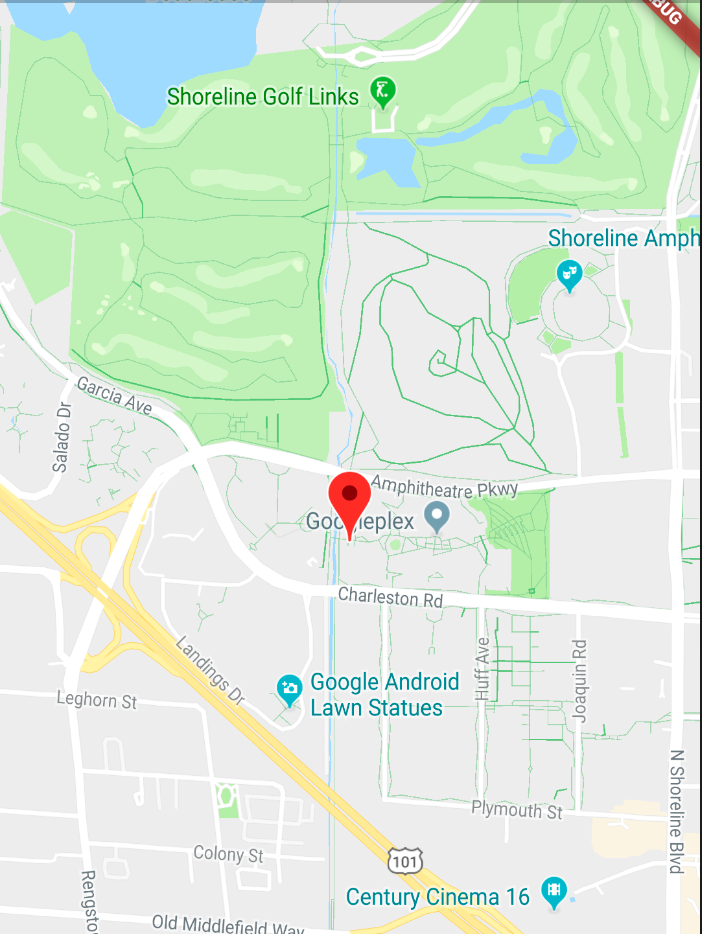
Let’s see an example of moving the camera to a specific location, say, the Google HQ.
// Declare outside build method
GoogleMapController mapController;Scaffold(
body: Column(
children: <Widget>[
Container(
height: MediaQuery.of(context).size.height,
width: MediaQuery.of(context).size.width,
child: GoogleMap(
onMapCreated: (GoogleMapController controller) {
mapController = controller;
},
),
],
),
floatingActionButton: FloatingActionButton(onPressed: () {
mapController.animateCamera(
CameraUpdate.newCameraPosition(
CameraPosition(
target: LatLng(37.4219999, -122.0862462), zoom: 20.0),
),
);
}),
);A variable is used to store an instance of GoogleMapController, allowing us to animate the camera.
Next, we have a FloatingActionButton and with its onPressed set to animate the camera to the latitude and longitude of the Google HQ.
Let’s look at all the other things we can do with moving the camera.
CameraUpdate.newCameraPosition()
This method lets us set the latitude and longitude, zoom, bearing (the orientation of the map in degrees) and tilt (a higher tilt gives a side-view/tilted-view of buildings). Bearing changes the direction the camera points in and not tilt.
mapController.animateCamera(
  CameraUpdate.newCameraPosition(
    CameraPosition(
      target: latLng,
      tilt: 50.0,
      bearing: 45.0,
      zoom: 20.0,
    ),
  ),
);
This gives us:

CameraUpdate.newLatLngBounds()
This sets the camera between two LatLngs.
For example, it makes more sense for an app like Uber to show enough of the map to cover you and the car tasked with picking you up rather than showing a map of the entire city.
mapController.animateCamera(
    CameraUpdate.newLatLngBounds(
      LatLngBounds(
        southwest: LatLng(48.8589507, 2.2770205),
        northeast: LatLng(50.8550625, 4.3053506),
      ),
      32.0,
    ),
);
The function takes the southwest point and the northeast point to cover on the map.
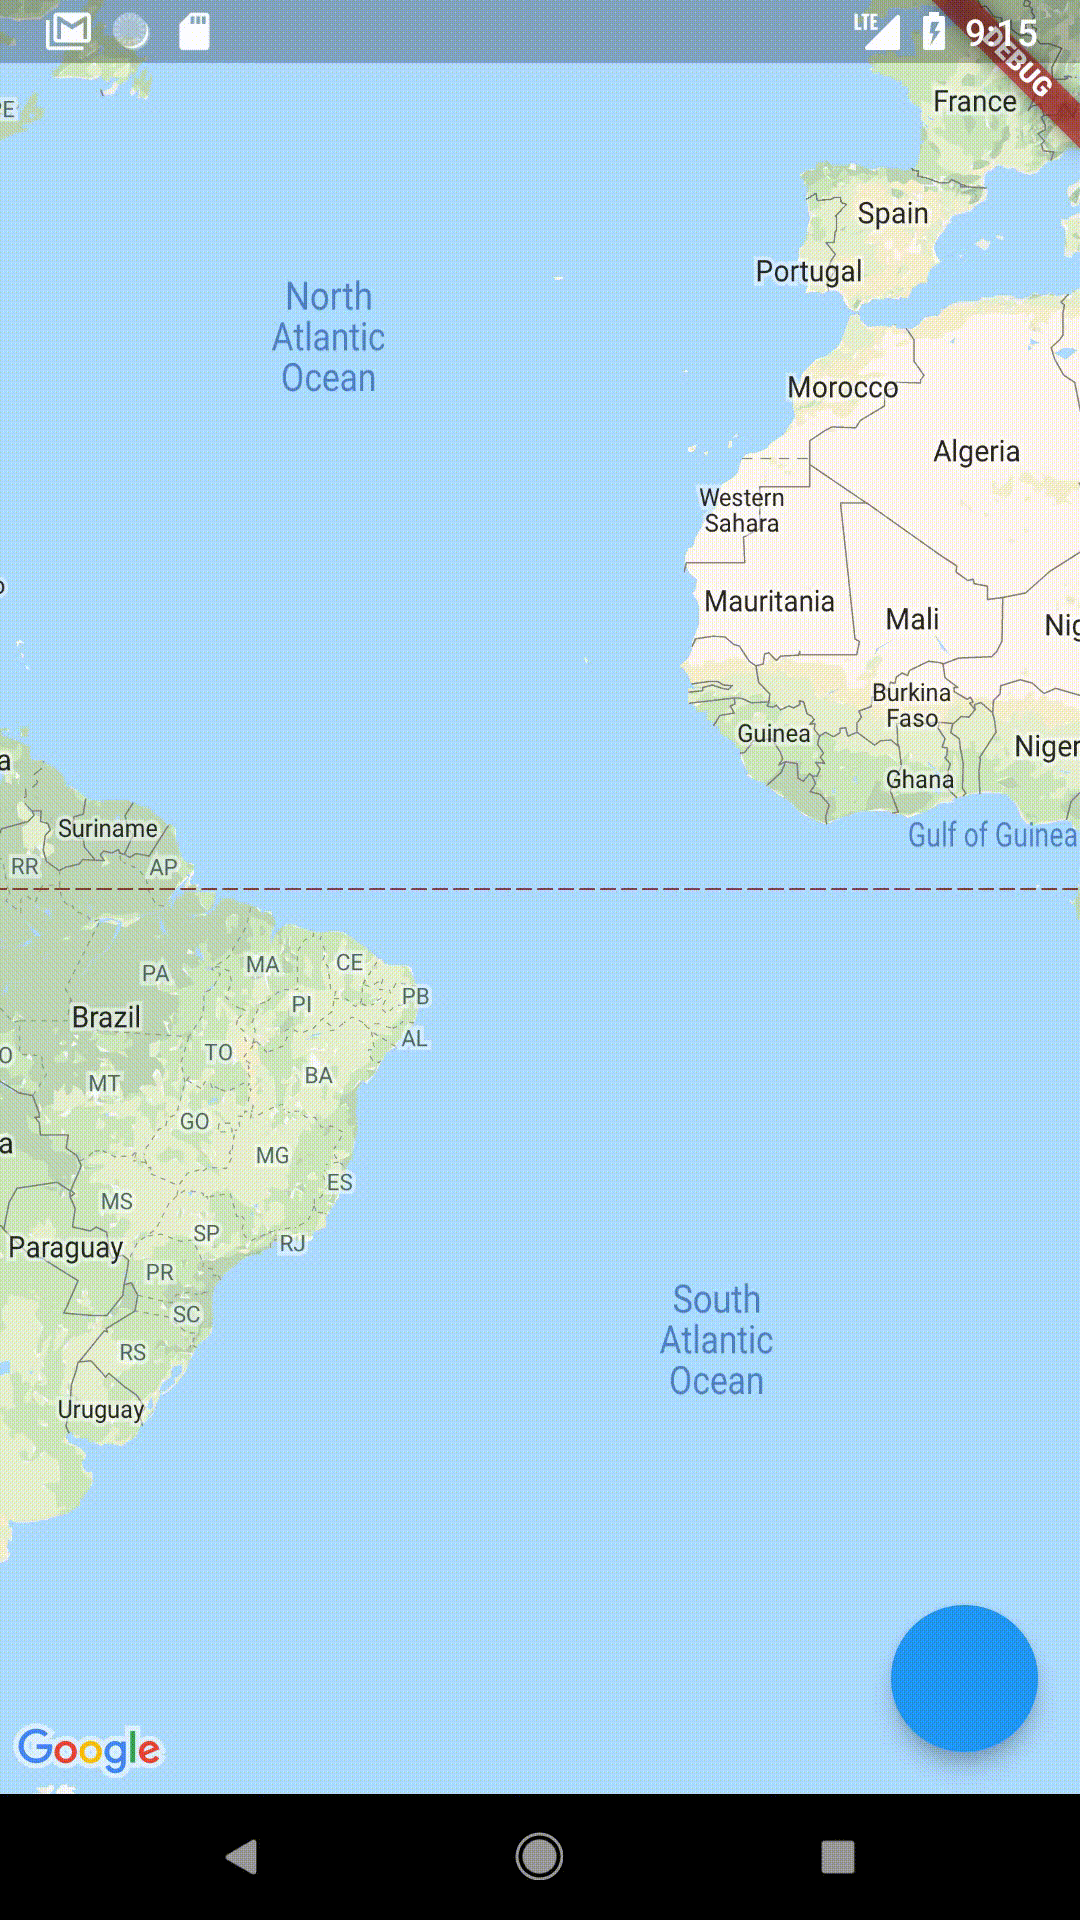
The second parameter is a padding, let’s see what it does.
Here the southwest point is the city of Paris and northeast is Brussels. Let’s set the padding to 0.0 and try it out.
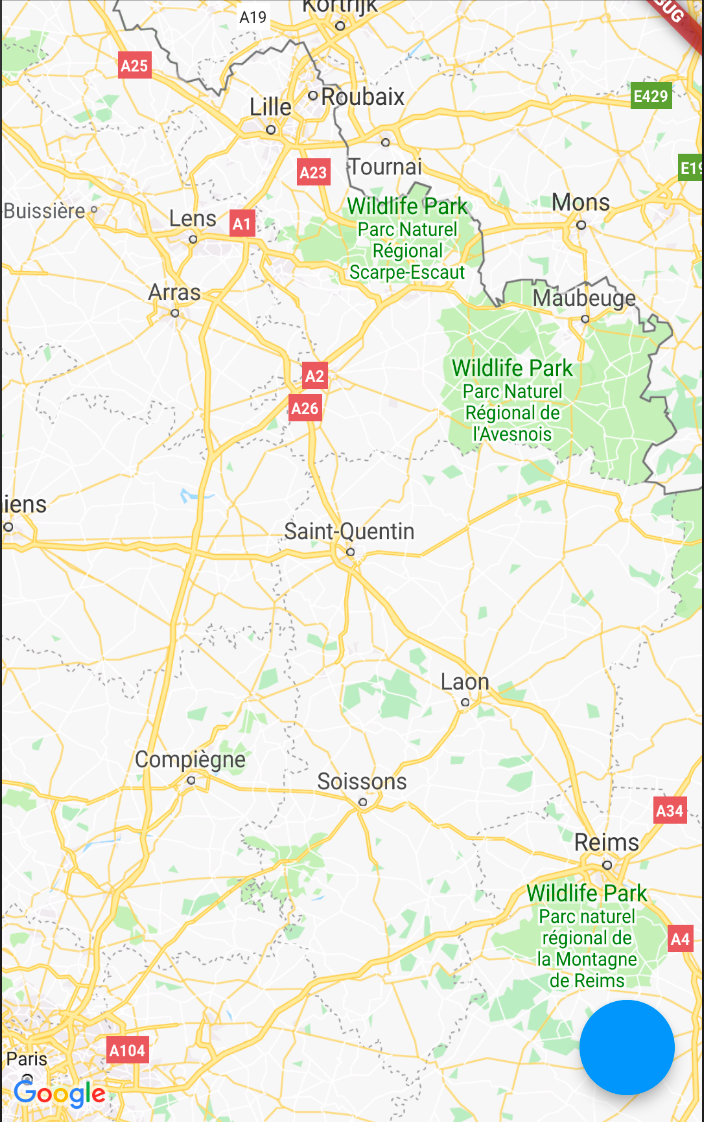
The cities are barely visible. To avoid this, we give the map a higher padding to bring the cities in the map.

CameraUpdate.newLatLng()
This function simply sets the camera to a new latitude and longitude while retaining the same zoom factor.
mapController.animateCamera(
  CameraUpdate.newLatLng(
    LatLng(
      37.4219999,
      -122.0862462,
    ),
  ),
);
CameraUpdate.newLatLngZoom()
This is similar to the last function but also allows us to change the zoom factor of the camera.
mapController.animateCamera(
  CameraUpdate.newLatLngZoom(
    LatLng(37.4219999, -122.0862462),
    10.0, // Zoom factor
  ),
);
CameraUpdate.scrollBy()
Simply scrolls the map in the X and/or Y direction by a certain amount.
mapController.animateCamera(
  CameraUpdate.scrollBy(50.0, 50.0),
);
The first parameter gives shift in X direction whereas the second gives shift in the Y direction.
CameraUpdate.zoomIn(), CameraUpdate.zoomOut()
Simply zooms in or out.
mapController.animateCamera(
  CameraUpdate.zoomIn(),
);mapController.animateCamera(
CameraUpdate.zoomOut(),
);CameraUpdate.zoomBy()
Zooms by the amount given.
mapController.animateCamera(
  CameraUpdate.zoomBy(4.0),
);
CameraUpdate.zoomTo()
Zooms to the specific factor.
mapController.animateCamera(
  CameraUpdate.zoomTo(5.0),
);
Adding markers on the Map
We can use the same GoogleMapController we used earlier to add markers on the map as well.
This is as easy as:
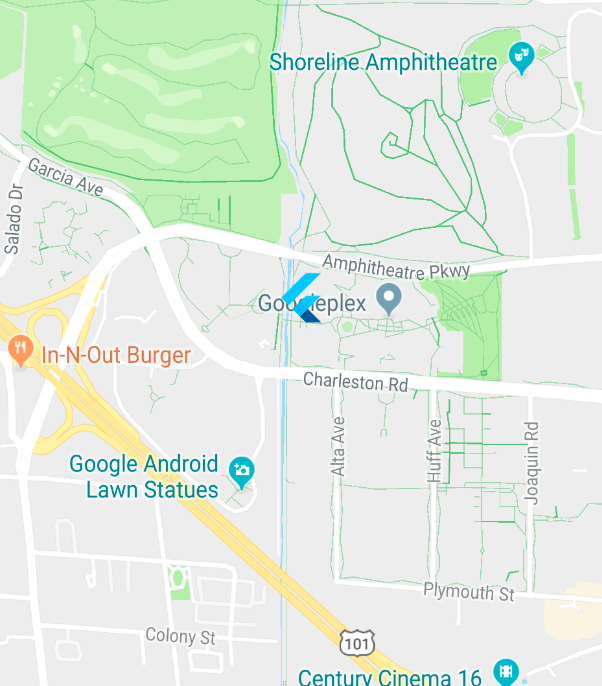
mapController.addMarker(
  MarkerOptions(
    position: LatLng(37.4219999, -122.0862462),
  ),
);
Adding text to markers
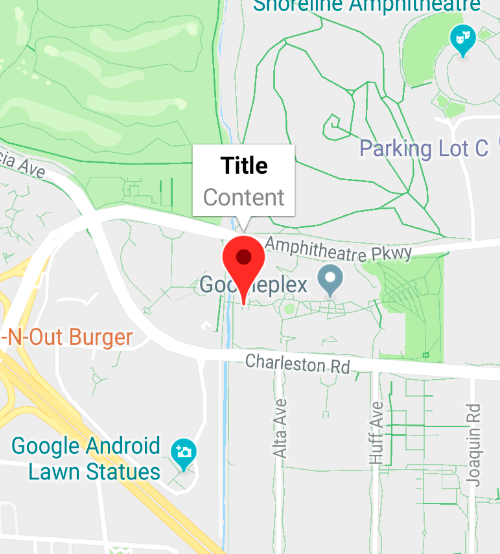
We can add information to markers using the infoWindowText parameter.
MarkerOptions(
    position: LatLng(37.4219999, -122.0862462),
    infoWindowText: InfoWindowText("Title", "Content"),
  ),
Changing marker icon
We can change the image being used for the marker using the icon parameter. Let’s use the Flutter icon as a marker.
In the icon parameter we can supply an asset like this:
MarkerOptions(
  position: LatLng(37.4219999, -122.0862462),
  icon: BitmapDescriptor.fromAsset('images/flutter.png',),
),
Changing the look of the default marker
We can change color using the icon parameter as well:
MarkerOptions(
  position: LatLng(37.4219999, -122.0862462),
  icon:
      BitmapDescriptor.defaultMarkerWithHue(BitmapDescriptor.hueBlue),
),
We can set the alpha (how opaque the icon is) as well:
MarkerOptions(
  position: LatLng(37.4219999, -122.0862462),
  alpha: 0.5,
),
And finally, we can rotate the icon as well:
MarkerOptions(
  position: LatLng(37.4219999, -122.0862462),
  rotation: 45.0, // Rotation in degrees
),
That’s it for this article! I hope you enjoyed it, and leave a few claps if you did. Follow me for more Flutter articles and comment for any feedback you might have about this article.
While writing this article, I came across a repository of quite a few examples by Bhavik Makwana including maps. Check it out here.
Feel free to check out my other profiles and articles as well:


