
Home
DIY — Repurposing Old Stairs
Not what you think…
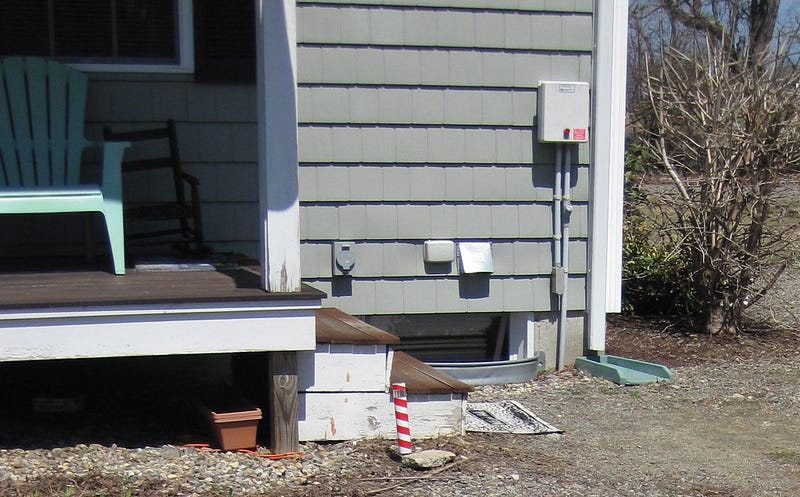
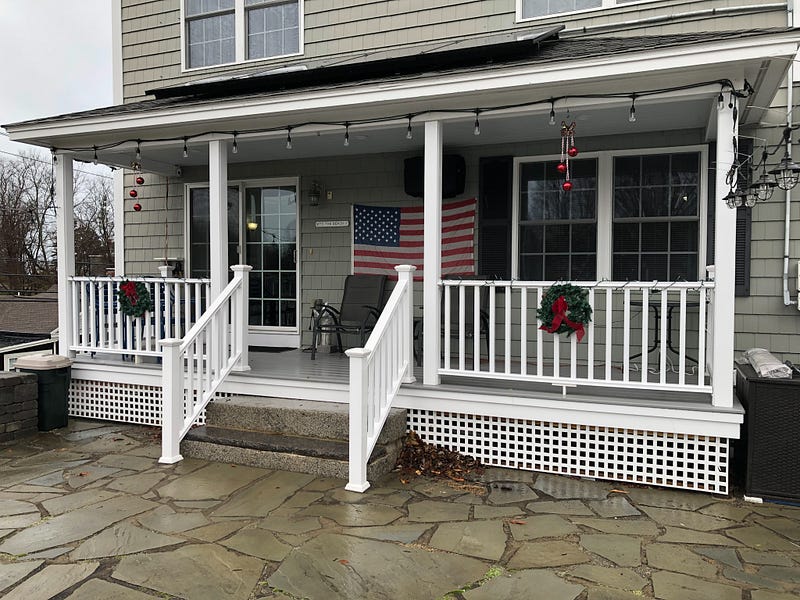
The steps you see above were in place when my wife and I bought this house. They served pretty well up to the point where I renovated my yard (another DIY story) and were replaced by a set of granite steps on the front of the porch.
I’ll let the pictures do the talking, but I can tell this was not a complicated project. Repurposing the old to facilitate a productive new use makes good sense.
The real story is about the old steps, not the new ones. The old ones were cast aside, waiting for another use, another day.
Well, another day turned out to be a couple of years ago when they were repurposed as a stepped flower box. Once again, they served well…until my wife and I decided they may have a better use.
So over the last couple of weeks (weather permitting), we have repurposed these steps once again.
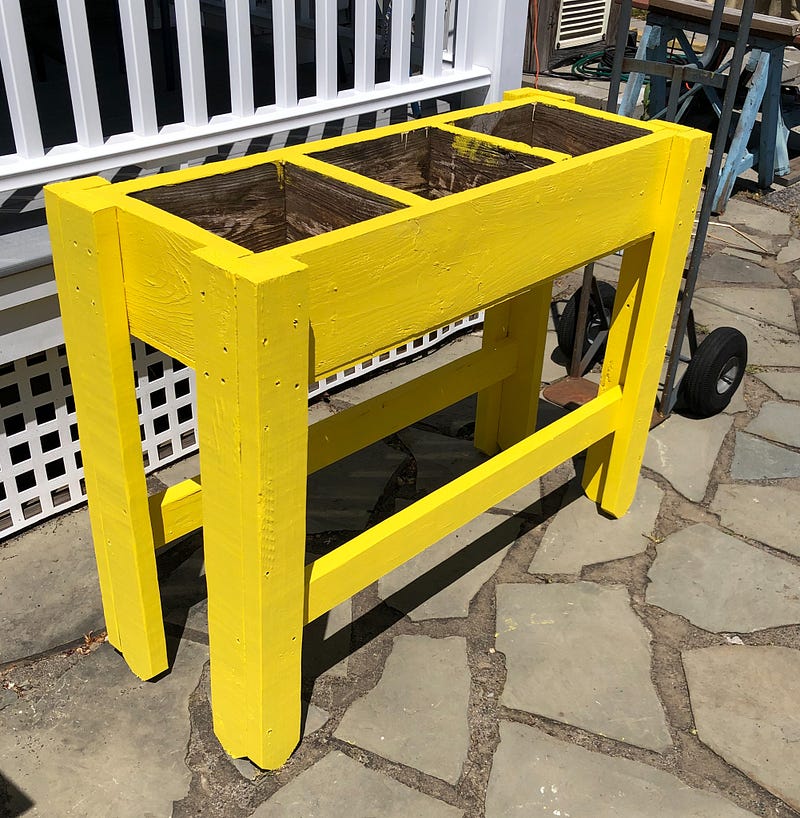
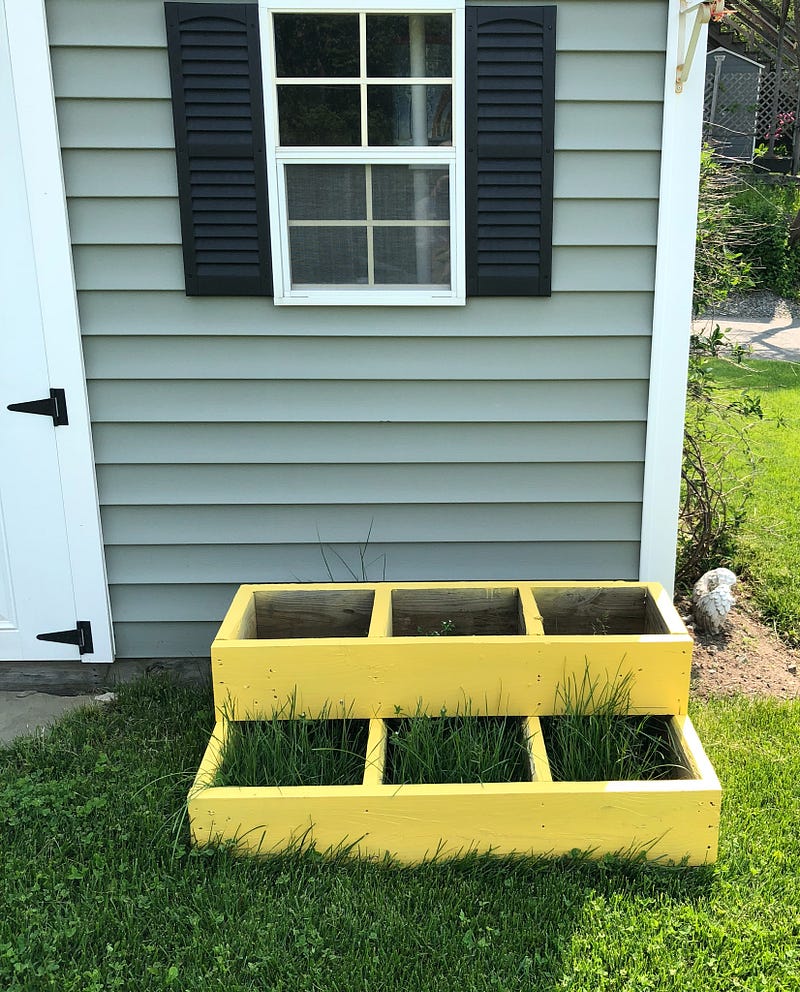
This is the original top step. By adding legs and a bottom, we now have a raised garden.
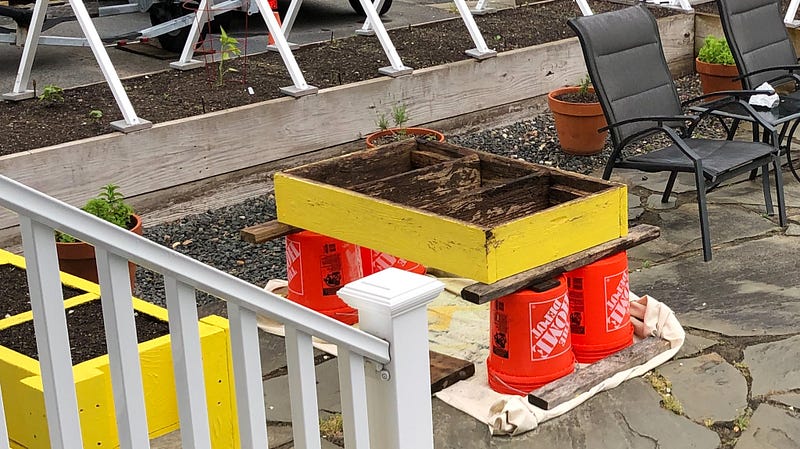
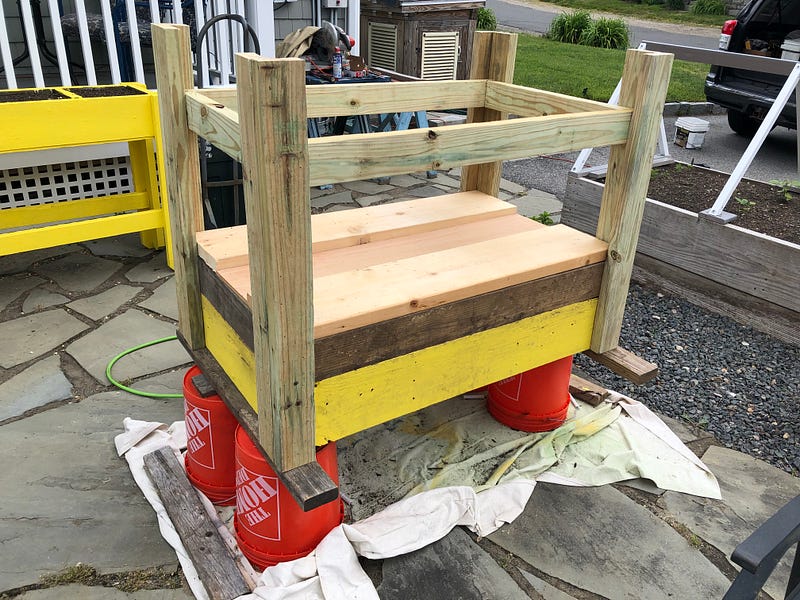
Here is the bottom step at the start of its transformation.
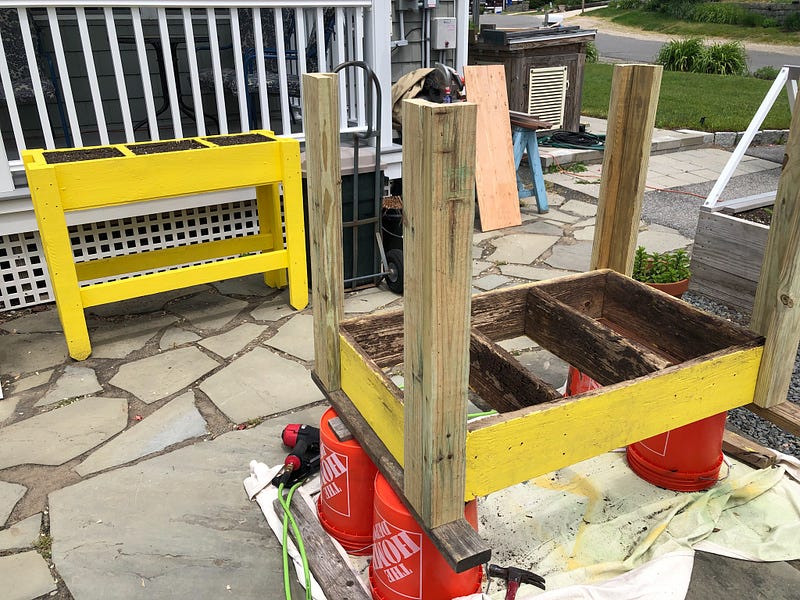
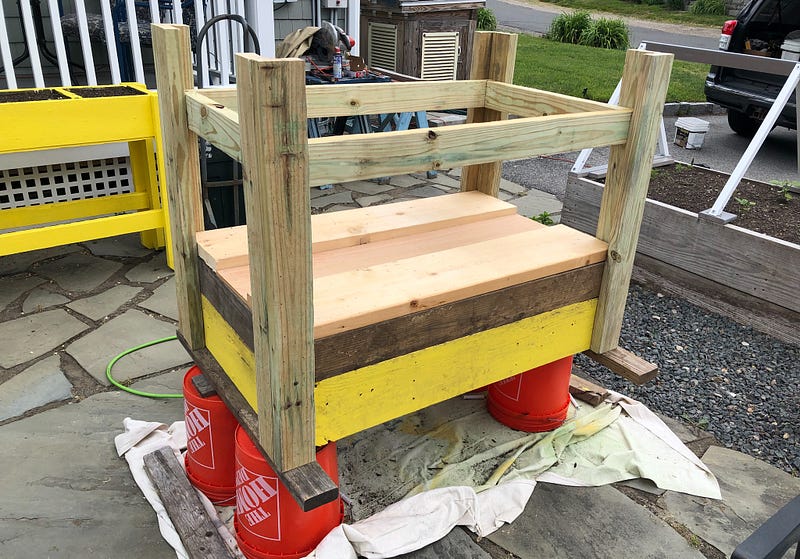
On the left, legs are added, and then on the right, a bottom to the box is added with leg reinforcements.
This garden box is now ready for paint!
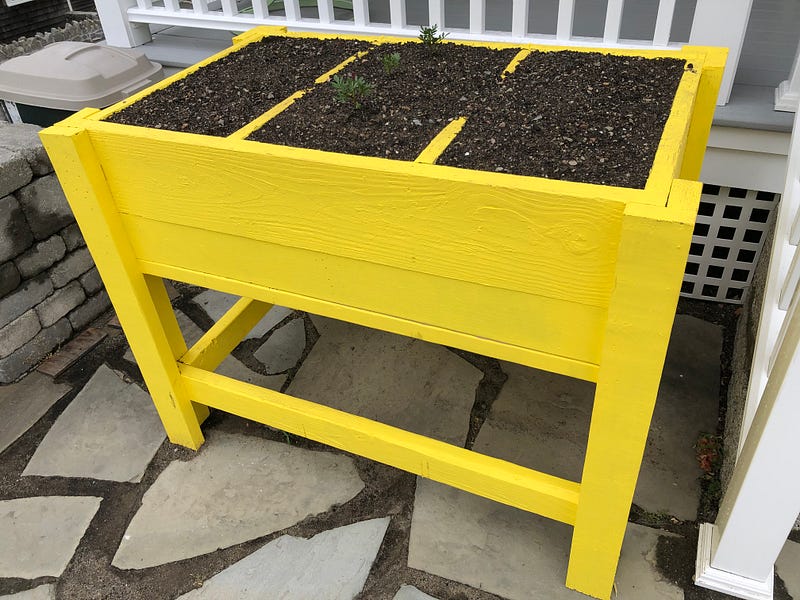
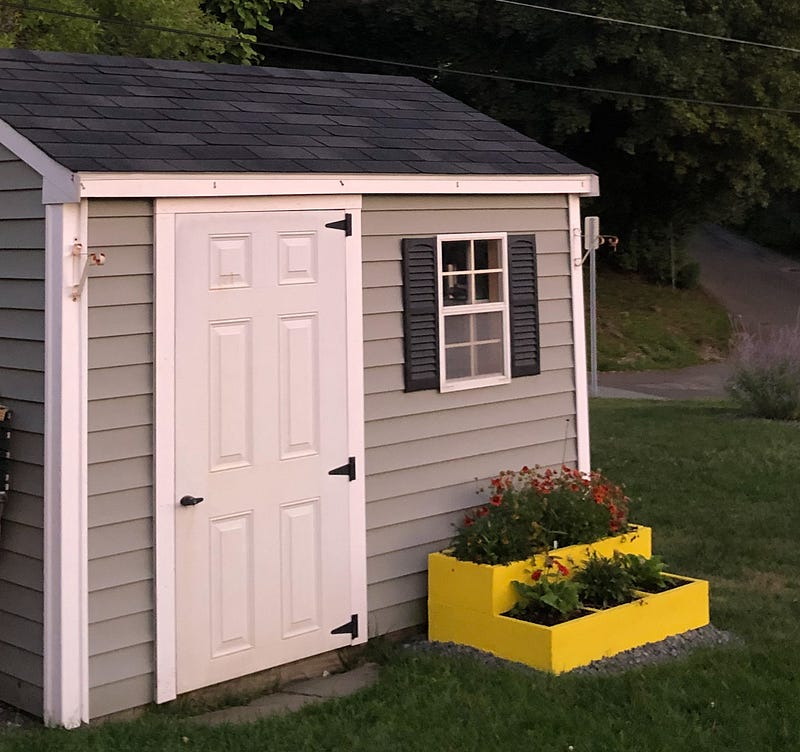
Painted, filled with soil, and now ready for growing!
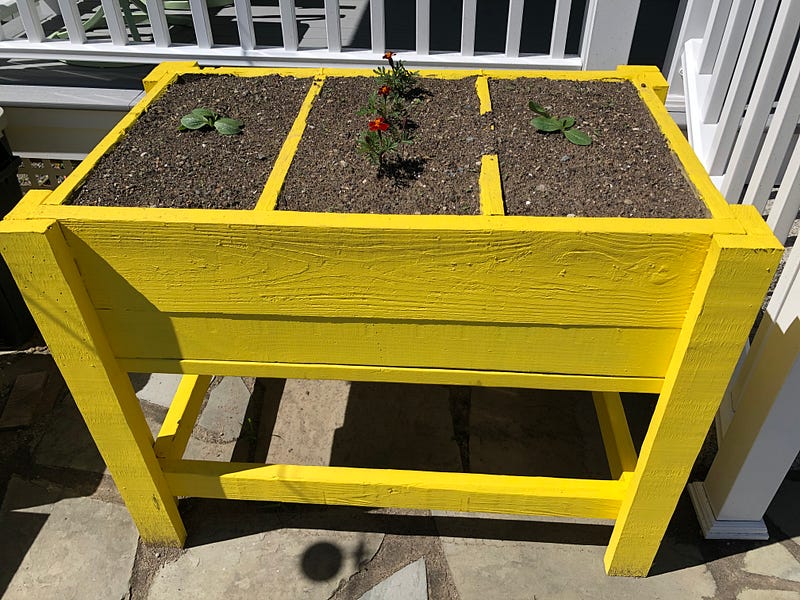
Zucchini and summer squash are already sprouting!
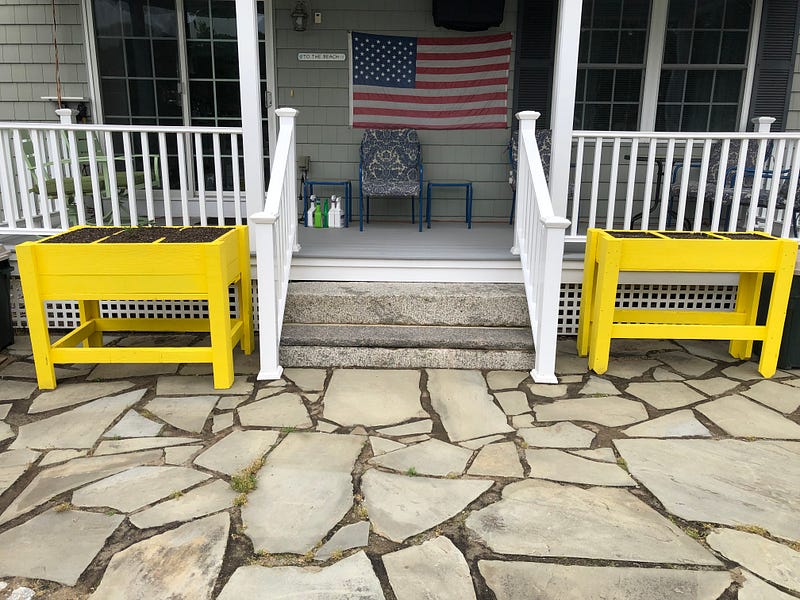
Old steps next to the new ones.
In the end, all that was needed to get these raised gardens functioning was a few pieces of pressure-treated lumber, some paint, and soil.
You would be surprised what you can do when you look around your yard and find something that is no longer used and, with just a little work, can be repurposed.
Previously published DIY story: