
DIY Home Renovations
Measure twice, cut once!
This is my first article for DIY Diaries. My DIY niches are photography/filmmaking, landscape, gardening, and home renovations. I’m looking forward to sharing the basics of some of these projects with Medium readers.
DIY, by definition, has the ability to facilitate some reasonable cost savings and, in some cases, substantial savings to the homeowner. Keep in mind the cost of contractor labor always exceeds the cost of materials involved.
The key is always good planning and research. There is a wealth of knowledge present on outlets like manufacturer websites and, of course, YouTube. Going into projects like these, I do a lot of homework.
I am going to use a basic workflow theme as a model for this project to encourage and inspire other DIYers who may be undecided to take a shot at doing their projects.
I’ll use this porch remodel project my wife and I did as an example.
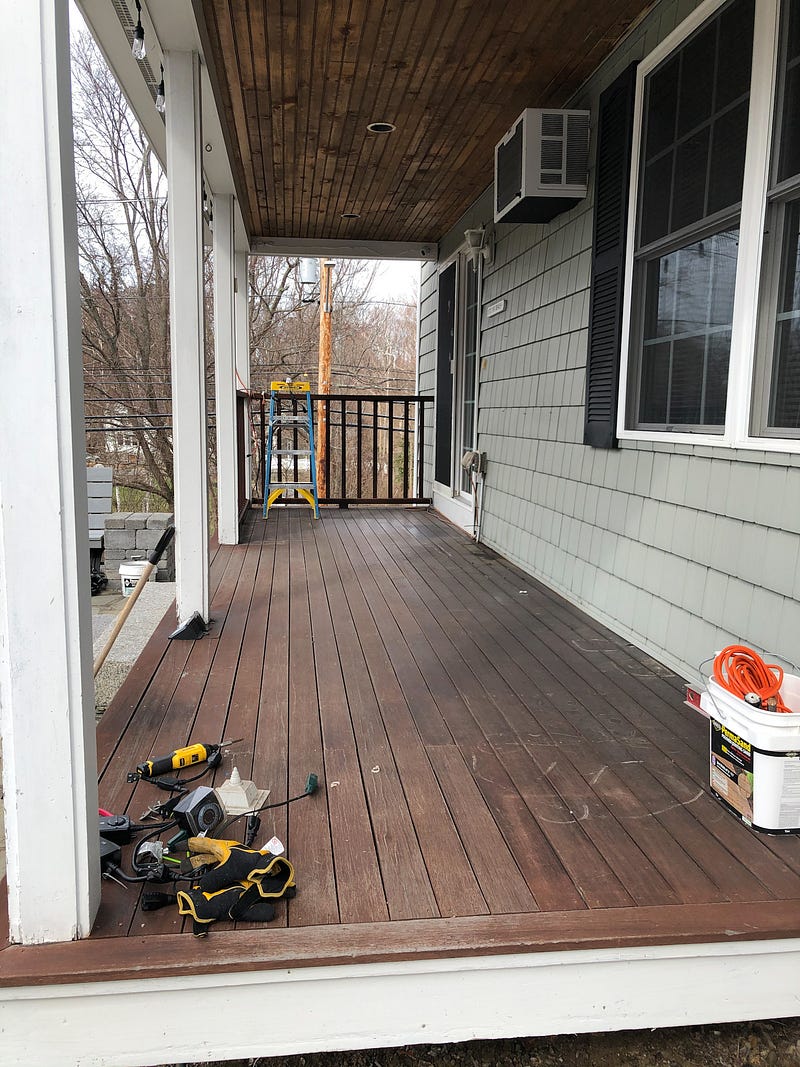
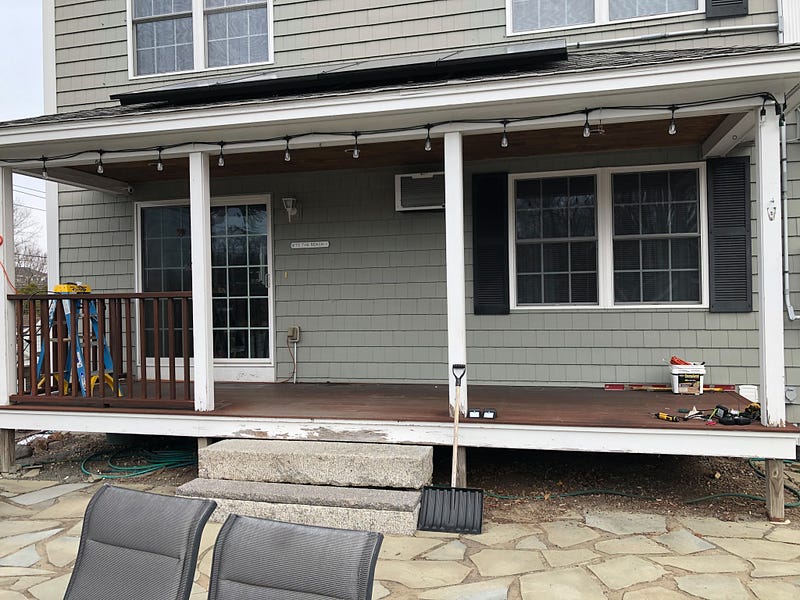
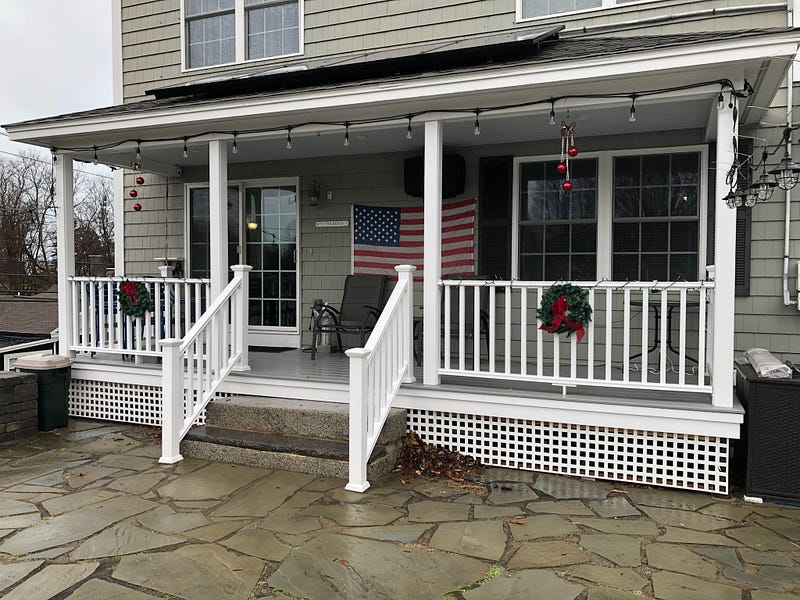
This dreary-looking porch is in dire need of a facelift, so we decided to go for it and get it done. A project like this is very much within the capabilities of most DIY homeowners like us.
Basic Workflow For This Project
Step 1 What’s your mission? Seriously, what are your goals for the project?
For this project, the mission was simple. We wanted to brighten it up, get rid of the decking that needed yearly maintenance, and add railings to the open areas and steps.
Step 2 Do your homework! Lots of it! Budget!
Research on types and costs of materials was a big first step. We wanted as many maintenance-free materials as possible. Decking and railings were the prime focus.
We chose Fiberon PVC decking and Veranda vinyl railings for their low maintenance requirements and ease of installation.
It is always a good idea at this step to evaluate the tools needed to complete the project. Include any necessary tool purchases in the cost of the project.
Step 3 Measure twice, cut once! You’ve heard that before. Estimating your material needs is important.
The big component of this project was decking, so knowing the square footage needed was important. Lumber costs, being what they are, necessitate minimizing waste as a result of over-ordering.
It’s vital that materials are sized to match the dimensions of the project. Waste can accumulate quickly if you are cutting down lumber to match the dimensions you are dealing with.
Step 4 Determine what you can realistically do and if you need to hire someone for part of the project. This is a “biggy” for DIYers!
In this case, my wife and I took the project on by ourselves. We determined outside contractor support wouldn’t be needed as there wasn’t any plumbing, electric, or other trade work to be done.
Make no mistake, there are times when it is imperative you hire a trade contractor to do portions of your project. My living room renovation is exactly one of those cases. (Featured in one of my next articles.)
Step 5 Order materials.
This step was pretty easy once we figured out our material needs. We ordered everything from the local lumber yard and had it delivered.
Step 6 Demo!
Demo days are always exciting. It’s the start of the project, and you begin to get rid of the old to get ready for the new!
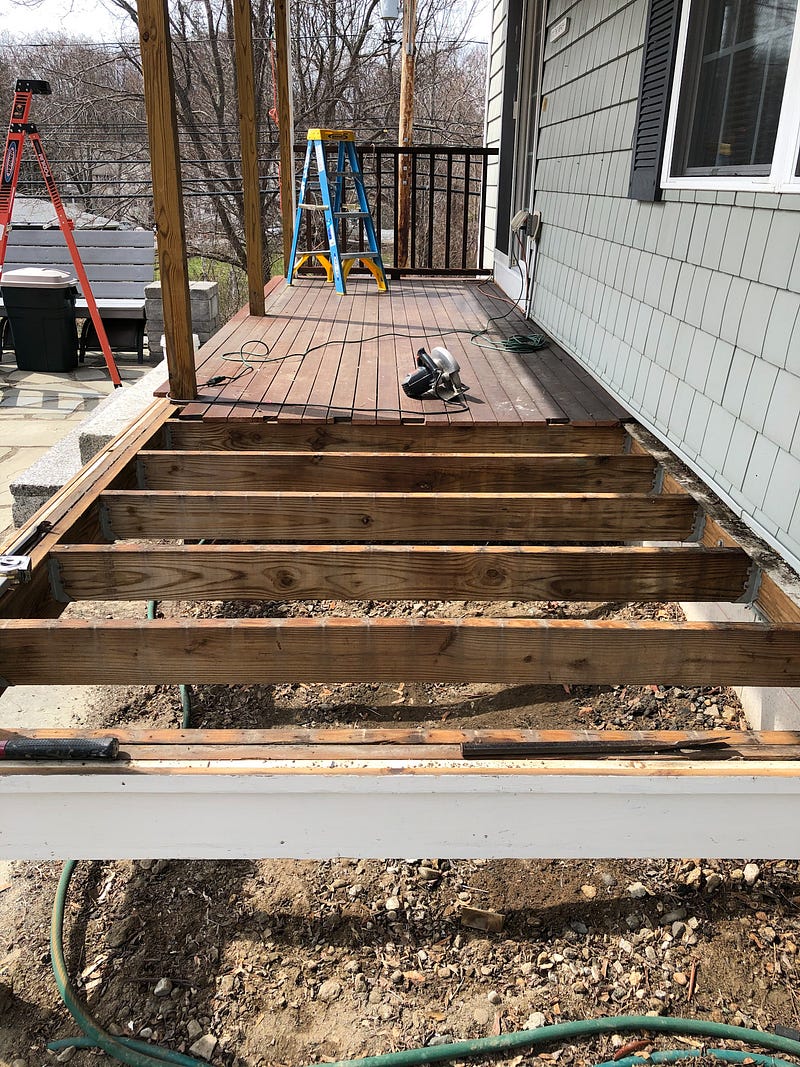
Step 7 Put it back together!
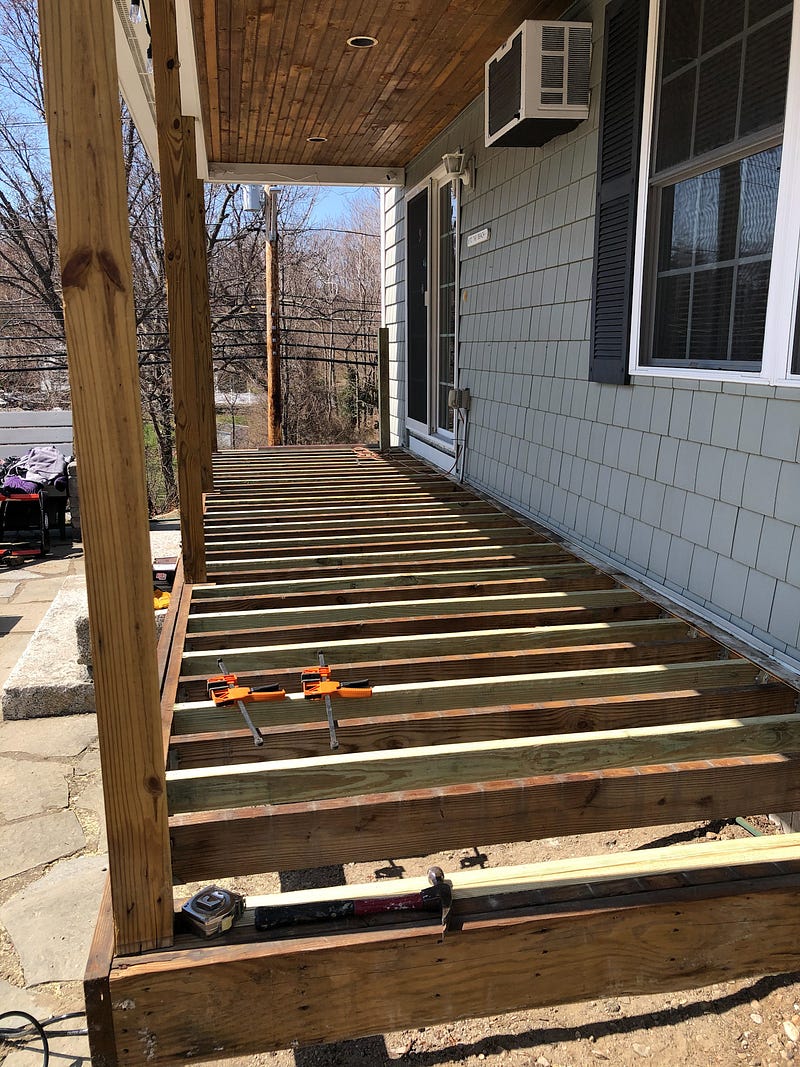
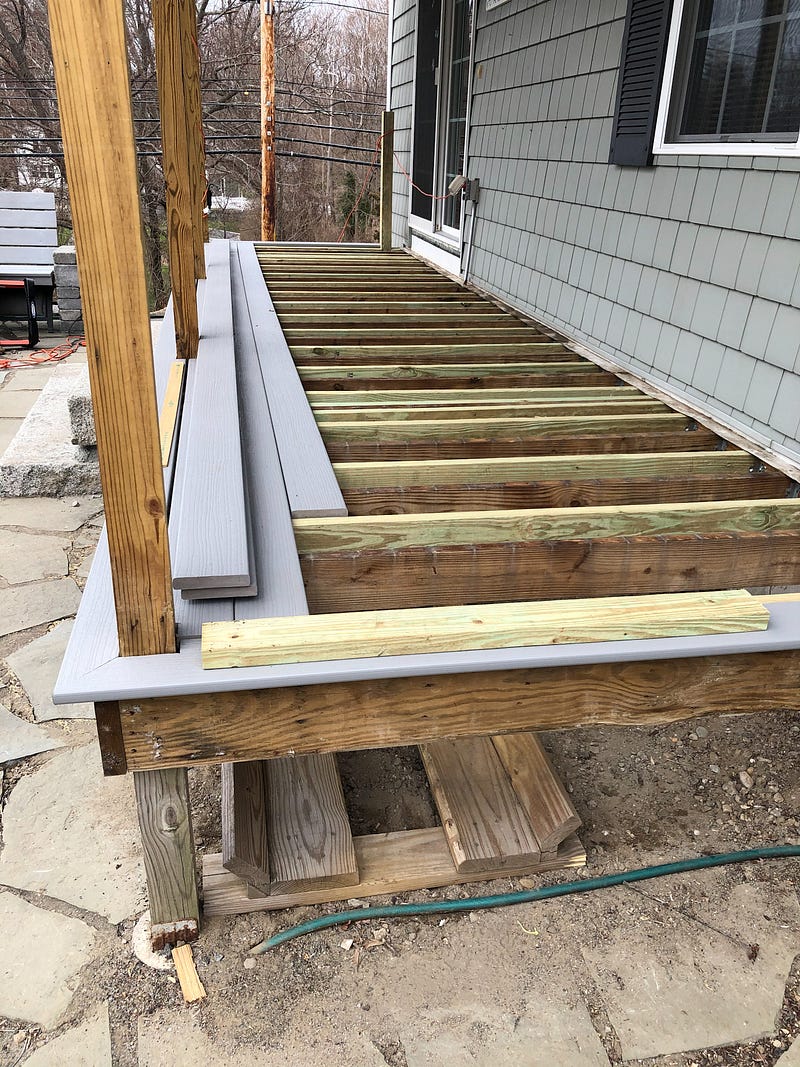
Above, I added extra joists in between the originals to eliminate any flexing of the deck boards after installation. Flexing was a problem with the original wood deck and would cause nails to pop up frequently.
Deck board installation begins!
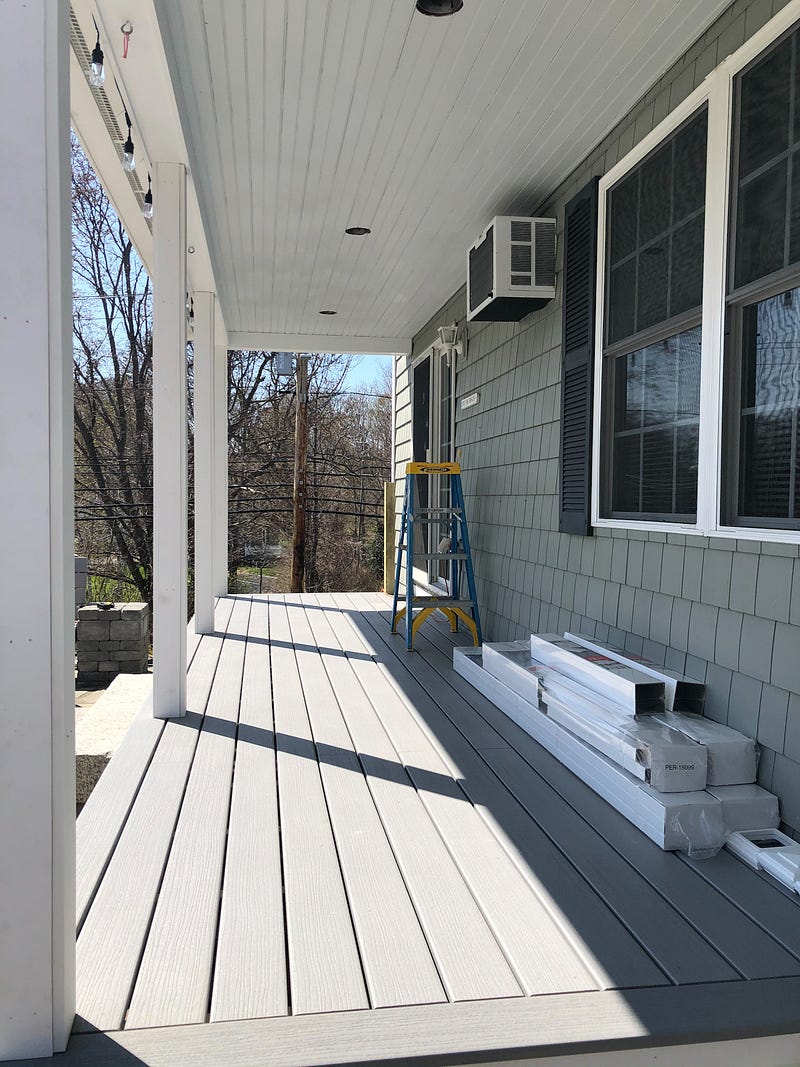
This is where we start to see the fruits of our labor. It’s a lot of work, but it’s starting to look good!
Step 8 Painting, cleanup, and removal of demo materials.
This project took about 25 actual work days from start to finish. Not every day was a full day of work and included cleanup and removal of demo materials.
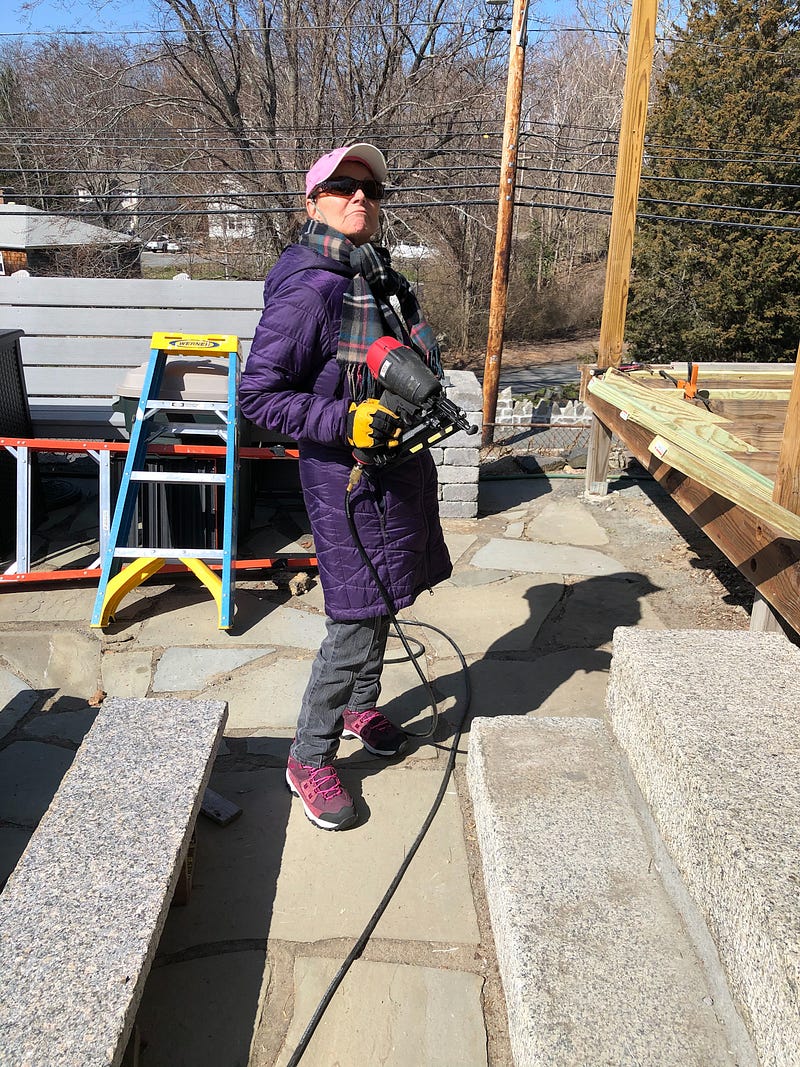
I am blessed and most fortunate to have a partner who willingly participates in every phase of these projects. It is teamwork at its best!
More articles on Medium from this writer here.