Create Stunning Animations In React Using Framer Motion
Integrate framer motion to spice up your React App

Objectives Of This Article
In this article, we will learn the following:
- What is Framer Motion
- When to use it
- The basics of Framer Motion
- More advanced topics:
useCycle,AnimatePresenceand Variants.
Introduction
One of the best ways to spice up your web app and enhance user experience is to use animations. There are several libraries to bring animations into your React app. Arguably, one of the best is Framer Motion.
This library’s syntax is intuitive and easy to use. According to LogRocket, Framer Motion uses spring animations by default, which are popular since they are smoother and so look more natural.
Let’s get started!
Getting Started
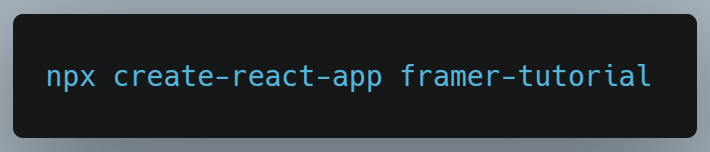
First, we need to initialize our project repository:
When that’s done, let’s move on to installing the required libraries for this project.
Installing dependencies
In this article, we’ll use the following libraries:
framer-motion: The core library for bringing animations into our project.
To install this library, run the following terminal command:

When that’s done, we will learn the basics of Framer Motion.
Framer Motion: The Basics
Setup
In this section, we’ll cover the foundations of the Framer library. First, let’s import the motion module from the framer-motion library into our App.js file like so:

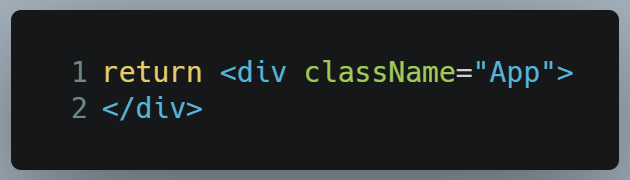
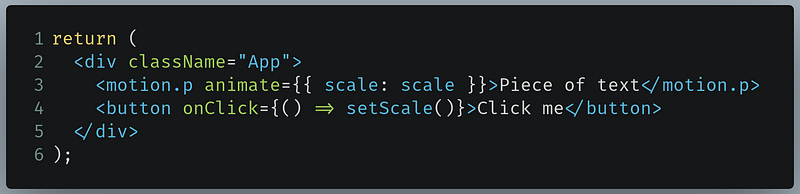
It’s time to code! Before getting started, find your return block in App.js:

Delete all the code between the div opening and closing tags. In the end, the return block should look like this:
As a first step, let’s work on basic animations with Framer using motion components coupled with the animate prop.
Motion components
Motion components are the core of Framer. The team has built a separate motion component for every HTML element. Consequently, you do not need to write extra boilerplate code to animate your elements.
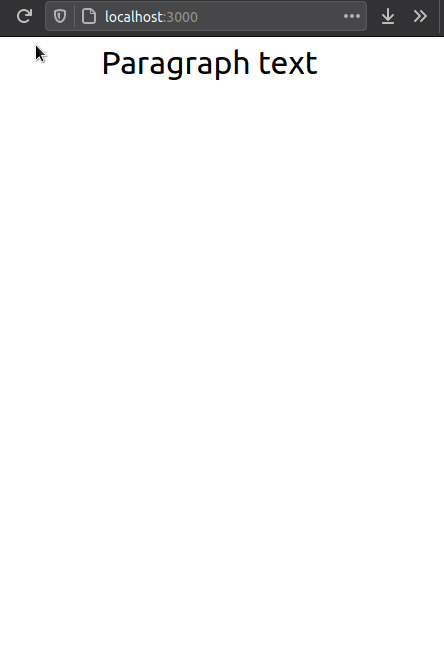
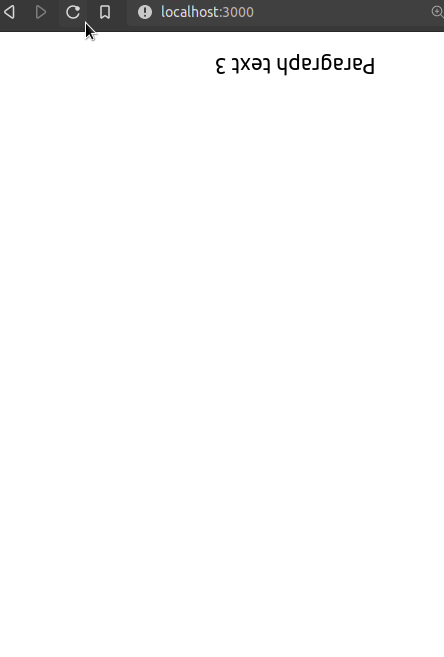
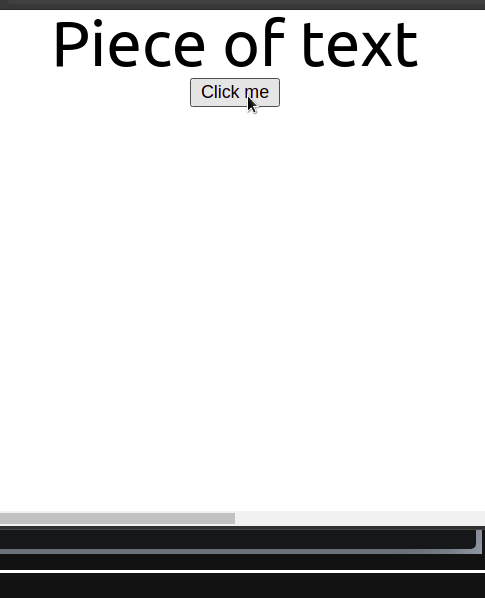
For example, if you wanted to animate a p tag, you can replace it with its associated motion component like so:

This yields the following output:
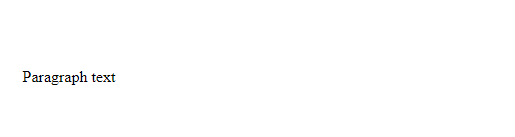
As you can see, this is an ordinary paragraph element. The only difference is that it can use animations. To animate a div element, you would write motion.div.
Furthermore, note that we also use an animate prop in our motion.p component. What does the animate prop do?
To find it, go to App.js and find the line of code that we just wrote:
Now edit it like so:
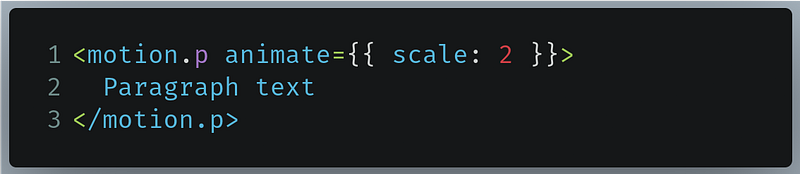
- Line 1: Here, we are telling Framer to upscale the size of the text by two times.
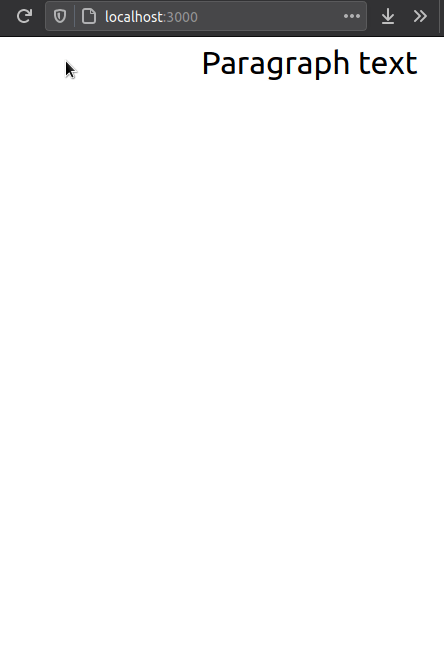
This will be the result:
As you can see, when the motion.p mounted itself to the DOM, it played an animation while increasing its text size.
This means that the animate attribute essentially plays an animation while changing the properties of its component. It accepts key-value pairs that we want to animate.
Let’s step things up a bit. We can change the x coordinate of the motion.p, while simultaneously increasing its text size, like so:

- Line 1: Change the scale as well as the
xcoordinate during the animation.
This will be the output:
Voila! Our code works. As you can see, writing animations with Framer is really easy.
Let’s learn about the initial prop.
The initial prop
The initial attribute specifies the component’s starting or initial point. In other words, it tells the Framer element where to animate from. On the other hand, the animate prop tells the Framer element where to animate to.
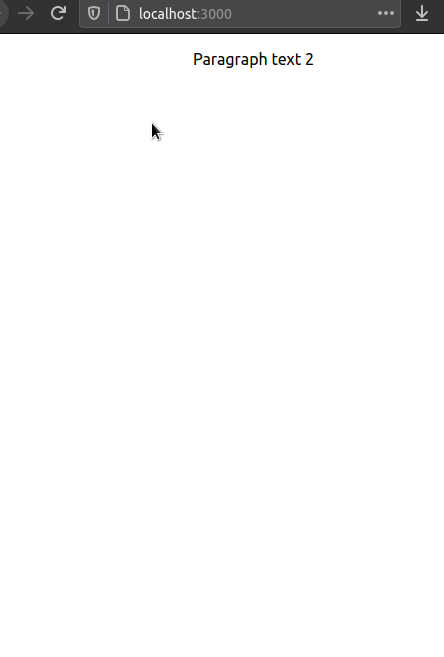
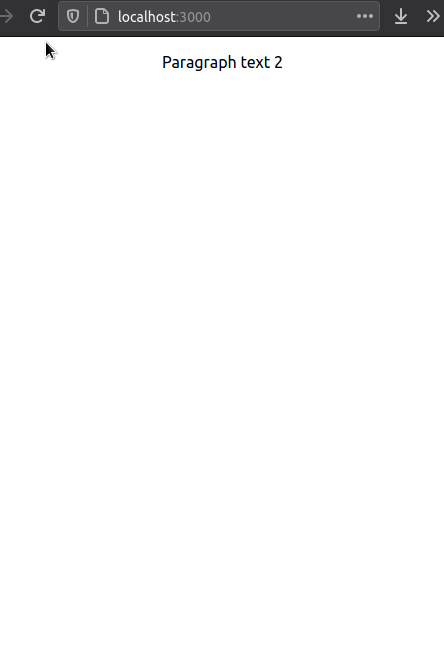
To demonstrate its functionality, write the following code in App.js :

- Line
1: The initialxcoordinate of the component is100. During the animation process, change thexcoordinate to10. - Line
3: Closing tags of themotion.pelement.
In summary, this piece of code makes our piece of text travel from right to left.
Run the code. This will be the result:
Great! Our code works. Let’s experiment with the initial prop even more.
This piece of code will give our text a nice zoom-out effect:

- Line
1: The initial size of the text should be ten times its original dimensions. During the animation, revert the scale back to1.
This will be the output of the code:
Amazing! Our code works.
In the next section, we will customize our animations even more via the transition prop.
The transition prop
Now that we have made animations, it would be better if we had more granular control over them. What about changing its duration, changing its type, or even letting the animation loop forever? This is where the transition attribute comes in.
In App.js, write the following code:
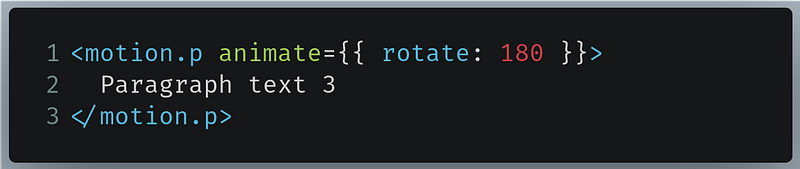
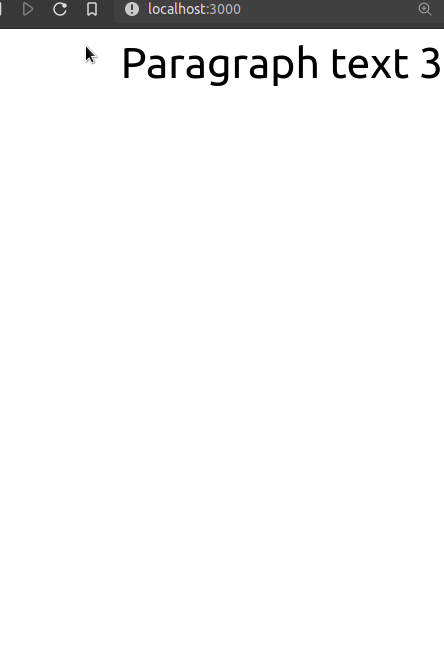
- Line
1: Rotate the text by 180 degrees.
This will be the result:

As you can see, the animation was really swift. Let’s make it slower by changing the duration to two seconds.
First, backtrack to the code we just wrote:
Now change it, like so:
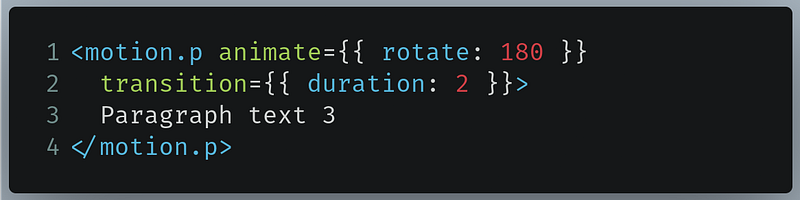
- Line
2: Change the duration of the animation to two seconds. By default, the duration is 0.3.
This will be the result:
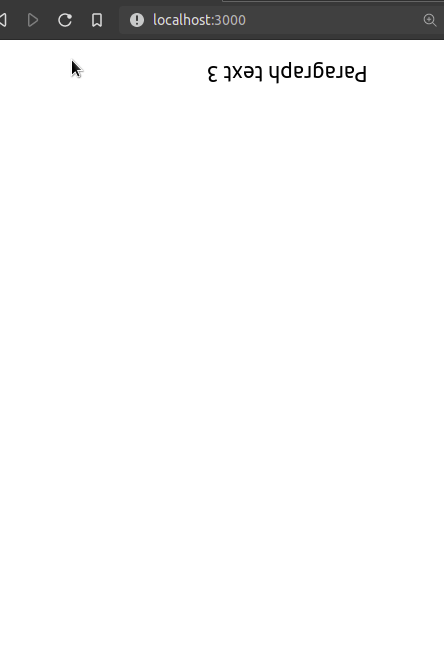
Great! Our code works. As you can see, our animation is slower.
Let’s give our text a nice and slow zoom effect:
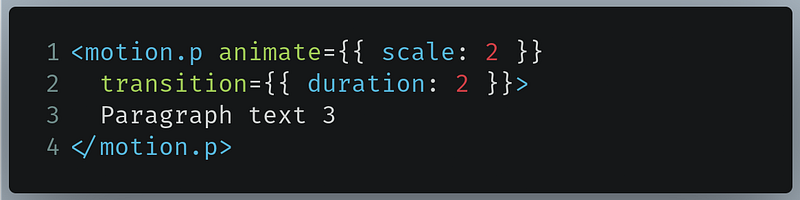
- Line
1: Upscale the text size by two times during the animation. - Line
2: Extend the duration of the animation to two seconds.
Great! As you can see, we got the desired output.
Let’s change the type of animation. For now, we will give our animation a spring-like effect.
In App.js, write the following code:
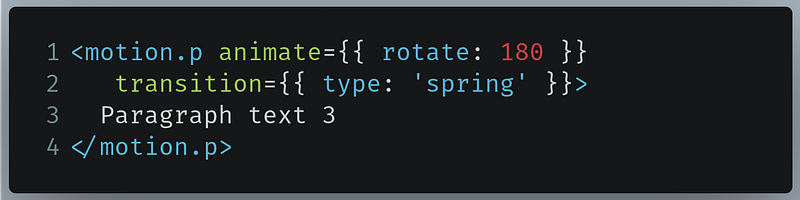
- Line 1: Rotate the text by 180 degrees.
- Line 2: Change the animation type to
spring.
This will be the result:
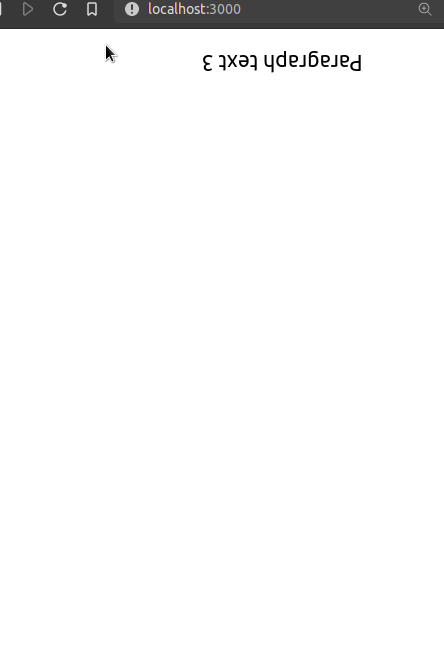
As you can see, our animation has a spring-like feel to it. This means that we were successful!
We can even alter the bounciness of this effect, like so:
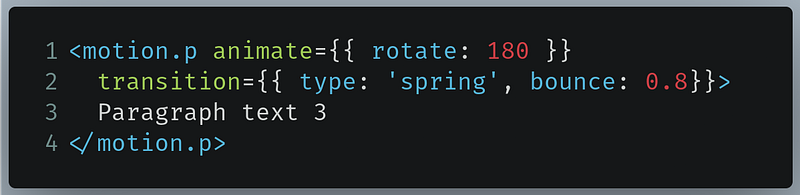
- Line 2: Increase the bounciness of the animation to
0.8. The default value is0.25. If thebounceproperty is set to 1, then the animation is extremely bouncy, if it is0, then the animation will have no bounce.
This will be the output of the code:
Great! Our code works. Our animation has a nice spring effect. I suggest you play with the transition prop further by customizing other attributes, which you can find in the official documentation.
Let’s move on to creating animations for various gestures.
Handling gestures
In this article, we will cover two gestures:
- Hovering over the element which will be handled by the
whileHoverproperty. - Tapping or clicking the component which will be handled by the
whileTapattribute.
Let’s first use the whileHover prop. In App.js , write the following code:
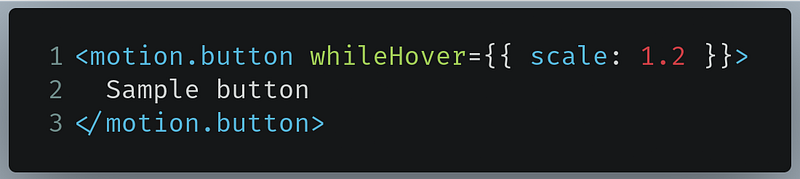
- Line
1: Create amotion.buttoncomponent. Furthermore, we are telling Framer to upscale this element by 1.2 times when the user hovers over the button.
This will be the result if you hover over the button:
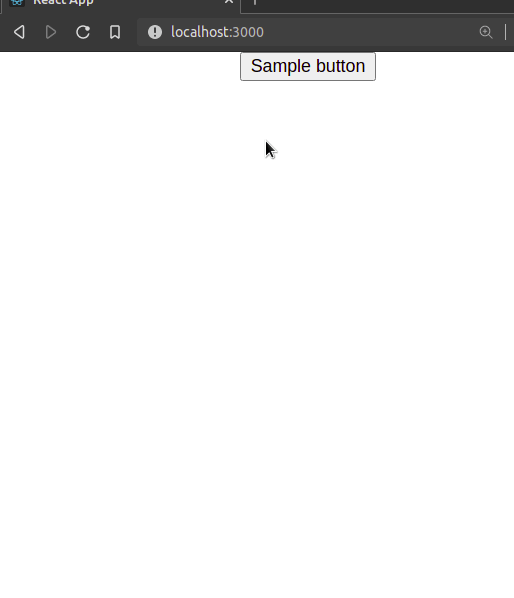
Great! Our code works.
For our next step, we use the whileTap prop. In App.js, write the following code:
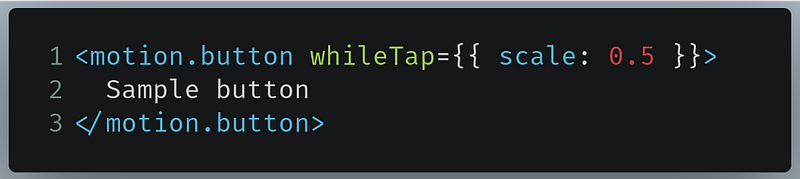
- Line
1: When the user clicks or taps on this button, downscale its size by half.
This will be the result if you click on the button:
As you can see, when we clicked on the button, the component’s dimensions shrank. When we stop clicking the element, then the component restores itself to its original state.
Now that we’ve learned about the fundamentals of Framer Motion in React, it’s time to dive into the more complex topics in Framer Motion.
In the end, App.js should look like this:
Framer Motion: AnimatePresence, Variants, and useCycle
Setup
In this section, we will create another component to demonstrate Framer’s advanced topics. In your src folder, create a file called FramerAdvanced.js . There, write the following code:
This is just an empty component. Now we need to render this to the DOM.
Now go to index.js and find the following piece of code:
Change it like so:
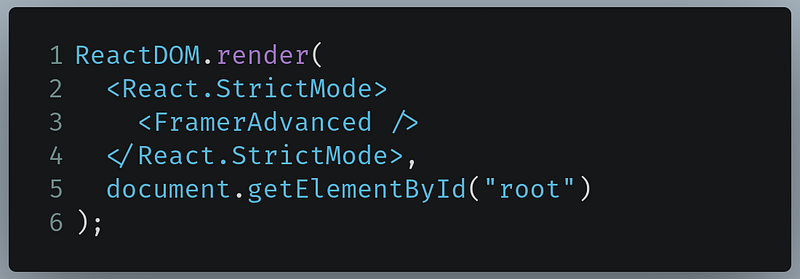
- Line
3: Instead of rendering theAppcomponent, render theFramerAdvancedcomponent instead.
This will render an empty page in the browser:
When that’s done, let’s learn about the useCycle hook.
The useCycle hook
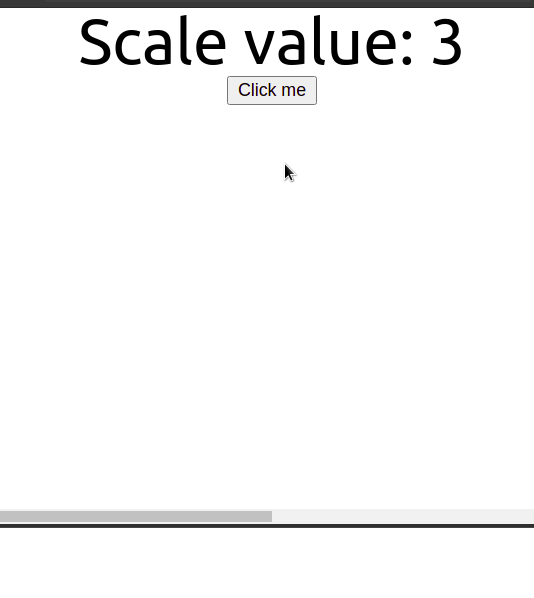
In some circumstances, you want your component’s visual properties to alternate between various values. Furthermore, it would be delightful to toggle between or toggle through animations. For example, say we want our text’s scale property to revolve around 1,2, or 4— how do we do that?
This is where the useCycle hook becomes useful. In FramerAdvanced, first import useCycle and motion like so:

We can now use it in our project. Now write this line of code in your FramerAdvanced component:

- Line
1: Here,3,1and4are the numbers to cycle through. The initial value is the first item in this array —3— which is stored in thescalevariable. ThesetScalefunction changes the value ofscaleto the next item in the array.
In FramerAdvanced.js, find the following code:

Now change it like so:
- Line
3: Set thescaleproperty of ourmotion.pto thescalevariable that we defined earlier in ouruseCyclehook. When the value ofscaleis changed, the animation will be replayed. - Line
4: When clicked, thesetScalefunction is invoked. This changes the value ofscaleto the next item in the array.
This will be the output:
Voila — our code works! As you can see, when we clicked the button, the size of the text changed as well.
We can even find out the value of scale as it changes. In App.js, find the line of code that we just wrote:

Now change it like so:

This will be the output:
As you can see, we can now see the value of the scale hook as it changes.
Let’s play with the useCycle hook even further. This piece of code will let the x coordinate of our text alternate between an array of selected values:
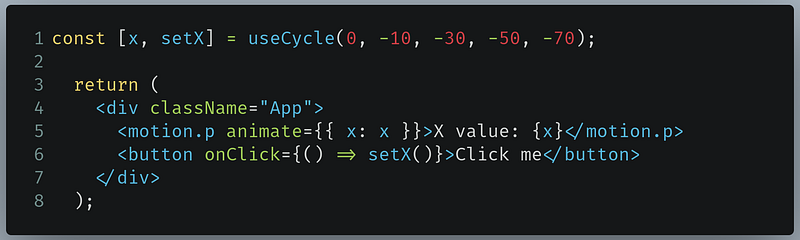
- Line
1: Use theuseCyclehook. The initial value ofxwill be 0. - Line
6: When clicked, the value ofxwill be altered to the next one in the array.
This will be the result:
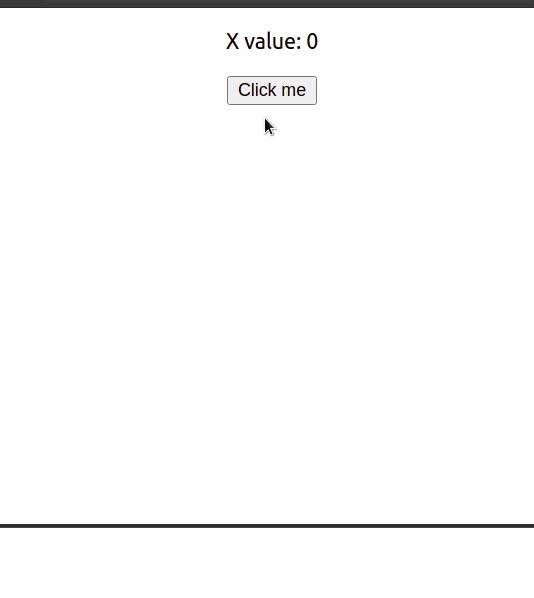
Great! As you can see, our code works.
When that’s done, let’s learn about the AnimatePresence component.
The AnimatePresence component
Through conditional rendering, components enter to or get deleted from the DOM. In some cases, animations are also used to visualize this process which can also improve the user experience. This is where the AnimatePresence component becomes helpful.
Before starting, remember to add AnimatePresence to your imports:

In FramerAdvanced.js, declare the following hook using useState:

- This
visiblehook will let us use conditional rendering to delete or display our component to the React tree.
In your return block, write the following code:
- Line
2: Verify whether the value of thevisiblehook istrue. - Line
3: If the above condition is true, then ourmotion.divcomponent will be rendered. Otherwise, it would not be rendered. - Line
4: Set the background color to blue and set the height and width to 100 pixels. - Line
5–6: Initially, the opacity should be 0. However, change theopacitysetting to 1 during the animation. - Line
7: Theexitprop will play an animation when the component is removed from the React tree. In this case, we will set theopacityvalue to0. - Line 11: When clicked, flip the value of the
visiblehook to display or remove themotion.divcomponent.
Run the code. This will be the result:
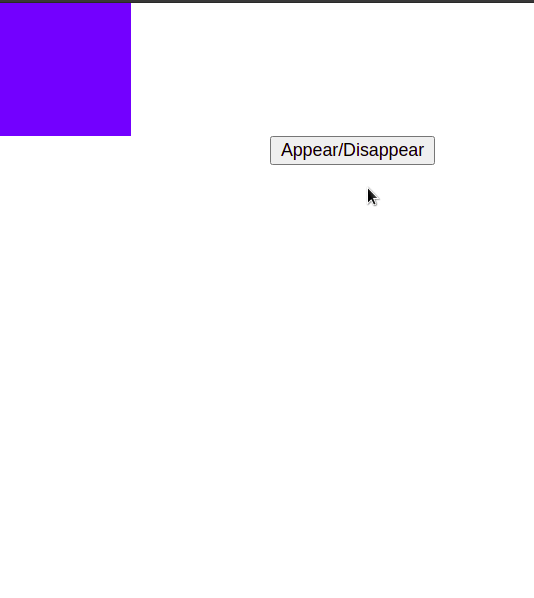
Our code works! As you can see, our motion.div element faded itself out of existence. This is because when the component was removed from the DOM due to conditional rendering, the exit prop triggered an animation to set the opacity value to 0.
We can even create an animation for our div component to swipe itself in and out of the React tree, like so:
- Line
4: If you set theinitialprop tofalse, then the animation will start at the state defined inanimate. In other words, it will ignore theinitialprop in ourmotion.divcomponent and use theanimateprop as our starting point instead. - Line
9: Our component will now start atxcoordinate of100andopacityat1. - Line
10: When the element is deleted, run an animation that changes thexcoordinate to-100and theopacityto0.
This will be the output of the code:
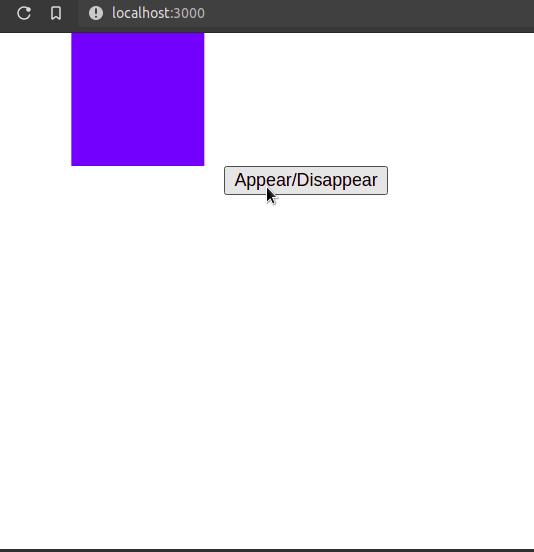
Great — our code works!
Before moving on, it is suggested that you deconstruct the code examples and create animations on your own so that you can fully grasp the concept of Framer.
Let’s now move on to Variants.
Variants
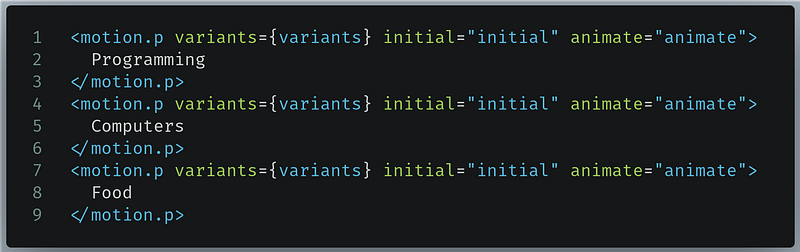
Let’s say we have a handful of motion.p elements which have the following animate properties:

Although this code is perfectly valid, we are writing the same initial and animate values multiple times. This makes our code appear less neat, more complex, and even repetitive.
This is where the Variants concept becomes useful. According to the Framer documentation, Variants are predefined visual states that a component can be in.
In FramerAdvanced.js, write the following code:
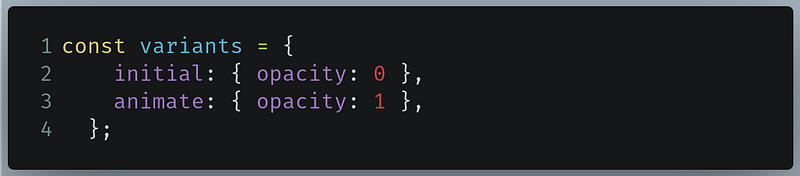
Here, we are defining our properties. The initial and animate are labels that we will use later. If a component uses the initial label, then opacity is 0 . Otherwise, if the component is using the animate label, then opacity is 1.
Now in your return block, write the following code:
- Line 1, 4,7: Specify that we will use the
variantsobjects as our Variant. For theinitialpoints, we want it to refer to theinitiallabel present in thevariantsobject. Likewise, for theanimatepoints, we want it to refer to theanimatelabel present in thevariantsobject.
Run the code. This will be the result:
As you can see, our output was the same as before. This proves that Variants can help us in making our code cleaner.
There is one additional benefit to using Variants in your code: We gain access to extra transition props like staggerChildren and delayChildren. These props will prove helpful if you are rendering animations on list items.
In this article, we will use the staggerChildren attribute. This prop specifies the duration of the staggering of child components.
In FramerAdvanced.js , write the following code:
- Line
1: Ourcontainervariant. It has two labels calledhiddenandshow. - Line
2: When our component uses thehiddenlabel for animations, then theopacityproperty is set to0. - Line
3: When our component uses theshowlabel, then set theopacityproperty to1. Furthermore, customize the animation with thetransitionprop. Here, we are using thestaggerChildrenattribute which will stagger the animations of child elements by half a second. - Line
10: Ouritemvariant. It has two labels calledhiddenandshowwhich change thexcoordinate andopacity. - Line
17: Themotion.ulwill have a Variant ofcontainer. In itsinitialstate, it will use thehiddenlabel. In itsanimationstate, it will use theshowlabel. - Lines
18–20: Themotion.lielements will have a Variant ofitem. In theirinitialstates, thehiddenlabel will be used. In theiranimationstates, they will use theshowlabel.
Run the code. This will be the result:
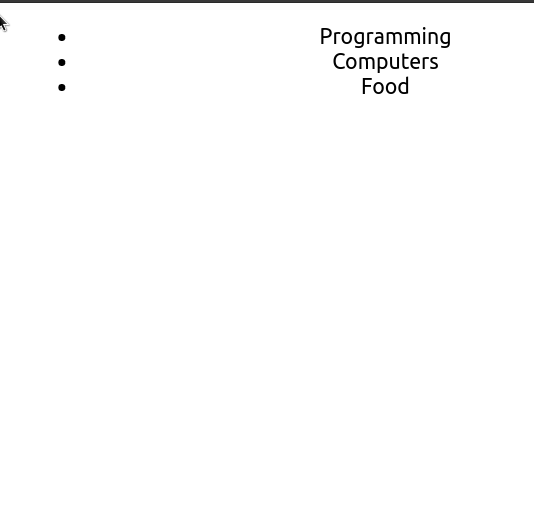
As you can see, our code works! Our animations look really nice when the list items are staggered.
When you use Framer Motion in your React projects, there are some things to remember to prevent errors. We will discuss them in the next section.
In the end, this is what FramerAdvanced.js should look like:
Important Things to Remember
Parent and child variant labels should match
When we were using Variants earlier, backtrack to the following piece of code we wrote:
Here, notice that the label names(hidden and show)in both of these Variants are the same. Make sure that the parent and child components that use these Variants should have matching label names otherwise your animations will not render properly.
All Code and Other Resources
Code for this article
Our App.js file covered the basics of Framer Motion. It should look like this:
In AdvancedFramer.js , we learned about more complex topics in Framer Motion. It contains the following code:
Other Resources
- Framer Motion Playlist By The Net Ninja
- Framer Motion Documentation
- Why You Should Use Framer Motion- LogRocket Blog
- Introduction To Framer Motion-Smashing Magazine
Conclusion
If you encounter any difficulties using the Framer Motion library, you are advised to deconstruct the code, play with it, and research extensively to fully grasp the concept. This is a really powerful technology that is not only easy to use but also extremely useful for enhancing the user experience.
Thank you so much for making it to the end!
Next: Routing and Data Fetching In Next.js
Previous: The Complete Guide To Using GraphQL In NodeJS with Apollo Server


