
Charles Setup for Emulator (Android) and Simulator (iOS)
Diagnose your mobile app’s network traffic

Setting up Charles for physical devices and Emulator or Simulator is sometimes not exactly the same. Using Emulator or Simulator is convenient at times, as you don’t need to have the real device with you for your testing.
In case you don’t know what Charles is, it is a network proxy tool. In other words, it can be used to intercept the network connection (from devices, in our case), to allow viewing, redirecting, modifying, and debugging. It is also very useful for local server testing.
I often forget one of the platforms, so I am documenting both iOS and Android to enable a one-stop easy reference for both.
Before Starting the Emulator or Simulator
It would be better to ensure Charles is launched before you launch the Emulator or Simulator. I am not sure if this is always necessary, but it is a good step.
Android Emulator
In the past, connecting Android Emulator is done through the command line. It doesn’t seem to work anymore today. The approach used today is matching what the actual device does.
But before that, you have to ensure your Emulator startup is connected to the internet. Sometimes that is not possible, due to reasons unknown to me. Hence, the way to work around this is per the blog below. (Only use it if your Emulator can’t connect to the internet.)
Setting up the Proxy IP
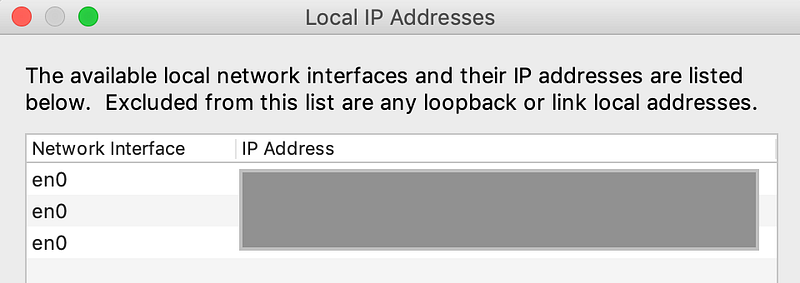
After you have your Emulator launched with an internet connection, you need to find the local IP Address. Do this in Charles by looking up Help →Local IP Address.
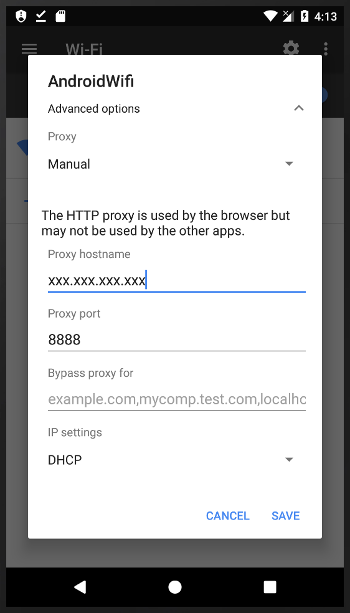
After that, in your Emulator, go to the Wifi settings, and long-click on AndroidWifi, where you’ll get access to the Modify network settings.

In Modify, click on the Advanced options to expand the dialog box. Then, enter the IP Address in the Proxy host and the Proxy port (which usually is 8888). Then, click Save.
Certificate installation
Sometimes (in fact, most of the time), we’ll need to install certification to view the secure network. To do so, go to the Chrome browser and the address of chls.pro/ssl.
If Charles is already connected, you should get the inquiry to either download or replace your certificate.

After the download, you’ll be asked to install it. After that, you could save it with any name you like.
Note that your device needs to have at least a “pin” security setting to do that. If not, you’ll be prompt to set it up there.
Update for Android SDK API 30 (Android 11)
New requirement for Android SDK API 30 in setup Charles as below.
Troubleshooting
In case you can’t connect to Charles, try the below:
- Ensure your device is connected to the internet before you set proxy with Charles.
- Turn off the cellular network and just have the Wifi network on for the device.
- Check that Charles’
macOS Proxysetting isOFF. You could check by looking in Charles’ Proxy → macOS Proxy. (Note that this step is the opposite of iOS.) - Check if you have an expired certificate. If you have both expired and not-expired, it will not work. You have to delete the expired one. To check, go to Settings →Security →Encryption and Credentials →Trusted Credentials →User (tab). https://stackoverflow.com/questions/77401309/is-charles-certificate-expired/77401670#77401670
iOS Simulator
In iOS, the setup of the Simulator proxy differs from the actual device, and it is simpler. You don’t need to explicitly key in the proxy address, and let Charles do it for you.
Connecting Charles to Simulator
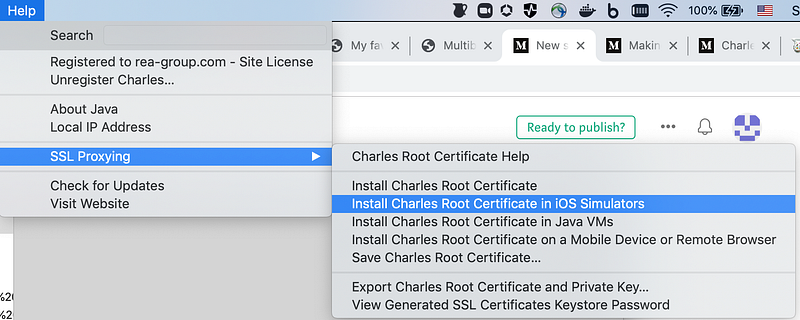
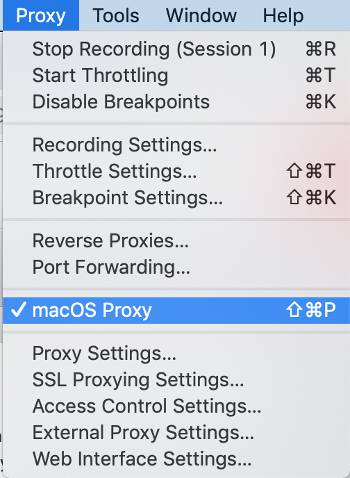
After you launch your Simulator, in Charles, go to Help → SSL Proxying →Install Charles Root Certificate in iOS Simulators.
After that, you’ll get the below:
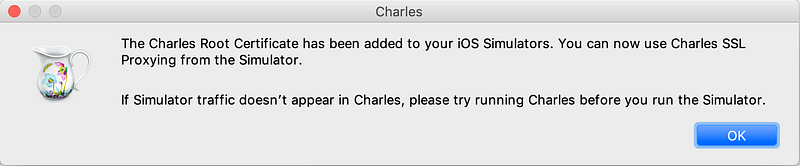
The next step is important, turn ON your macOS Proxy. This could be done by accessing it through Charles Proxy → macOS Proxy.
Certificate installation
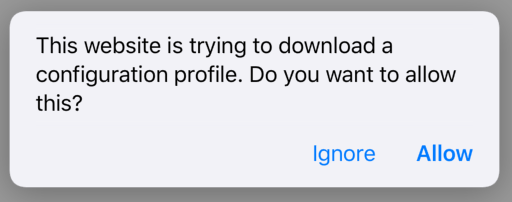
Sometimes (in fact, most of the time), we’ll need to install certification to view the secure network. Go to the Safari browser and the address of chls.pro/ssl.
If Charles is already connected, you should get the inquiry to download a configuration profile as below. Allow it.
Then, you’ll get the below message:
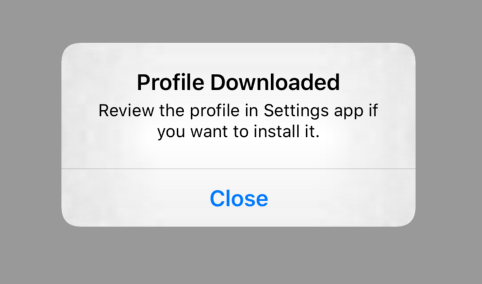
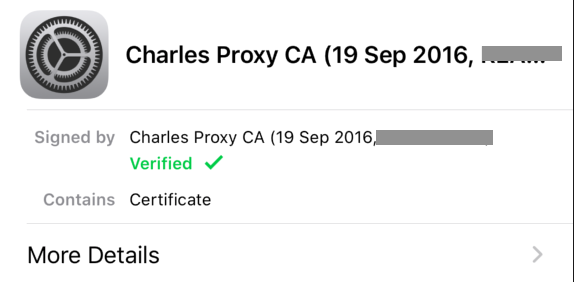
After that, go to your Simulator’s Setting → General → Profile, you’ll get something like the below image. Click on it.
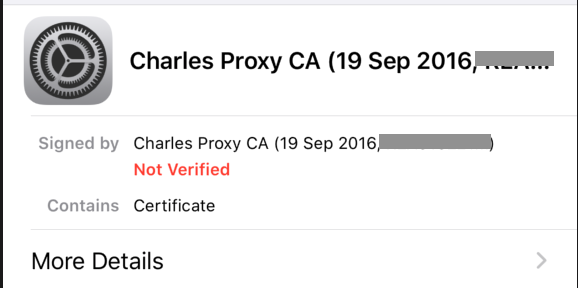
After that, click on install. You’ll set something as below.
After this step, one more to go.
Go to Setting → General → About → Certificate Trust Setting. Then look up for the certificate you just install and turn it on
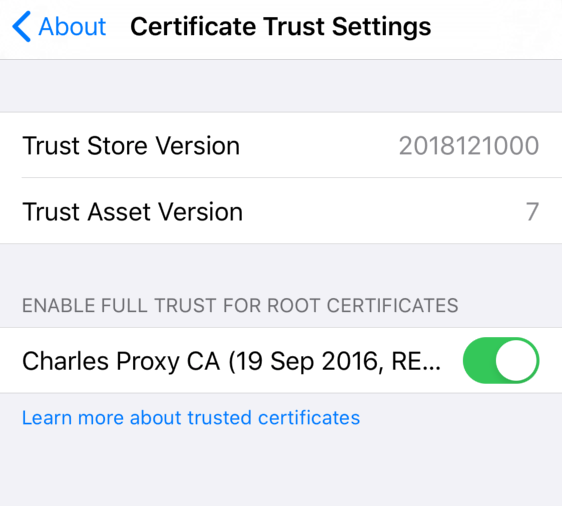
That’s it.
Troubleshooting
In case you can’t get connected to Charles, try out the below:
- Ensure your device is connected to the internet before you set proxy with Charles.
- Check that the Charles’
macOS Proxysetting isON. You could check by looking in Charles Proxy → macOS Proxy. (Note that this step is the opposite of Android) - Perhaps the certificate date has expired? Check https://stackoverflow.com/questions/77401309/is-charles-certificate-expired/77401670#77401670
Note: In case, after using Charles, you notice your computer can’t access the internet, do check that the Charles’ macOS Proxy setting is not ON. You could check by looking in Charles Proxy → macOS Proxy.
Thanks for reading.


