
Building a modern CRM in Ruby on Rails — Part 1
This is the first of a series of tutorials on building a Customer Relationship Management application using Ruby on Rails.
Motivation
Building a Customer Relationship Management system is an extremely hot topic among software engineers nowadays. With the current health environment pushing more and more businesses to consider going online, the demand for CRMs is higher than ever.
While there are some prominent champions in this field (yes, of course, I’m talking about Salesforce), some businesses don’t want something as complex and expensive as that.
I’ve also noticed a trend recently, where people prefer using niche CRMs rather than generic solutions. The owner of a beauty clinic would rather use a CRM where the customer is called a client, where they can create a list of services and track their current product stocks. Any feature on top of it (like Referral tracking or Lead funnels) would be extraneous and likely require the owner to pay much more than she needs to.
This environment creates a lot of opportunities for engineers to build side hustles for very niche audiences. What is more, if you are a Ruby on Rails engineer (or if you are just willing to learn), there is a very low barrier to building your first CRM.
Background
This tutorial is the first in a series aimed at helping anyone build a fully-functioning CRM. We will start by setting up a Rails 6 application with Active Admin, using Devise for Authentication, and Pundit for Authorization; we will integrate Stripe to manage subscriptions and show some tips for turning the CRM into a multi-tenant SaaS application.
We will build a CRM for a salon owner to manage her clients and appointments. Hence, we’ll need a Client model, an Employee model, a Service model (to record information about the services offered by the salon) and an appointment model.
Contents
- Part 1: This article
- Part 2: Set up Invoker, Integrate Webpacker with Active Admin, Use a modern theme for Active Admin
Overview
In this tutorial, we will:
- Set up our environment (Ruby and Ruby on Rails)
- Create a Rails 7 application
- Add ActiveAdmin
- Create the Clients model
- Add an ActiveAdmin resource for Clients
Installing Ruby and Rails
If you don’t have Ruby on Rails set for development on macOS, take a look at this tutorial.
We will use Ruby 3.1 (latest release as of April 2022) and manage our Ruby versions using rbenv (link to install rbenv).
$ rbenv install 2.7.1As of September 2022, the latest Rails version is 7.0
$ gem install rails -v 7.0$ rails new modern-rails —database=postgresql —webpack=react$ cd modern-rails# Create the development and test databases
$ bin/rails db:createAdding Active Admin
Active Admin is a gem used for generating administration-style interfaces. It abstracts away building the CRUD (Create, Read, Update, Delete) elements, making it easy for developers to implement elegant interfaces with very little effort.
Add the gem to your Gemfile
gem ‘activeadmin’, ‘~> 2.7.0’Then run:
$ bundle
$ bin/rails generate active_admin:install --skip-users
$ bin/rails db:migrate
The generator did a lot of things for us so let’s unpack them:
      create  config/initializers/active_admin.rb
      create  app/admin
      create  app/admin/dashboard.rb
       route  ActiveAdmin.routes(self)
    generate  active_admin:assets
       rails  generate active_admin:assets
      create  app/assets/javascripts/active_admin.js
      create  app/assets/stylesheets/active_admin.scss
create db/migrate/20200905183_create_active_admin_comments.rb- It created an initializer in config/initializers/active_admin.rb where we can find the default settings for ActiveAdmin. We don’t need to change anything there yet
- It created the app/admin folder where we will create all of the pages for our CRM — each Active Admin resource defines all the actions performed on that resource. We will create our first action later in app/admin/clients.rb. For starters, we will only use the basic CRUD actions (Create, Read, Update, Delete), but could add custom actions in the future — like sending a birthday card via e-mail. All of these actions will be defined in the Clients resource.
- The generator also appended ActiveAdmin.routes(self) to config/routes.rb. This will automatically generate routes for all of the actions we define in our resources.
- The active_admin:assets generator will create a JS and a CSS file we will use down the line to style our CRM
- Finally, the generator creates a table for the Comments resource — this is a default in ActiveAdmin (one we can turn off from the initializer if we want — look for
config.comments = falseand change it to true). Comments are a great way of allowing your admins to leave notes on each resource without having to build a custom tool for that.
At this point, we should have a barebones Rails application. You need to start the server and the webpacker process (to build your assets) using these two commands (in two different terminal windows).
# Terminal 1
$ bin/rails s
# Terminal 2
$ bin/webpack-dev-server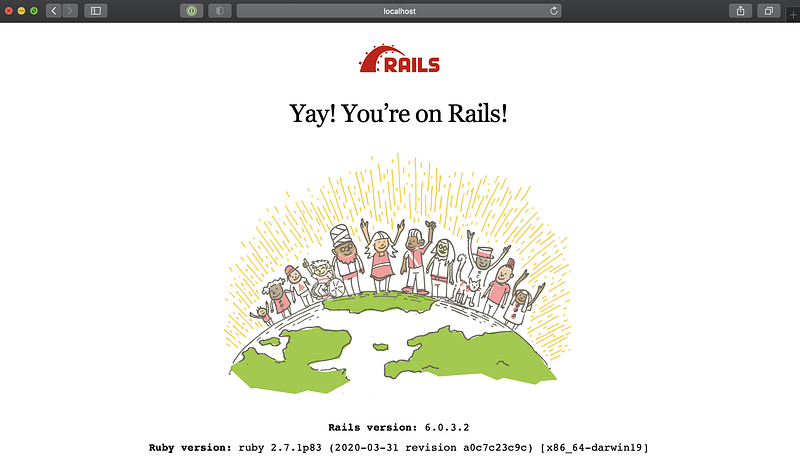
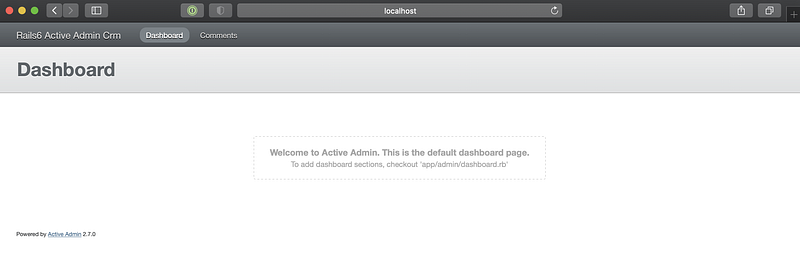
If you navigate to localhost:3000/admin, you should see the default ActiveAdmin dashboard.
Adding the Client model
Let’s run the Rails generator and create the Client model with a few fields (name, phone number, email and birthday).
$ bin/rails g model Client name:string phone_number:string email:string birthday:dateThe generator does a couple of great things for us:
invoke  active_record
create    db/migrate/20201024130139_create_clients.rb
create    app/models/client.rb
invoke    test_unit
create      test/models/client_test.rb
create      test/fixtures/clients.yml
Let’s break it down:
- It creates a migration in the
db/migratefolder. - It creates a model file. The model file might be hard to digest in this state, so you might want to look at my other tutorial on using the Annotate Gem.
- It generates a fixture and a model spec. We’ll come back to these in the next part when we’ll implement the model spec using fixtures.
Ensure you run db:migrate afterwards to create the tables:
$ bin/rails db:migrateAdding the Client resource in Active Admin
We’ll run the generator to create the Client resource:
$ bin/rails generate active_admin:resource Client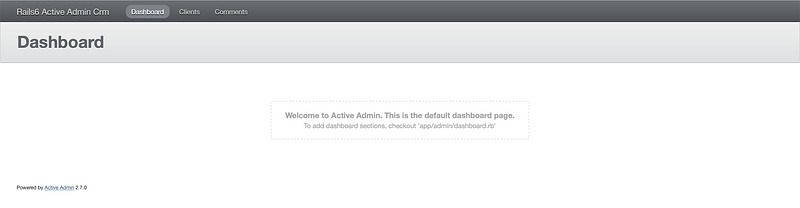
If you refresh the browser, you will notice that the navbar has a link to the Clients resources. Pretty neat since we didn’t have to add a single line of code for that.
Take a look atapp/admin/clients.rb. You’ll notice that the file is mostly empty:
ActiveAdmin.register Client do # See permitted parameters documentation: # https://github.com/activeadmin/activeadmin/blob/master/docs/2- resource-customization.md#setting-up-strong-parameters # Uncomment all parameters which should be permitted for assignment # permit_params :name, :phone_number, :email, :birthdayendBefore creating a Client, we need to set up strong params. Edit app/admin/clients.rb and uncomment the permit_params. Let’s type in the params we want to permit:
permit_params :name, :phone_number, :email, :birthday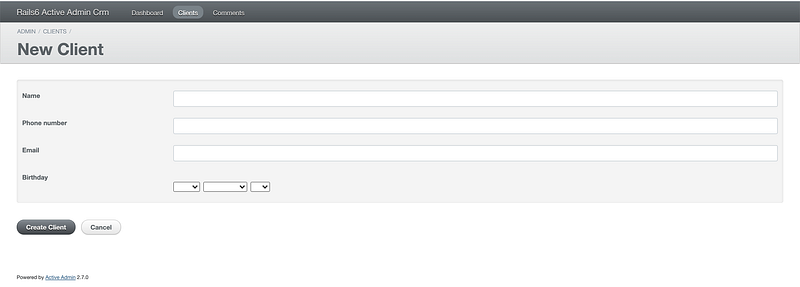
Recap
Let’s recap where we are now. We set up Rails and Active Admin. We created the default Clients Active Admin resource where you can Add, Update, Inspect and Delete Clients.


