
Building a FARM Stack Application — Part 1 — Installation and Configuration
Welcome to this tutorial series about building a FARM stack application. By the end of this tutorial you will learn all the necessary steps to develop, test an deploy a FARM stack application.
What is the FARM Stack?
The FARM stack is FastAPI, React, and MongoDB.
FAstAPI is used to provide the back-end with an API interface.
React is used as the application front-end.
MongoDB is used as the database to store all the application data (and we will also use MongoDB Realm for user authentication)
Installation and Projects configuration
To develop within a FARM stack the following frameworks must be installed:
- Python (and PIP)
- NodeJS (for React)
In terms of IDE’s to edit our source code we will use in this tutorial series:
- PyCharm (for our Python/FastAPI)
- VS Code (for React)
I will be using a Ubuntu 20.04 clean installation to develop this tutorial series, so the installation instructions will be specific for Linux (sorry Windows fans).
Installing Python
If you are using a standard Ubuntu 20.04 desktop installation, then Python 3.8 should already be installed. We can check that with the command:
$ python3 --version
Python 3.8.10
Besides Python we also need to install PIP (the package manager for Python). We execute the following command to install:
$ sudo apt install python3-pip
(Answer y/Y if needed at the command prompt)
## Checking the installed version: ##
$ pip --version
pip 20.0.2 from /usr/lib/python3/dist-packages/pip (python 3.8)Installing NodeJS
Installing NodeJS from the standard APT packages repository will only install v10. So we will install NodeJS from the Linux Binaries (x64) package for the most recent version.
Navigate your web browser to: https://nodejs.org/en/download/ and download the Linux Binaries (x64) tar file.
To install NodeJS we execute the following commands:
## First we create a folder for our NodeJS bin files ##
$ sudo mkdir -p /usr/local/lib/nodejs
## Next we extract the downloaded file to the created folder ##
$ sudo tar -xJvf node-v14.17.3-linux-x64.tar.xz -C /usr/local/lib/nodejs## We add the bin files to the system path ##
$ sudo ln -s /usr/local/lib/nodejs/node-v14.17.3-linux-x64/bin/node /usr/bin/node
$ sudo ln -s /usr/local/lib/nodejs/node-v14.17.3-linux-x64/bin/npm /usr/bin/npm
$ sudo ln -s /usr/local/lib/nodejs/node-v14.17.3-linux-x64/bin/npx /usr/bin/npxWe can now check if all our bin files (mainly node and npx) have been correctly installed:
$ node -v
v14.17.3
$ npx -v
6.14.13Now that we have our main frameworks installed (Python and NodeJS) we can install our IDE’s so we can start creating our projects and edit our source code.
FastAPI and MongoDB we will install later when we start creating our API.
Installing PyCharm
For creating our API source code and edit our Python code, we will install PyCharm.
We start by downloading the PyCharm Community edition at: https://www.jetbrains.com/pycharm/download/#section=linux
To install, we execute the following commands:
## First we start by preparing a folder ##
$ mkdir ~/ide## We extract our downloaded file ##
$ tar -xvf pycharm-community-2021.1.3.tar.gz -C ~/ide## We place the bin file in the system path ##
$ sudo ln -s ~/ide/pycharm-community-2021.1.3/bin/pycharm.sh /usr/bin/pycharm## We make the pycharm.sh an executable file ##
$ sudo chmod +x ~/ide/pycharm-community-2021.1.3/bin/pycharm.sh## We can run PyCharm with command ##
$ pycharmInstalling VS Code
For creating our React application source code and edit our JavaScript code, we will install VS Code.
We start by downloading the .deb file from: https://code.visualstudio.com/download
To install, we execute the following commands:
## First we install GDEBI to be able to install directly from deb files ##
$ sudo apt install gdebi
## Next we install VS Code ##
$ sudo gdebi code_1.58.2-1626302803_amd64.deb## We can run VS Code with command ##
$ codeWe now have all the tools needed to start developing our application, both on the front-end and the back-end.
We start by creating the two separate projects that we need, one for our API and another for our React application.
Let’s create a project folder to store our projects:
$ mkdir ~/projectCreate Fast API project
We start by opening PyCharm and create a new project:
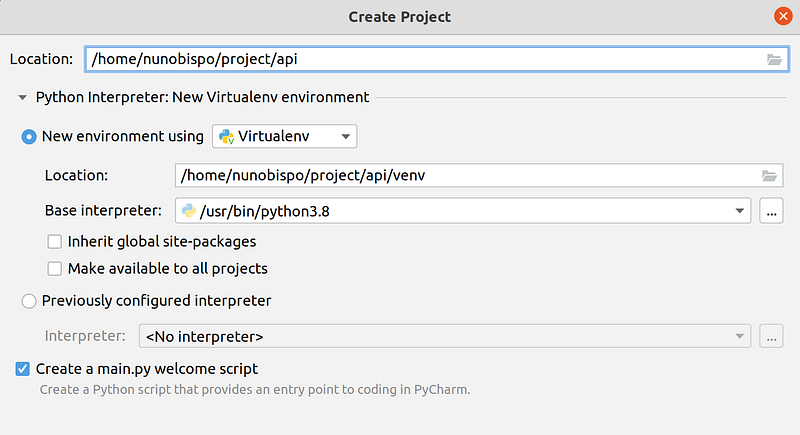
Make sure that the project settings include:
- Location: ~/project/api
- Select ‘New environment using: Virtualenv’
Next we need to install FastAPI, for this we are going to use the Terminal included in PyCharm:
## Install FastAPI ##
$ pip install fastapi
## Install uvicorn ##
$ pip install uvicorn[standard]
## Finally we create our requirements file ##
$ pip freeze > requirements.txt
Now we can edit the automatically created ‘main.py’ file an replace the contents with:
We have just create an API with FastAPI, let’s run our code (using the PyCharm terminal window):
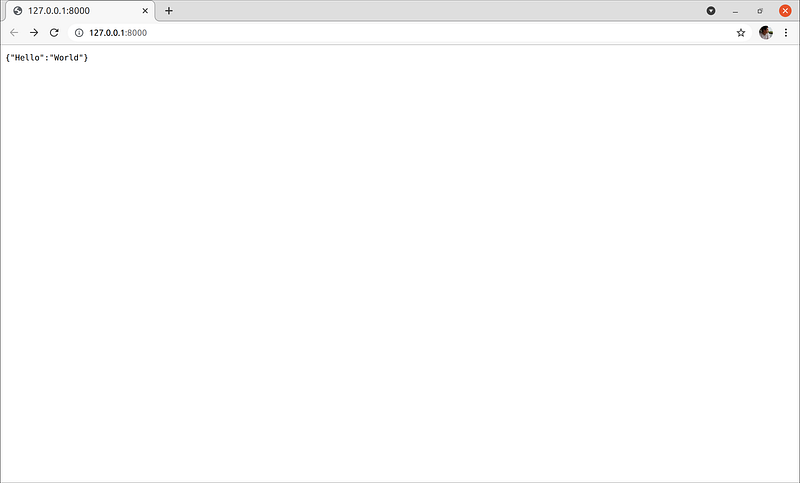
$ uvicorn main:app --reloadWe can now open the browser and navigate to the link: http://127.0.0.1:8000/
Where we will get the output:
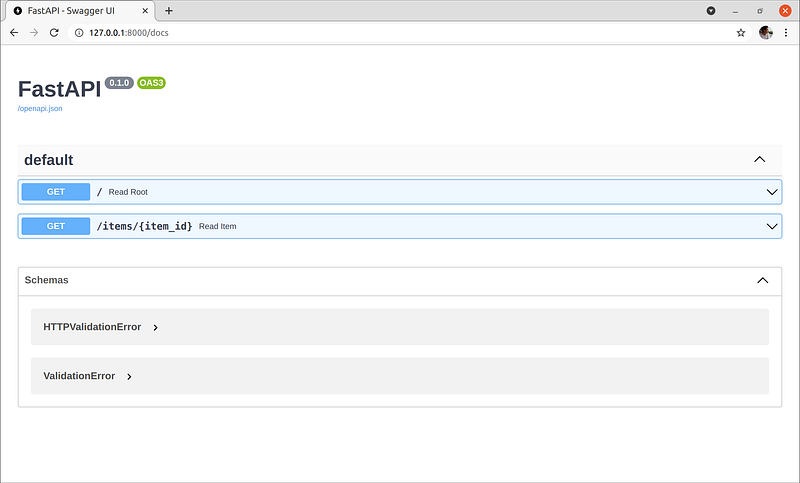
We can also navigate to the docs at: http://127.0.0.1:8000/docs
Create React project
To create our React application we start at our command line bash terminal:
## We navigate to our project folder ##
$ cd ~/project/
## Create React app (can take a while to download all the necessary files) ##
$ npx create-react-app app## Open the project folder with VS Code ##
$ code ~/project/appWe now have our project created and open it on VS Code. We can run our development server by opening a new Terminal window with the menu option ‘Terminal->Open Terminal’ and running the command:
$ npm startThe default web browser should open with the newly created React app, if not navigate to: http://localhost:3000/
Congrats, you have just created your React application.
Conclusion
On this tutorial we install all the necessary frameworks and tools necessary to create our FARM stack application.
We also started with our two code bases for the API and React application.
On the next tutorial of this series we will work on our API and start creating all the CRUD actions necessary to Create, Read, Update and Delete records from our MongoDB:
Follow me on Twitter: https://twitter.com/DevAsService
Check out my website at: https://developer-service.io/
If you enjoyed reading this article and found it usefull, you can support me by signing up for a Medium membership (if you are not a member). It will only cost you $5 a month — this will give you access to all stories on Medium! (and I will receive a small commission)
Besides that, if you want to stay updated when I post a new story, you can signup for my free newsletter!


