
Bring Your Ai Artwork To The Next Level
You’ve just learned how to make your first Ai masterpiece in under 5 minutes but you want to take the next step. Read on to learn some helpful tips and tricks to improve the quality of your Midjourney artwork.
Understanding prompts
What you feed into the Ai prompt will determine the quality of your result. Want to generate Ai manga? Ai watercolor paintings? Or an Ai photorealistic landscape? Anything is possible. You just have to provide the right prompt.
1. Have Ai Mimic Your Favorite Artist’s Style
Have you always wondered what Vincent Van Gogh, Picasso, or Leonardo da Vinci would be painting if they were around today? Luckily, with the power of Ai, you can generate Ai artwork in the style of your favorite artist.
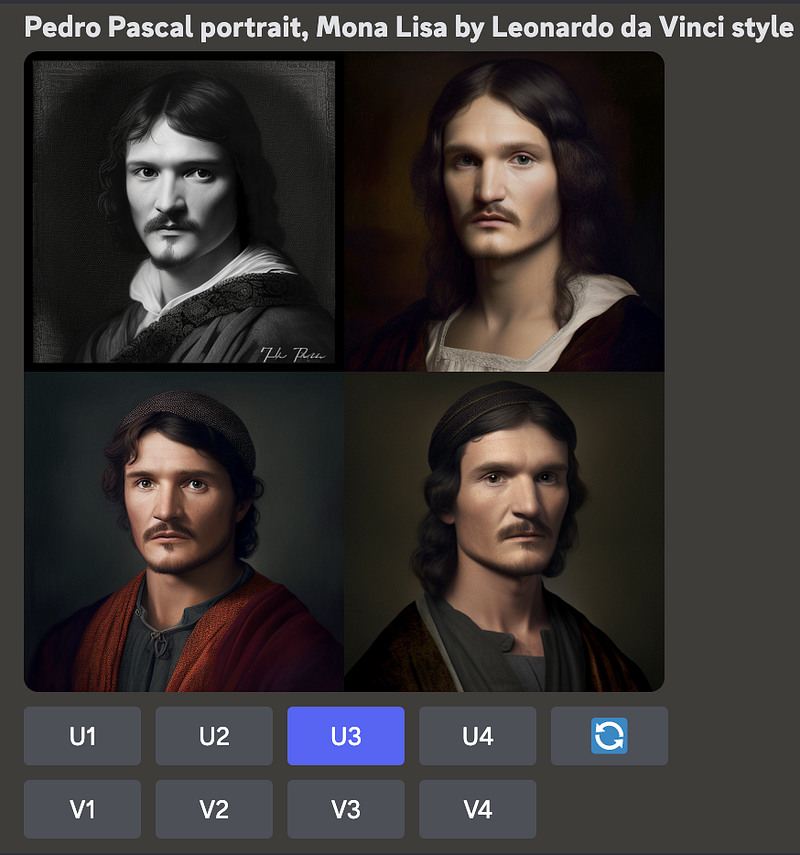
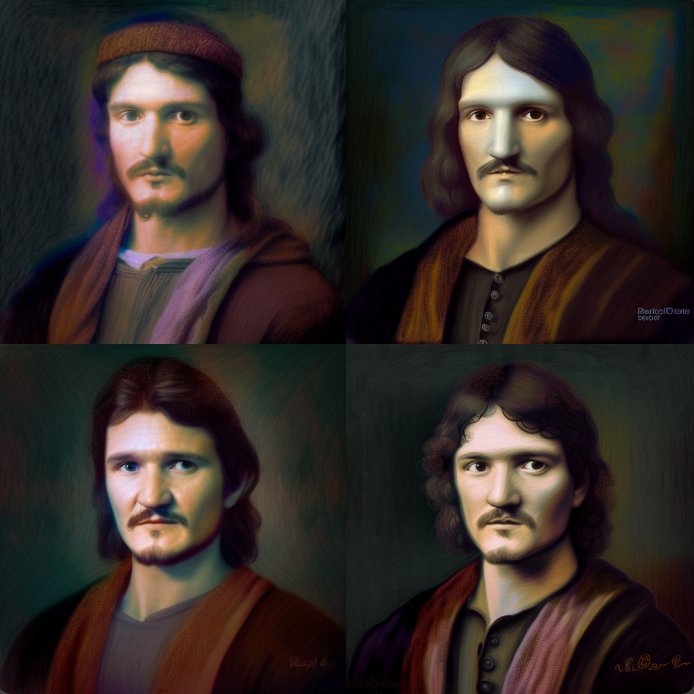
For example. Let’s say I wanted to see a badass portrait of Pedro Pascal in the style of Da Vinci’s Mona Lisa. I mean who wouldn’t?
Exactly.
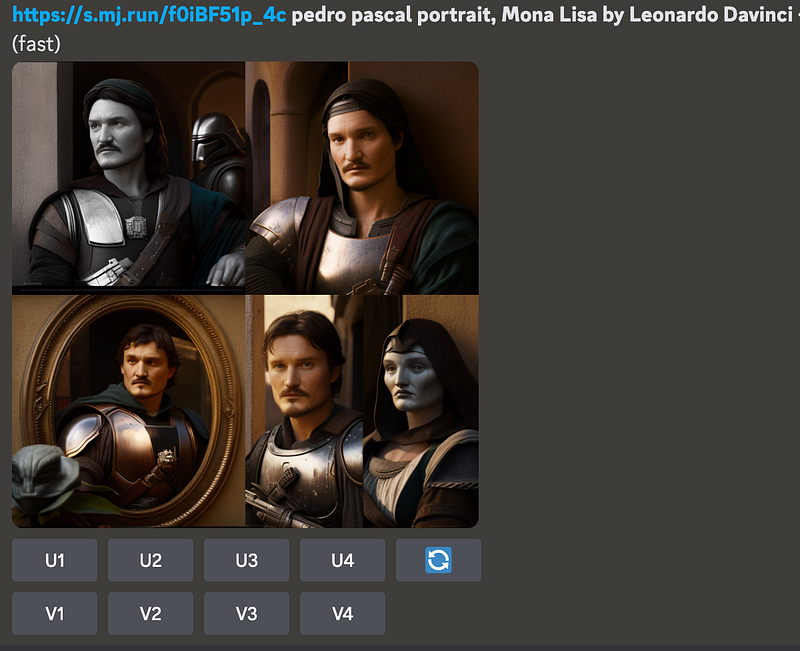
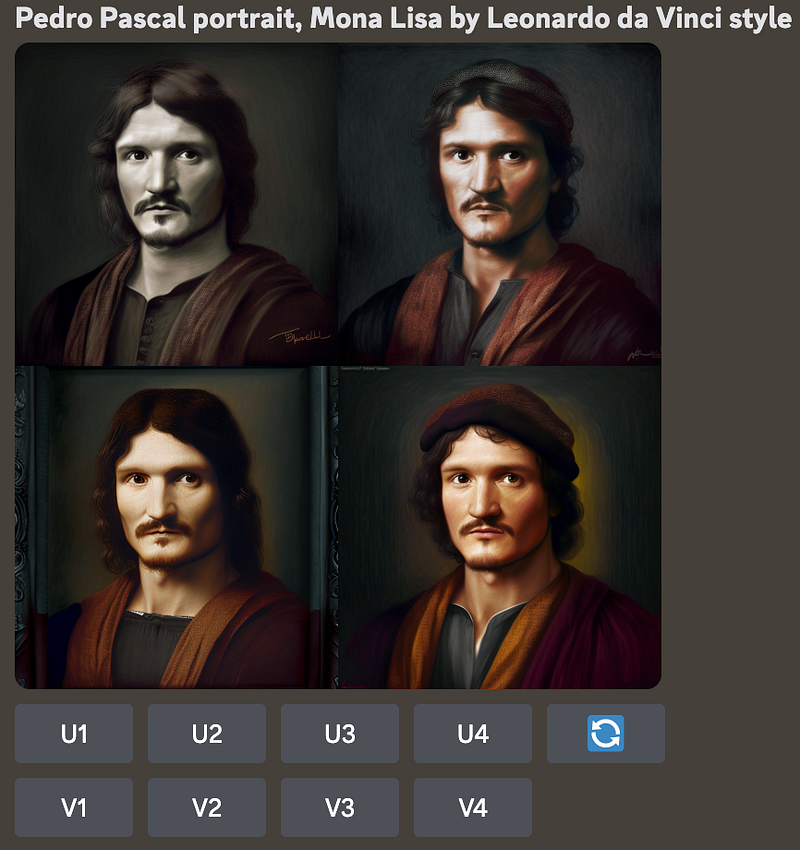
So let’s get started. In Midjourney just type in “/imagine Pedro Pascal portrait, Mona Lisa by Leonardo da Vinci style” and within a minute it will provide us with four choices to choose from.
(If you are confused how we got to this point, be sure to check out our previous article on how to get started with Ai art)
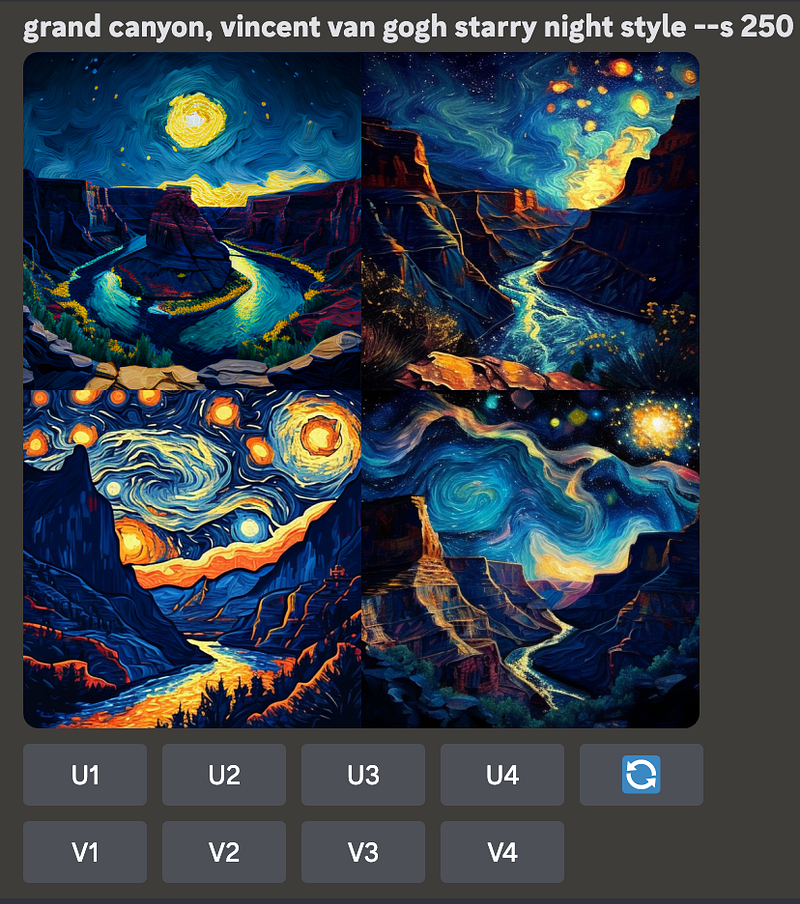
Or let’s say you want to create Ai art of New York, Paris, or some other landmark. But you want the Ai to mimic the look of a famous painting like Starry Night by Vincent Van Gogh. You’re in luck. For this example, let’s use the Grand Canyon.
Type / and select the “Imagine” prompt. From there type in “Grand Canyon, Vincent Van Gogh Starry Night Style.” Boom! Midjourney is smart enough to realize “(comma) Vincent Van Gogh Starry Night Style” means you would like that style applied to the text before the comma.
2. Cartoon vs Photorealism
Let’s say you want something more general. Maybe not a specific artist, but a genre or Studio’s style.
Let’s compare the same request but with two different prompts.
For the first prompt we will say “A cute koala, ice skating in Detroit, HDR photography, high resolution, 16k, ultra realistic”

And for the second prompt we will say “A cute koala ice skating in Detroit, Pixar Animation Studios”
Lets compare the two prompt outputs:
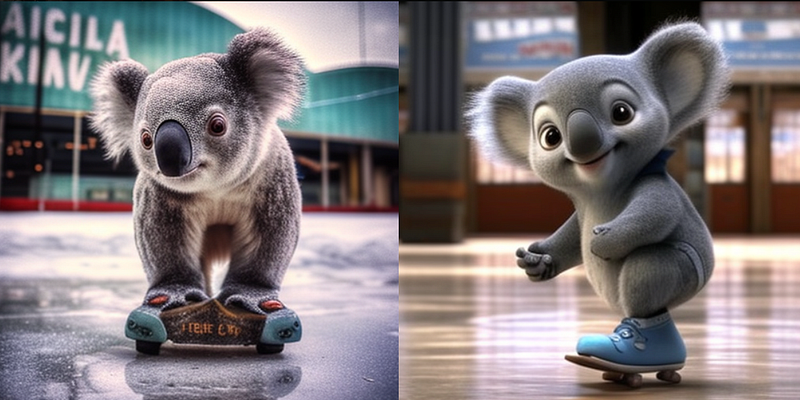
As you can see, even though its the same subject, we get two very different photos. Feel free to copy paste “HDR photography, high resolution, 16k, ultra realistic” into your own prompt if you want to get the photo realistic version on the left. Or include “Pixar Studios Style” into your prompt if you like the version on the right.
3. Train Your Ai With Specific Photos
What if you have a favorite photograph that you want the Ai to mimic? Midjourney makes it easy to influence the Ai’s style by uploading your own photos.
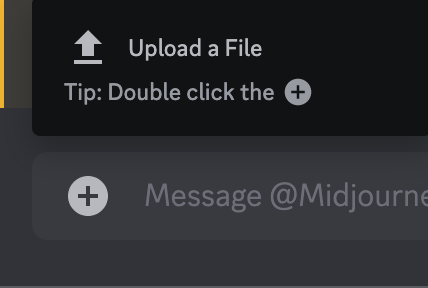
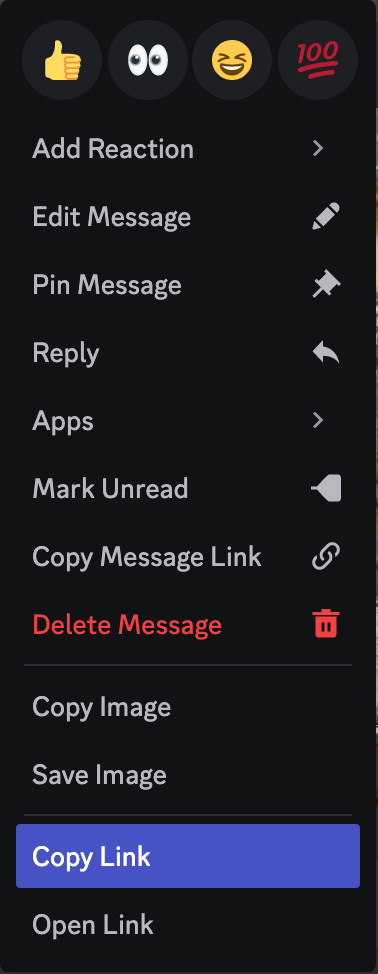
Within Discord, click the ⊕ icon and select “Upload a File.” Choose your photo, then click enter. Midjourney will upload your photo to a server and diplay it within the channel. When your photo is displayed, right click it and select “Copy Link.”
Now when you type in your prompt. Paste the link at the beginning. In this case, I took a photo of Pedro Pascal in The Mandolorian, pasted it into my prompt, then again said “Pedro Pascal Portrait, Mona Lisa by Leonardo Davinci.” But as you can see, the photo I input made the new set of photos specific to the look and feel of the show “The Mandolorian”
Understanding All The MidJourney Buttons
You might have created your first Ai masterpiece and wondered, what’s with all the options at the bottom? What does U1 or V1 mean?
Lets start with the simplest option, the re-roll button. If you want more than four options (or you aren’t satisfied with the results) click this button to get another round of 4 photos to choose from.

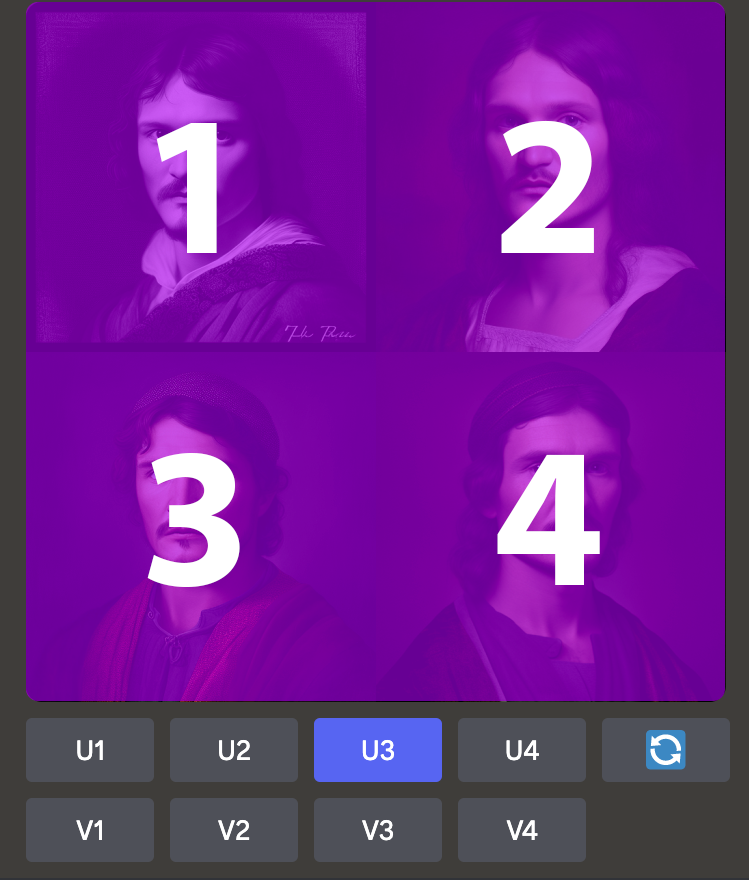
Each photo in the quadrant coincides with a number between 1 and 4. Top left corner is 1, top right is 2, bottom left is 3, and bottom right corner is 4.
U means upscale, or enlarge. Upscaling doesn’t just increase the size though, it will re-render the photo taking more time and bandwidth to increase the resolution and quality. So clicking U3 means “Take the bottom left photo and make it bigger.”
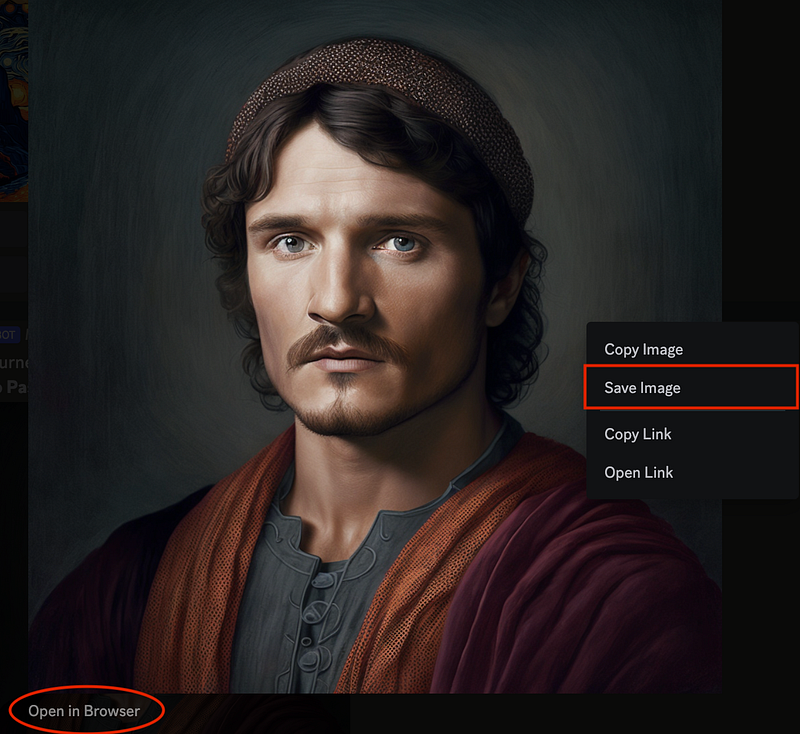
Once its finished click into the new photo. You will then have the option to open the image in your web browser to take a closer look, or you can choose to save the image directly to your computer.
You can even take it a step further. Once the upscaled image is generated you will see some additional options appear.

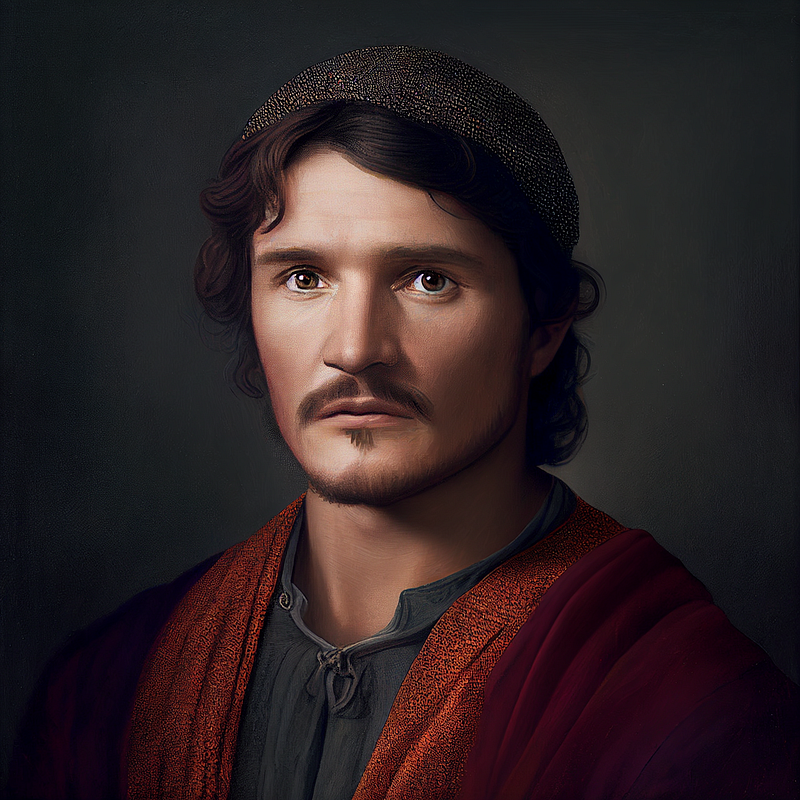
Clicking “Beta Upscale Redo” will re-render the photo in even higher quality. Here is the output:
However, sometimes you don’t want the photo to be more highly processed. Sometimes this can add unwanted noise. In that case, selecting the “Light Upscale Redo” will keep the photo as close to the original as possible but with the larger dimensions.
“Make Variations” is going to do the same thing as the V1, V2, V3, V4 options that we saw previously. It takes the existing photos, but allows you to make some slight tweaks and adjustments to it.
Let’s go ahead and click “Make Variation” and see what happens. First a prompt will come up. For this example, let’s not make any changes. Just click the Submit button and see what it produces. As you can see, it took the original photo and made 4 versions each with some minor changes.
The V1, V2, V3, V4 options will do the same thing as the “Make Variations” button. But again, like the U1, U2, U3, and U4 buttons, the numbers coorespond to the four quadrants.
Let’s go ahead and select V1 to make a variation of the top left photo. Only this time, instead of just clicking “Submit” we are going to add some additional guidance. We are going to add a comma then say “Pastel Colors.” to influence the next round of variations.
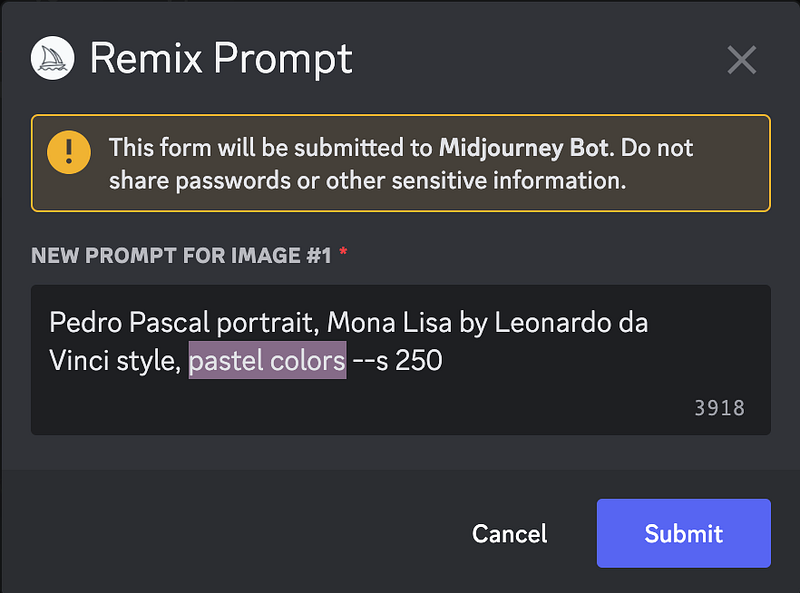
And sure enough, we can see a slight tinge of pastel colors added into the subsequent output of photos
Thanks for following along!
We hope these tips and tricks will help you in your journey to becoming an Ai Artist. We would love to see some of your art! If you are interested in sharing please post to our Twitter account (since Medium doesn’t allow images in the comments)
Startup Lab
Want to stay up to date on Startup Lab articles? Please consider Subscribing for updates here Following us here Or using our referral link to sign up for Medium here