
Let’s Build: Cryptocurrency Native Mobile App With React Native + Redux

Demo — What we’ll be building
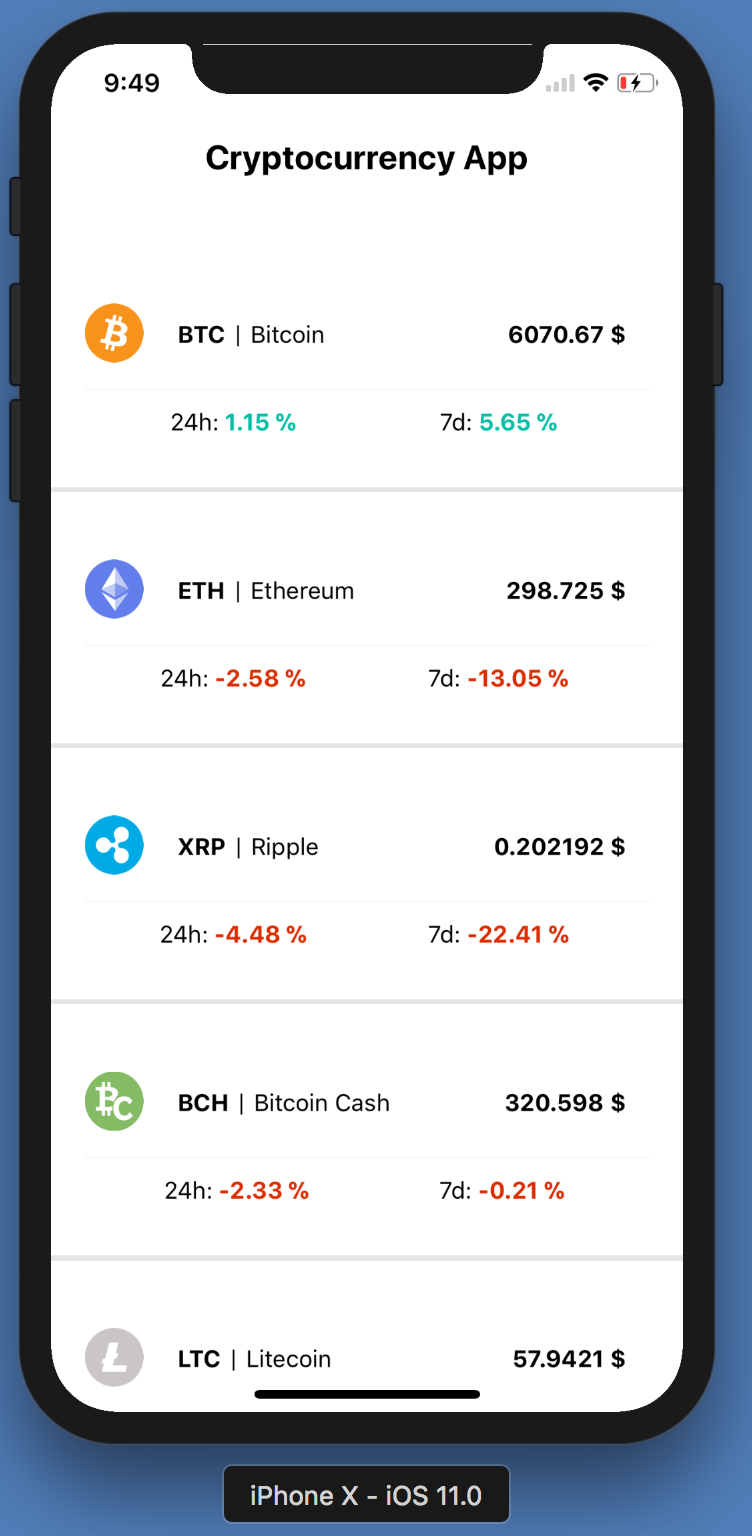
I’m going to teach you how to write a native mobile app with React Native and Redux. Let’s dive in!
Become a Medium Member to directly support my work. You’ll also get full access to every story on Medium. Thanks in advance!
What is React Native?
React Native lets you build mobile apps using only JavaScript. It uses the same design as React, letting you compose a rich mobile UI from declarative components.
Why Are We Using React Native Instead of Swift, Kotlin, Java or Objective-C?
It all comes down to preference really. Here are the main scenarios:
- Perhaps you already know some React. In this case, building React Native apps will be an absolute pleasure. RN tooling is great.
- Cross platform. Learn once, write anywhere. Instead of writing your Android app in Kotlin and your iOS app in Swift — you can write both of them in React Native and save a huge chunk of time and budget.
- Easier to transition into mobile development from a web background.
- JavaScript — one language to rule all.
- Ability to quickly push updates directly to a published app — bypassing the app store review process and timeline.
Please keep in mind that, in the end, only one thing matters — whatever works best for you and makes you happy.
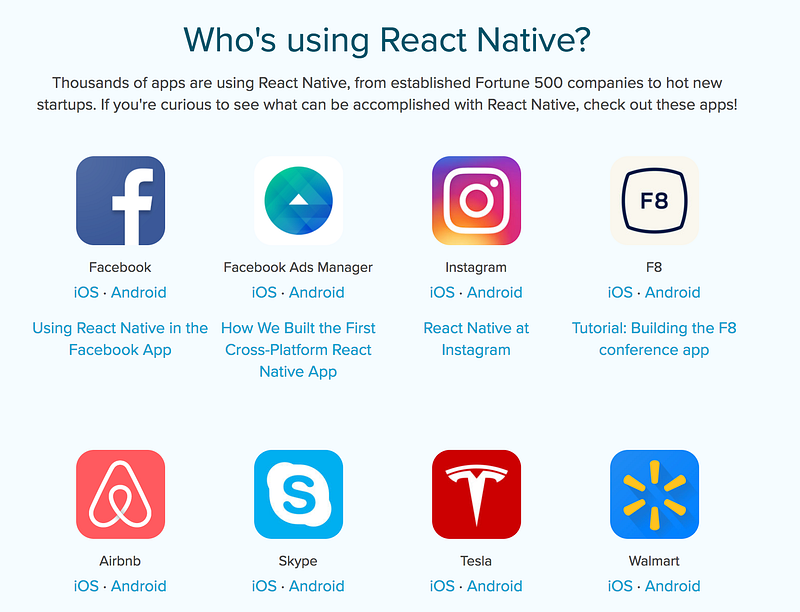
It’s fair to say React Native is mature by now. A lot of companies have adapted to RN (including Facebook native apps) — the demand is very high in the job market.
What is Redux?
Redux is a predictable state container for JavaScript apps.
If you’re not too familiar with Redux, the article below is a nice tutorial on how to apply Redux to React apps.
Why Are We Using Redux?
- Redux makes the complicated parts (state management) more predictable and easier to reason about.
- Decouple state from views. What I mean by that exactly, is to let React handle the views and Redux handle the state of the app.
- Clean code and best practices.
- Great tooling and middleware to make developing more enjoyable.
Let’s start!
Prerequisites:
- Node.js
- npm or Yarn
- Bash command line/terminal. Mac and Linux have it installed by default. If you’re on Windows, follow this guide on how to install bash on Windows.
- Text Editor/IDE
- Xcode (iOS) — That’s all you need for the initial setup! — Video Setup
- Android Studio (Android) — Watch this tutorial to properly setup the android simulator!
- Optional: Expo— I do recommend this.
- I also recommend getting the Expo CLI tooling.
Make sure you have everything required before continuing.
Installing and Setting Up Our Native App Development Environment
Open your terminal and run a couple of commands for installing React Native and launching your preferred simulator.
$ npm install -g create-react-native-app
$ create-react-native-app react-native-redux-crypto-tracker && cd react-native-redux-crypto-tracker
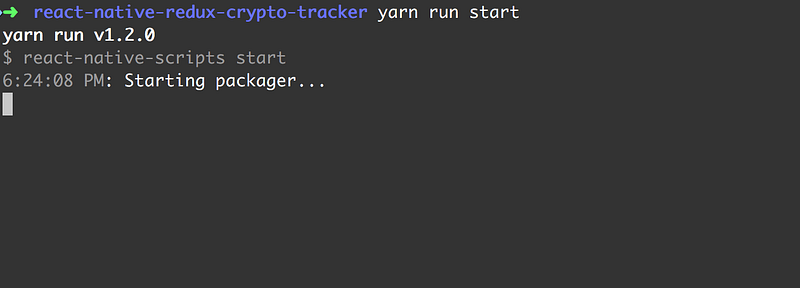
You should end up with something close to this:
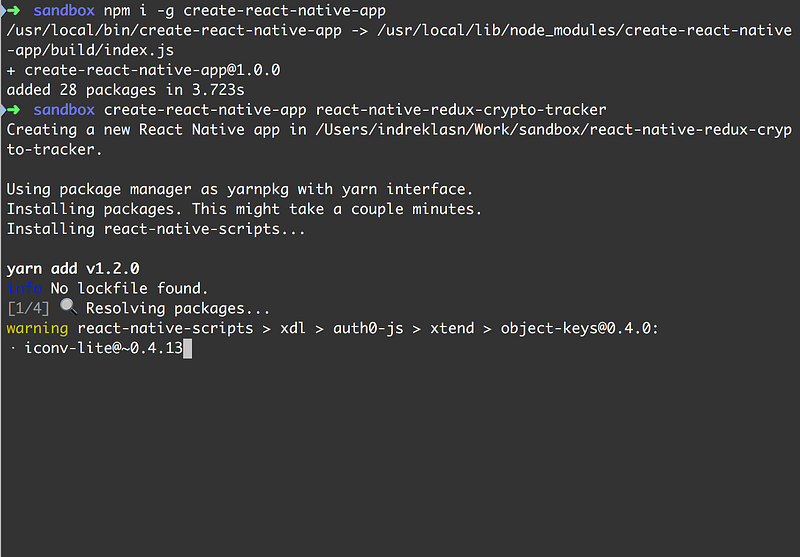
We’re almost there.
Next up, we need to just serve our project. Type the next command in the terminal. You can choose between iOS or Android simulators. Press I for iOS and a for Android.
I have chosen iOS for this guide, but it works on both operating systems! I personally like both iPhone and Android phones, and you can choose per your preference.
- (simulator) —
$ npm run ios— iOS - (simulator )—
$ npm run android— Android - (Physical device )—
$ npm run start— QR code and options. Open your mobile camera and point it to the QR code. Also, you’re going to need the expo app as well. Expo for Android — Expo for iOS

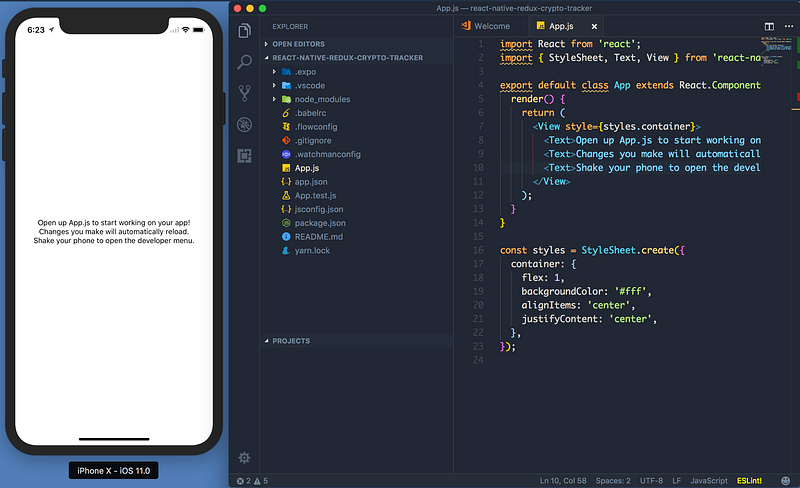
The iPhone X simulator works beautifully in harmony with RN. Thanks Facebook team for the great implementation and execution! 👍
As we can see, there are quite a lot of things going on. From the top, we can see
import { StyleSheet, Text, View } from ‘react-native’;
What is this exactly?
<Text>
Text is JSX — a syntax for embedding XML within JavaScript.
Many frameworks use a special templating language that lets you embed code inside markup language. In React, this is reversed. JSX lets you write your markup language inside the code.
It looks like HTML on the web, except instead of web things like <div> or <span>, you use React components. In this case, <Text> is a built-in component that just displays some text.
TL;DR: A React component for displaying text.
<View>
The most fundamental component for building a UI. View is a container that supports layout with flexbox, style, some touch handling, and accessibility controls.
View maps directly to the native view equivalent to whatever platform React Native is running on — whether that is a UIView, <div>, android.view, or other.
View is designed to be nested inside other views and can have from zero to many children of any type.
This example creates a View that wraps two colored boxes and a text component in a row with padding.
Style Sheet
A style sheet is an abstraction similar to CSS style sheets.
It creates a new style sheet. Styling for RN is flexbox based. It uses the Yoga layout engine. We pass styles to elements through the style prop.
Building the App
Start by making a src directory where we place all our code.
$ mkdir src && cd src
Inside src, create a components directory. Inside the components we’ll place our views.

Implementing the Header
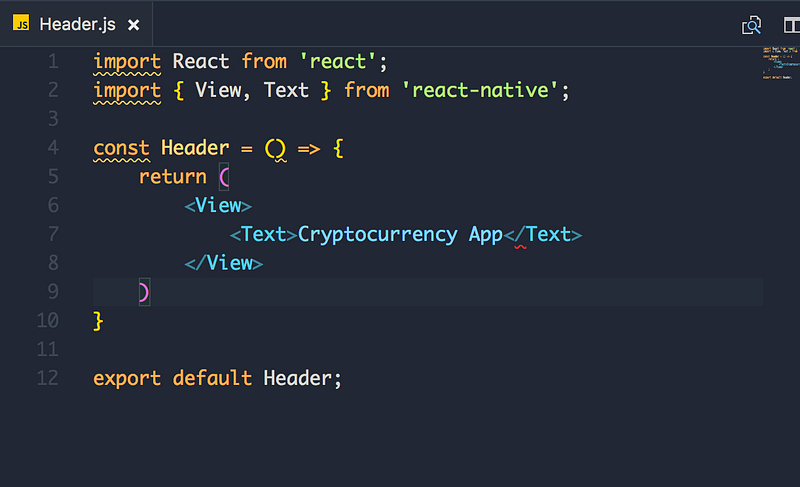
Make two files inside src/components — Header.js and index.js.
Header.js is for the header of the app, and index.js is for making an import export cleaner.
Inside Header.js, implement a stateless component. Try to do it yourself — the most efficient way of learning is actually doing.
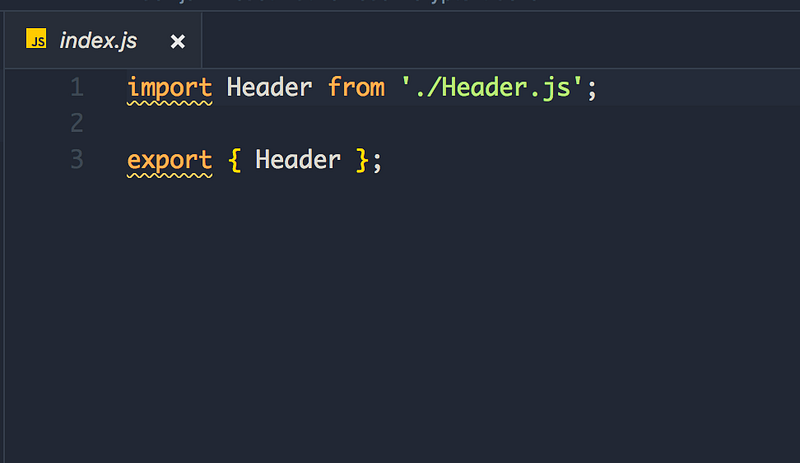
Next up — import the Header.js to the App.js and display it!
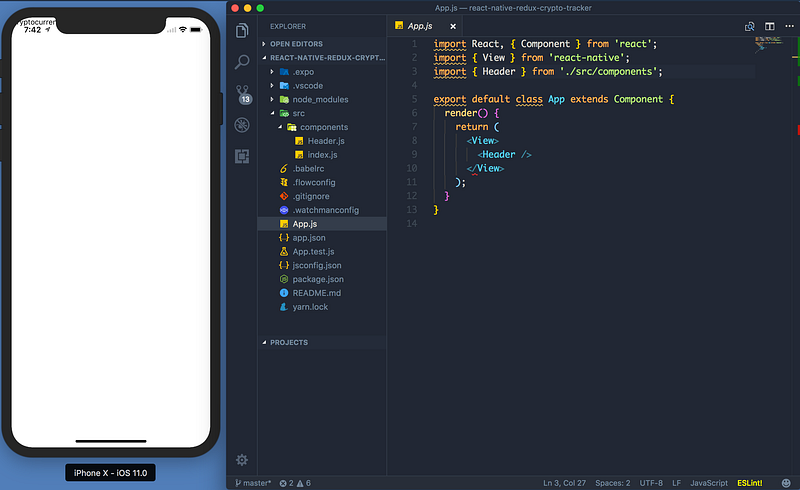
It works! But wait... why is the title almost hidden by the iPhone default text? We will fix that in the next chapter!
Source Code
If you want to bring your JavaScript to the next level, start from this book. Find the kindle version here.
Thanks for reading!